


- Detect WordPress malware using web tools
- Detect malware on WordPress using Google Search Console
- Detect WordPress malware using local antivirus
- Install security plugins to protect your WordPress site from malware
- Manual steps to remove malware from your WordPress site
Detect WordPress Malware Using Web Tools
Probably, if you are reading this article, you already know your website was infected. But just in case you are unsure about this, I decided to add instructions to detect possible infections. The first method to detect malwares on a WordPress site explained in this tutorial includes different online antivirus scan services.
The first web antivirus scanner listed in this tutorial is PC Risk you can access at https://scanner.pcrisk.com/.
This kind of service is very intuitive, just type the URL of the site you want to scan and press the blue button “Scan for Malware”.

The scan will start showing the progress as shown in the screenshot below.
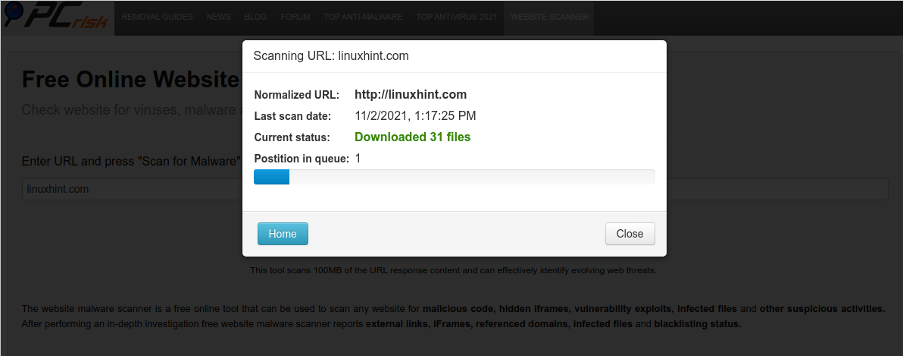
Finally, you will see the result. To see a detailed report, press the “Detailed report” blue button.

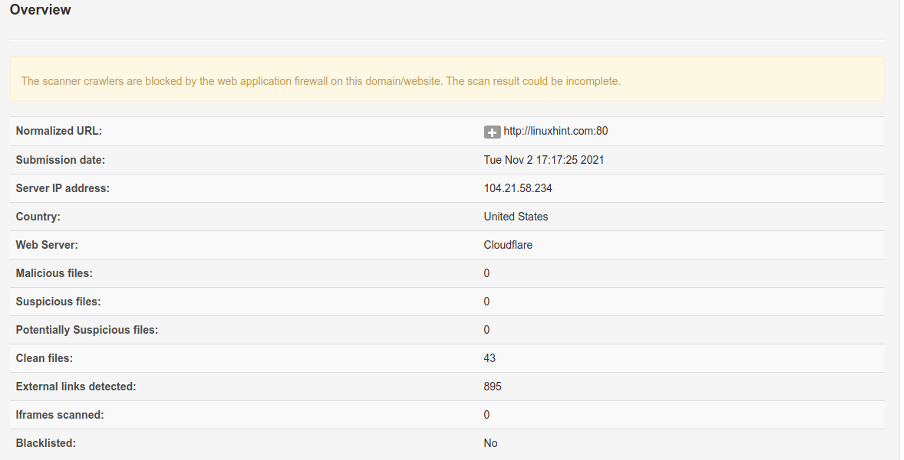
Below, you can see the report format. In this case, the website Linux Hint blocked non search engine crawlers, therefore the report warns its incomplete.
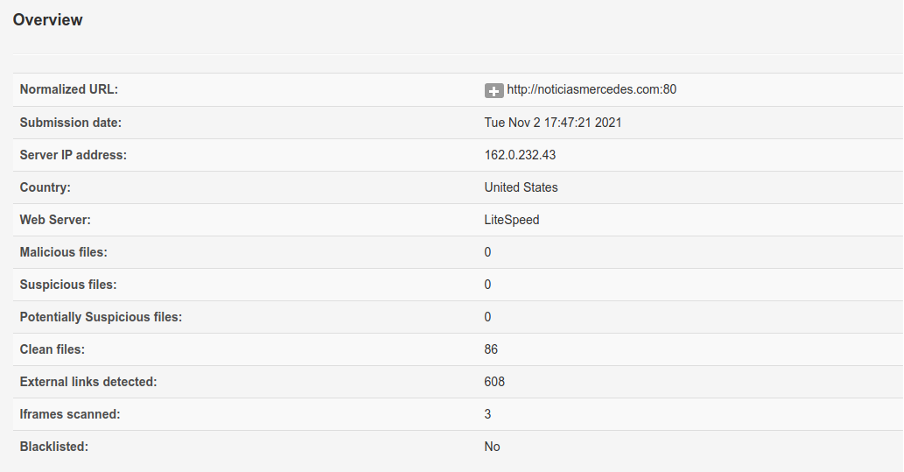
The report below belongs to a website with open crawling.
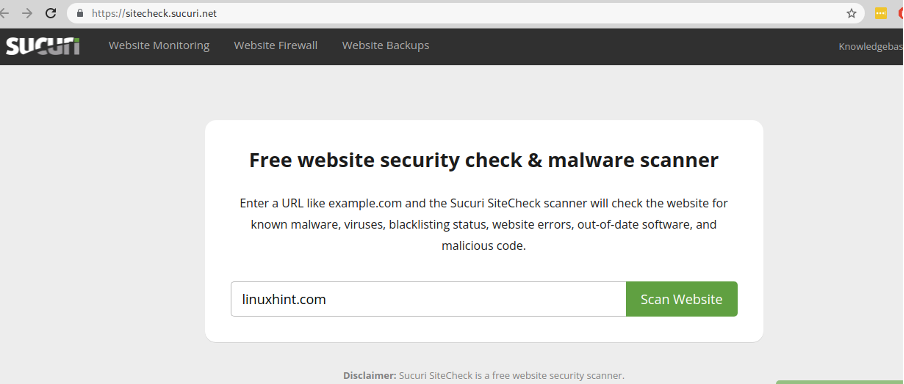
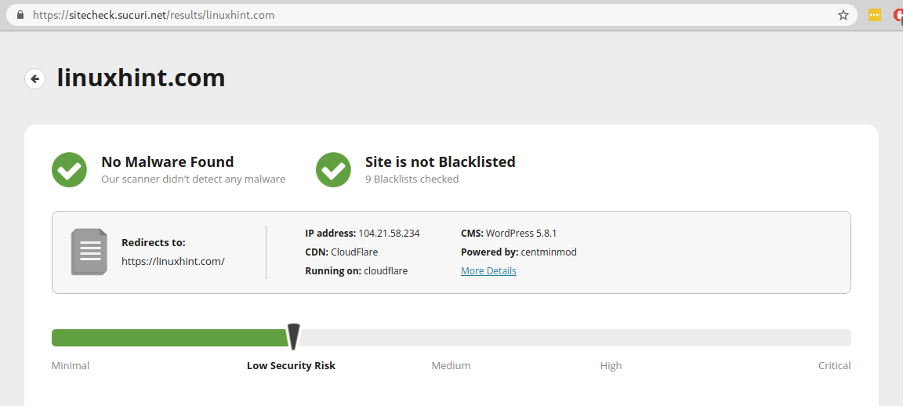
Another available option for online scan is https://sitecheck.sucuri.net/.
Using it is the same as using the previous service. Just type the URL you want to scan and press the Scan Website green button shown in the screenshot below.
Below, you can see linuxhint.com is reported as a clean and safe website.
You can find additional online scanners for your website on Google.
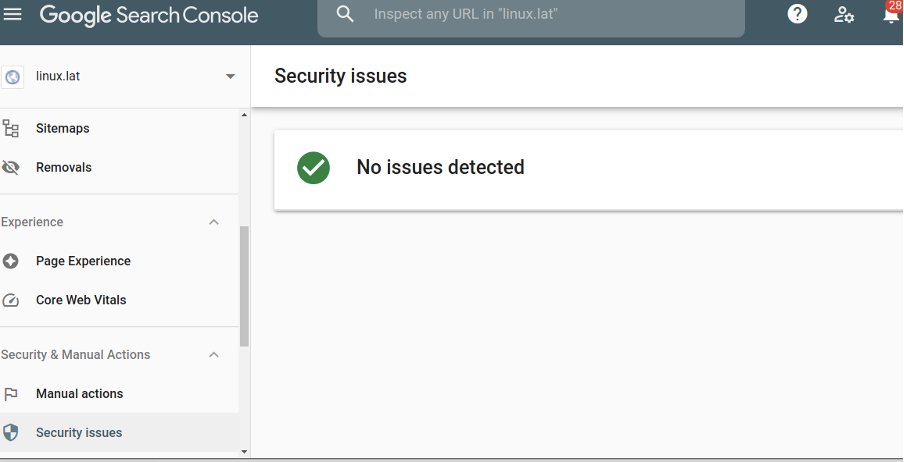
Detect Malware on WordPress Sites Using the Google Search Console
In order to detect malware on your WordPress site, you also can check Security issues reported by the Google Search Console. To do it, just login into your Google Search Console dashboard on the left menu, select Security & Manual Actions and click Security Issues.
Analyze Your WordPress Site with a Local Antivirus
Another way to check your website for malicious code is to download all files from your server to be scanned locally on your computer. Below, you can find instructions to download your site both from Cpanel and the FTP server, to scan it on your computer.
NOTE: This tutorial section only covers how to download your whole site to your computer to be scanned. This tutorial is written under the assumption the reader knows how to run an antivirus scan on his computer. Because of the variety of operating systems and antivirus software is not possible to cover the scan process.
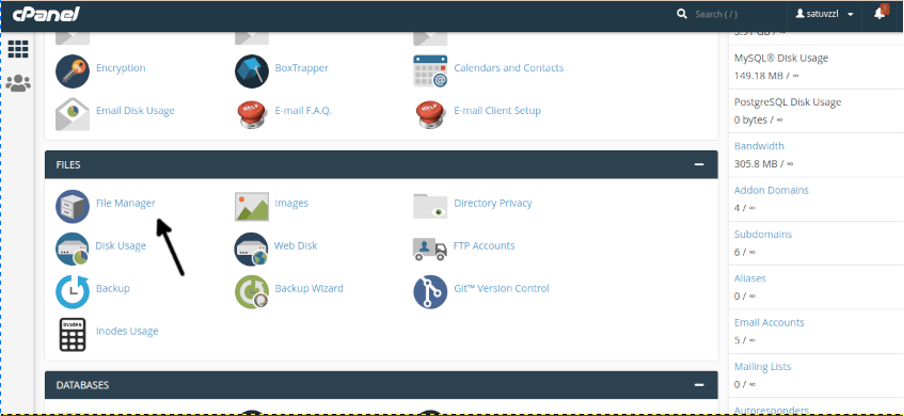
Downloading Your WordPress Website with Cpanel
To download your site from a hosting using Cpanel, login into your Cpanel account and select the Files Manager shown in the screenshot below.
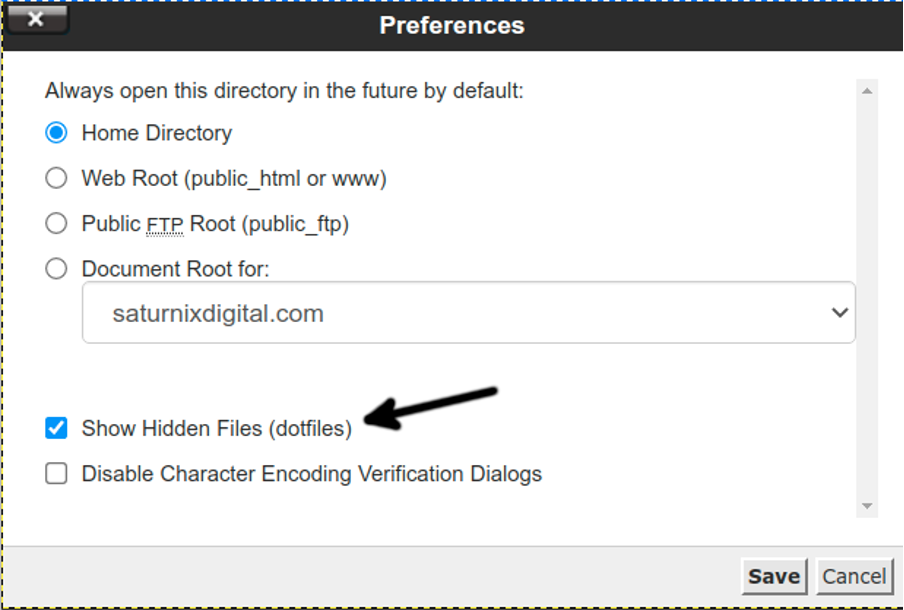
Once in the Files Manager, press the Settings button located in the right upper corner as shown below, to open the Preferences menu.

In Preferences, make sure the Show Hidden Files (dotfiles) checkbox is selected and press the Save button.
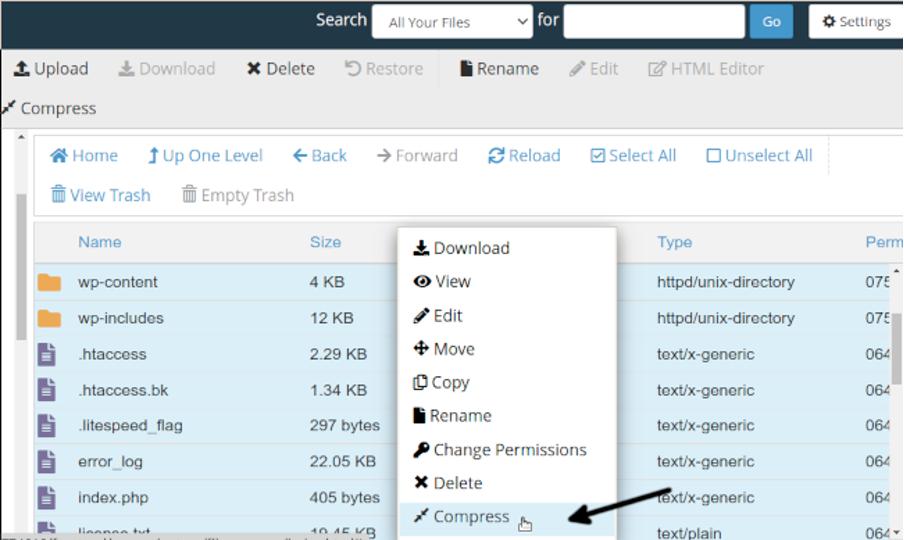
Select all your WordPress site files, then right click and select the Compress option to compress all files. Despite the screenshot doesn’t include it, the Cpanel view includes modification date view, useful to find suspicious files.
Choose the compression format you want and press the Compress File(s) button.
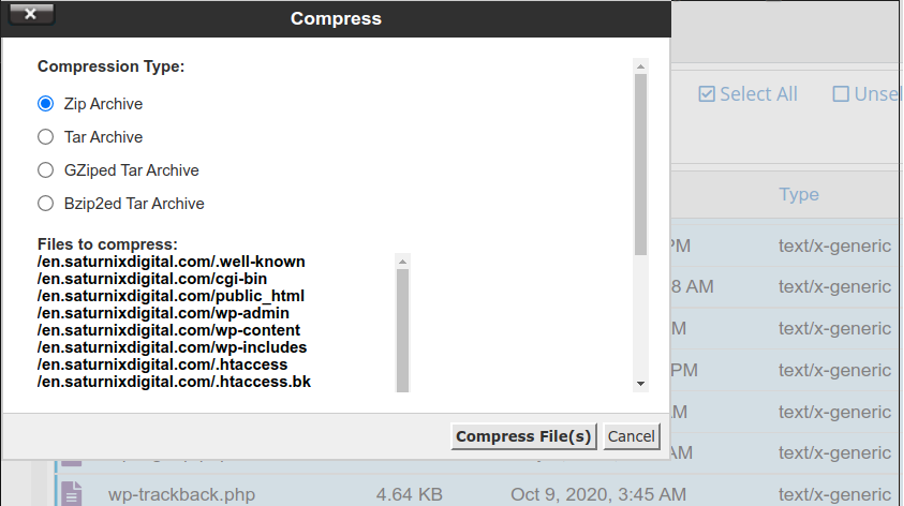
Once zipped, download your website files to your computer and analyze them using your antivirus.
If your antivirus detects malicious files, the best option is to remove all your server files and restore the oldest clean backup to your server and manually update your website.
Of course, you can just remove the reportedly infected files and upload your files back. Then, you will need to follow the instructions for WordPress Malware Removal which include preventive measures for future attacks.
Download Your WordPress Website Using FTP
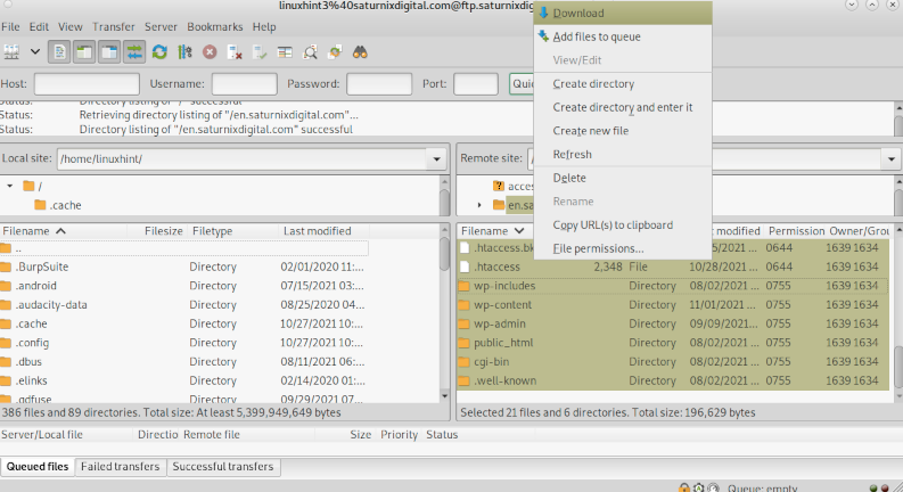
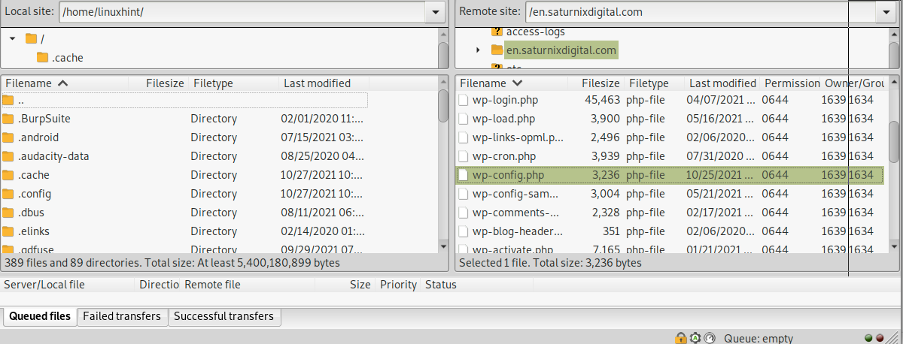
Many WordPress users will opt for downloading their site files for malware detection using a FTP client. The following screenshot belongs to Filezilla, one of the most popular FTP clients in the market. The FTP client also allows you to order files by modification date, this is especially useful to find suspicious files.
As shown in the screenshot below, you can download all your files without compression, just select them all and download them to your local destination.
Use Plugins to Clean and Protect Your WordPress Site from Malware
One of the most common recommendations when a system is hacked, is to replace compromised files with clean files.
If your WordPress site was infected with malware, this tutorial encourages you to migrate to a clean server, restore your last clean backup and manually update your website to its current point.
But in case you didn’t preserve a backup or you can’t deal with the most common advice, you can follow the instructions below to clean your WordPress website and at least, restore its safety.
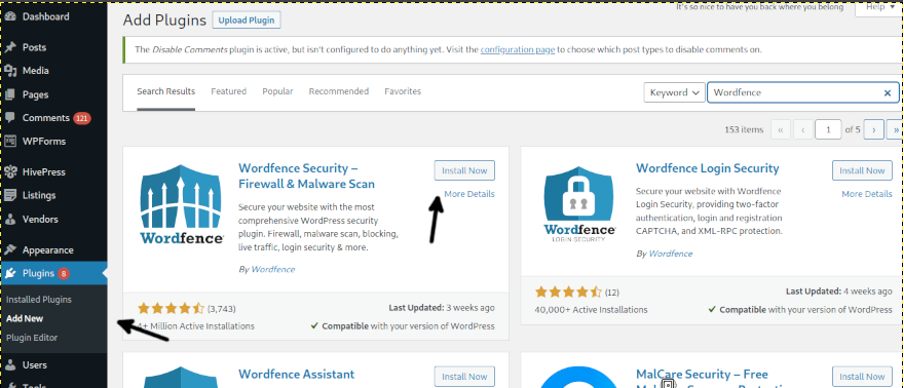
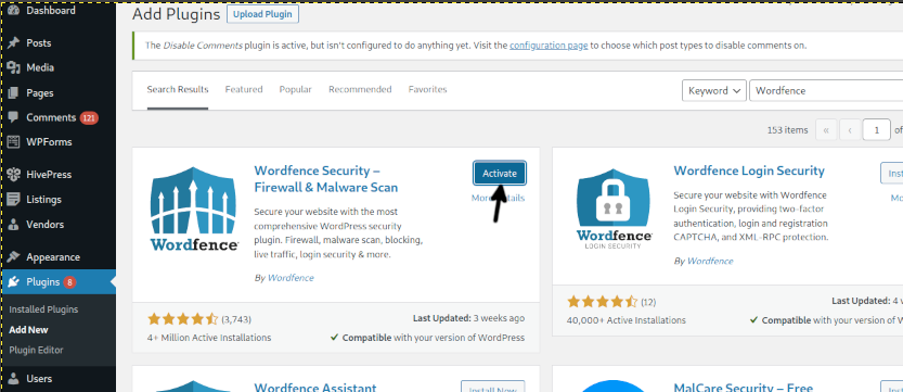
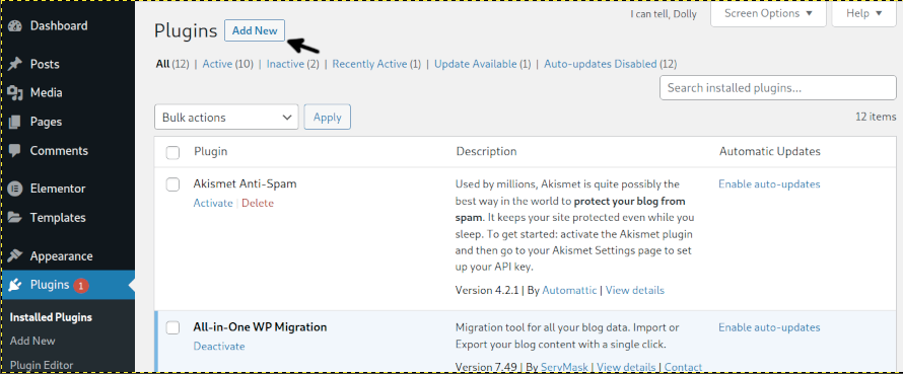
Install the plugin Wordfence Security shown in the following screenshot. Select the Plugins option on the dashboard menu, then click Add New and in the search box type Wordfence, then press the Install Now button.
Activate Wordfence by pressing the Activate blue button.
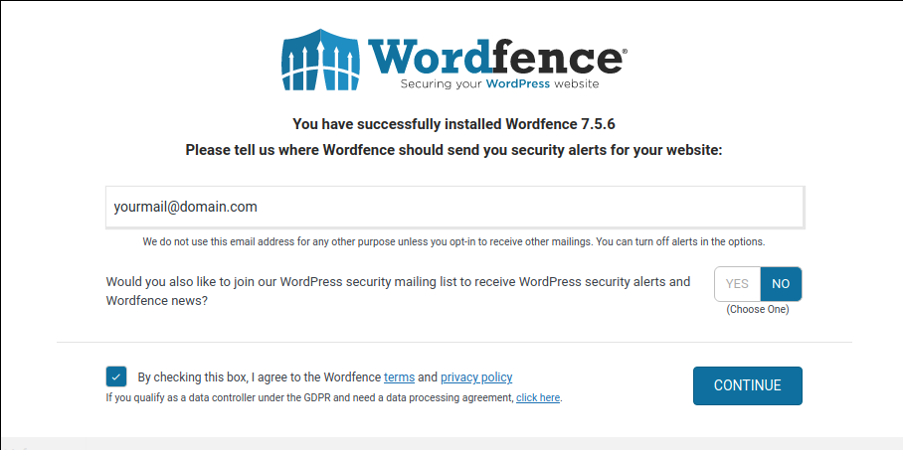
Once activated, type your mail address. Select if you want to join or not the mailing list, agree to the privacy terms and press the CONTINUE button.
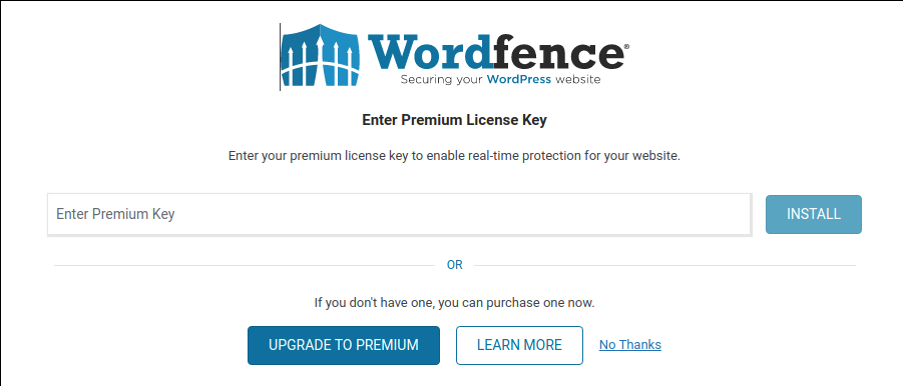
You can buy a premium Wordfence license, or you can proceed with a free installation by pressing the No Thanks button.
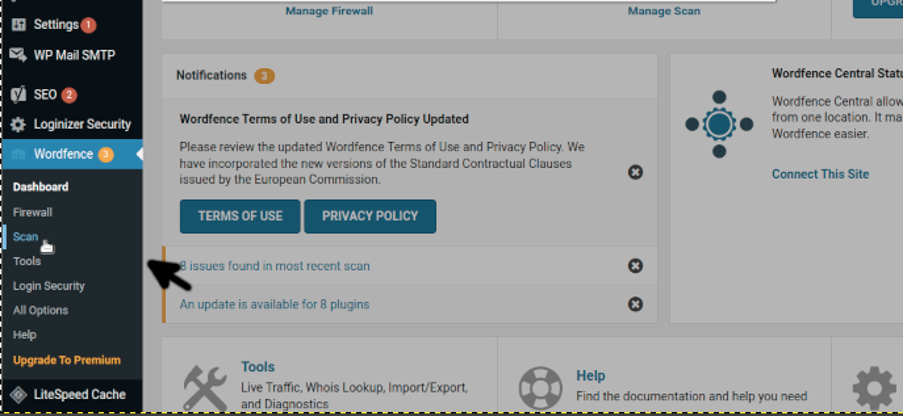
On the WordPress dashboard left menu, Select Wordfence and the Scan option when displayed.
The first time you will see descriptive instructions. Press Next to get started.
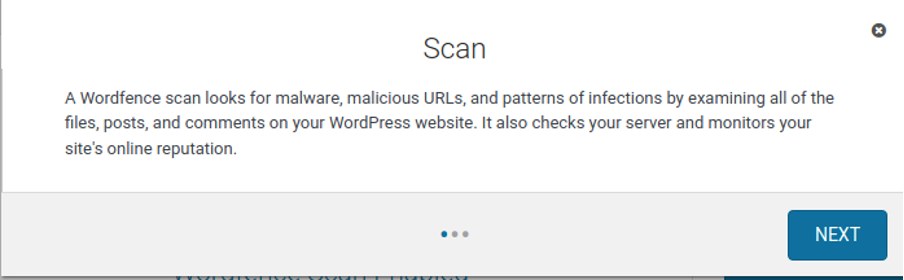
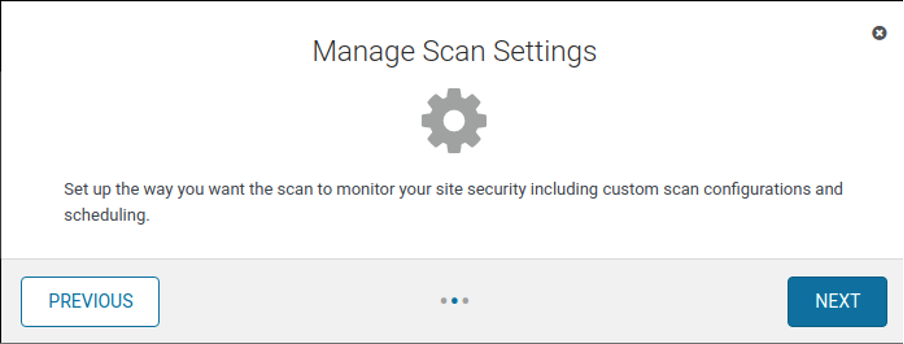
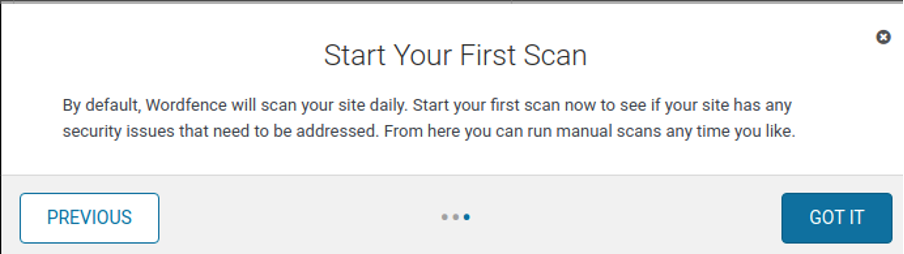
As said previously, pass all introductive boxes by pressing the Next button.
Finally press the GOT IT button.
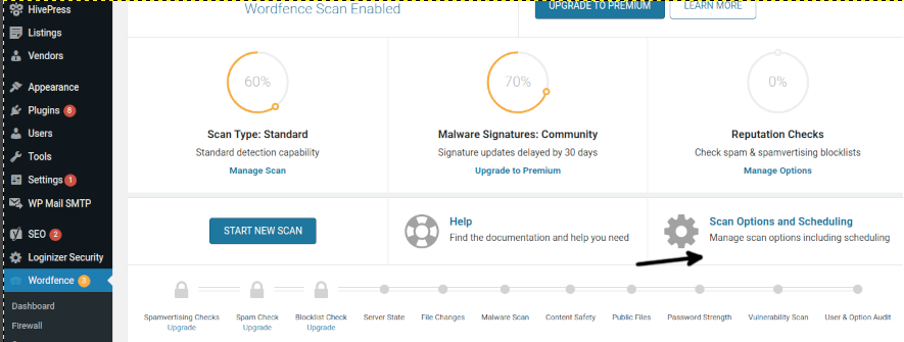
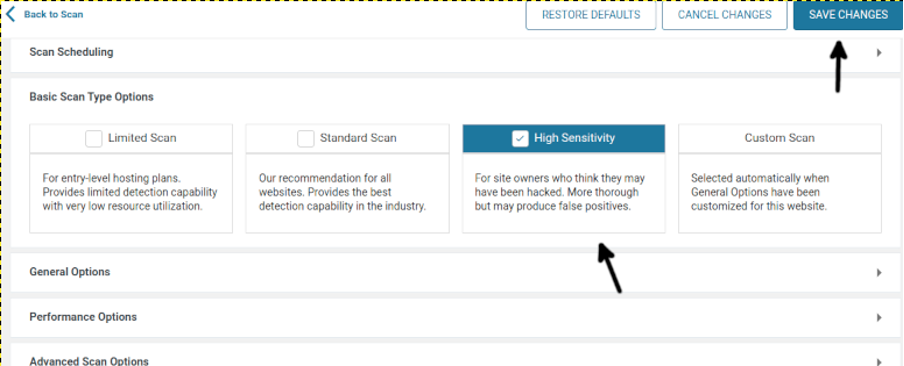
Press Scan Options and Scheduling as shown in the screenshot below or access the URL https://<YourURL>/wp-admin/admin.php?page=WordfenceScan&subpage=scan_options
Select High Sensitivity and press SAVE CHANGES, then press the Back to Scan button located on the upper right corner.
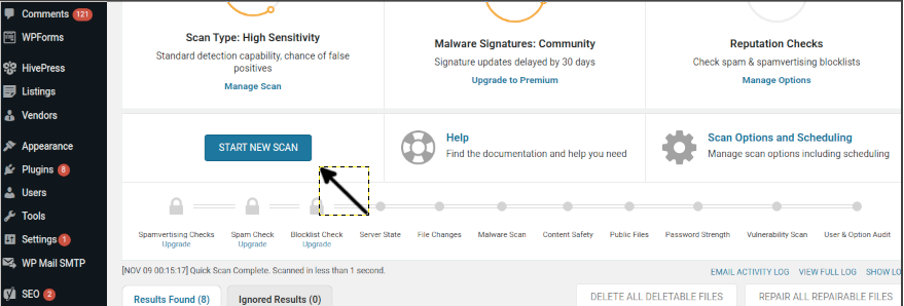
To begin the scan process, press the START NEW SCAN button.
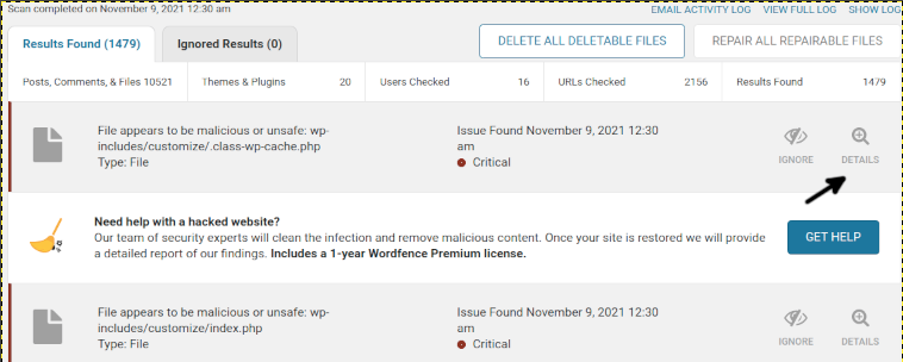
When the scan ends, you will see the results list as shown below. Click on the DETAILS icon of each item to see details and remove.
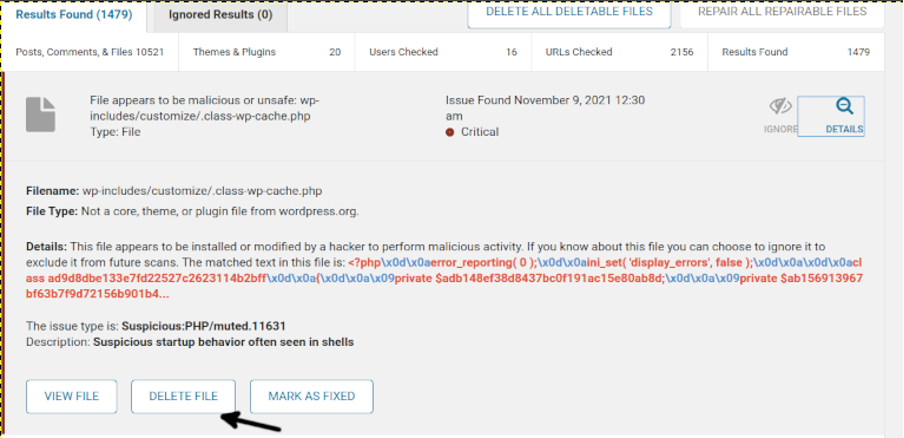
You can view files, delete them, or mark them as fixed if you are sure the file is safe. To remove a file, press the DELETE button. Keep your site backup in case by mistake the plugin recommends removing a vital file.
Repeat the steps described in this tutorial with at least an alternative plugin, some of which are:
If you didn’t run a local antivirus analysis, don’t trust the result provided by a single plugin, try more than one and then, follow the manual steps described below.
Manual Steps to Remove Malware from Your WordPress Site
Follow the steps detailed below:
- Create a new Admin account
- Remove the default Admin account
- Manually remove and reinstall plugins
- Change your WordPress database credentials
- Deal with your hosting
Create a New WordPress Admin Account
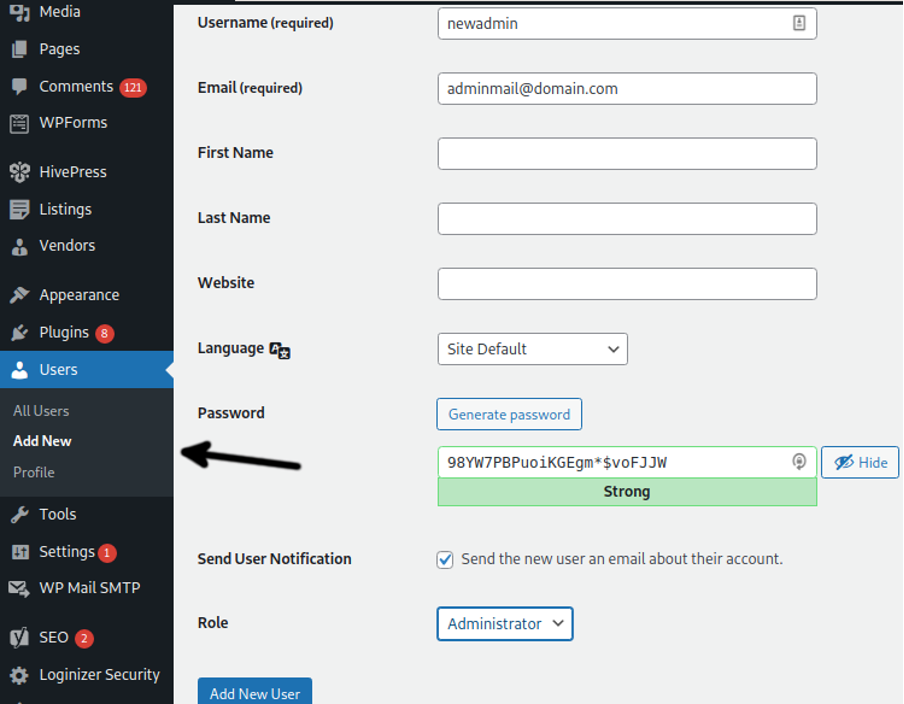
Adding a new WordPress admin account is simple. On the left dashboard menu, press Users and then press the Add New option shown in the screenshot below. Fill the User registration form and in the last setting called Role, select Administrator.
Test your login and privileges, and if your new administrator account works properly, proceed to remove the default admin account by following the steps described below.
Remove the Default WordPress Admin Account
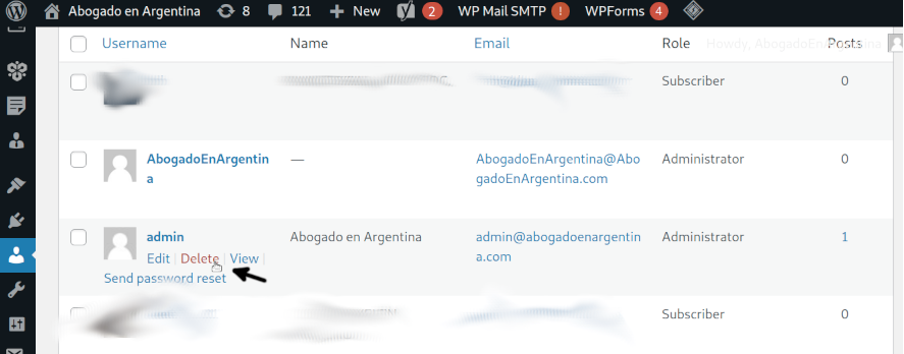
To remove the WordPress default admin account, first login using the new admin account you created in the previous step. Then press Users on the dashboard left menu and locate your mouse pointer on the admin account, if you are logged in using a different administrator account you will be able to see the Delete option. Press it to remove your WordPress admin default account.
Manually Remove and Reinstall WordPress Plugins
Remove and reinstall all plugins, use this process to check by yourself if you really need all installed plugins, you can remove irrelevant plugins.
Select the Plugins option from your WordPress dashboard menu.
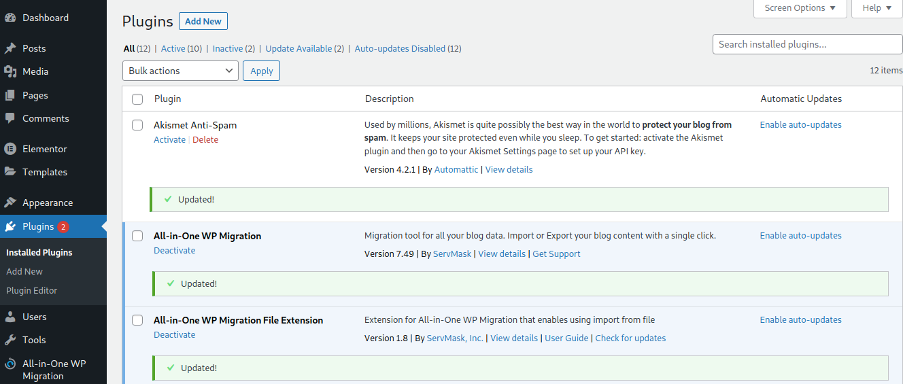
If the plugin is enabled, deactivate it.

Then press the Delete option to remove it.

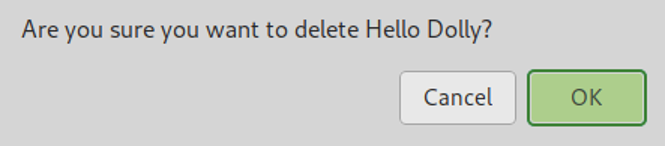
When asked for confirmation, confirm the plugin removal.
Then, on the Plugins menu press the Add New plugin to reinstall the removed plugin.
Change Your WordPress Database Credentials
After your site was compromised, you also need to change your database credentials. Using Cpanel or Plesk, change your WordPress database username and password and update your wp-config.php file shown in the following image (FileZilla, you can use the Cpanel Files Manager too).
The wp-config.php file contains the following lines, where wordpress_wp345 is your current database username, which must be replaced by your new database username, and Dasd3!2@u!2(j is your current password, which must be replaced by your new database password.
define( 'DB_USER', 'wordpress_wp345' );
/** MySQL database password */
define( 'DB_PASSWORD', 'Dasd3!2@u!2(j' );
Replace the user and password correctly to prevent database connection errors.
Deal with your Hosting
If your WordPress site was hacked your hosting provider must be aware of this. Normally, hosting providers isolate services, but if the server is compromised you will need to change from server.
Contact your hosting provider support and request help to check your server integrity or request a server replacement.
Conclusion
I hope this tutorial describing how to carry out a WordPress malware removal was useful. It is important to remember this tutorial encourages you to restore your last clean backup, instead of trying to remove malware manually. The steps described above are useful in case you don’t have a backup or for some reason you can’t restore a clean copy of your site. Yet, all instructions above should be enough to clean your infected site. As you can see, the steps are easy to follow for any WordPress level user.
Thank you for reading this tutorial, keep following us for additional tips and tutorials.
from https://ift.tt/3DILRis


0 Comments