


Example 1
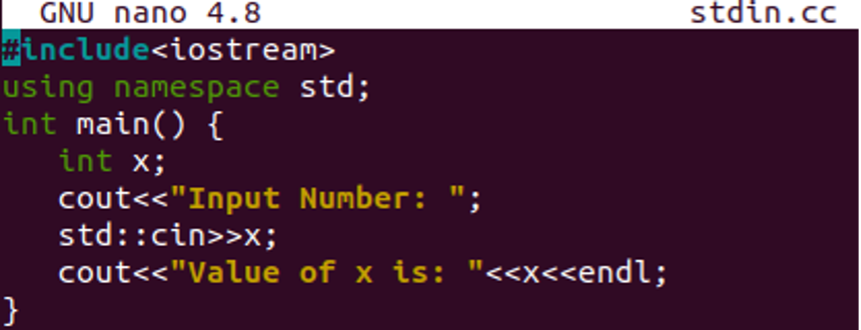
Let’s start with the first example of using the standard “cin” stream. To start the example, you have to create a new C++ file. For that, you have to open your shell console while you are at the desktop of the Ubuntu 20.04 system. To open it, make use of the Ctrl+Alt+T shortcut for quick response. As a result, the terminal will be opened in no more than 5 seconds. As the terminal is opened, use the “touch” query in the console with the title of a file to be created. This file will be spontaneously generated in the main folder of the Ubuntu 20.04 system. After this, try to open it with some editor to start coding. The text editor, vim, and Nano editors are already available in Ubuntu 20.04 system. We have been using the nano editor as shown in the image below.
![]()
As the file is opened in the nano editor within the shell, we have added an input-output header file at the top. After this, the standard namespace has been included. The main() function is utilized here to start the implementation of the code. Within the function, we have declared an integer type variable named “x”. The cout statement has been used to tell the user that you have to input some integer value. The standard “cin” statement is finally used here to get the input from a user at run time and save it into the variable “x” directly. Another cout statement is utilized once again to display the inputted value on the shell terminal. This is how we use the standard “cin” statement within the C++ code. If you don’t want to use the “std” keyword with the “cin” statement, make sure to include the standard namespace in such a case.
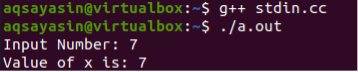
Now, the installed g++ compiler will be used in the console to compile the code and make it error-free. It gets successful as the code is error-free. After the execution, the user has added integer 7 as input upon request. The terminal displays the inputted value on the shell as below.
Example 2
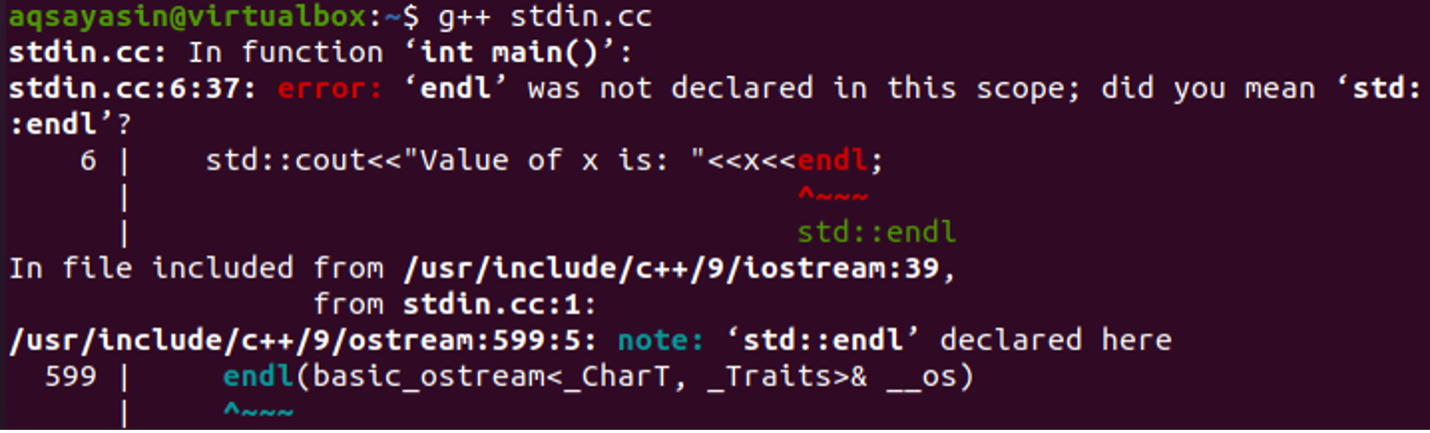
Let’s see how the standard cin works when a standard namespace is missing within the code. Open the same code file once again, to make a little update. After opening the file, we have added, “endl” keyword within the cout statement at the last position while there is no standard namespace line used within the code. The standard cin statement has been left unchanged.

Save your code and compile it with the g++ compiler on the console. After the compilation, we have got an error that “endl” is not declared in the scope. This means that the “endl” has not been supported by the “std::cout” statement so far. So, we have to think of some other way.
Let’s update the same code once again. So, we have updated the above code and removed the standard namespace line from it as shown in the below attached image. The namespace line removal will only affect the cout line and not its standard cin line.
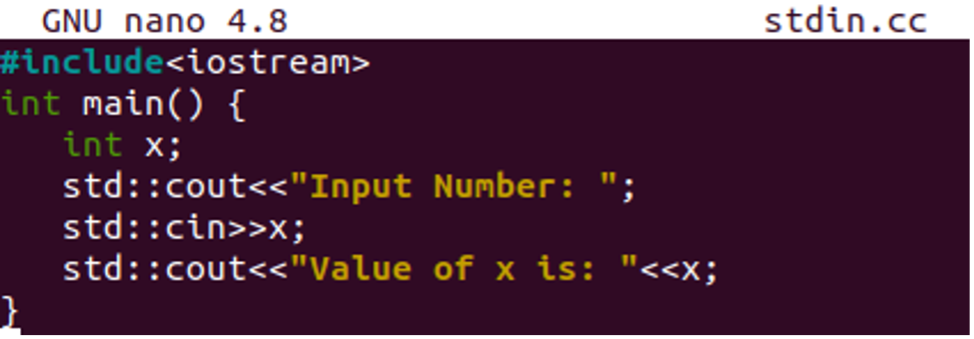
After the compilation and execution, we have got the below output. As we didn’t add any linespace or line break character within the cout statement, therefore it is not going to the next line and the next terminal command line is started from the output end.

Example 3
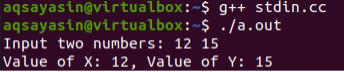
Let’s have a look at another example to get more than one input from a user within the standard cin line within the shell. So, we have opened the same file and missed the standard namespace line once again. Within the main function, two integers x and y are declared. The std::cout and std::cin statements are used to tell the user to add input and get input from a user to save in the variables. The last std::cout is displaying the values while “\n” is used to give a 1 line break after the output in the shell.

After the compilation, the execution of a file has been done while using the two mentioned commands. The user inputs two integer values and the terminal has been displayed with two values stating that the first one is of X and the second one is of Y.
Example 4
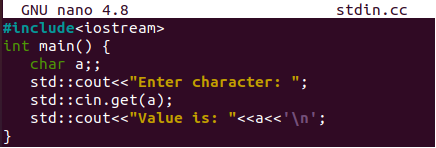
Let’s make use of some built-in function within the standard std::cin statement of C++. So, try opening the file stdin.cc within the nano editor again. Within the main function, we have initialized a character type variable “a”. The std::cout is telling a user to input some character value. The std::cin has been utilizing the built-in “get()” function to get a single character and pass it to the variable “a”. The other std::cout will be used to display the variable “a” value.
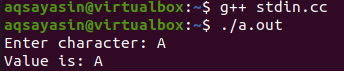
After saving your updated code, compile it first and then execute it. On execution, a user has added a single character “A” in the shell console. In return, the variable has been saved with this value and displayed on the shell as “A”.
Example 5
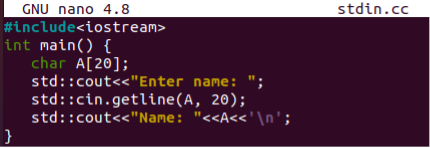
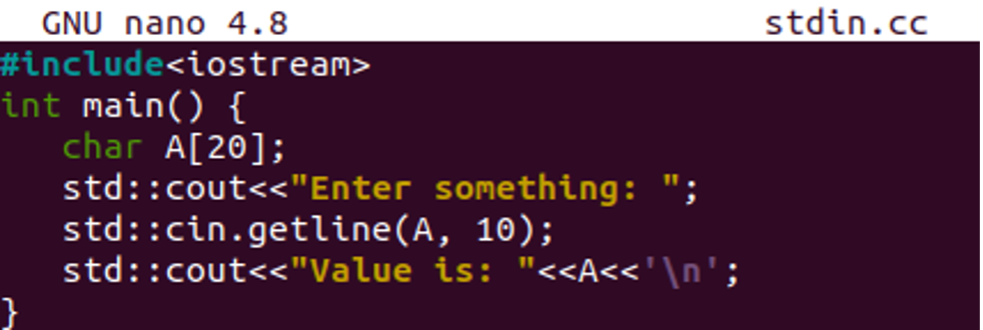
Another built-in method “getline” can be utilized within the std::cin statement to get a line of strings as an input from the user. Therefore, we have updated the file once more. The character type variable “A” has been initialized with a size 20. This means the variable will save a value of 20 characters and the rest will be ignored. The std::cout is telling a user to enter some name of 20 characters. The std::cin is making use of built0in the get-line() function to save all the 20 characters to a variable A. After saving, the value of variable A will be displayed with std::cout.
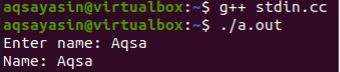
After the compilation and execution, use “Aqsa” as value. In return, the shell displayed it as the name “Aqsa” has only 4 characters.
After opening the file, we have changed the size of an input to be saved. This means, the user can add up to 20 or more characters but only 10 will be stored in variable A.
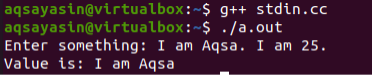
Upon the compilation and execution, the user added more than 10 characters while the shell displayed only the first 10 characters from the inputted value.
Conclusion
Finally! We have done with all the possible examples of using the std::cin within the C++ language. This article contains the usage of the basic syntax of std::cin with and without the standard namespace. After that, It comes up with some easy and handy built-in functions to be used within the std::cin statement of C++ code to get a character and a full line as an input from the user. We believe this article would be the best material for your help.
from https://ift.tt/3CJ54PH


0 Comments