In this guide, check out how to install and use Node.js on Ubuntu 20.04.
Node.js on Ubuntu
Node.js is quite popular for scaling backend functionalities. In the case of Ubuntu, there are multiple sources to grab Node.js. Various methods will install different versions of Node.js. You can also manually select which one to go for.
Use the method that suits your needs the best.
Install Node.js from Ubuntu repos
This is the default method of installing Node.js on Ubuntu. For most of the users, this will be more than enough. The only downside is, you may not get the latest version of Node.js.
The installation is super simple. Update the APT cache and install Node.js along with npm (Node Package Manager).
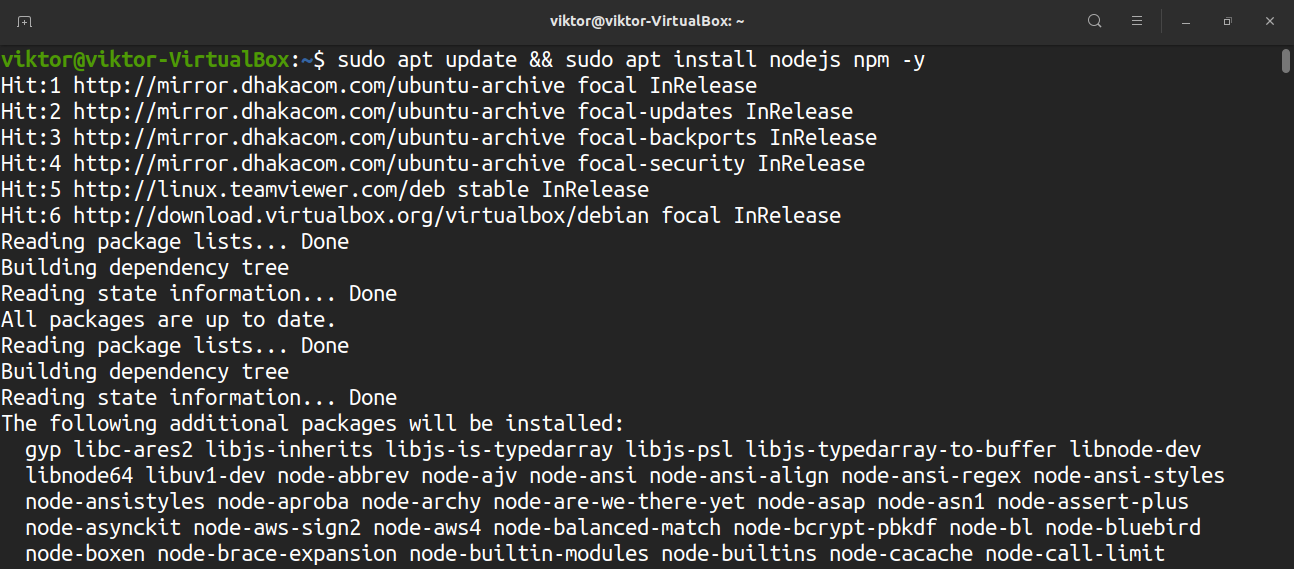
Let’s run a quick test to verify the installation.

Install Node.js from NodeSource PPA
NodeSource is a dedicated PPA that offers multiple versions of Node.js. I recommend this method over other ones as it offers more control. For advanced users, it also allows deciding the exact version of Node.js to install. At the time of writing this article, NodeSource PPA hosts Node.js v10, v12, v13, and v14.
Here, I’ll be showcasing how to configure NodeSource PPA for Node.js v14. If you want to install a different version of Node.js, check out the NodeSource readme for proper instruction.
First, make sure that your system has curl installed.
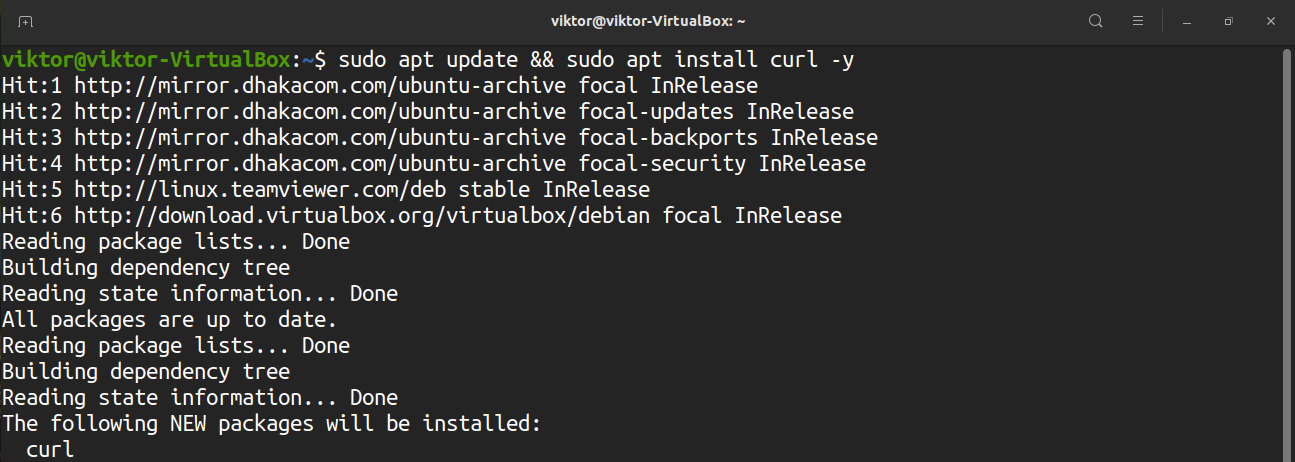
Now, run the NodeSource installation script.

Voila! NodeSource PPA for Node.js v14 is successfully configured! Install Node.js.
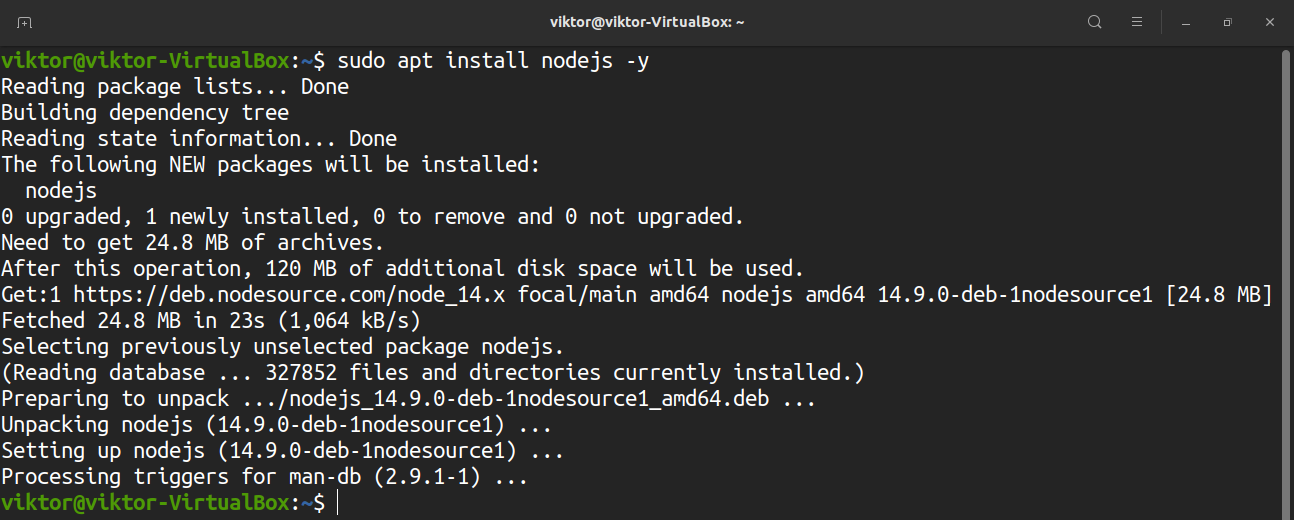
Verify the installation by checking the version of Node.js.
Install Node.js using nvm
It’s an interesting way of installing Node.js. The nvm (Node Version Manager) is a tool that allows installing and maintaining multiple versions of Node.js along with associated Node packages independently. Check out nvm at GitHub.
To install nvm, run either of the following commands. Either of them will download the nvm install script and run it.
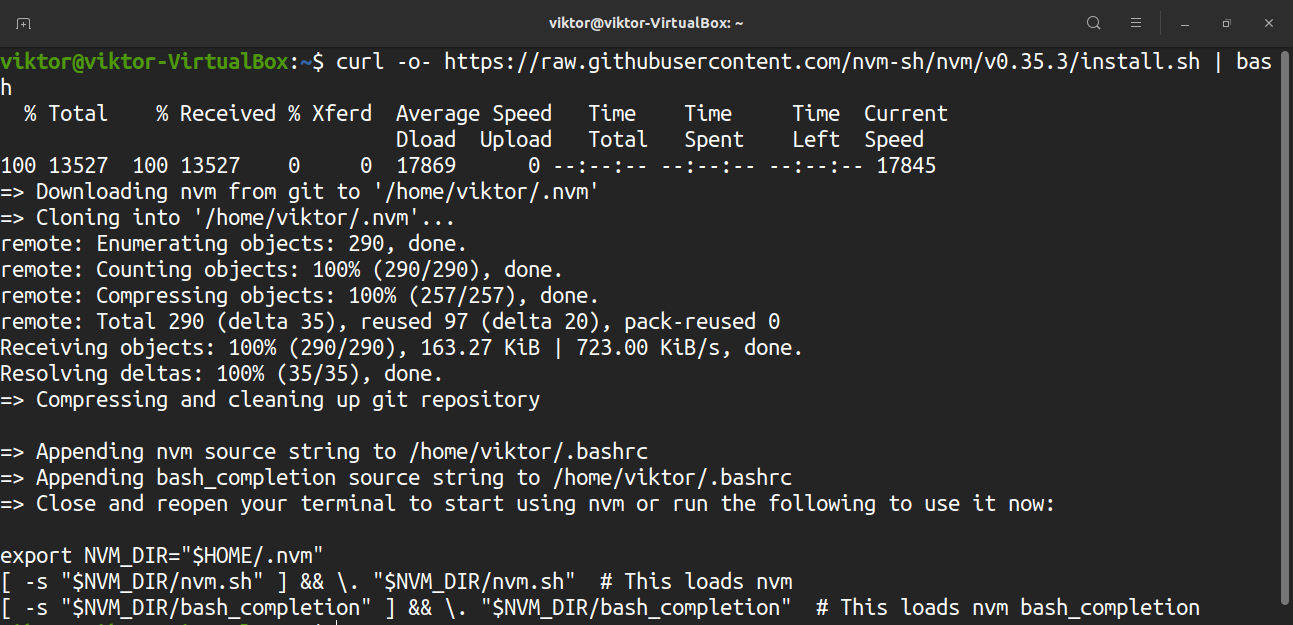
Close and re-open the terminal. This will load nvm. Otherwise, you can manually reload the bashrc file.
To verify the installation, run the following command.

It’s time to use nvm. First, check out the available versions of Node.js. This will print out a long list.

To install the desired version, use the following command. In this example, the command will install Node.js v14.9.0.

Using nvm, it’s possible to install a release based on its aliases. For example, run this command to install the latest LTS version erbium.

The following command will list all the installed Node.js versions.

If there are multiple versions installed, nvm allows switching to a different one. First, check the current Node.js version.

Change the default Node.js to a different version.

Instead of using the version number, using the version alias also works.

Test the change.

The following command will set the default version of Node.js.

Install Node.js from source
As mentioned earlier, Node.js is an open-source project. We can grab the source code and manually build and use Node.js. However, this approach is strongly recommended to follow if you intend to use Node.js for production purposes.
Before jumping into the process, it’s important to note about Python. Node.js supports both Python 2 and Python 3. Node.js will use whichever one is installed. If both Python 2 and Python 3 are installed, the later will be used. If only Python 2 is installed, Python 2 will be used.
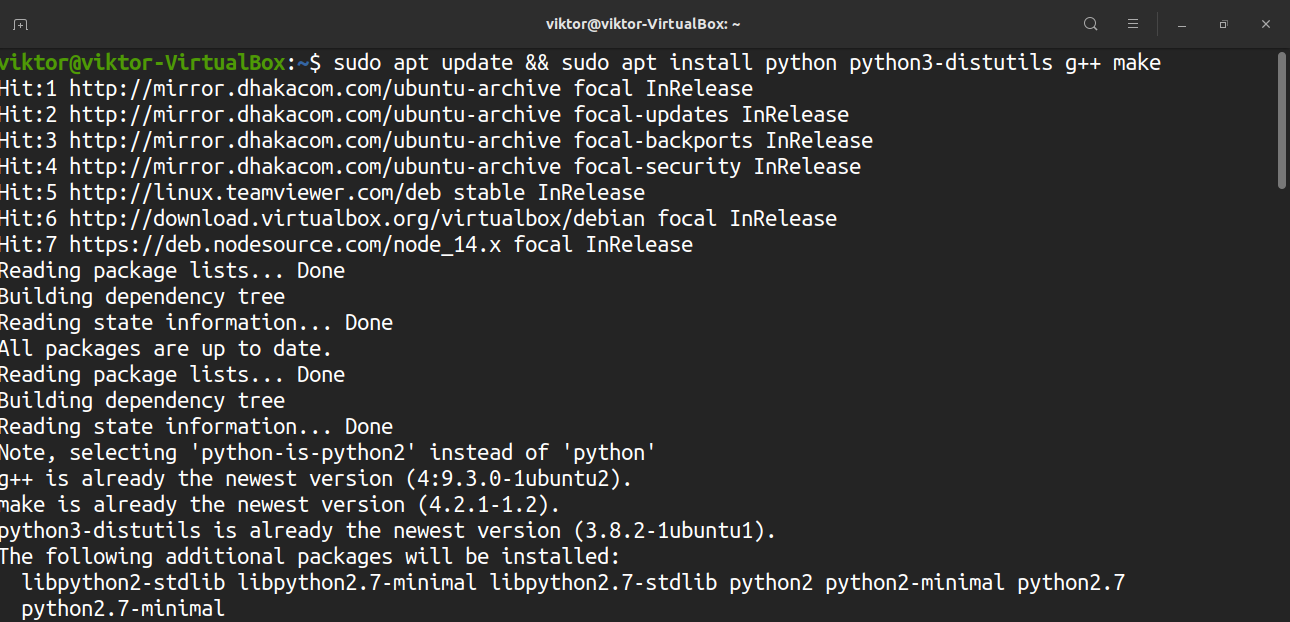
First, install the build dependencies. Run the following command. For Python 3 users, the python3-distutils package is necessary.
Now, download the source code. In this example, I’ll be compiling the Node.js v12.18.3 (includes npm 6.14.6). Download Node.js source code.
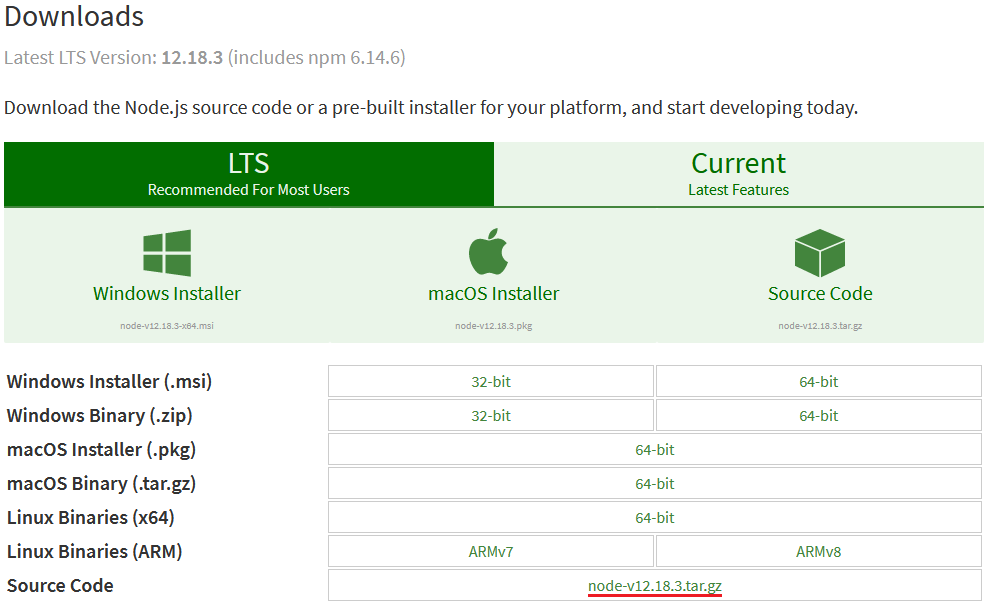

Extract the source code.

The time has come to build Node.js. Run the configuration script.

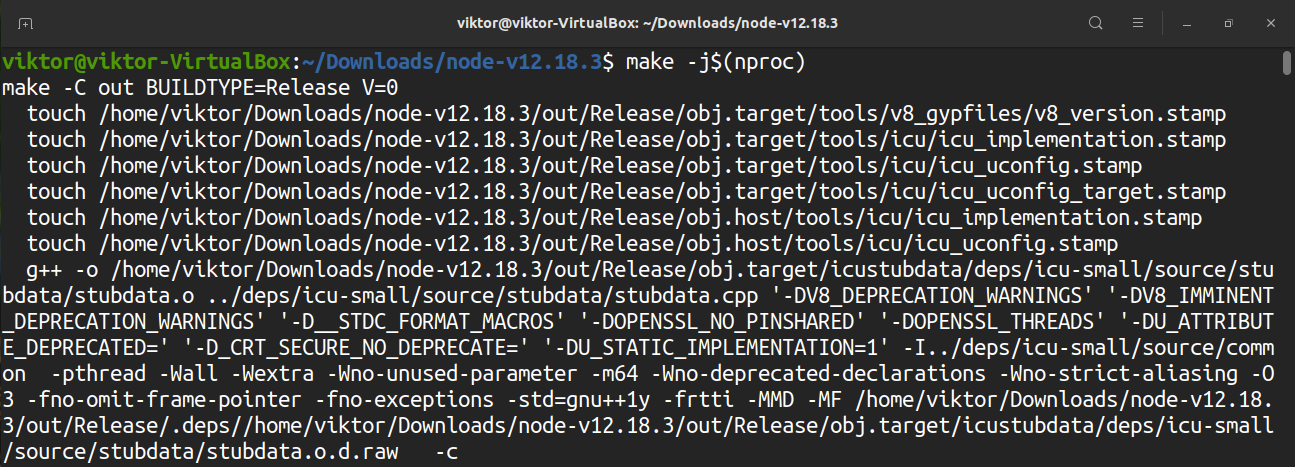
Start the compilation process. The “-j” is to run make in multithread mode. The “nproc” part is to tell the number of available CPU cores.
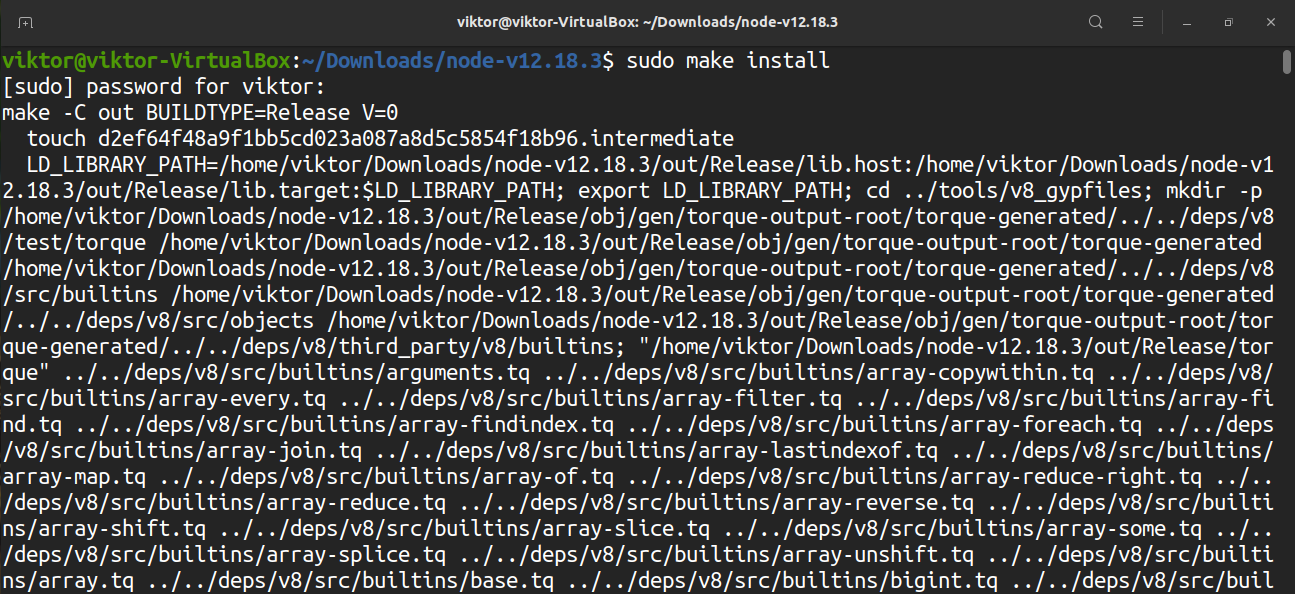
Install Node.js.
Let’s verify the installation. Check the Node.js and npm version.
$ npm -v

Using Node.js
Node.js comes with a ton of features and functionalities. It’s a runtime for JavaScript. It’s up to you to leverage JavaScript to get the most out of Node. Here, I’ll be showcasing the very basic ways of using Node.js.
First, grab a sample JavaScript. The following code was grabbed from W3Schools.
$ http.createServer(function (req, res) {
$ res.writeHead(200, {'Content-Type': 'text/html'});
$ res.end('Hello World!');
}).listen(8080);

Run the JavaScript code using Node.js.
To get the output, access your computer from port 8080.

Final thought
Node.js is a powerful and popular solution. There are multiple approaches to install it on Ubuntu. Your circumstance will dictate which method suits you the best. While using the default Node.js from Ubuntu repo offers the simplest solution, NodeSource and nvm offers more flexibility.
As for using Node.js, there are tons of materials online that teaches how to take advantage of various Node features in your JavaScript codes. W3Schools is a good place to start your journey.
Happy computing!
from Linux Hint https://ift.tt/30dBh11


0 Comments