


Installing NGINX
First, for NGINX to work, you should stop the Apache service running on port 80 or port 443.
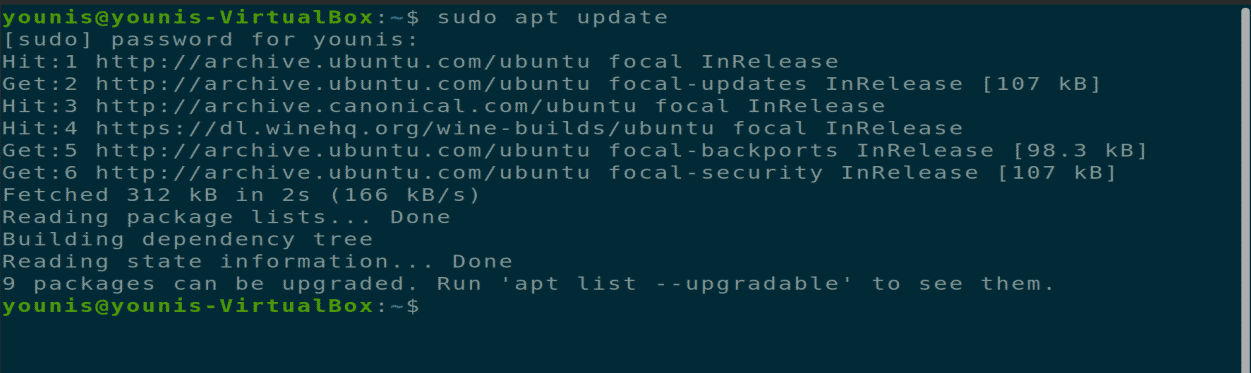
Step 1: Update Your APT
As always, first, update and upgrade your APT.

Step 2: Download and Install NGINX
The NGINX software tool is present in the Ubuntu official software repository. Simply type the following command in the terminal to download and install NGINX.

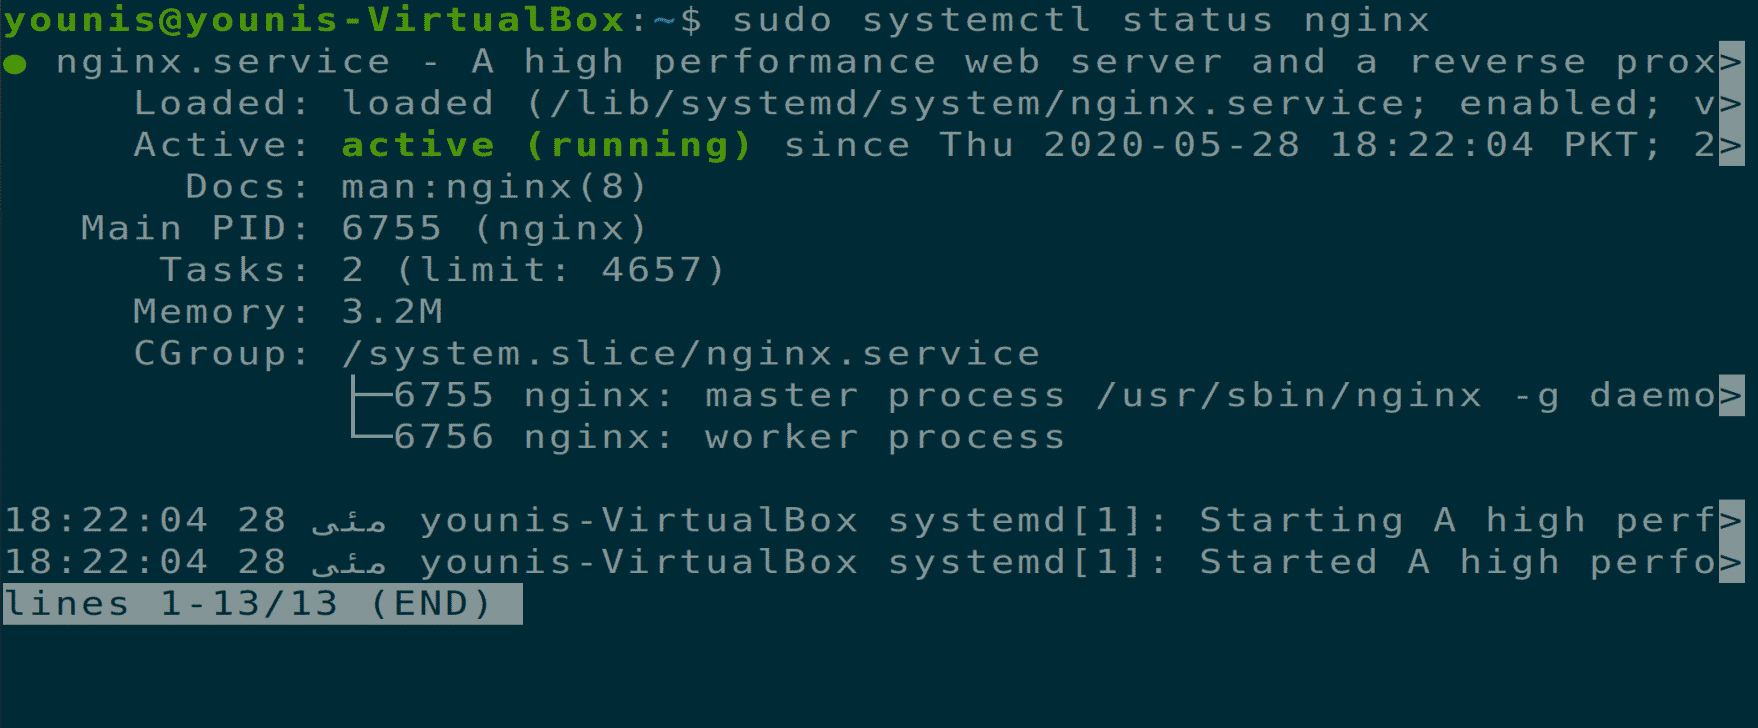
Step 3: Verify Installation
When the installation completes, the Nginx service will start automatically. To verify this installation, execute the following terminal command.

Step 4: Update Firewall Settings
Update the firewall settings through the UFW command to allow incoming traffic to your NGINX server from various HTTP and non-HTTP web servers on port 443, 80, or both of these ports.

Step 5: Test Installation in Browser
Test your NGINX installation by opening a new tab in a browser on your Ubuntu machine and typing the following URL in the URL bar. Instead of the text “YOUR_IP,” put your own machine IP in the following command.
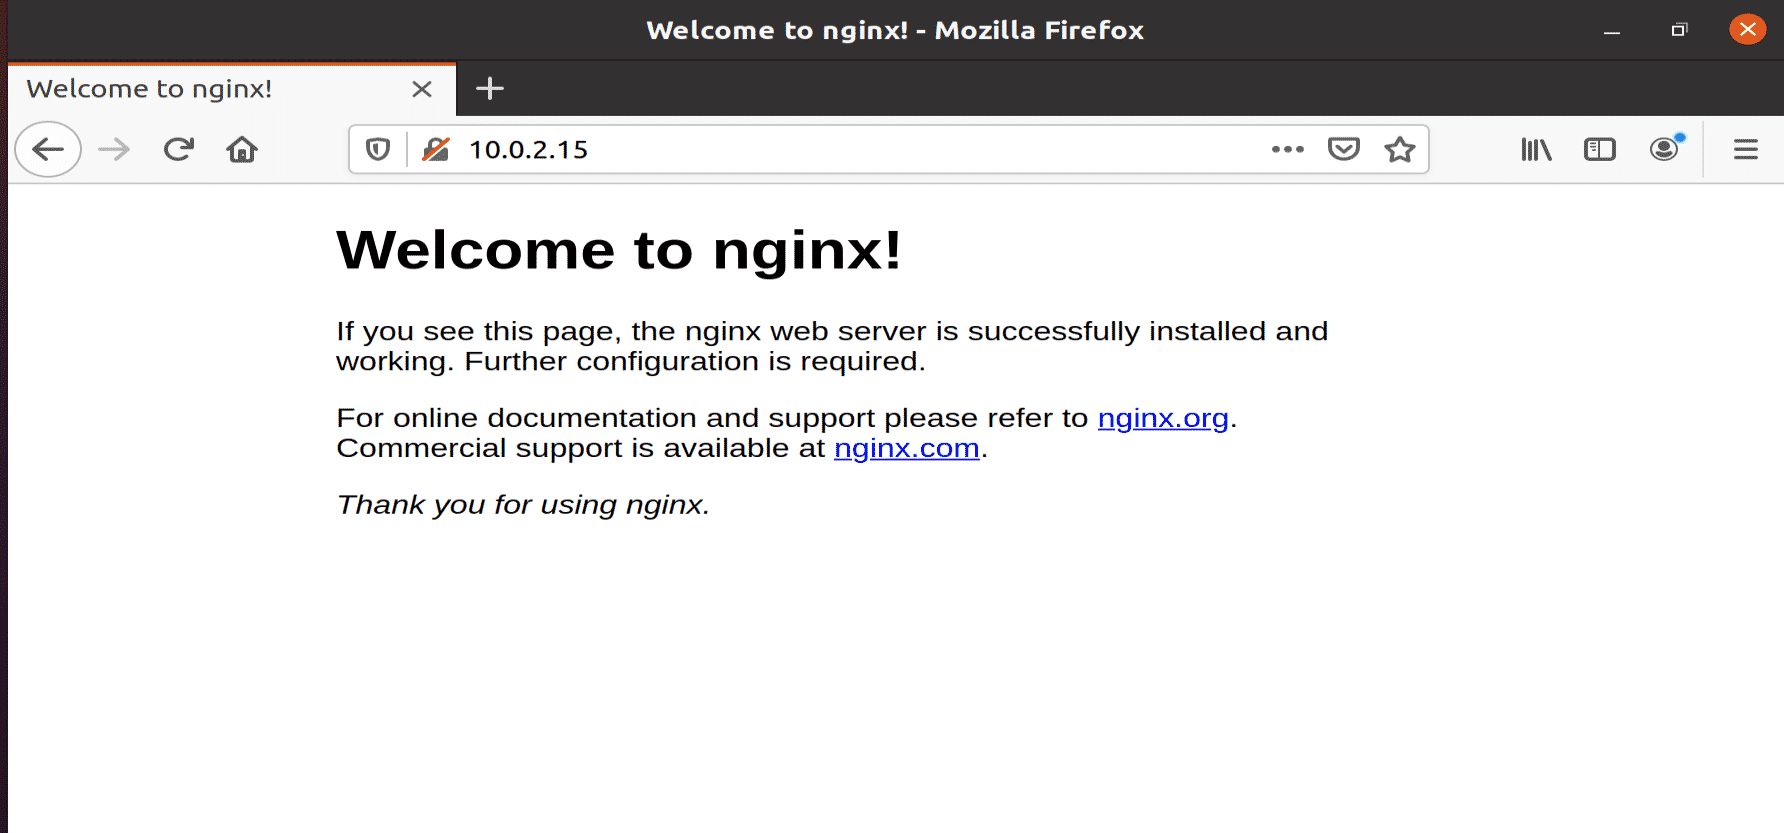
Figure: NGINX testing server opened in a web browser tab.
Step 6: Test Installation in Command-Line Interface
You can also test the installation of NGINX via the command-line interface by executing the following terminal command.

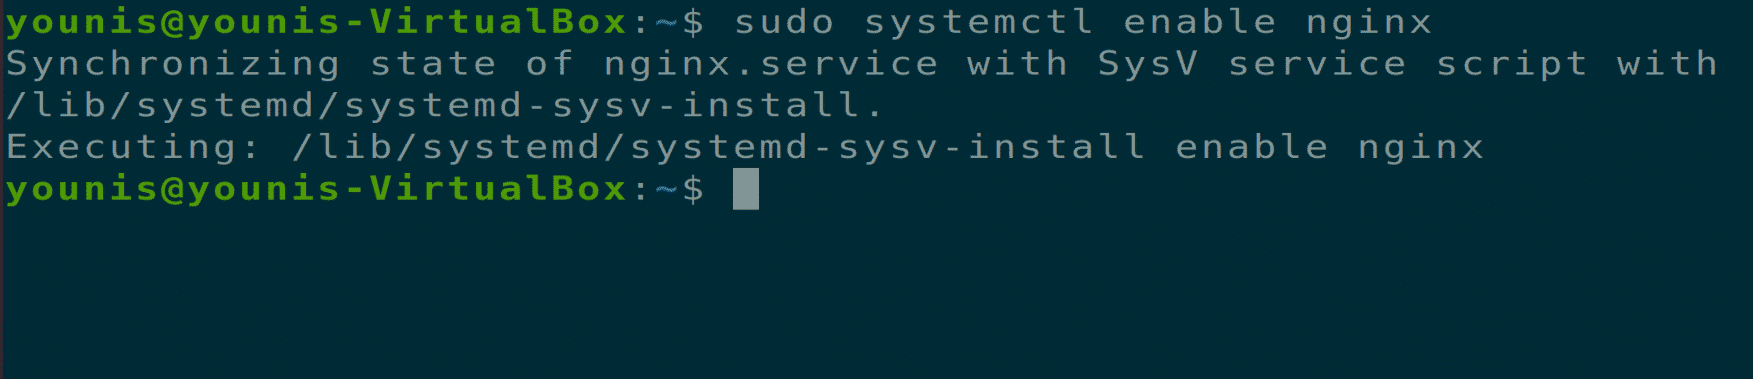
Step 7: Configure NGINX Server
Now you should configure your NGINX server for it to restart after system reboots.
You can also use the following additional commands to check the status of the NGINX server, in addition to restarting it, reloading it, starting it, stopping it, and disabling it from starting every time the system boots up.


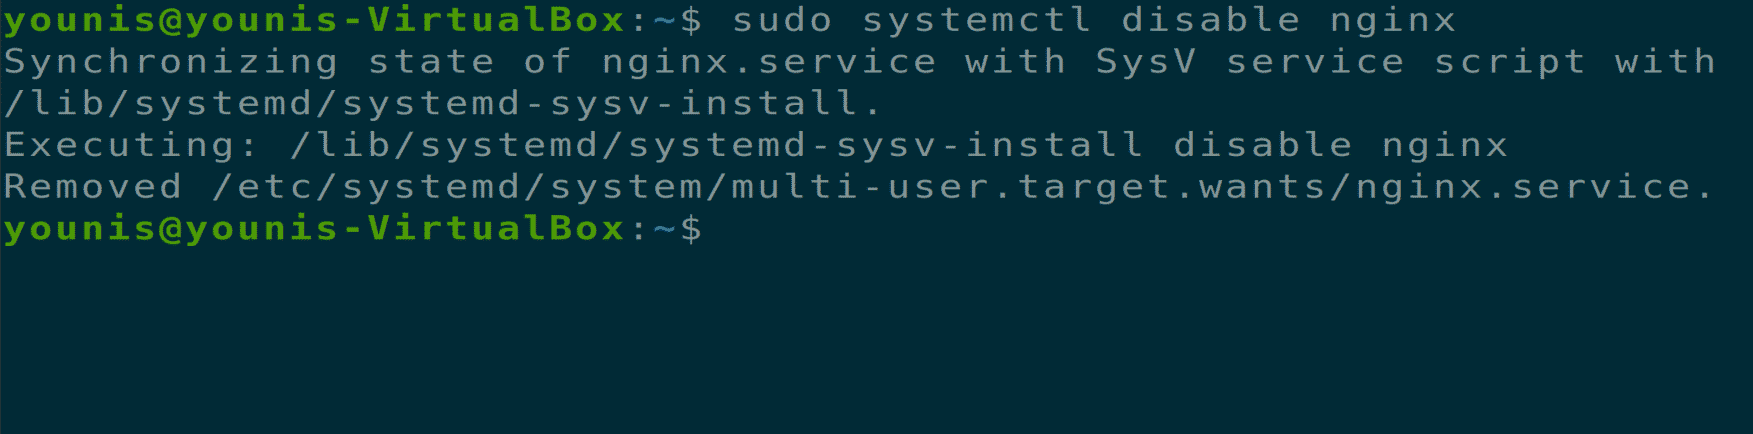
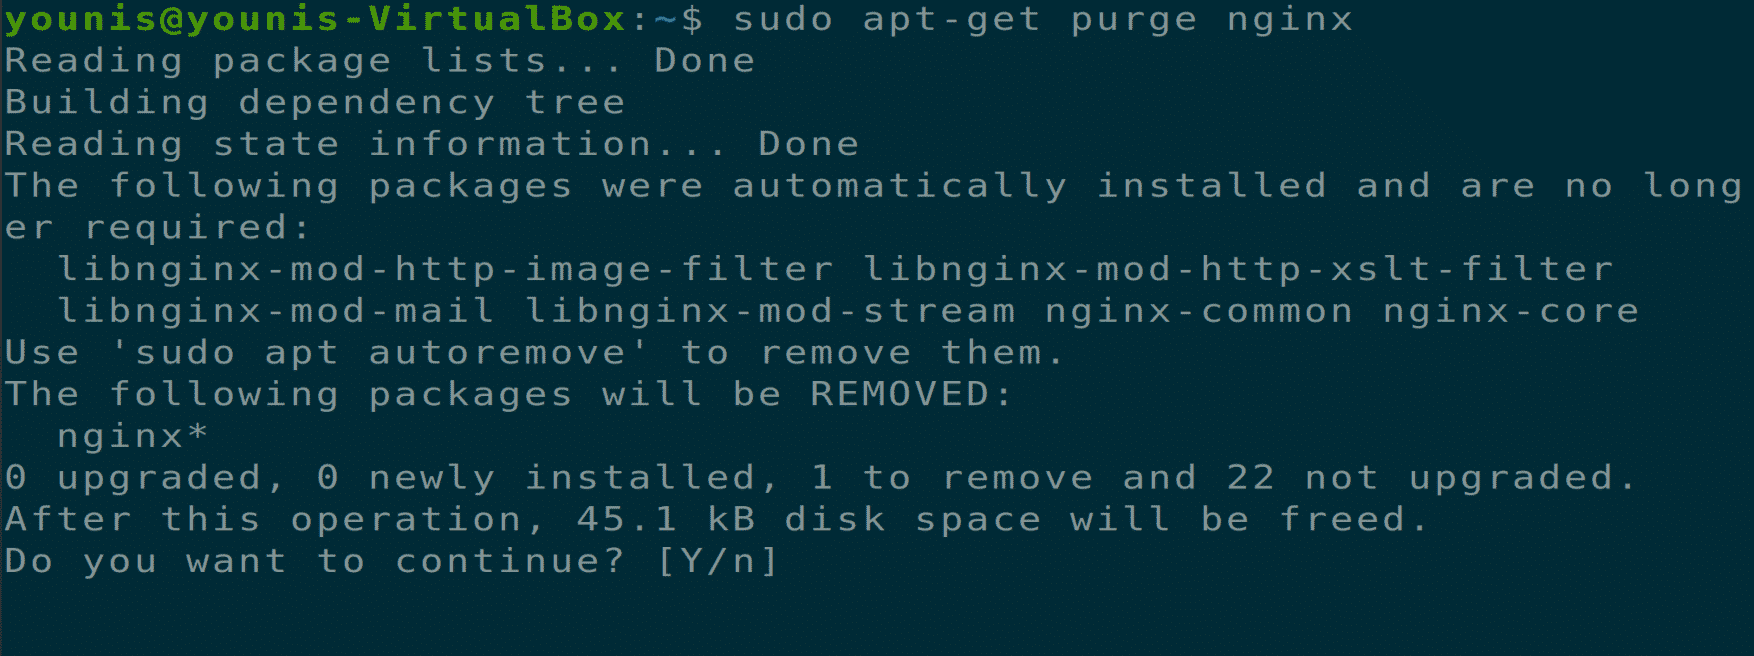
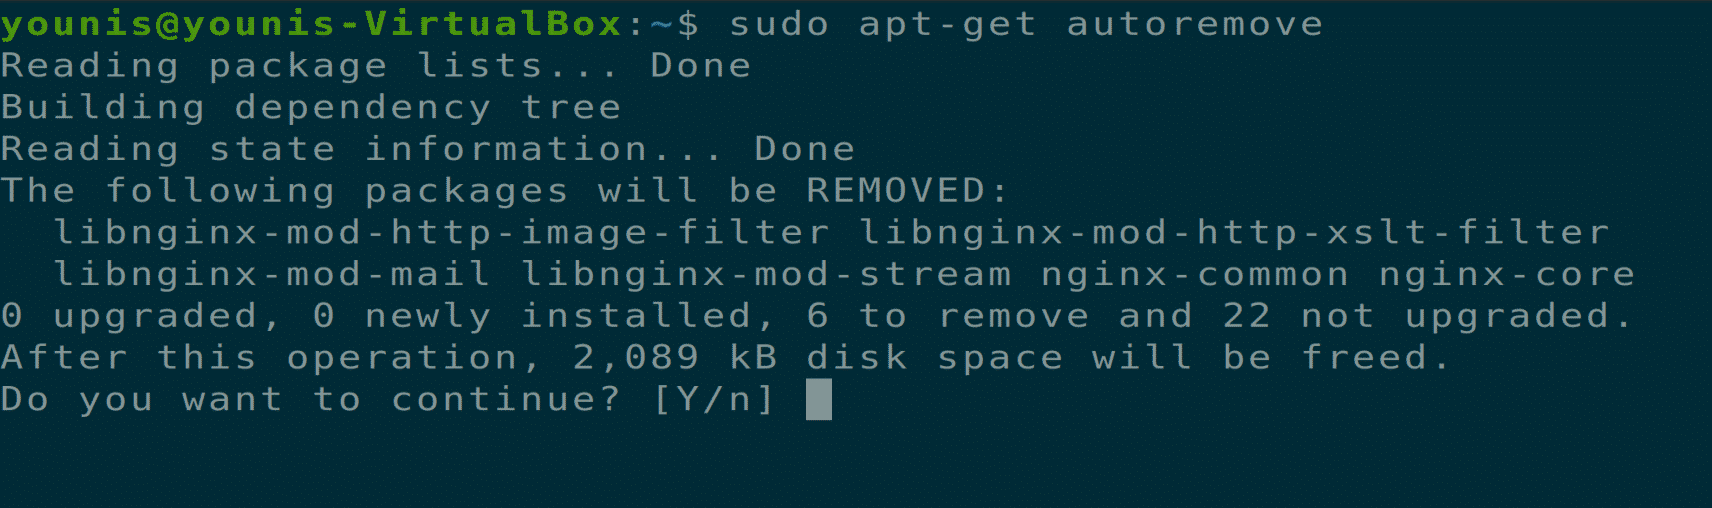
Uninstalling NGINX Server
You can remove NGINX from Ubuntu via the following terminal commands.
Conclusion
We have covered how to install the NGINX server on Ubuntu 20.04 systems, how to set up and configure NGINX servers, and how to uninstall the NGINX tool from Ubuntu 20.04. Hope this helps.
from Linux Hint https://ift.tt/2MYXyZq


0 Comments