


In this article, we will show you the steps needed to set up an AFP server on your Raspberry Pi device so that you can easily share your files with Apple devices.
How to Setup a Raspberry Pi AFP Server
Setting up an AFP server on Raspberry Pi is a simple task and you can do it easily by carefully following the steps mentioned below:
Step 1: Update Raspberry Pi Packages
Before starting the installation of the AFP server on your Raspberry Pi device, it’s better to perform packages update using the following command to keep the system up to date.
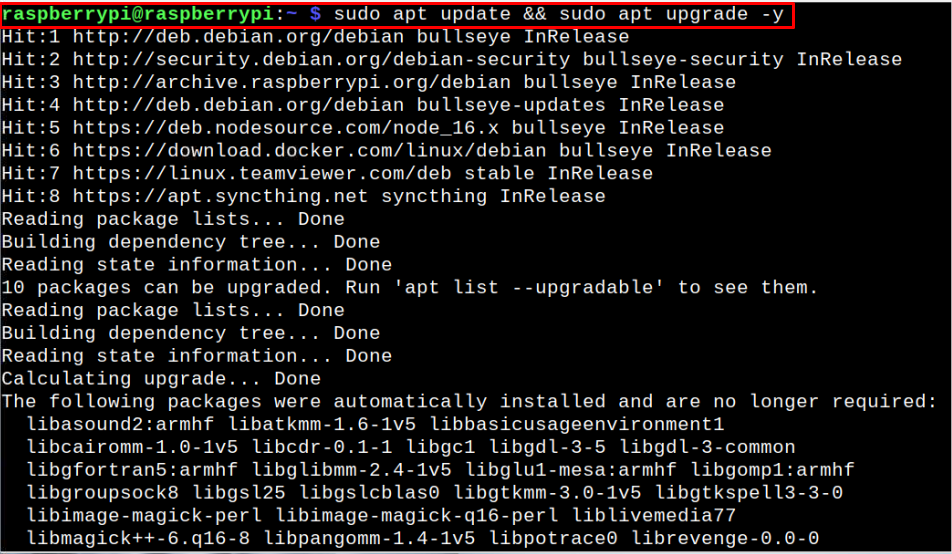
The above command successfully updates the missing packages on your Raspberry Pi device.
Step 2: Install Netatalk on Raspberry Pi
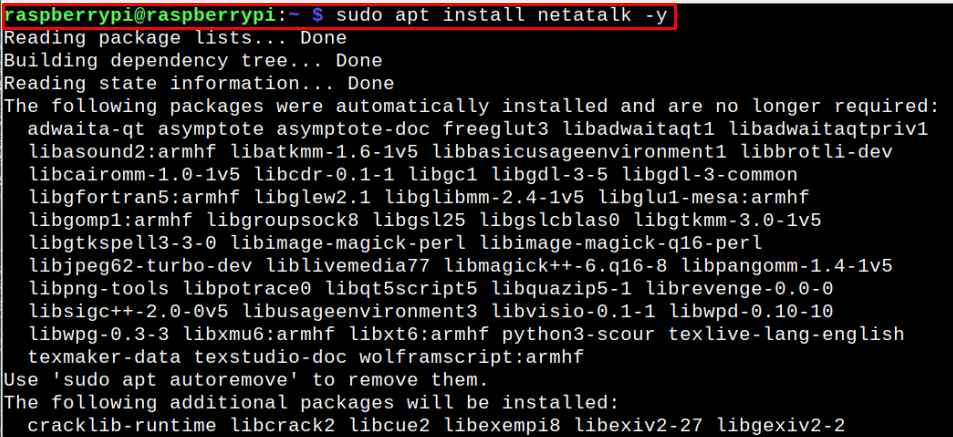
Next, we need to install a package called Netatalk, which is a free and open-source implementation of AFP and it makes your device act as an AFP server. To install Netatalk, execute the following command.
Step 3: Configuring Netatalk on Raspberry Pi
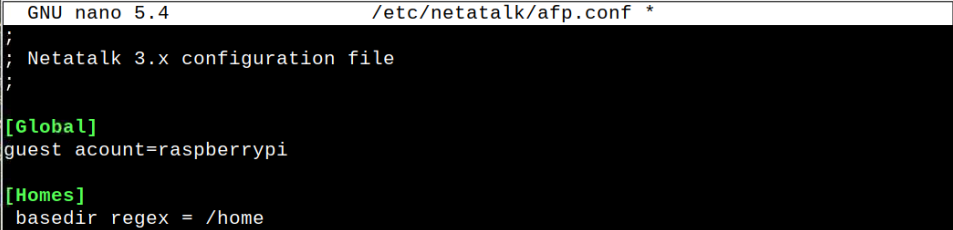
Once the Netatalk installation is completed, open the AFP configuration file using the following command:

When you open the configuration file, you will see various configuration options. The first option “[Global]” is used for setting up the username for your Raspberry Pi which can be different in your case. You must add the following line below the “[Global]” option.
Make sure to remove the line “; Global server settings” in the configuration file.
Further, if you want to give access to your device’s home directory, you can utilize the option “[Homes]” and below this option, you must need to add the following line:
If you want access to a custom directory, you have to disable the “[Homes]” option and then provide the path to your custom directory right below the “[My AFP Share Name]” option.

For the backup of your device directory data, you can utilize the “Time machine Volume” option. Below the “Time Machine Volume” option, you have to add the directory path using the following syntax:
Further, you will also need to add the set “time machine = true” to enable the time machine option.
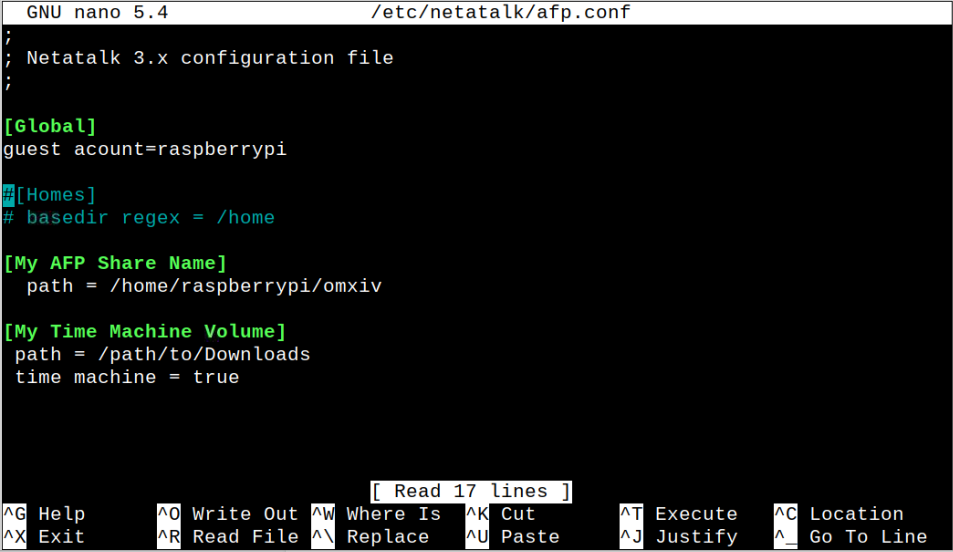
Once you do the changes, save the configuration file using “CTRL+X”, add “Y” and press Enter to exit. In our case, we enable the “Homes” option and are giving access to our device’s home directory.
After the changes, restart your AFP server using the below-given command:
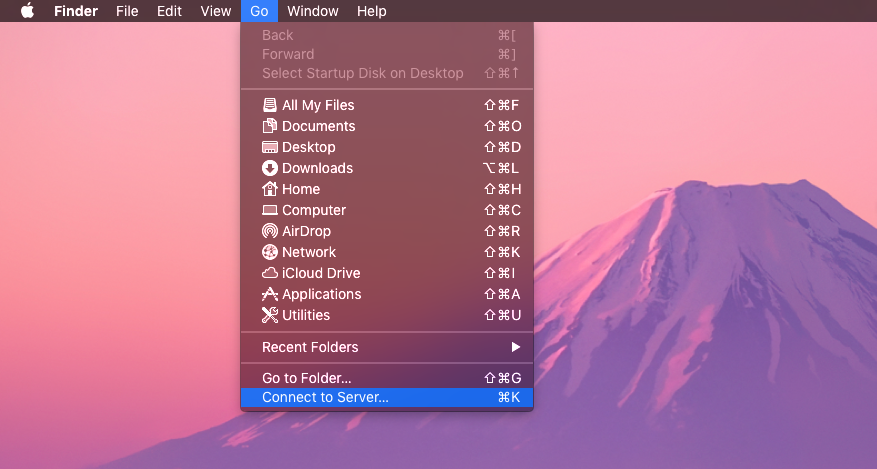
Step 4: Connect Raspberry Pi AFP share on macOS
In the final step, go to the “Connect to Server” option on your macOS.
Enter the address “afp://192.168.100.162” in the “Server Address” option. The “192.168.100.162” is the IP address of Raspberry Pi, which is different in your case, and to find the address, you can use the command “hostname -I” in the terminal.

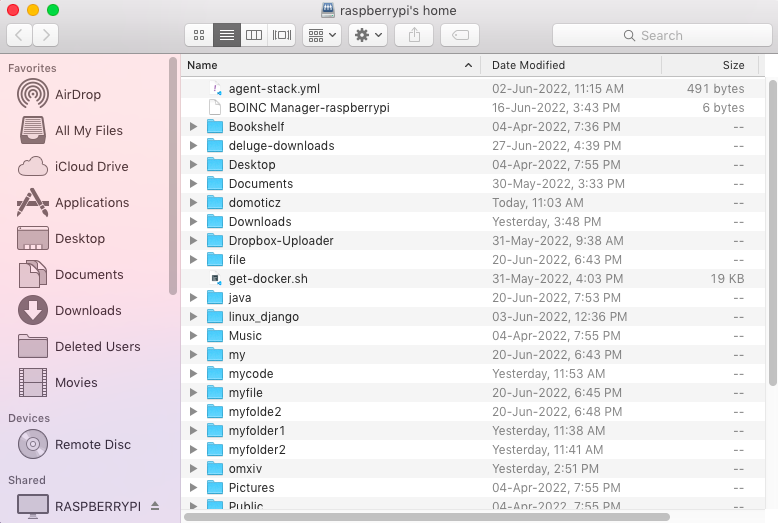
After entering the address, click on the “Connect” button, and provide your Raspberry Pi username and password to access the Raspberry Pi home directory on your macOS.
Conclusion
AFP server is a robust file-sharing protocol that uses the Netatalk service to allow Apple users to access the Raspberry Pi directory on their system. The setup guide for the AFP server is quite simple that requires Netatalk installation and a few configuration steps, which are already provided in the above guidelines. Afterward, you can use the IP address of your Raspberry Pi to access the device directory onto your macOS.
from https://ift.tt/yuRq6Z1


0 Comments