


The pgAdmin4 tool can be obtained on Linux, macOS, and Windows from the project’s website. However, the available setup support cannot be used to install pgAdmin4 on Manjaro Linux. In this article, we have compiled an installation and usage guide of pgadmin4 on Manjaro.
Prerequisites
As pgAdmin4 is meant to serve as a graphical interface for managing Postgres databases. That means an installation and configuration of PostgreSQL is necessary to carry out. For this, follow the steps provided below.
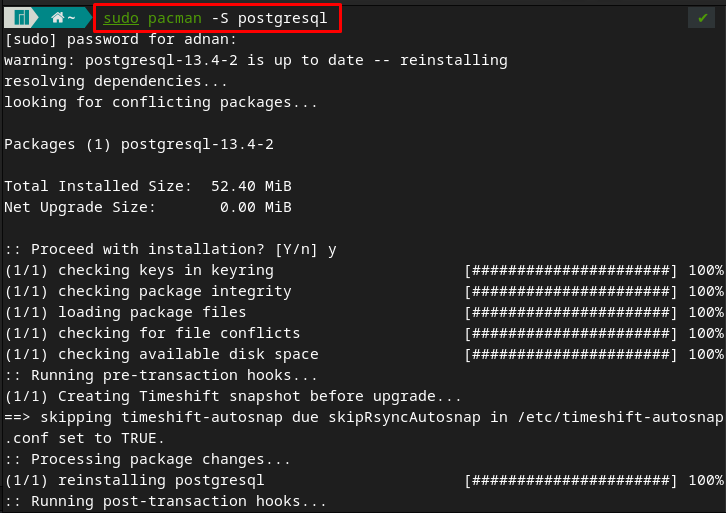
Step 1 : Install the PostgreSQL server on Manjaro, as it is necessary to run pgAdmin4 on your system.
Step 2 : Login as a postgres user with the help of command provided below.

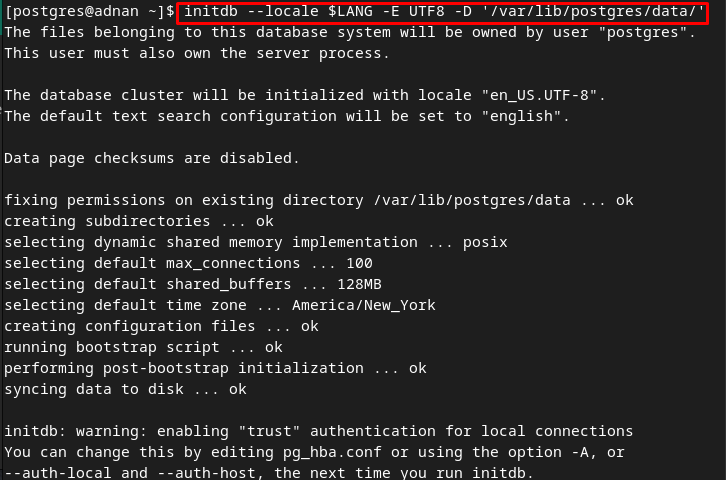
After logging into postgres, you have to create a PostgreSQL cluster by issuing the below-stated command.
Step 3 : Restart your terminal and then use the following command to enable the postgres service.

After enabling, check the status of the service to verify its running or not.

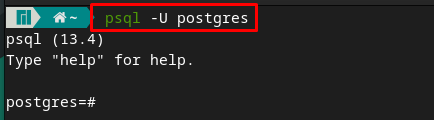
Step 4 : This step comprises several commands that are related to the security settings of postgres.
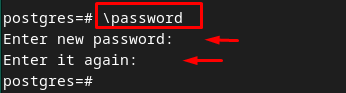
After accessing the postgres shell, type “\password” to set a password. Choose the password and enter again to confirm:
Now, come out of postgres shell by typing “\q“. It is recommended to note down the username and password as it would be required in connecting with pgAdmin4

How to install and use pgAdmin4 on Manjaro Linux
The installation and usage of pgAdmin4 are linked with creating the virtual environment of pgAdmin4. So, in this section, a step-by-step procedural guide will lead you to create a Python-based virtual environment of pgAdmin4 and then use it to perform several database-related operations.
Step 1 : Make the essential directories, /var/lib and /var/log for pgadmin. Where /var/lib directory is used by the server applications to store data and /var/log files contains the log files. To create these files, use the below-mentioned command.
$ sudo mkdir /var/log/pgadmin

Step 2 : Change the owner of the files using the commands provided below.
$ sudo chown $USER /var/log/pgadmin

Step 3 : Create the Python-based virtual environment by issuing the command written below.

Activate the environment with the help of the command written below.

Step 4 : Now run the following command to install pgAdmin4
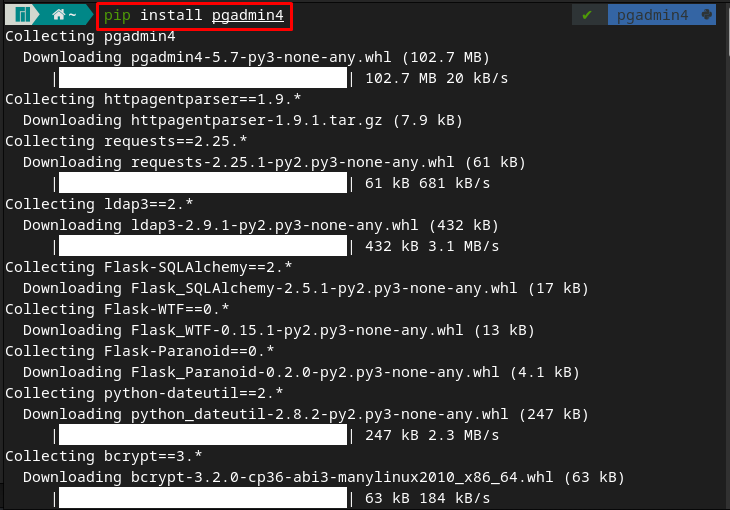
Step 5 : Navigate to the pgAdmin4 and start the pgAdmin4 service by using the command provided below.

After executing the below mentioned command, you will be asked to enter the email address and password that will be used to log in to the web interface.

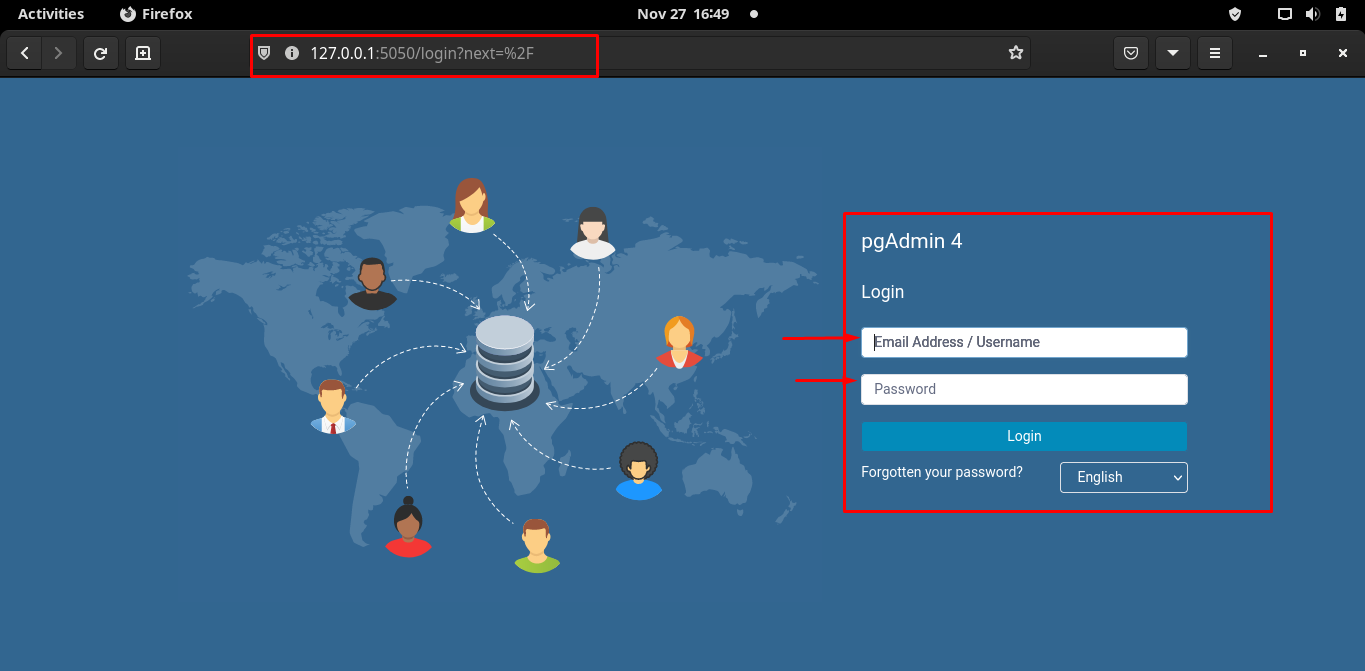
You must observe that the output is notifying you to navigate to address https://127.0.0.1:5050. Enter the address in any browser and you would observe the following interface. Where a login prompt will appear. Use the email and password that you chose in the above steps.
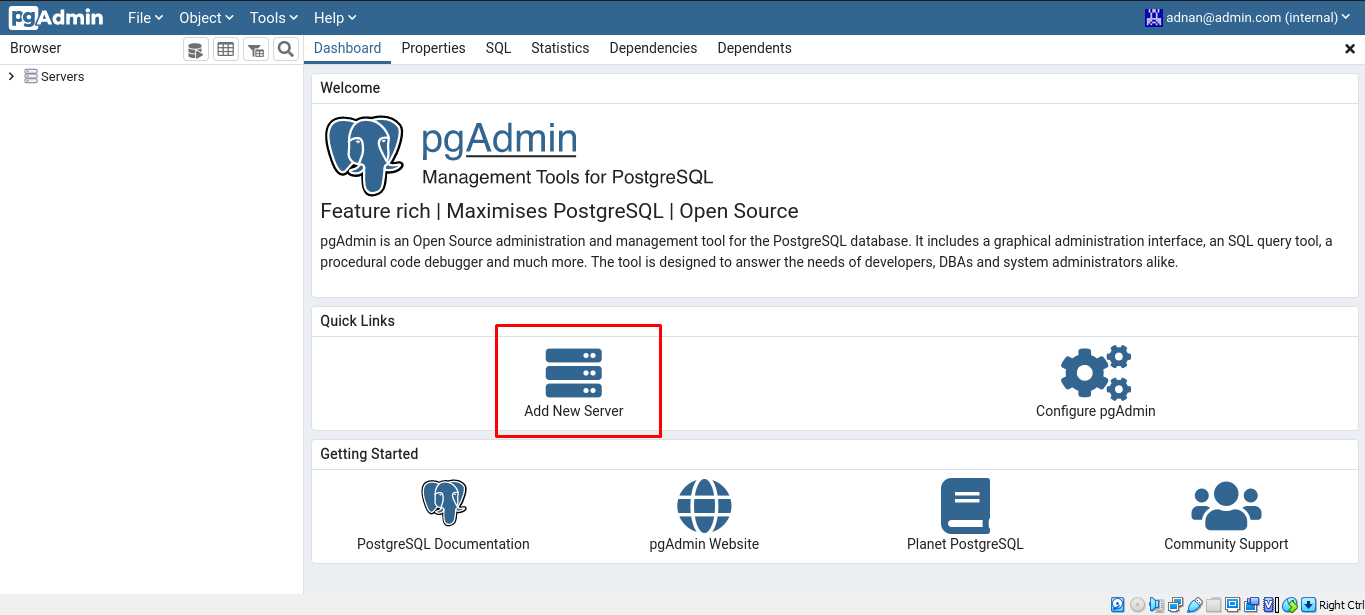
After successful login, the interface is provided below. Click on “Add New Server” option to add a new server for your postgres databases.
In the “General” tab, enter the server’s name, for instance we have set it to “linuxhint“.

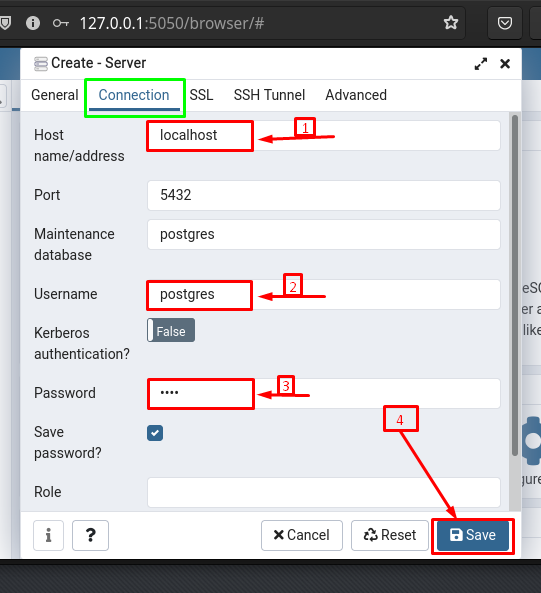
For further configurations, navigate to the next tab named “Connection“, and here you have to enter the details in the following options:
- Enter the Hostname or address that would be “localhost”
- Provide the Username and Password of the postgres database user. For this, refer to step 4 of the Prerequisites section.
After that, navigate to “Save” option;
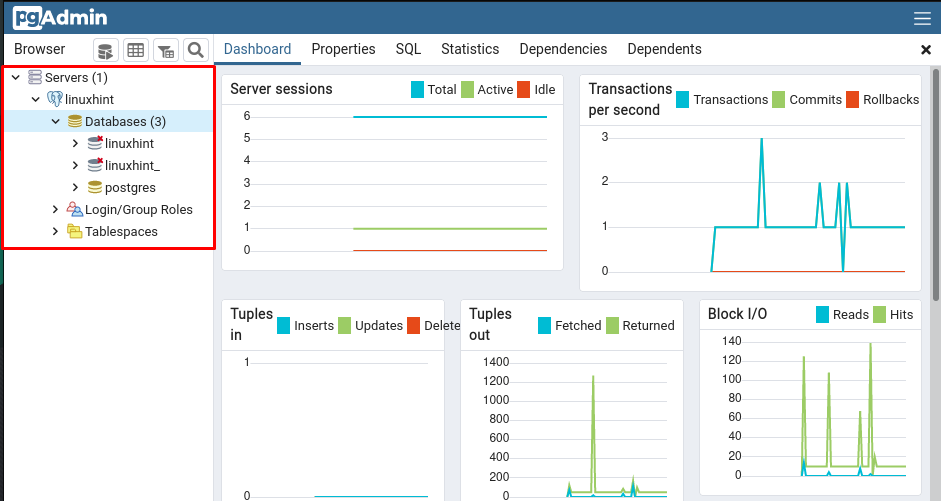
Once it is saved, the “linuxhint” server can be seen on the “Dashboard” of pgAdmin4. Under the “linuxhint” tab you would observe the default databases, the login roles for the users.
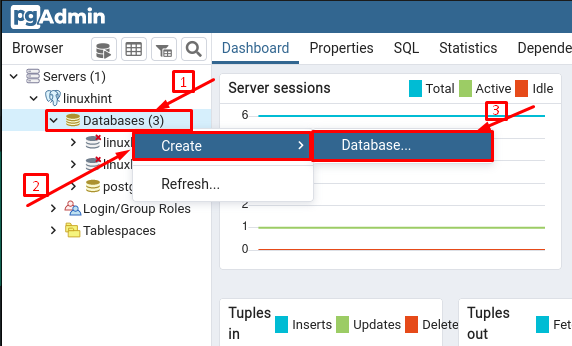
Create a database using pgAdmin4 : To create a database, right click on the “Databases” and then navigate to “Create” followed by the “Database…” option.
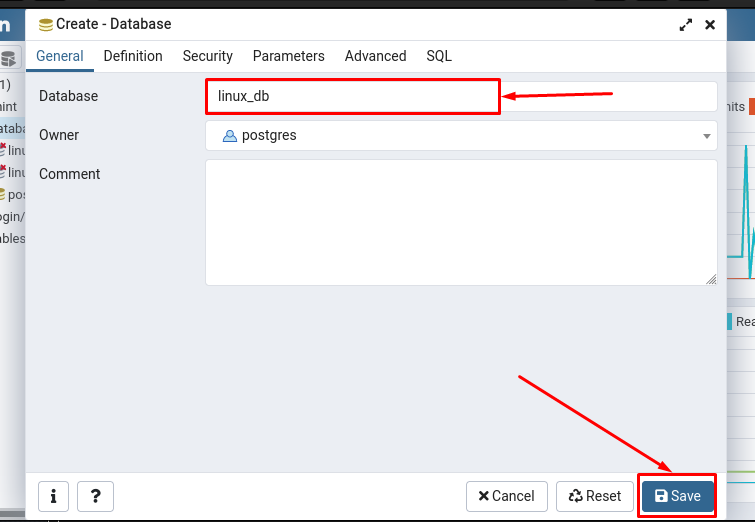
Choose the name and click on “Save” to create that database.
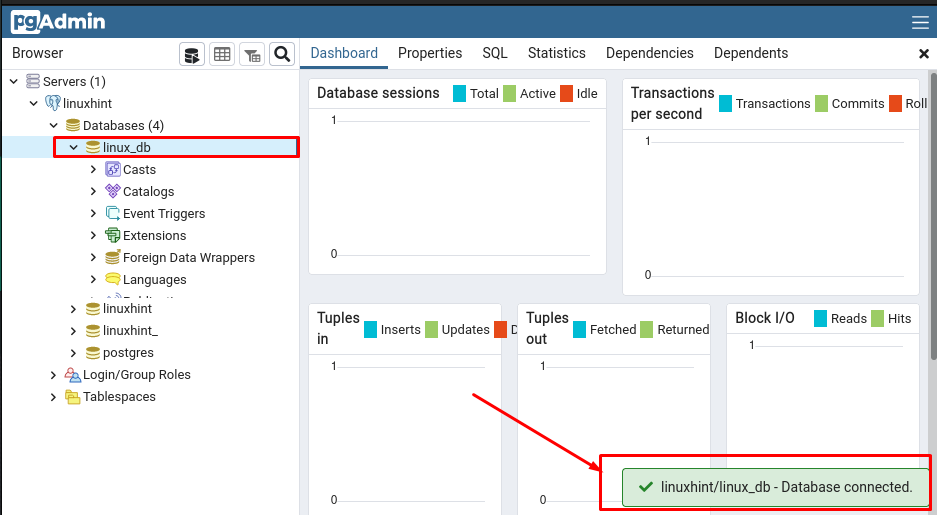
You would observe “linux_db” is created but not connected yet:
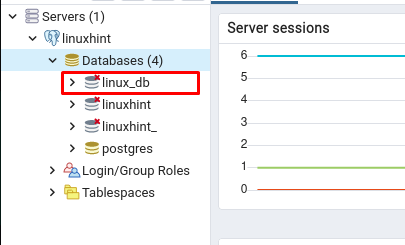
To connect the database with the server, click on the database name and you will receive a database connected prompt that shows your database has been connected.
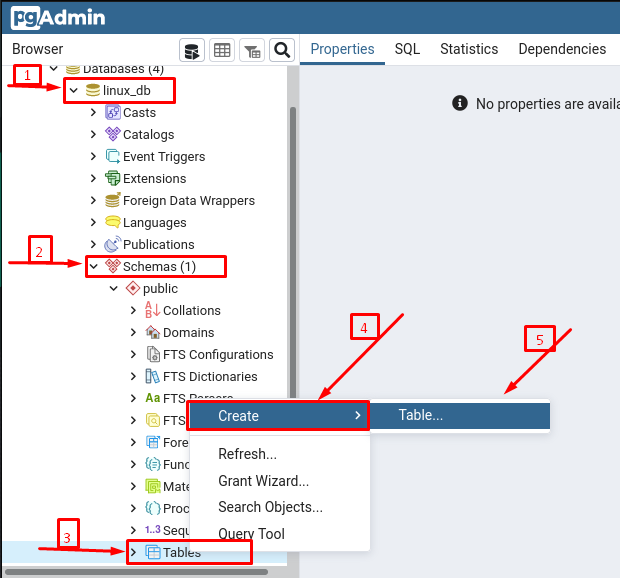
Create a table in the database using pgAdmin : For the creation of tables, you must locate the tables option in that database. To do so, perform the following actions:
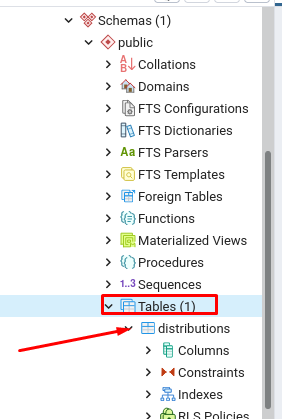
- Click on the database and then look for “Schemas” in that drop down menu.
- In the Schemas, open the “public” schema and scroll down, you would see the “Tables” option and right click on it to create new table.
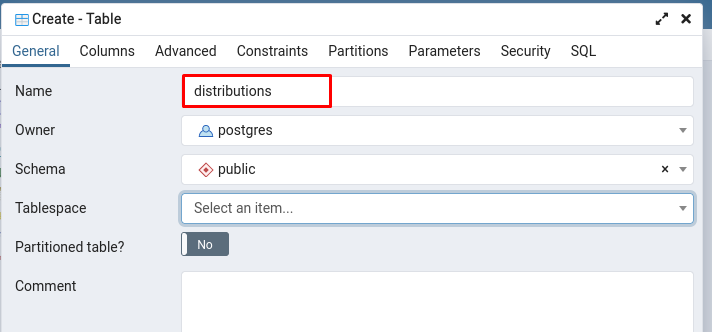
After that, you have to choose the name for that table (distributions in our case):
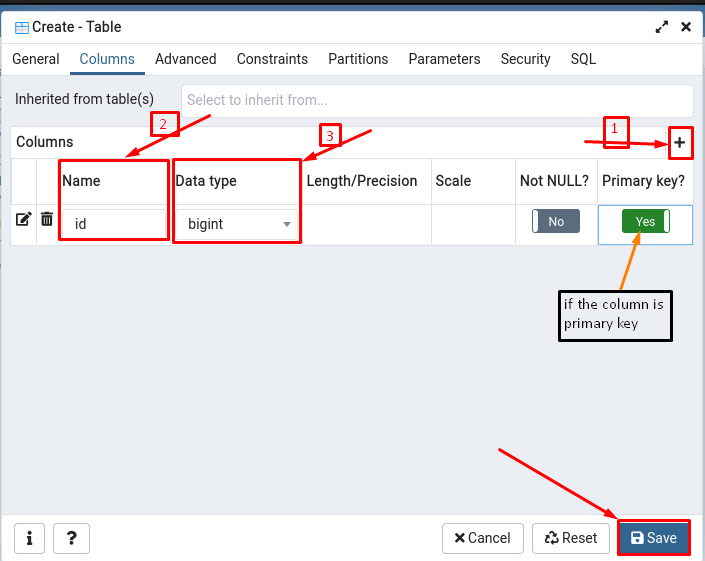
To add columns, you must navigate to the “Columns” tab and then perform the following steps.
- Click on the “+” option and then type the name of the column with the data type you want to assign
- (Optional) Turn the toggle button to ON if the column is a primary key
- After that, click on Save to create columns and tables successfully
Once the tables and columns are created, you can see them by navigating to “Schemas” and then under “public” schema, you can observe the “distributions” table.
Conclusion
In this technologically rich era, the graphical interface of the database server must be efficient enough to perform rigorous database operations. Therefore, several database servers are supported by some graphical tools to perform their duties. This post provides a brief guide on pgAdmin4, which is a database management tool for PostgreSQL databases. You have learned to install pgAdmin4 and set up an environment to use it on Manjaro Linux. Moreover, the basic working of this tool is also explained with images. This guide would be beneficial for the users that are using postgres database management systems in their organizations.
from https://ift.tt/3DruoKg


0 Comments