


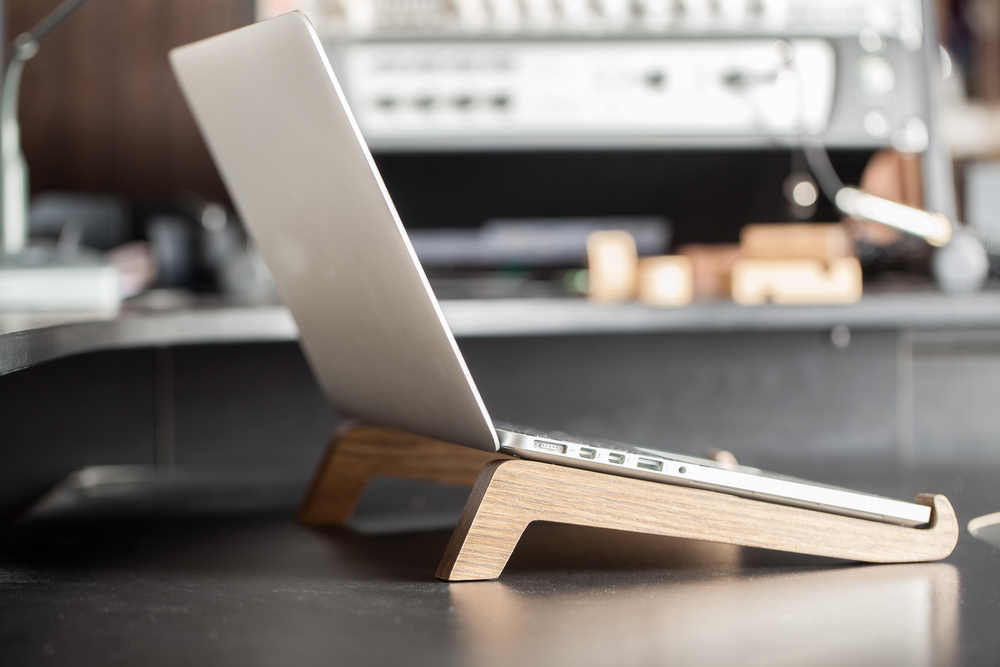
Laptop stands are extremely useful items to own, particularly if you use your laptop a lot. These stands encourage better posture by raising the laptop a few inches off the tabletop. As a result, you can also be more comfortable and productive when using a laptop stand to support your device.
While they are not that expensive to buy, it will likely be cheaper to make your own stand. This can be done fairly easily by using cardboard and a few basic tools that you should already have around the house. This will be particularly worth pursuing if you consider yourself to be good at crafts or DIY.
To help you, we have constructed an easy-to-follow tutorial on how to make a laptop stand using cardboard.
What you will need
There are a few pieces of equipment that are required for this tutorial. You should be able to procure these objects with ease since they are readily available and can be bought for a cheap price.
You will need:
- Cardboard – while this may seem like an obvious item to have, it is worth reiterating in case you have forgotten. This cardboard will be essential for your laptop stand. If you do not have any cardboard laying around, you should be able to find it fairly easily, as people often have leftover cardboard that they will be happy to give away.
- A ruler or measuring tape – this will enable you to measure the various pieces you will need to construct this item.
- A pen – after all, you will need to mark the cardboard. Pens will enable you to draw the shapes you need as well as mark the required measurements.
- A pair of scissors or another cutting utensil – this will be used to cut the cardboard. While scissors can be used, there may be better utensils out there for slicing through cardboard. For example, a knife could be used. Utility knives are good for this job. Additionally, you can use a scalpel.
- Superglue – this will be used to assemble the pieces together.
- Safety goggles (optional) – while cardboard is not a particularly hazardous material, there is a small chance of there being staples hidden in it. Therefore, as a safety precaution, you can wear goggles to protect your eyes.
Things to think about
Prior to beginning the making of your cardboard laptop stand, we recommend considering what kind of stand you want. While there are more basic laptop stands, there are also more complex models.
For instance, you can make one that folds, thus saving you desk space when you are not using your laptop stand. Though these stands are useful, they will be harder to make than a more standard item. As a result, they will be better suited to those who are more advanced at crafts. Our instructions will be focused on making a more general laptop stand.
Instructions
- Using a ruler or measuring tape, measure out the length and width of the bottom of your laptop. Note these measurements down and keep them for future reference. Also, measure this at a diagonal angle. Laptops will come in different sizes and so there is no one method of doing this.
- Next, think about the height that you want your laptop stand to be. The purpose of a laptop stand is to elevate your laptop. Before you begin building your stand, you should consider the height that you want it to be. Like in the previous step, measure this with a ruler or measuring tape.
- Draw a rectangle on the cardboard using the measurements you obtained from the base of the laptop. This piece will be used to support your device. Draw a second rectangle of the exact same dimensions.
- Cut these rectangles out using your cutting utensil.
- Next, draw a right-angled triangular section that is the length of the side of your laptop. The height of the triangle will depend on how high you want your laptop to be supported. Draw three more of these triangles in the same size.
- With your scissors, knife, or scalpel, cut out these four triangles. The additional triangles will be used to support the laptop.
- Put one of the rectangle pieces on a flat surface.
- Next, use a little glue to attach one of the triangles to the left width of your rectangle. This triangle should be standing up, with the highest point at the back of the rectangle and the lowest point at the frost. Glue another triangle to the right end of the rectangle. This will create a ramp-like device. When gluing, be sure to use plenty. This will strengthen your construction.
- Glue the two remaining triangles in the middle of the rectangle. This will give you much more support.
- Glue the last rectangle onto the tops of these triangles at an angle. Like the triangles, this should create a ramp. The highest end of the stand should be at the back while its smallest part should be at the front. As a consequence, your laptop will now be at an angle. This rectangle is the piece on which your laptop will sit.
- Leave the glue to dry. Before your laptop stand can support your device, the glue will need to be fully dry. Otherwise, it is likely to collapse.
- Enjoy your simple yet effective laptop stand!
Frequently Asked Questions
Can I make a laptop stand out of an old shoebox?
Yes, you may be able to make a laptop stand using a shoebox. After all, the material should be strong enough to withstand the weight of your laptop.
The only concern may be that you will not have enough cardboard to make a stand. This will be reliant on the size of your laptop.
Why is my homemade laptop stand not strong enough?
If your laptop stand is not capable of holding your laptop, it is likely because it does not contain enough support. If this is the case, be sure to add additional support.
In the case of this laptop stand, add more triangles underneath the rectangle in which your laptop will sit in order to make it more sturdy and robust. Furthermore, make sure to use loads of glue to keep all the pieces in place.
My laptop stand is at too much of an angle. How can I change this?
If you have made your laptop case at too high of an angle, it may slip off its stand. To prevent this from happening, remove the top piece of your laptop stand.
Create a small rectangle out of cardboard and glue this at a 90-degree angle. Next, simply reattach the top. This should have solved your issue.
from https://ift.tt/3HuStmD


0 Comments