Every Major OS hard drive has an option from which that OS can monitor the health and current status of its system using the Smartmontools which is a package having two utility programs i-e smartctl and smartd. Smartctl is used to control self-monitoring as well as analysis and reporting (short form is SMART) of ATA-3 as well as other hard drives or SSDs like SCSI-3 and ATA.
Smartctl is designed to perform smart operations from the command line such as initiating device self-tests and printing smart self-test etc. Using smartctl a user can read the smart information from the hard disk and can perform tests on the SSD or hard drive to detect any problems with the hard drive or SSD.
In this post, we’ll teach you how to install and configure smartctl on Ubuntu 20.04, as well as how to uninstall smartctl from Ubuntu, so, without further ado, let’s get started with installing smartctl.
Installation of Smartctl
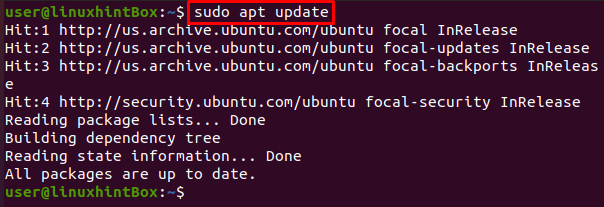
Step1) The first step in installing smartctl is to update your apt cache which is a recommended step and can be achieved by executing the below command in your Ubuntu terminal:

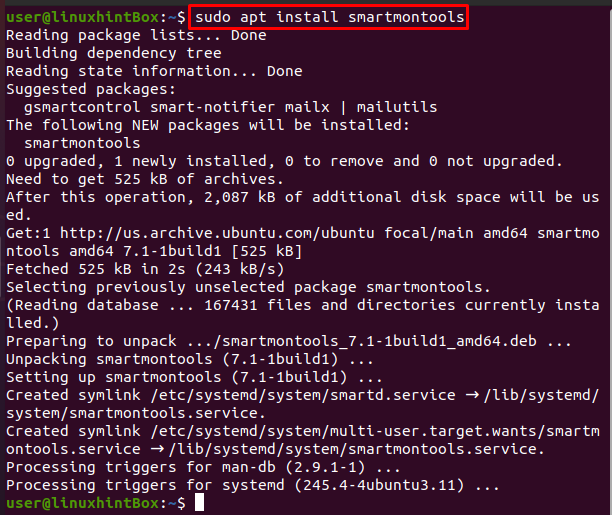
Step2) Next step is to install the smartmontools package which has the smartctl program by executing the below command:

Step3) Now that we have successfully installed smartmontools, let us check whether our drive is a smart type or not for which we can use the below command:
Step4) To enable the smartctl so that smartctl always starts whenever the server/system reboots then we have to execute the below command:
Smartctl Usage and configuration
As mentioned in the introductory part of this article that smartctl can perform different hard drive tests and can analyze a problem with our drive so first let us go with checking our hard drive health by executing the below command in Ubuntu 20.04 terminal:
To verify the test mode i-e the drive can run tests by oneself we can execute the following command:
Let us run a short test on the HDD with the following command:
We can also run a long test on our HDD with the following command:
If you want to have further information in using smartctl you can always go to your terminal and type smartctl man and execute this command which will show you all the available flags and the additional information or knowledge about smartctl.
To disable the smartctl on our system’s hard drive we can execute the below command in Ubuntu 20.04 terminal:
Uninstall smartctl
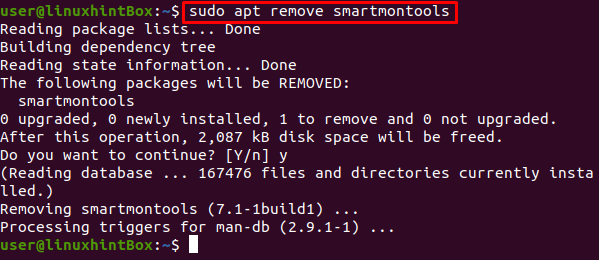
There are times where you don’t need software or an application and you want to uninstall that app. If you ever feel the same way about smartctl let us show you how to uninstall smartctl which is very simple as you have to type the below command in your Ubuntu terminal and smartctl or more specifically smartmintools will be uninstalled from your Ubuntu system:

Conclusion
The Smart attributes are an amazing tool that helps us in monitoring the hard drives and detecting any faults or problems with our system hardware. This article demonstrated how to install and set up smartctl on Ubuntu 20.04, as well as how to uninstall smartctl. It should be kept in mind that the Installation of the smartctl discussed in this article is almost or exactly the same on most Linux distributions. We hope that by going through this article you can now run tests on your hard drive and detect errors of the hard drive on ubuntu.
from https://ift.tt/2YEAhoO


0 Comments