


Hypertext markup language (HTML) is a language that designs the front-end of any website, which can be static or dynamic. Websites that are present on the internet and are built online like Magento and WordPress also work on the basic principles of HTML. Like other programming languages, HTML also has commands known as tags, and these tags are written in angular brackets. Like any other text editor, HTML also allows adding text, images, videos, or any other item in the code. The basic content of HTML is text. Html includes many functions to apply to the text to enhance the feature of the design. Underlining the text is a basic and important feature use to design the text according to the demand and requirements of the website. If the text is underlined, it has something different to show or has a different impact on the reader. We will throw light on some of the content of underlining the text in this guide.
Required Essentials
There are two basic tools used for the implementation of HTML code are:
- A text editor
- A browser
Two software are used; one is used as input and the other as output. We write the code in one tool, and from the other, we can see the output. A text editor takes the code. By default, Window has a notepad editor, so that we will use that in our tutorial. A browser is a platform that is required to run the html file in it. By default, Windows has an internet explorer to run the text files. Besides, we need html and CSS tags to accomplish this task.
Format and syntax
The concept of underlining the text can be possible by knowing the basic functionality and features of HTML. HTML body is divided into two parts. One is the head and the second one is the body. The head part is written first; in that portion, we include the web page title. This title is visible when we run the html page on the browser. The internal styling is also introduced inside the body of the head. At the same time, the body portion contains all the other tags, including text, image, etc.
HTML has an opening and closing tags. Both tags are written before and after the text. The html code that is written in the notepads is saved in both notepad and browser extensions. The .txt extension is saved as a code, whereas with html, it is saved for the browser. The file of the text editor must be saved with the html extension. For example, sample.html. Then you will see that the file is saved with the icon of the current browser you are using for this purpose.
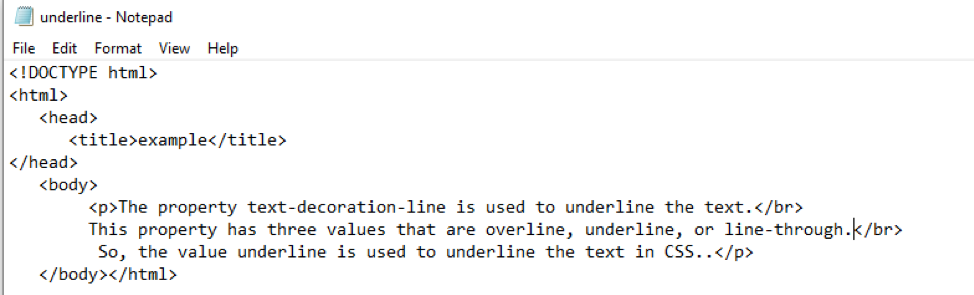
The below image is a sample code of HTML. In the head portion, we have added the name of the title. And in the body portion, a paragraph tag is added.
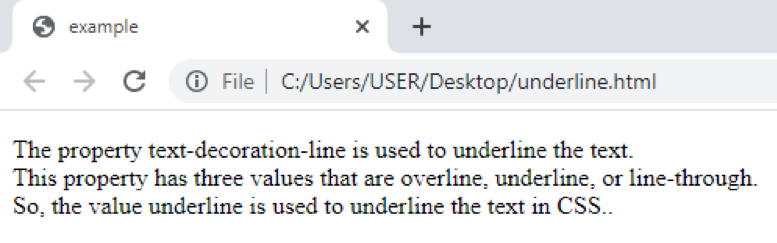
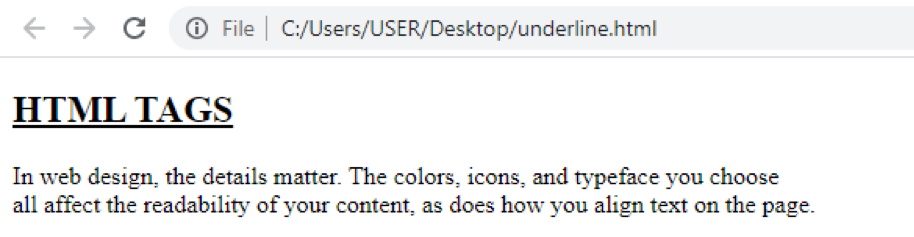
The output is previewed below in the image. The paragraph is also displayed by default without any formatting.
Example 1
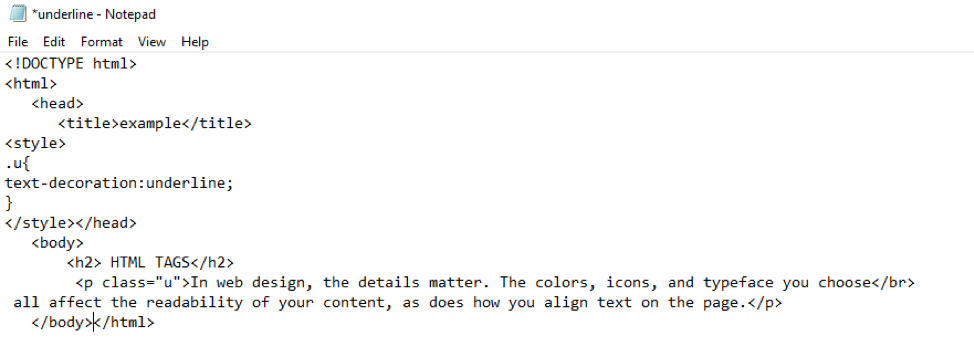
In this illustration, we do not change anything in the head. We have added a paragraph as discussed in the sample of the html code. The paragraph has three lines. We want to underline the middle line of the paragraph.
This tag also has an ending tag like others. We have used the </br> tag in the paragraph, which is used to move to the next line. It also has an opening and ending tags. But only the ending tag can also be used here.
Now save the file and then run the file in the browser.
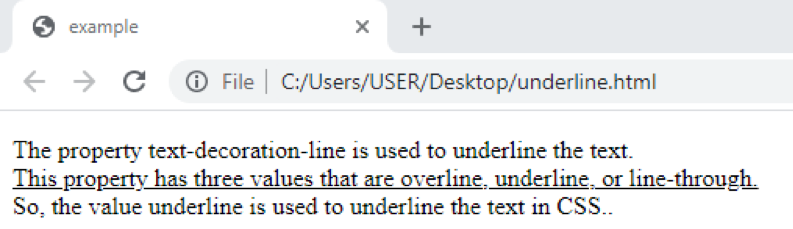
From the output, you will see that the middle line of the paragraph is underlined by the tag we have used in the html tag.
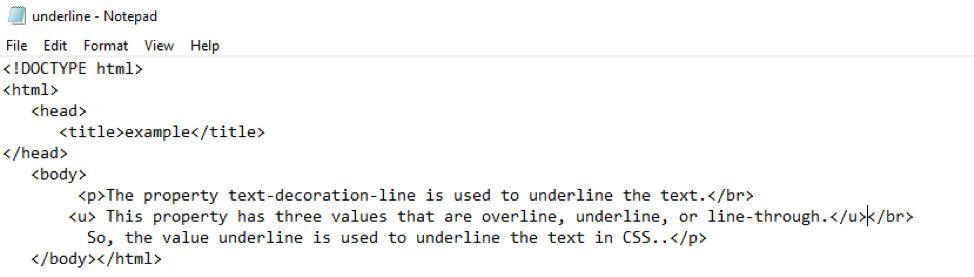
Example 2
In the first example, we have underlined the whole sentence. But in this case, we want to dominate only a single word. So we will use the underline tag with that word. The syntax for this approach is also the same. Let us see the example of the code given below.

When we run the code in the browser, we get the result like this.

Example 3
This is an example of inline styling. This style is added inside the paragraph tag or the heading tag, whatever you want to format. In this example, we have to write the style code in the heading tag to get the result and understand it. Besides, the entire text remains intact.

Text alignment and formatting are like making the text bold, italic, etc. are the major part of designing the web page and are considered decorating items. So the tag contains the text-decoration statement in it. Now save the text and run the file in the browser. From the output, you can see that the heading is underlined while another text is not because we have applied the inline text only in the heading tag.
Example 4
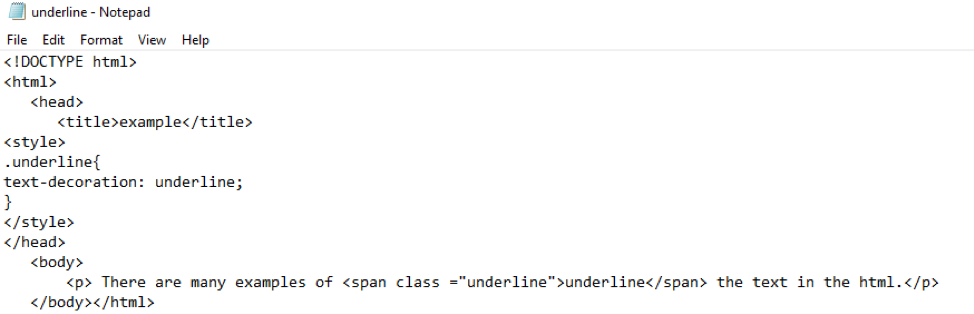
This is an example of internal styling. This means that the style tag is written inside the head body of the html. A class is declared with a name of a dot. This class is initialized inside the style tag. This is done so that the formatting is done easily by accessing the class. Whereas the style tag and description are the same as the internal css.
The whole text in the paragraph is underlined by adding the name of the class. Run the code of the file in the browser.
This is how the underlined tag is described within the class with the help of the internal tag.
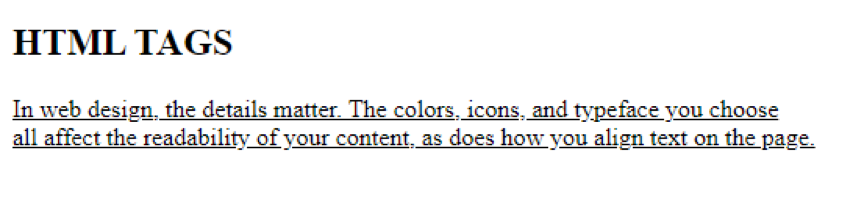
From the output, you can see the working of the tags inside the html body.
Example 5
This is also an example of internal css. In which the style code written in the head body is same.
Here, underline is the name of the class. Whereas the tag that is written inside the tag to indicate the name of the class is different from the <u> tag. It is not necessary to use <u> every time, so we use <span> instead of <u>.
You can view the output.
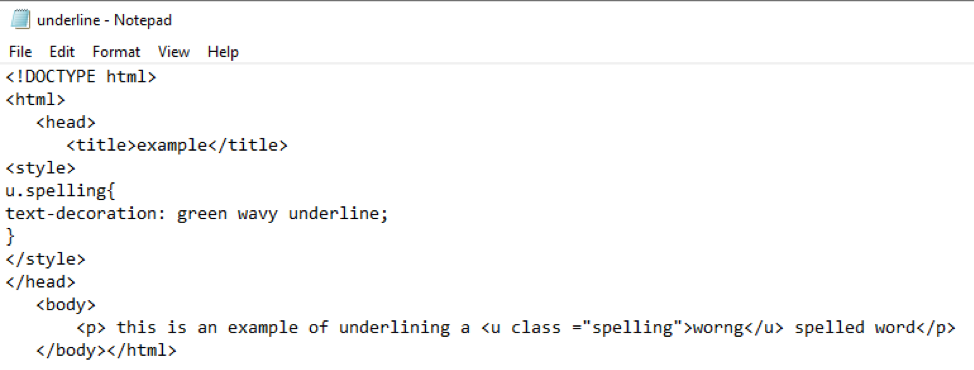
Example 6
Most of the time, you want to underline some text in a other way than a straight line. Or, in Microsoft word, you have noticed that the word having wrong spellings are decorated with a curt underlined line. This approach also has class declaration inside the head body. Whereas the class is also introduced inside the tag.
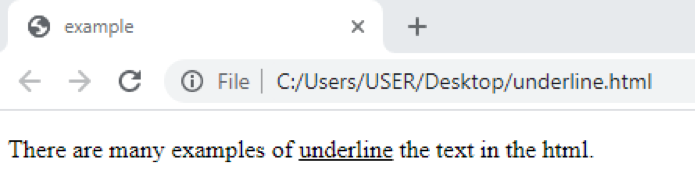
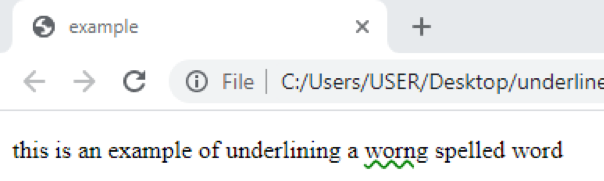
You can observe that in the previous examples, the text decoration is underline because, by default, the underlined line is straight. But you can make curls in them to make it wavy. It would be best if you mentioned this tag inside the internal tag. The output can be shown in the browser.
Output:
Conclusion
In this article, the examples regarding underlining the text are explained. Many approaches are used to save and run the text file to get the results on a web page or a website.
from Linux Hint https://ift.tt/3BPQFSo


0 Comments