


“Mono” is a free and open-source Microsoft .NET framework for developing and running cross-platform applications in C# and other languages. It allows developers to make the multi-platform applications faster by using databases such as Mysql, Postgresql, and others. Now, it is accessible n Ubuntu as well, which broadens the project capabilities. Moreover, the majority of developers use it for small applications where speed or solution of a particular problem are the most important factors.
In this write-up, we will install the “Mono” development platform by using the official repository.
Requirement
The only prerequisite for installing “Mono” is that you must log in to the root user or as a user with sudo privileges.
Installation Process
Mono is not pre-installed in the Ubuntu repository; the Mono official repository is the most convenient and straightforward way to install it. To do so, simply follow the steps below:
Updating Packages
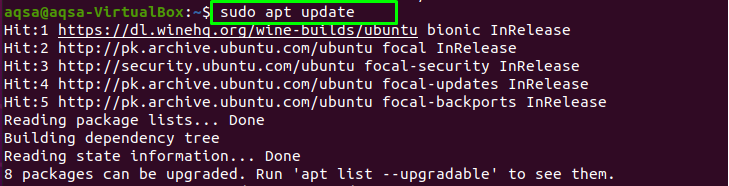
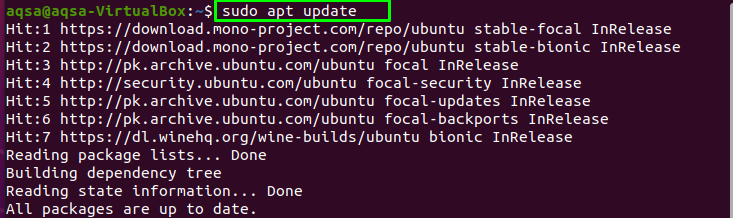
To install the new application in the system, it is highly recommended to update and upgrade your existing system packages.
To update your APT, use:
Installing Key Packages:
Now run the below-mentioned command to get essential packages for “Mono”:
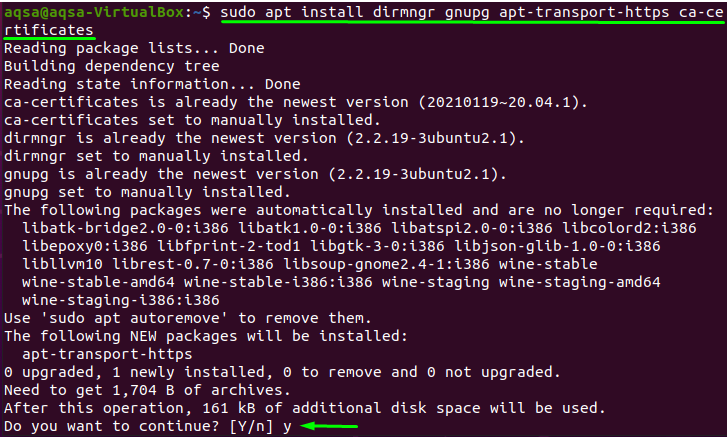
To begin the installation, hit “y”.
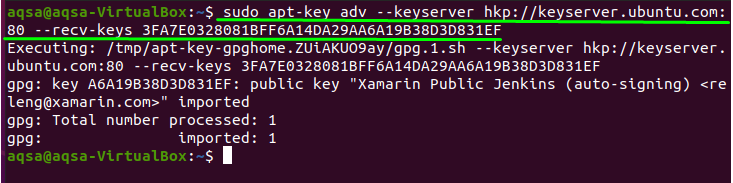
Extracting GPC Key
If the repository is added, you will be able to install all future updated versions of “Mono” without difficulty. Now, paste the given command into your terminal to extract the GPC key:
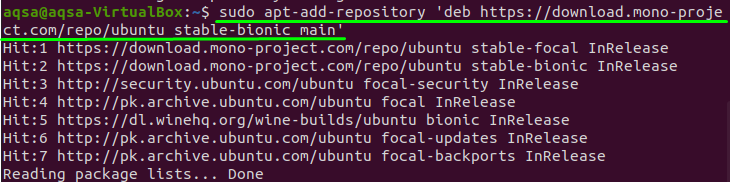
Adding “Mono” Repository
Add the “Mono” repository file to your system source list, then copy and paste the mentioned command into the terminal:
Installing “Mono”
You must first update the list of your installed packages before adding the new one:
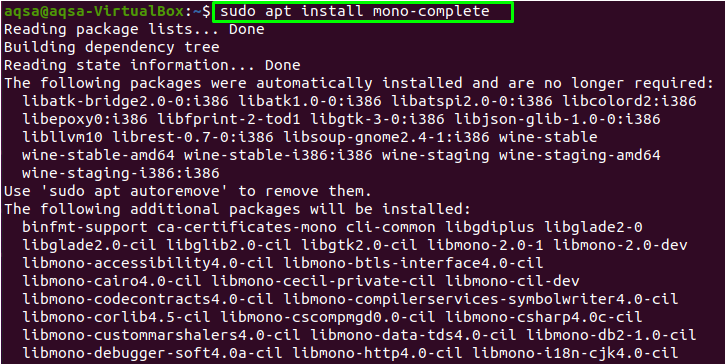
The term “mono-complete” refers to the entire mono package, including all of its features and resources. Use the given command to install it:
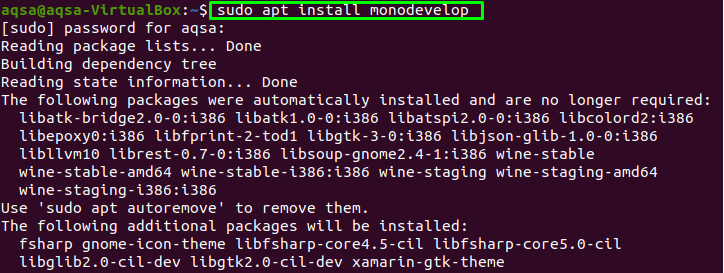
The “MonoDevelop” IDE makes it simple to create a .NET project. Type the command below to install it:
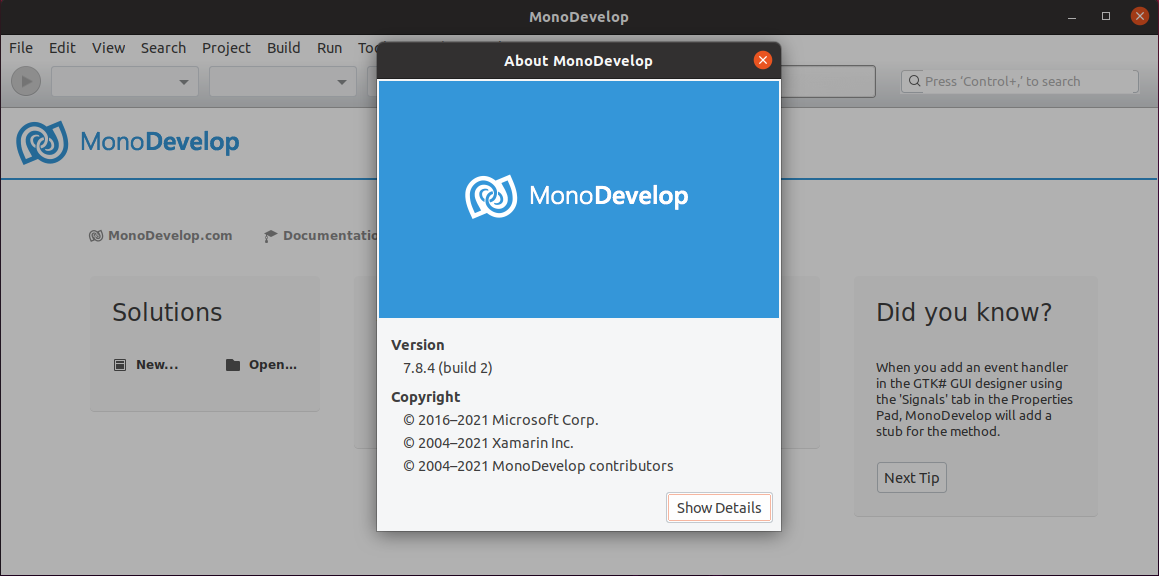
Type “Monodevelop” in the application search menu to ensure that “Monodevelop” has been installed.
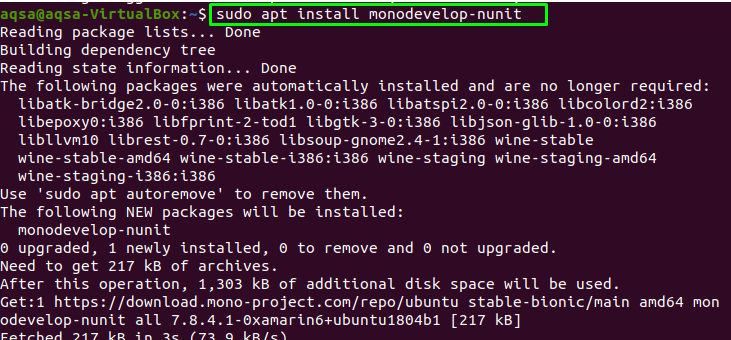
To run the “NUnit” test, type the command shown below to install the Nunit plugin for Monodevelop:
Verify the installation:
If the installation is complete, run the command shown below to verify the “Mono” application:
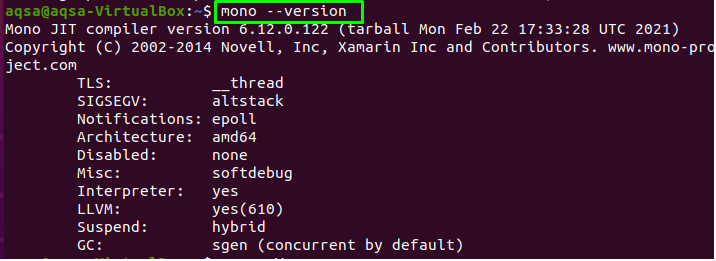
It displays the installed version of the “Mono” application, as well as additional information.
Creating Program in Mono
To make sure “Mono” is installed and working correctly, we’ll create a program.
Open the text editor and write the following code:
public class Linuxhint
{
public static void Main(string args[])
{
Console.WriteLine ("Welcome to the Linuxhint");
}
}
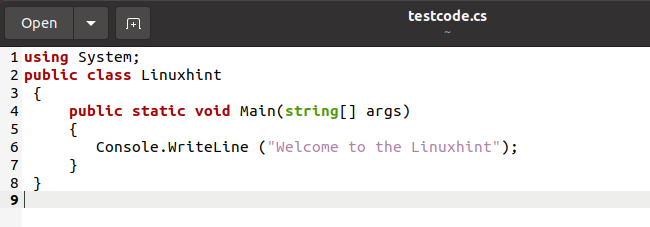
Name the file “testcode.cs” and save it.
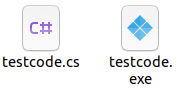
Use “csc” compiler to compile the file:

To make it executable, use:

The following files will be found in your home directory.
Conclusion:
“Mono” is an open-source platform that is used to develop and run multiplatform, all of this is accomplished using C# and other mono-supported programming languages. In this write-up, we have gone through the installation process for the “Mono” project in great detail. We have also created Program to test the C# compiler. “Mono” allows a developer to quickly create applications on any platform including Linux. It also assists in porting applications to another platform as well.
from Linux Hint https://ift.tt/3hI97Df


0 Comments