


In this syntax, we need to be careful while giving a name to the event because using the same name; we will later listen to this event. In order to listen to this event, we can listen to it as we listen to a click event in Vue.js. For example
We can write any expression in the inverted commas as well as a function. So let’s try an example to better understand it.
Example
Suppose we have a Component named “parentComponent,” which includes a child component in it with the name of “childComponent” to which we are passing a message using props.
<h1>Parent Component</h1>
<div>
<h2>Child Component</h2>
<ChildComponent msg="Hello Child" />
</div>
</template>
<script>
import ChildComponent from './components/ChildComponent.vue'
export default {
name: 'ParentComponent',
components: {
ChildComponent
}
}
</script>
In the child Component, we are getting props and showing the message in the ‘p’ tag.
<p>{{ msg }}</p>
</template>
<script>
export default {
name: "ChildComponent",
props: {
msg: String
}
}
</script>
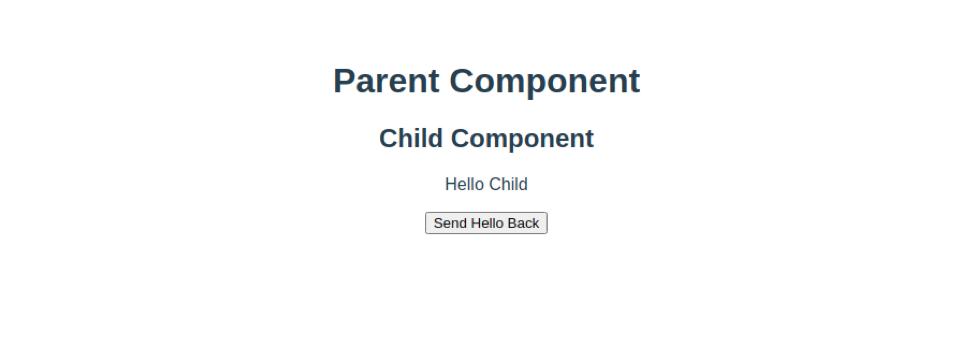
Now after having these two components set up. Let’s say hello back to our ParentComponent. In order to say hello back, we will first create a button, and at the click of that button, we will call the “helloBack” function. After creating the button, the child component’s HTML would be like this
<p>{{ message }}</p>
<button @click="helloBack">Send Hello Back</button>
</template>
Let’s create the “helloBackFunc” function in the methods object as well. In which we will emit the “helloBackEvent” along with a “helloBackVar” variable that contains the string “Hello Parent”. After creating a function, the javascript of the child component would be like this
export default {
name: "ChildComponent",
props: {
msg: String
},
data(){
return{
helloBackVar: 'Hello Parent'
}
},
methods:{
helloBackFunc(){
this.$emit('helloBackEvent', this.helloBackVar)
}
}
}
</script>
We are done with firing the event. Now, let’s move to the parent component for listening to the event.
In the Parent component, we can simply listen to the event, just like we listen to the click event. We will simply listen to the event in the ChildComponent’s tag and calls the “thanks()” function on it.
In the thanks function, we will assign the passed string to the variable named “thanksMessage”. After creating the function and assigning the passed string to the variable, the javascript of the “parentComponent” would be like this
import ChildComponent from './components/ChildComponent.vue'
export default {
name: 'App',
components: {
ChildComponent
},
data(){
return{
thanksMessage: ''
}
},
methods: {
thanks(m){
this.thanksMessage = m;
}
}
}
</script>
And bind the “thanksMessage” variable in the template somewhere to see either it works or not.
<h1>Parent Component</h1>
<p>{{ thanksMessage }}</p>
<div>
<h2>Child Component</h2>
<ChildComponent @helloBackEvent="thanks($event)" msg="Hello Child" />
</div>
</template>
After creating and writing all this code, go to the web page and reload it to get the latest functionalities.
We can see that the props are conveyed successfully to the child component. Now, if we click the button, which is actually in the child component. The thanks message should be displayed right after the parent Component Heading.

As you can see, it is displayed.
So, this is how we can emit or fire the custom events and listen to them in some other component in Vue.js.
Summary
In this article, we have learned to emit custom events in the Vue.js. This article contains a step by step proper example to understand it with a brief explanation along with it. So, we hope this article helps in having better and clear concepts of emitting custom events in Vue.js. For more such useful content, keep on visiting linuxhint.com
from Linux Hint https://ift.tt/3lRDaZz


0 Comments