


In this tutorial, a responsive contact form is implemented, and the submitted data is sent as an email using PHP. The PHPMailer package is used in this tutorial to send the contact message as an email to the website owner; three files are used to send the email from the localhost using PHP:
- PHPMailerAutoload.php
- class.phpmailer.php
- class.smtp.php
You can download these files from https://github.com/PHPMailer/PHPMailer/.
Creating the Responsive Contact Form
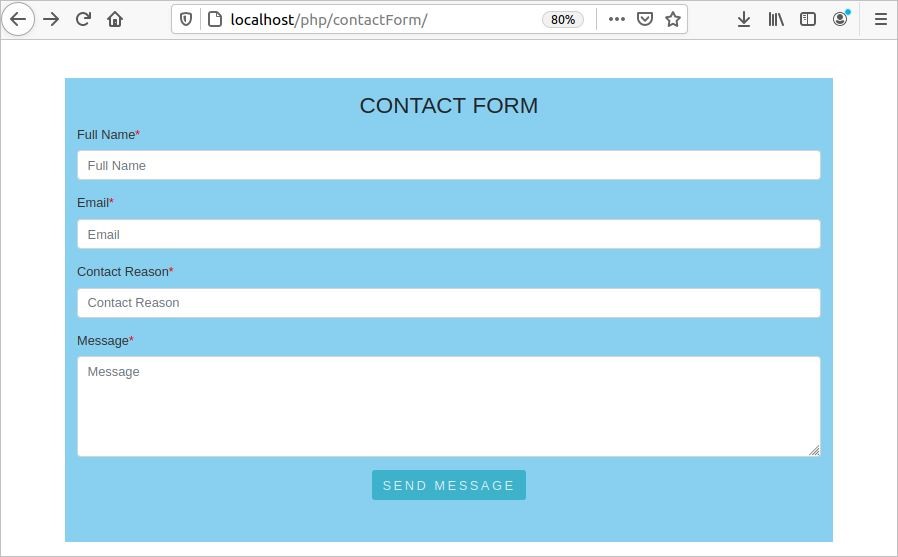
Use the code below to create an index.html file in the /var/www/html/php folder to design a responsive contact form. The form will contain four fields: Name, Email, Reason for Contact and Message.
index.html
<head>
<title>Contact Form</title>
<meta charset="UTF-8">
<meta name="viewport" content="width=device-width, initial-scale=1.0">
<link href='custom.css' rel='stylesheet' type='text/css'>
<link rel="stylesheet" href="https://ift.tt/2CllgLo" integrity="sha384-MCw98/SFnGE8fJT3GXwEOngsV7Zt27NXFoaoApmYm81iuXoPkFOJwJ8ERdknLPMO" crossorigin="anonymous">
<link href='https://ift.tt/1yTzN6W' rel='stylesheet' type='text/css'>
</head>
<body>
<br/><br/>
<div class="container">
<div class="row">
<div class="col-xl-8 offset-xl-2 py-3" style="background-color:#89CFF0">
<div id='msg'></div>
<h3>CONTACT FORM</h3>
<div class="controls">
<div class="row">
<div class="col-md-12">
<div class="form-group">
<label for="user_name">Full Name<span style="color:red">*</span></label>
<div class="help-block with-errors"></div>
</div>
</div>
</div>
<div class="row">
<div class="col-md-12">
<div class="form-group">
<label for="form_email">Email<span style="color:red">*</span></label>
<div class="help-block with-errors"></div>
</div>
</div>
</div>
<div class="row">
<div class="col-md-12">
<div class="form-group">
<label for="reason">Reason for Contact<span style="color:red">*</span></label>
<div class="help-block with-errors"></div>
</div>
</div>
</div>
<div class="row">
<div class="col-md-12">
<div class="form-group">
<label for="form_message">Message<span style="color:red">*</span></label>
<textarea id="form_message" name="message" class="form-control" rows="4" data-error="Type your detail message"></textarea>
<div class="help-block with-errors"></div>
</div>
</div>
<div class="col-md-12">
</div>
</div>
</div>
</div>
</div>
</div>
<script src="https://ift.tt/2F2fZYI" integrity="sha256-FgpCb/KJQlLNfOu91ta32o/NMZxltwRo8QtmkMRdAu8=" crossorigin="anonymous"></script>
<script src="https://ift.tt/2mytFlr" integrity="sha384-ZMP7rVo3mIykV+2+9J3UJ46jBk0WLaUAdn689aCwoqbBJiSnjAK/l8WvCWPIPm49" crossorigin="anonymous"></script>
<script src="https://ift.tt/2KxS1Hc" integrity="sha384-ChfqqxuZUCnJSK3+MXmPNIyE6ZbWh2IMqE241rYiqJxyMiZ6OW/JmZQ5stwEULTy" crossorigin="anonymous"></script>
<script src="https://ift.tt/2JfxlY8" integrity="sha256-dHf/YjH1A4tewEsKUSmNnV05DDbfGN3g7NMq86xgGh8=" crossorigin="anonymous"></script>
<script src="contact.js"></script>
</body>
</html>
Run the following URL from any browser to display the contact form:
http://localhost/php/contactForm/
Create a JS File for Validation and Form Submission
Use the code below to create a JS file called contact.js to validate the contact form. Here, all fields are mandatory, and the email field must contain a valid email address. If the SEND MESSAGE button is pressed when there is an empty field or an invalid email address, then an error message will be displayed. If the form is validated properly, then the form data will be submitted to the contact.php using the ajax() method. If the data of the contact form are sent successfully, then a success message will be printed; otherwise. a failure message will be printed as an alert.
contact.js
//Check the validator errors
$('#cform').validator();
//After the form submission
$('#cform').on('submit', function (e) {
// if the validator does not prevent form submit
if (!e.isDefaultPrevented()) {
var url = "contact.php";
// POST values in the background the the script URL
$.ajax({
type: "POST",
url: url,
data: $(this).serialize(),
success: function (data)
{
var successAlert = '<div class="alert alert-success alert-dismissable" role="alert"><button type="button" class="close" data-dismiss="alert" aria-hidden="true">×</button>' + data + '</div>';
$('#msg').html(successAlert);
}
});
return false;
}
})
});
Create a PHP File to Read the Form Data and Send an Email
Use the code below to create a PHP file called contact.php to read the form data and send an email with the data using the PHPMailer package. Here, the SMTP server of the Gmail account is used to send an email. You have to enable the less secure app option to send an email using Gmail. Set your Gmail address as the Username and your password as the Password in the code. Use a valid receiver email address to replace ‘Receiver Email Address’. If authentication is done properly, then the email will be sent successfully. A message conveying success or failure will be returned to the JS file from the PHP file.
contact.php
//Include necessary script
require 'PHPMailerAutoload.php';
//Create an object
$mail = new PHPMailer();
//Enable SMTP
$mail->IsSMTP();
$mail->SMTPAuth = true;
//Enable secure transfer
$mail->SMTPSecure = 'tls';
//$mail->SMTPAutoTLS = false;
//Set SMTP host name
$mail->Host = 'smtp.gmail.com';
//Set SMTP port
$mail->Port = 587;
//Setup the following configuration for smtp authentication
$mail->SMTPOptions = array(
'ssl' => array(
'verify_peer' => false,
'verify_peer_name' => false,
'allow_self_signed' => true
)
);
//Set your gmail email address as SMTP username
$mail->Username = 'Gmail Address';
//Set your email password as SMTP password
$mail->Password = 'Gmail P';
//Set the sender address
$mail->setFrom($_POST['email'], $_POST['name']);
//Set the reply address
$mail->addReplyTo($_POST['email']);
//Set the recipient address
$mail→addAddress('Receiver Email Address');
//Set the subject of the email
$mail->Subject = $_POST['reason'];
//Set the message of the email
$mail->Body = $_POST['message'];
//Call send() function to send the email
if($mail->send()) {
echo 'Message has been sent.';
} else {
echo 'Mailer Error: ' . $mail->ErrorInfo;
//echo 'Error in sending message';
}
?>
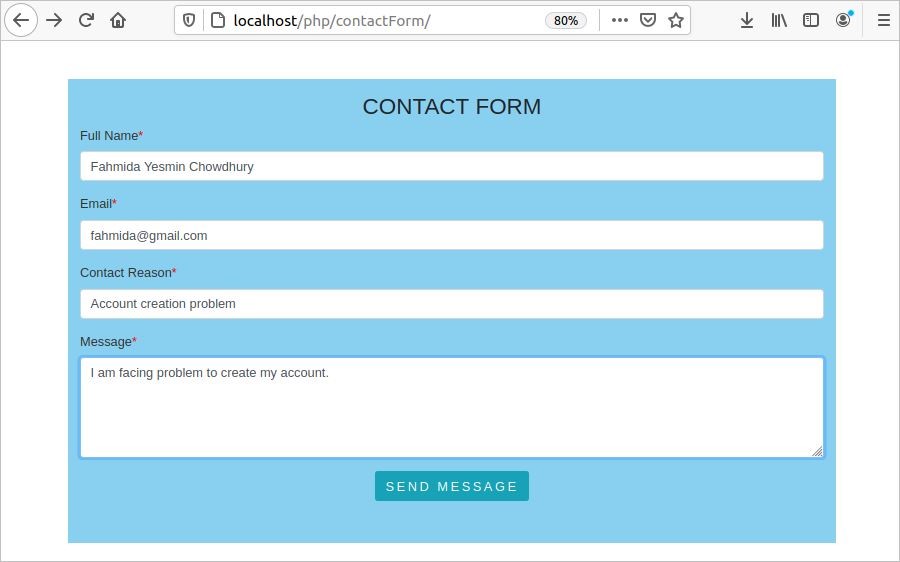
Run the URL mentioned above, fill the form with proper data, and click the SEND MESSAGE button to submit the form after validation.
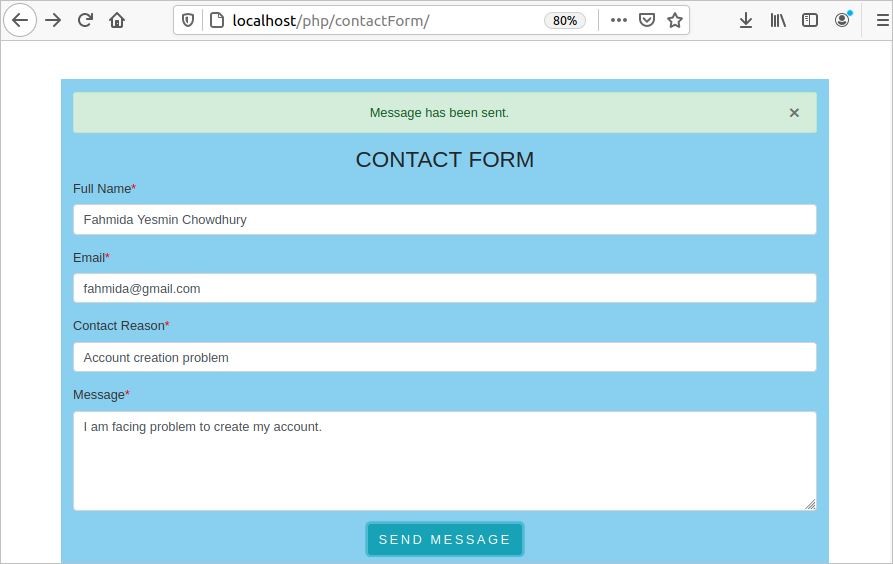
If the form was submitted properly and the email was sent to the receiver, then the following message will appear at the top of the form to inform the user that the message was sent properly.
Conclusion
In this tutorial, we designed a simple responsive form and sent an email with form data from the localhost using PHP code. The contact form is an essential part of any website because it allows visitors to reach out to the owner of the website to connect or to ask questions. The fields of the form can be vary based on the requirements of the site.
from Linux Hint https://ift.tt/2TKo2l7


0 Comments