


Install Apache Web Server
In this article, I will show you how to install the Apache web server on Ubuntu 20.04. This requires root or administrative privileges, so log in to the system via root.
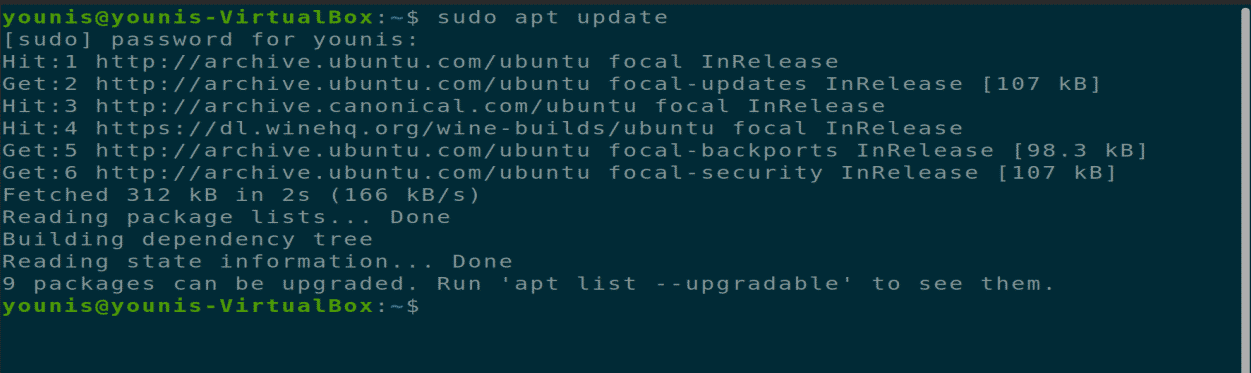
Step 1: Upgrade Your APT
As always, first, update and upgrade your APT.
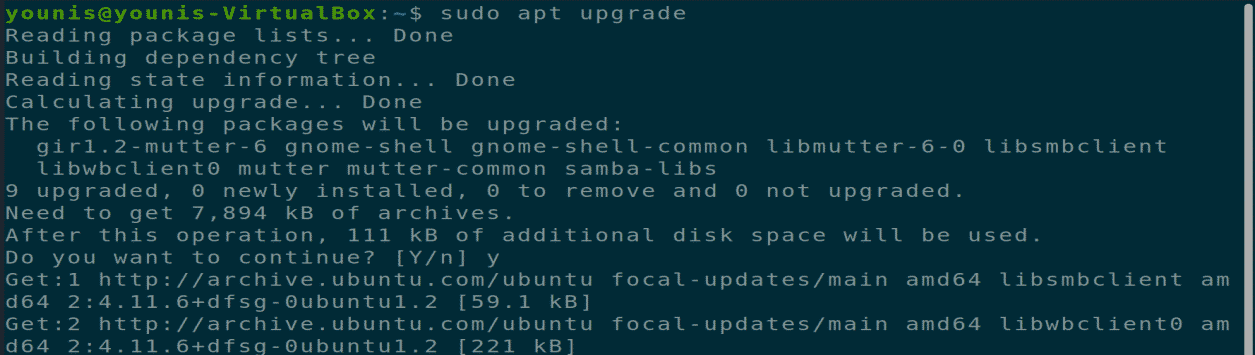
Step 2: Download and Install Apache
Next, download and install the Apache web server from the Ubuntu software repository by executing the following terminal command.

Step 3: Verify Apache Installation
To verify whether Apache has installed, check the server status. When the installation is complete, the apache2 server will start automatically.

Step 4: Enable Firewall Settings
Now, you should enable the firewall settings for the Apache webserver. To do this, use the UFW command to allow Apache traffic on Port 443 and Port 80 via the following terminal command.

Step 5: Verify Changes
You can verify this change by checking the firewall status with the following terminal command.

Step 6: Check If Apache Is Working
Check to see whether Apache is working correctly on your system. Open a web browser on your Ubuntu machine, open a new tab, and type the following URL into the URL bar. Be sure to replace the IP we have used with your own machine’s IP address.
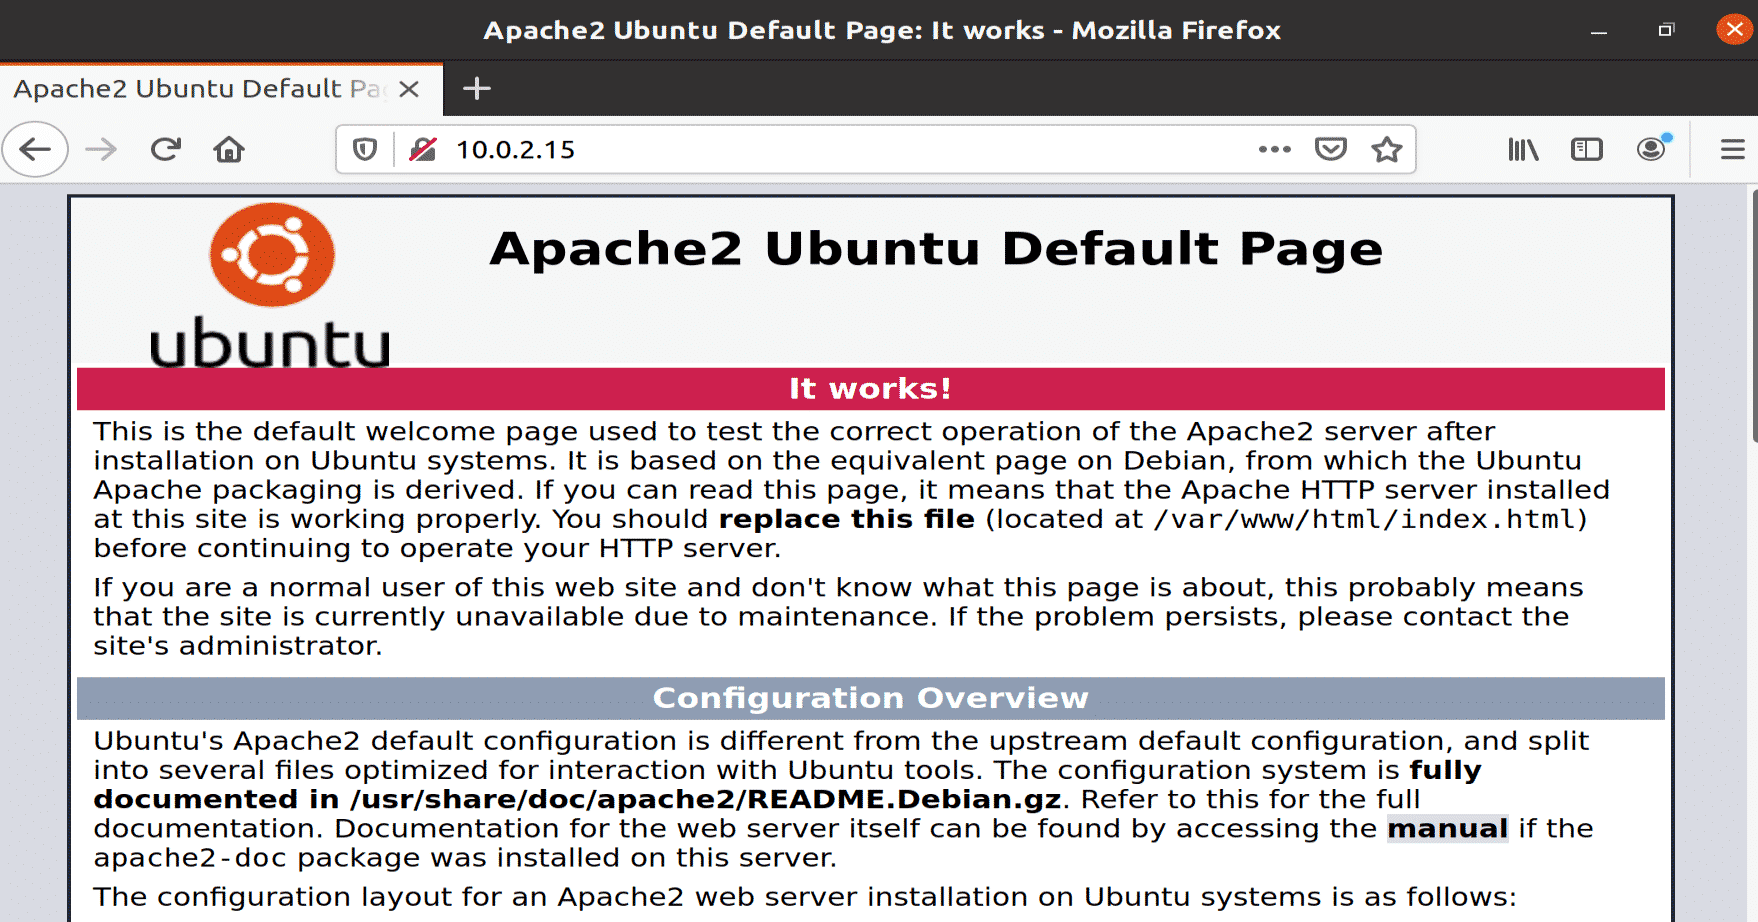
Figure: Apache service running in a browser window.
Step 7: Set Up Virtual Host
Now, you are ready to set up a virtual host using the installed Apache web server. Apache contains a test virtual host that is enabled by default when it is installed. Hosting a single website is easy; you just have to upload the website content in its configuration file under the “/var/www/html.” The path to this configuration file is defined as follows.
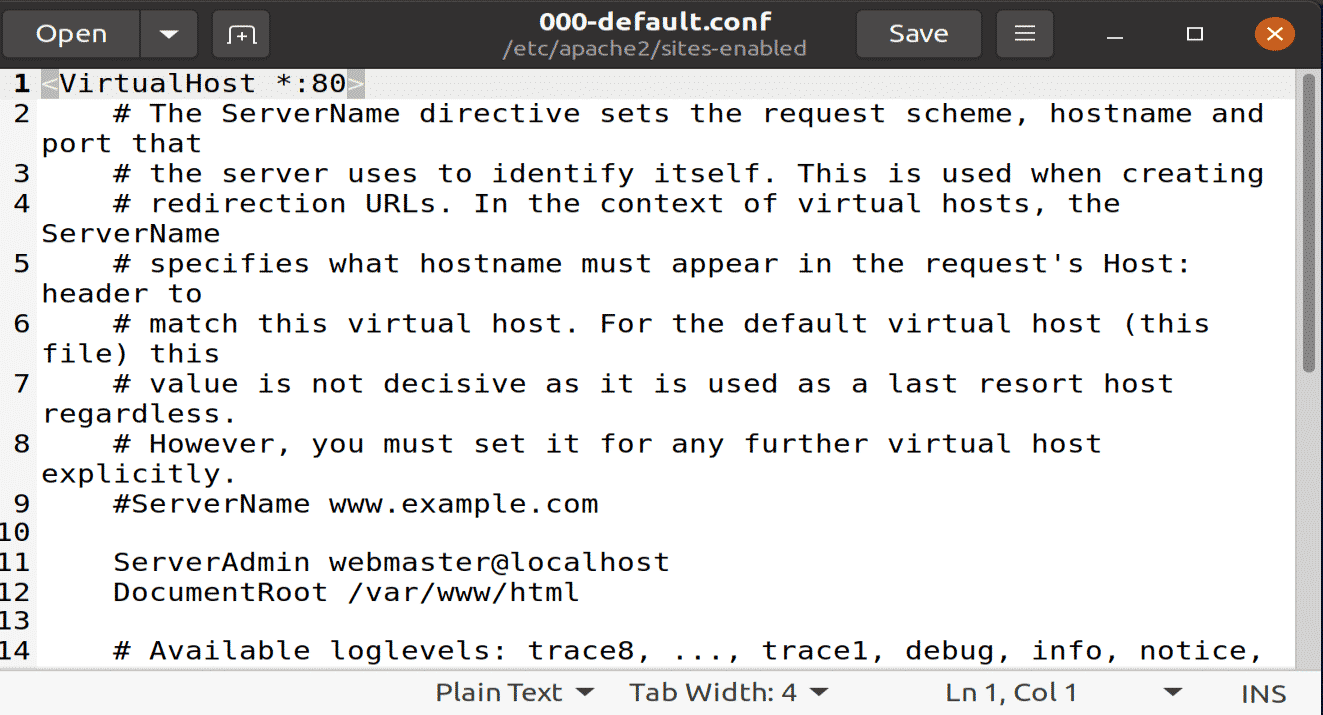
Figure: Default configuration file opened in gedit editor.
Step 8: Create Domain Name
If you are hosting multiple websites, use the following command to create a new virtual host configuration file for every new website. The domain name created in this test example is www.example.com; this can be replaced with your desired domain name.

Step 9: Create New Directory File
Create a new file in the directory named “index.html” and paste the following content into this file.
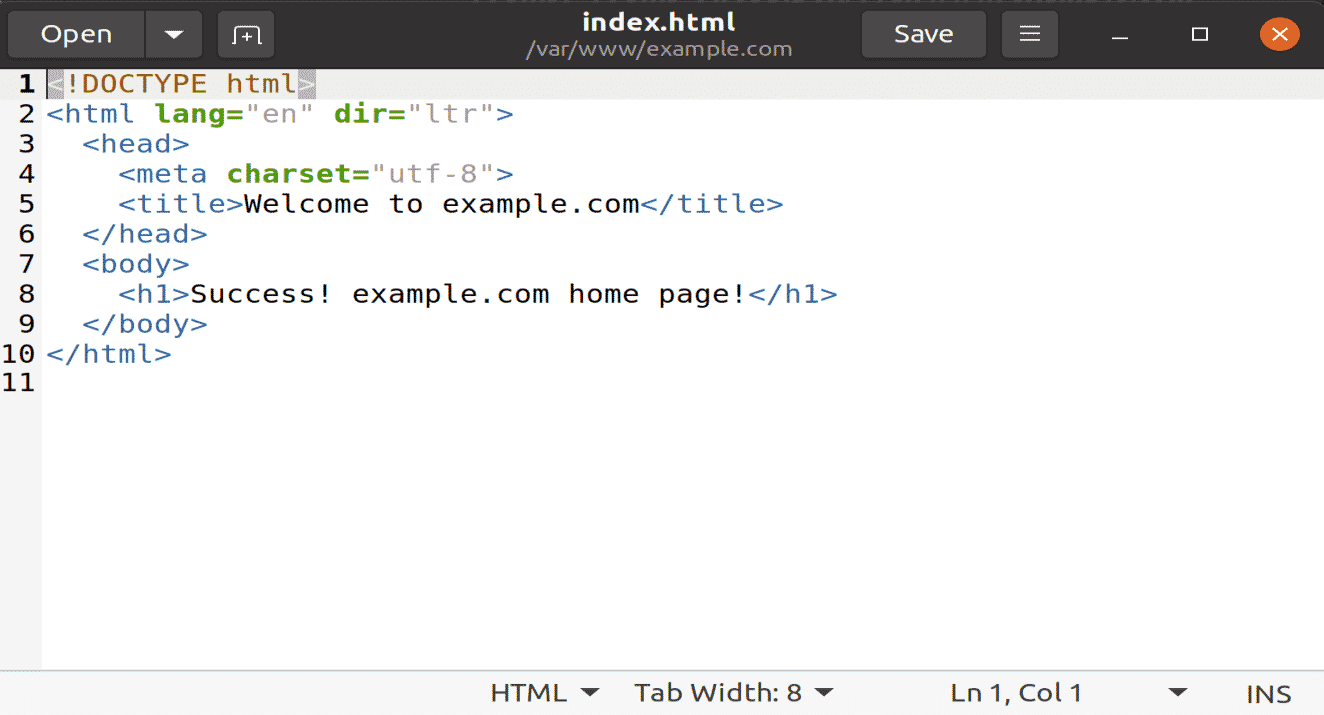
Figure: New index.html file with site content inside.
Save the file and close it. Change the file permission options with the following terminal command.

Step 10: Create Document in Text Editor
Open your favorite text editor and create this file in “/etc/apache2/sites-available” location. I am using the gedit text editor.
ServerName example.com
ServerAlias www.example.com
ServerAdmin webmaster@example.com
DocumentRoot /var/www/example.com/public_html
<Directory /var/www/example.com/public_html>
Options -Indexes +FollowSymLinks
AllowOverride All
</Directory>
ErrorLog ${APACHE_LOG_DIR}/example.com-error.log
CustomLog ${APACHE_LOG_DIR}/example.com-access.log combined
</VirtualHost>

Figure: example.conf file opened with gedit editor.
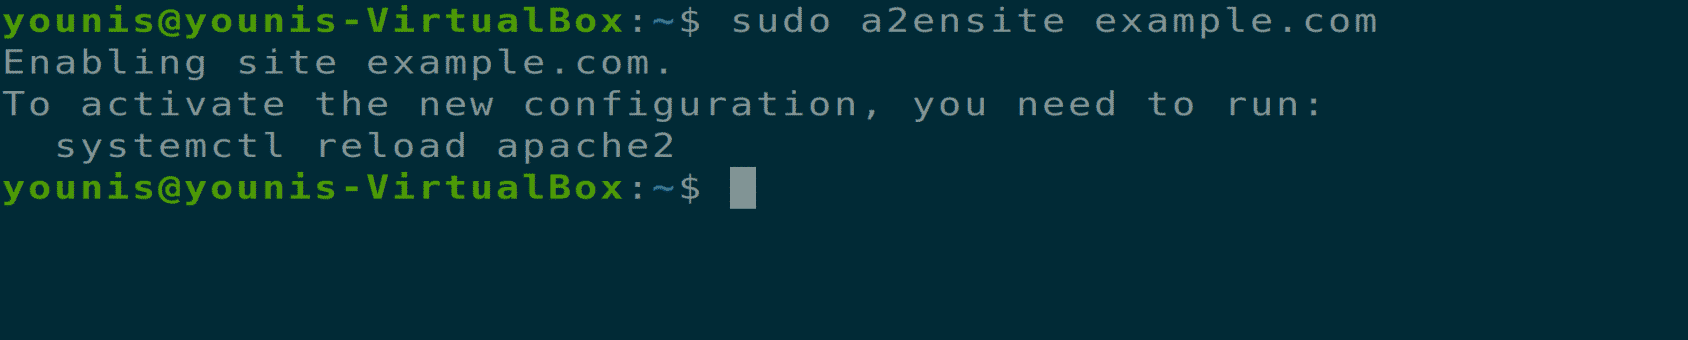
Step 11: Link Configuration File
Link this configuration file to the a2ensite utility by executing the following terminal command.
To check for a syntax error in the configuration file, execute the following command.

Step 12: Restart Apache
Now restart Apache service, open your web browser, and type the following URL into the URL bar.

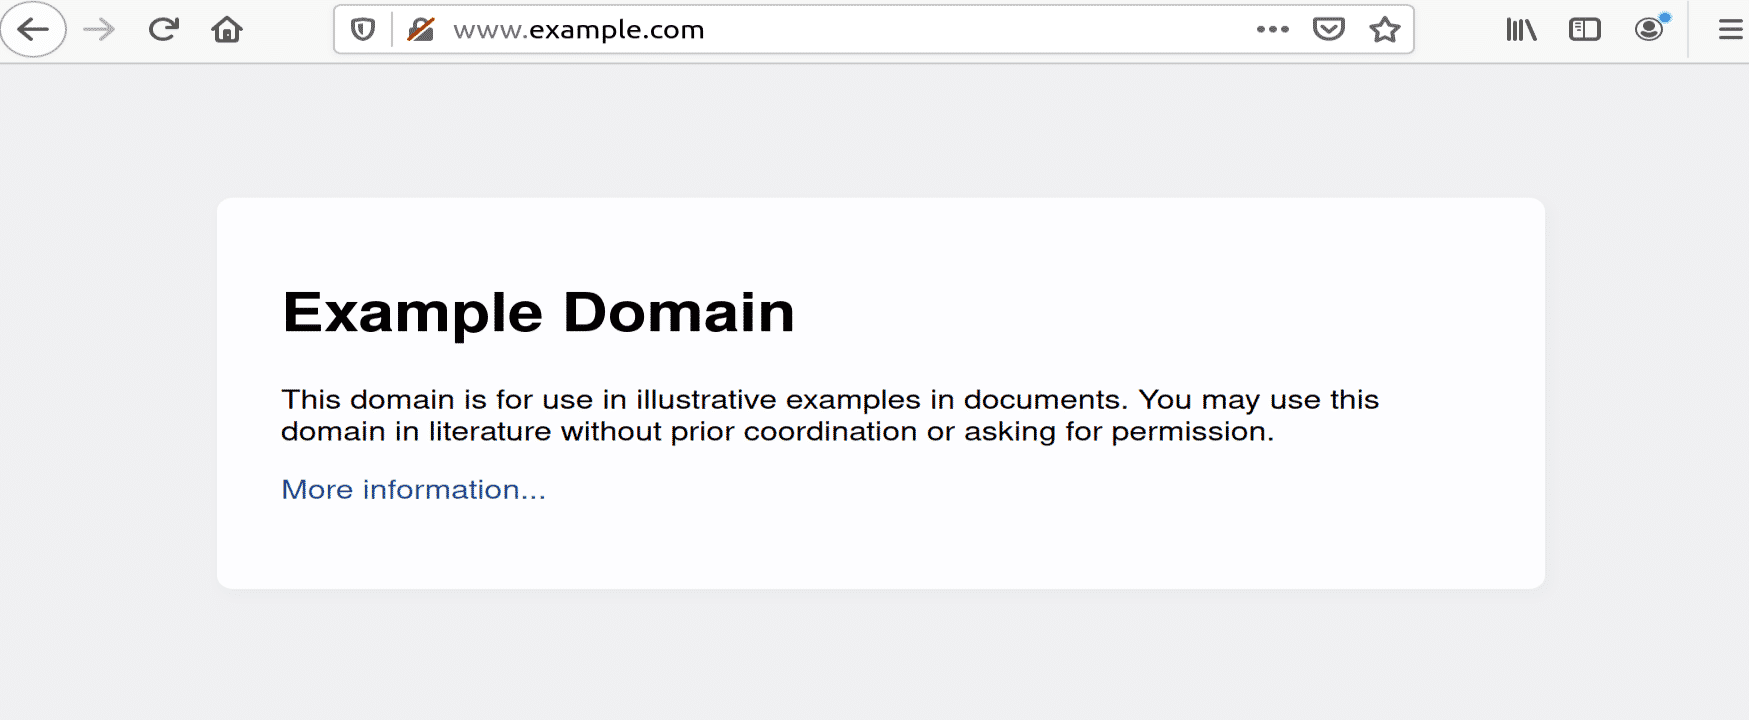
Figure: example.com opened in a browser window.
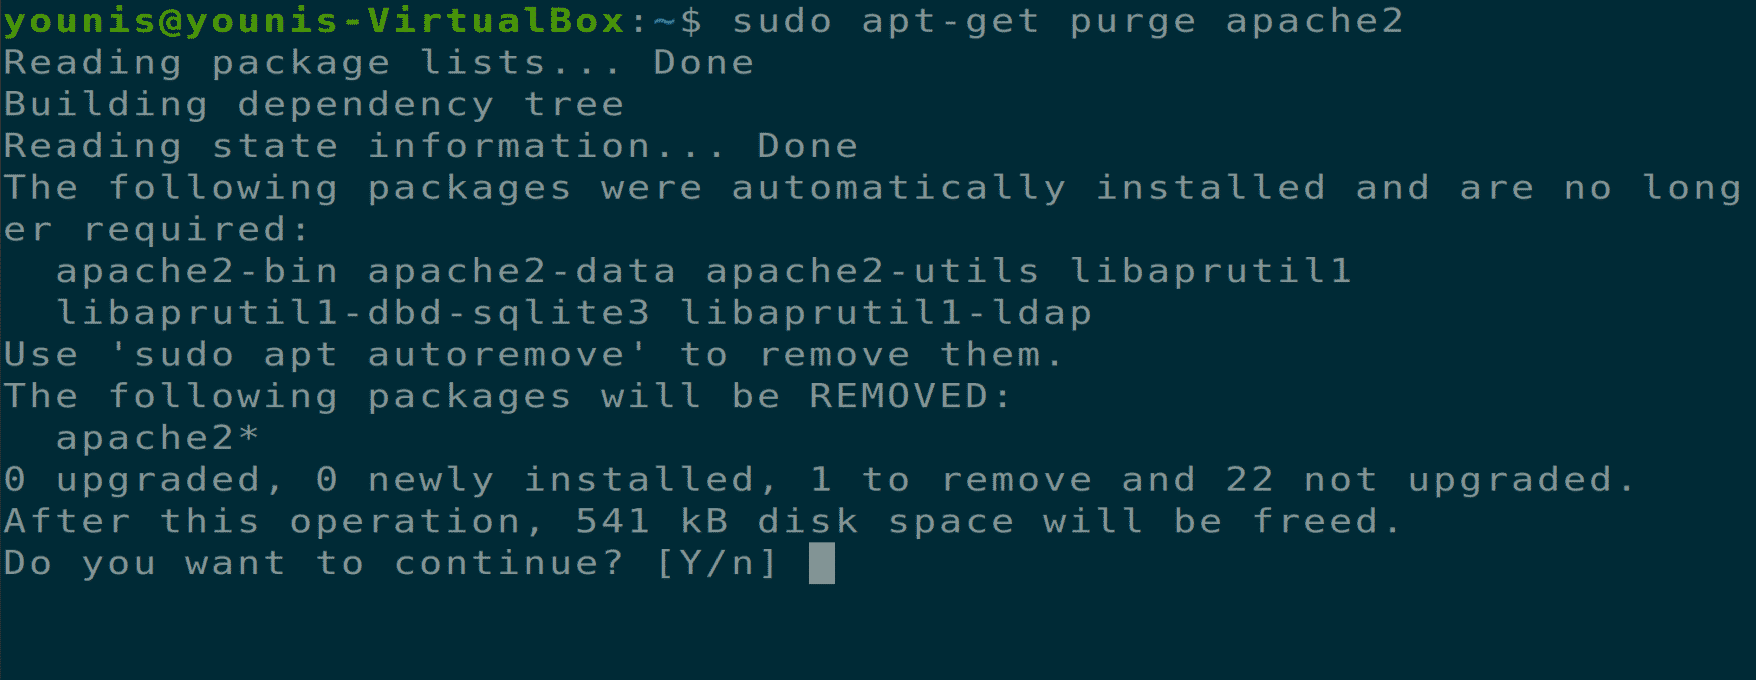
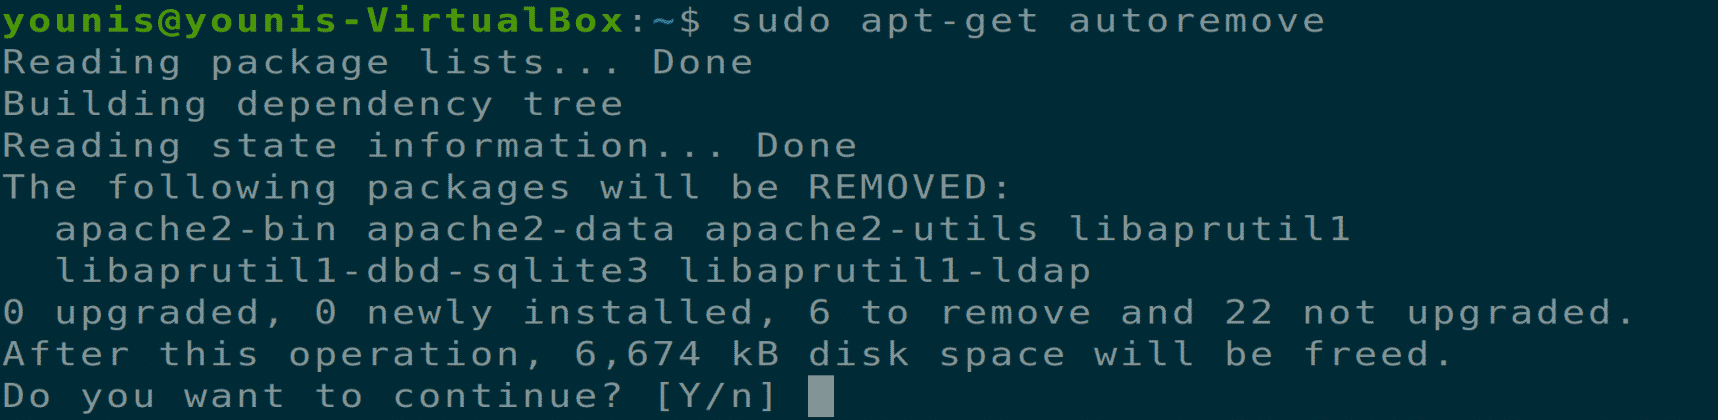
Uninstalling Apache Web Server
You can completely uninstall the Apache web server via the following terminal commands.
Conclusion
This article covered how to install the Apache web server, configure firewall settings for Apache, set up virtual hosts on Apache web server, and uninstall Apache.
from Linux Hint https://ift.tt/30HxBWo


0 Comments