


This simple tutorial will show you how to download Docker, enable or disable Docker upon system reboot/startup, and change usage permissions for users in six easy steps.
Step 1: Update APT
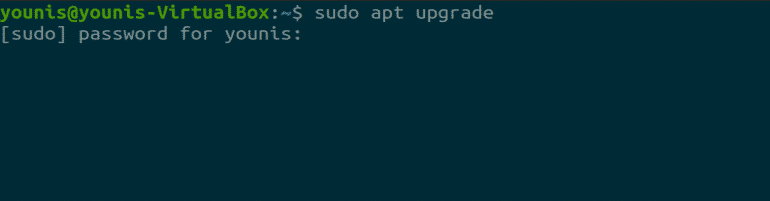
As always, first, update and upgrade your APT.

Step 2: Download and Install Docker
Enter the following command to download and install the Docker package.

Step 3: Launch Docker
Start Docker and enter the following command to enable it after every time the system reboots.

To disable it again, simply type in the following command.

Step 4: Set User Privileges
This step will show you how to give privileges to any user with Docker. You can replace “younis” with the user account you are giving permission.

Step 5: Check Docker Version
You can check the version of Docker with the following command.

Step 6: Test Docker
Test Docker by running the following command, which will open a container to run the Hello World command.

Conclusion
Docker is a very useful tool for working with third-party software tools, as it establishes well-defined and secure channels for communication. Because it is so useful, Docker is becoming more popular day by day.
from Linux Hint https://ift.tt/2YNXVf7


0 Comments