We have run the commands and processes mentioned in this article on a Debian 10 Buster system but you can easily replicate them on most Linux distros.
Changing the Hostname through the Linux UI
The Linux UI can only be used to change what you can call a pretty hostname. This form of hostname is a user-friendly free-form computer name that is mostly used in the UI environments. Contrary to that, a static hostname is the traditional computer name that is set by the user in the /etc/hostname and /etc/hosts file.
The pretty hostname can be changed through your system’s Settings utility. There are two ways in which you can access the system Settings.
Access the Application Launcher through the Super/Windows key and then enter the keywords ‘settings’ in the search bar as follows: 
Click the downward arrow in the top panel of the Debian/Ubuntu desktop and then click on the ‘settings’ icon from the following drop-down menu:
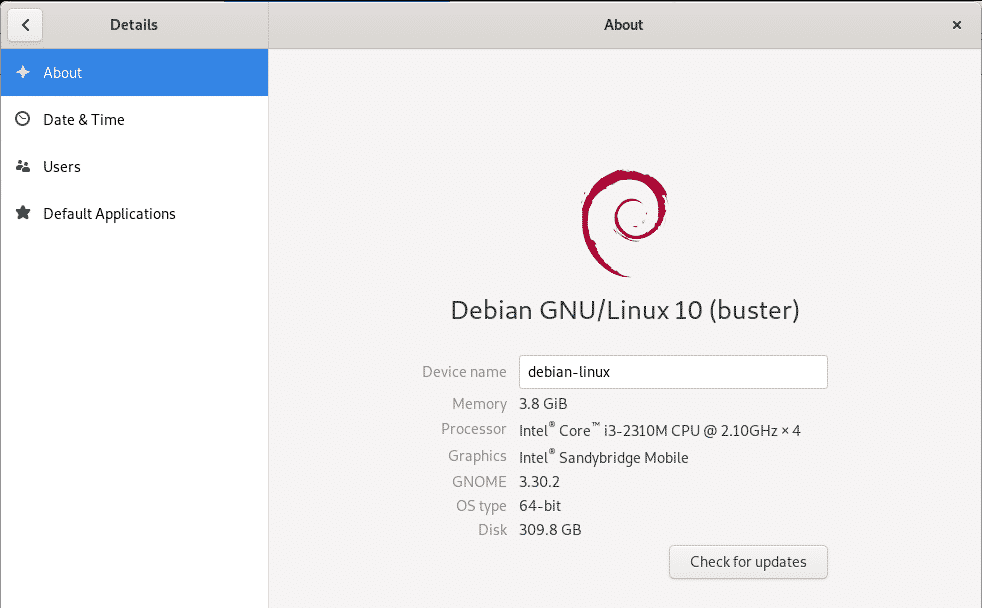
In the Settings utility, select the Details tab from the left panel and then select the About tab on it to open the About settings view. This is how the view looks like:
The Device name that you see on this view is the pretty hostname of your computer. You can change this name to a new one by simply editing the Device name text box. As soon as you enter a new name, your system will recognize it as the new pretty hostname of your system.
Tip: One easy and quick way to access the “About” settings is to enter the keyword ‘device’ in the Application Launcher as follows:
Follow the rest of the article in order to learn how you can change the static hostname of your Linux system, both temporarily and permanently.
Changing the Hostname through the Command Line
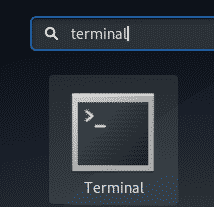
Through the command line, you get a lot more power on Linux in order to make detailed system configurations. In order to launch the default command line application on Linux Debian and Ubuntu, open the Application Launcher and enter the ‘Terminal’ keywords as follows:
As the Terminal opens, you can change the static hostname through the following two ways:
- Change the hostname manually through the /etc/hostname and /etc/hosts file
- Change the hostname using the hostnamectl command
Change the hostname manually through the /etc/hostname and /etc/hosts file
The hostname command is the easiest way to change the hostname. However, the change is only temporary and the hostname changes to its previous value when you restart the system. Nevertheless, we will explain how you can use this command. Enter the following command to fetch your current hostname:
You can then use the following command as sudo, in order to set a new temporary hostname.
Please note that only an authorized user can change static hostnames on Linux.
Example:
In the above example, I changed the hostname and then verified the change through the hostname command.
In order to permanently change the hostname, that stays the same even after restart, please follow these steps:
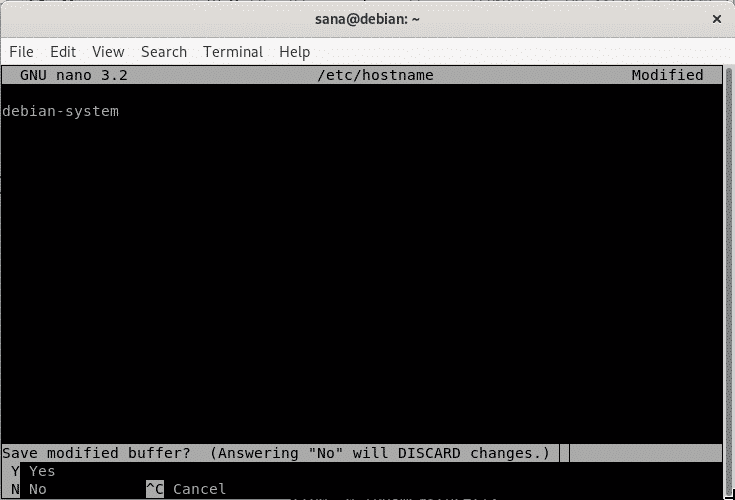
Open the /etc/hostname file in one of the available text editors. For example, we used the nano editor to open the file as follows:
Change the hostname to the one you wish and then hit Ctrl+x. This will ask you if you want to save the changes. Enter Y and the changes will be saved to the hostname file.
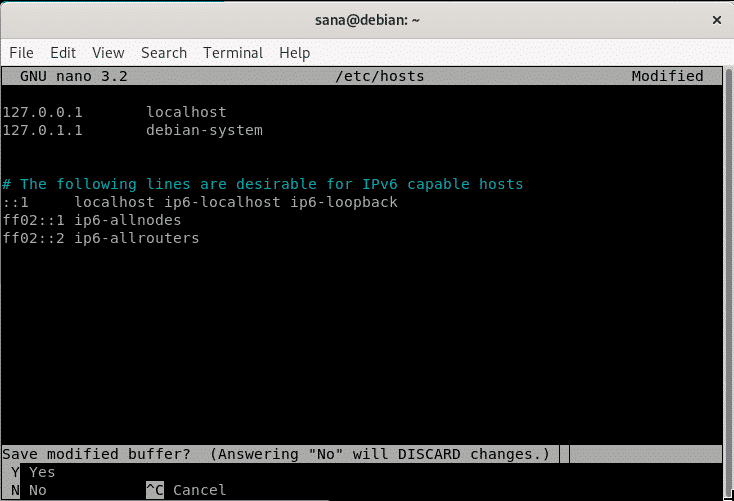
The next step is to change the /etc/hosts file in a similar manner. Open the file as follows:
Then, set the new static hostname that is listed against the IP: 127.0.1.1 and then save the file.
Now when you restart your system, the new static hostname will be set which will not revert back on a system restart.
Change the hostname using the hostnamectl command
The systemd utility on Linux is the most efficient method to change both static and pretty hostnames. If systemd is not installed on your system, use the following command to install it:
The hostnamectl command from the systemd utility lists the following information about your system:
You can use it as follows to change the pretty hostname:
And the following commands to set a static hostname:
Example:
Or,
Example:
The change can be verified by running the hostnamectl command again:
As the pretty hostname is the same as the static hostname, the GUI will show the device name as the new hostname we have set:
These were some of the ways through which you can efficiently change the pretty and static hostnames of your Linux system. As an administrator, you can use any method that suits your needs and gives a new and more customized identity to your system.
from Linux Hint https://ift.tt/2um6S4d


0 Comments