Data Recovery From Hard Drive with Foremost:
To begin lets see the connected storage devices by using the command lsblk, on the console run:
Lsblk will show all available storage devices and partitions, including swap and optical devices, in this case I want the sdb device.
Note: to learn more on the lsblk command read How to List all Linux Disk Devices.
As you can see the 32 GB USB pendrive was called sdb and that’s the device I’ll work on.
Data Recovery from USB drive with Foremost:
To begin data recovery from a USB drive start by installing Foremost using the APT package manager on Debian or based Linux distributions by running:
Once installed you can display the man page to check all available options:
From the man page we understand the flag -i is to determine an input file, from which Foremost will start working. It is usually aimed to work with images such as these produced by tools like dd or Encase. To launch Foremost in the simplest way without additional flags run the following command replacing /sdb for the device ID you want to recover data from.
Run:
Where sdb put the correct device.
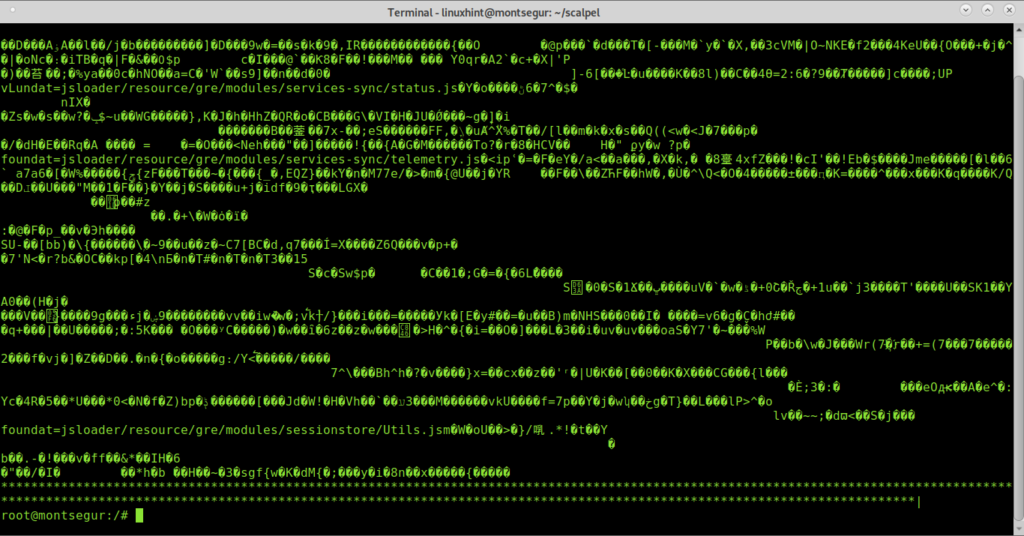
Once executed the carving process will look like:
Note: you can also specify partitions like for example /dev/sdb1.
When the process ends run ls to confirm the creation of a new directory called output:
As you can see the directory output exists, to see the recovered files enter it using the command cd (Change Directory) and then run ls:
# ls
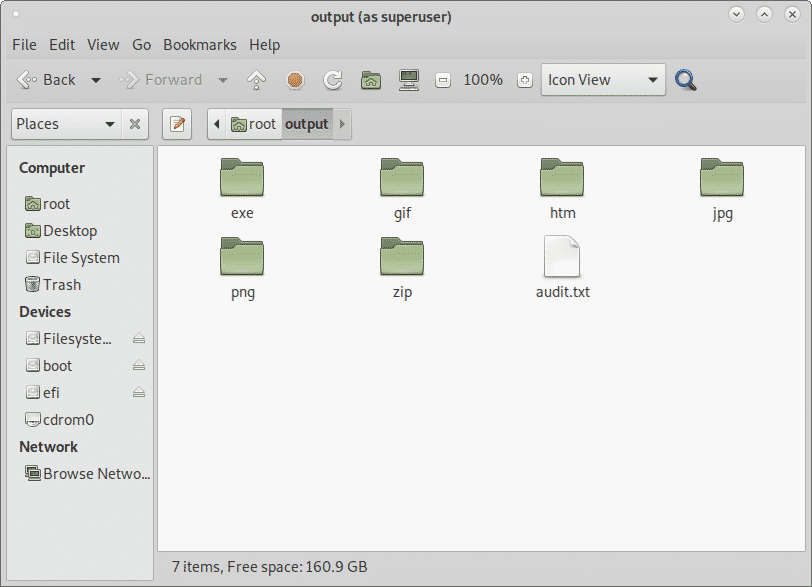
Inside you’ll see directories for all file types Foremost managed to recover, additionally you’ll see a file called audit.txt with a report on carved files.
You can check what files were found inside each directory by running ls <directory>:
You can also browse all recovered files through a graphical file manager:
Data Recovery From Hard Drive with PhotoRec:
PhotoRect is together with Foremost the most popular file carving or data recovery tool both for professional forensics and domestic use. While Foremost does a smarter recovery showing a faster performance, PhotoRec’s brute force shows better results when carving files. This section shows how to carry out data recovery from hard drive using PhotoRec.
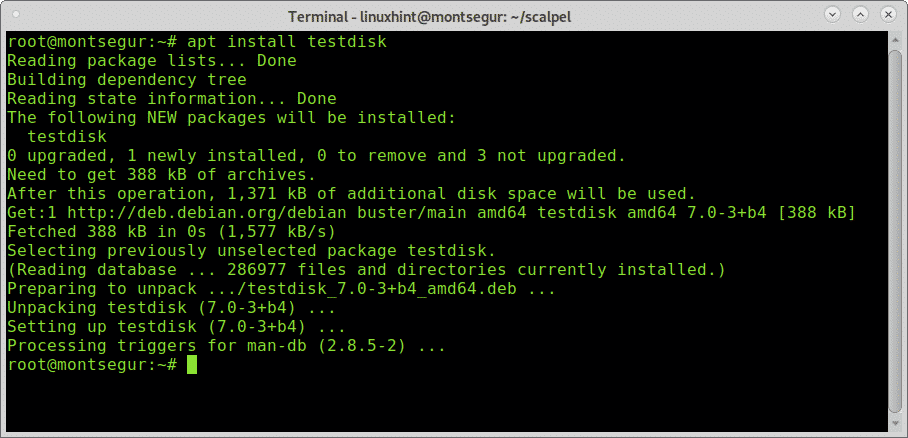
To begin on Debian and based Linux distributions install photorec by running:
PhotoRec man page is almost empty, Photorec is pretty simple to use and only needs to be executed, a didactic friendly interface similar to the one of CFDISK will show up to guide you during the whole process.
Once installed run it by calling the program:
Remember to run PhotoRec with enough permissions to access the device to be carved.
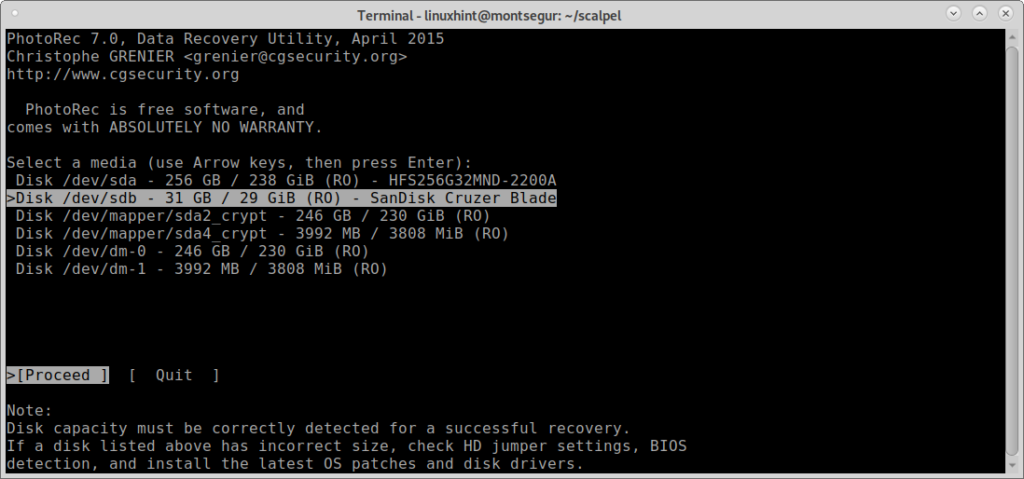
On the first screen you need to select the source disk or image from which PhotoRec needs to recover the data. In this case I’m selecting the device /dev/sdb as shown in the image below:
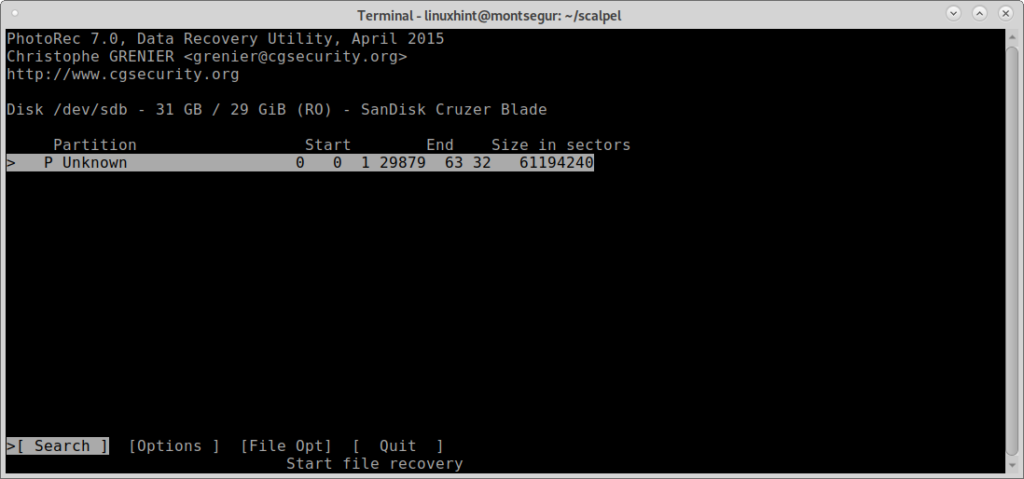
In this step you need to select the partition from which you want to recover the data.
If partitions aren’t found and listed before proceeding with a search using the keyboard arrows move to File Opt to explore the available options as shown in the image below:
As you can see within File Opt you can increase the result accuracy you want by specifying the type of files you are looking for. Select the type of files you want and then press b to continue, or Quit to go back.
Once back in the previous screen select Search and press Enter to continue to begin the data recovery process.
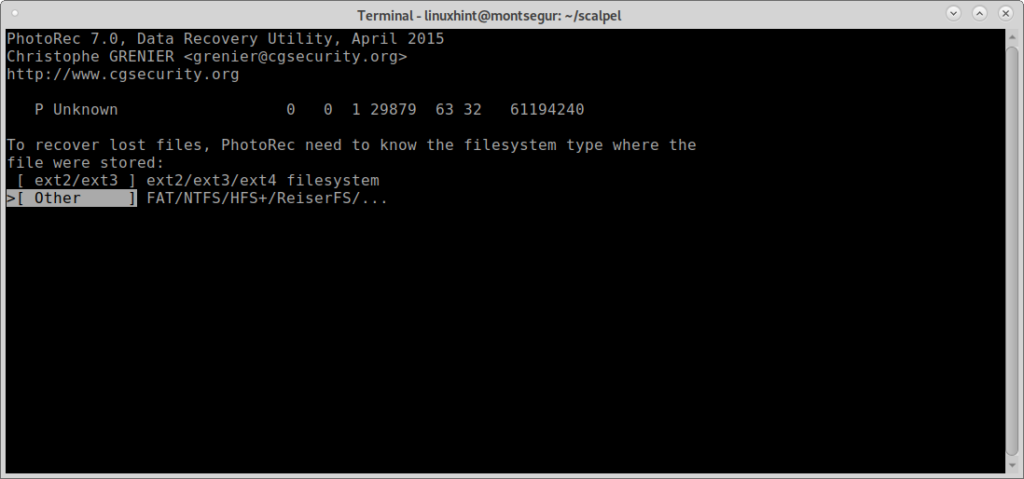
At this stage Foremost will ask what type of filesystem the device has or used to have, in this case it was FAT or NTFS, select the proper filesystem, even if it’s currently broken and press ENTER.
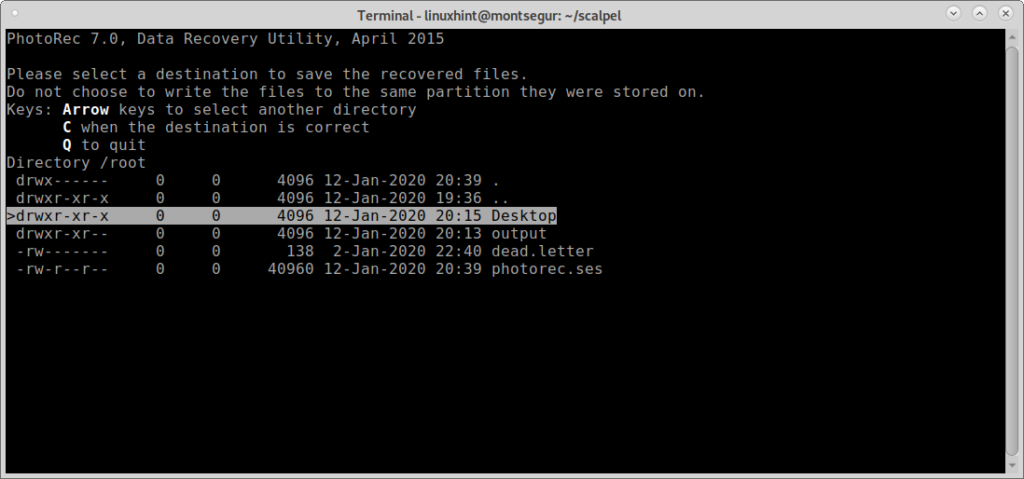
Finally PhotoRec will ask where you want to save the files, I just left the Desktop but you can create a dedicated folder for it, after choosing the destination press C to continue.
The process will start and may last some minutes or hours depending on the size.
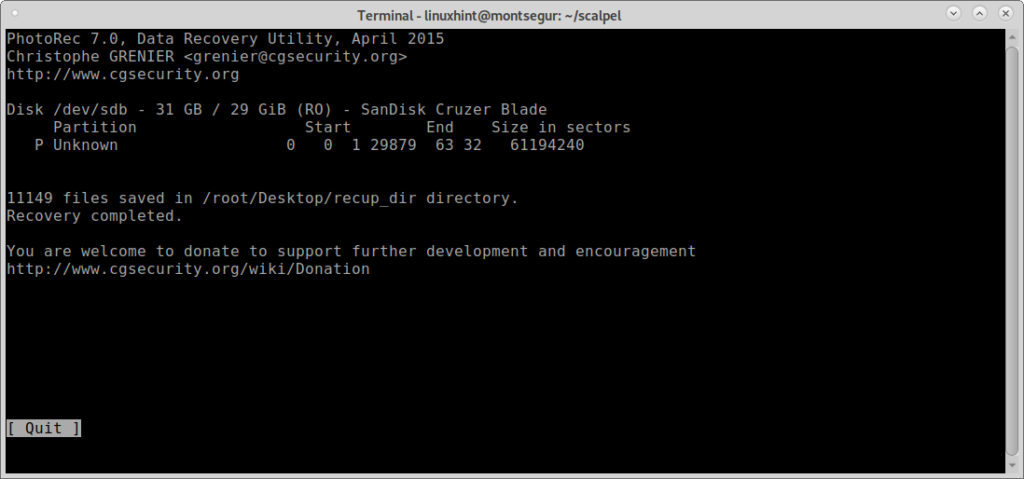
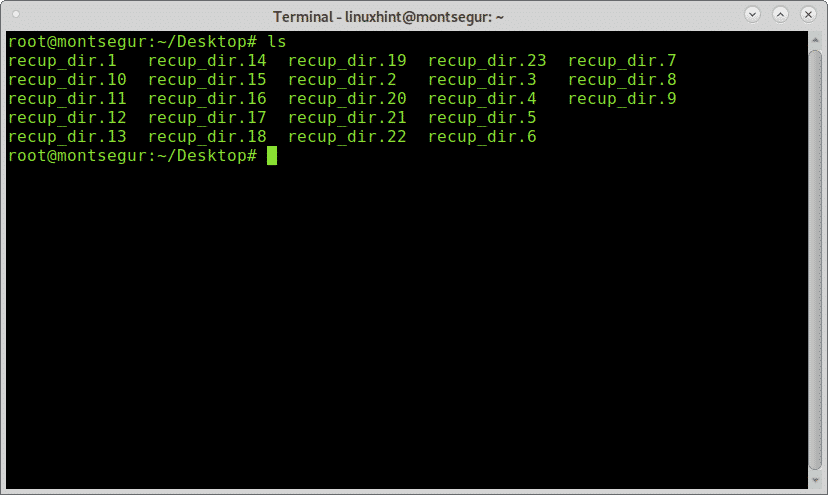
At the end of the process PhotoRect will notify the creation of a directory with the recovered files, in this case recup_dir* inside the Desktop previously selected as destination.
Like with Foremost you can list all files from the console:
Or you can browse files using your preferred graphical file manager:
Conclusion on data recovery from hard drive with PhotoRec and Foremost:
Both tools lead the file carving market, both tools allow to recover any type of files, Foremost supports carving jpg, gif, png, bmp, avi, exe, mpg, wav, riff, wmv, mov, pdf, ole, doc, zip, rar, htm, and cpp and more. Both tools are compatible with disk images like dd or for Encase. While PhotoRec relays on brute force providing a deeper carving, Foremost focuses on block headers and footers working faster. Both tools are included in the most popular forensic suites and OS distributions such as Deft/Deft Zero live or CAINE which were described at https://linuxhint.com/live_forensics_tools/.
Using PhotoRec or Foremost brings the possibility to apply high level forensics tools even for domestic use, the mentioned tools have not complex flags and options to add the launching them.
I hope you found this tutorial on How to Data Recovery from Hard Drive useful. Keep following LinuxHint for more tips and updates on Linux and networking.
from Linux Hint https://ift.tt/2uNo0j1










0 Comments