


If you don’t know how you can change the file permission on the Raspberry Pi system, follow this article’s guidance for help.
Changing File Permission in Raspberry Pi
In the Raspberry Pi system, there are two methods to change the file permission, which are as follows:
Method 1: Through GUI Method
The GUI method is the easiest method to change the files permission and you can do this method by following the below-mentioned steps:
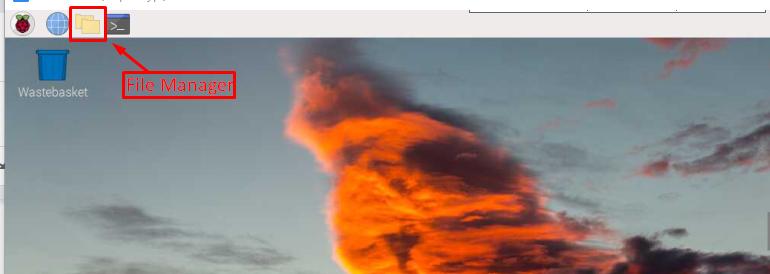
Step 1: Go to the “File Manager” present at the left side of the desktop screen:
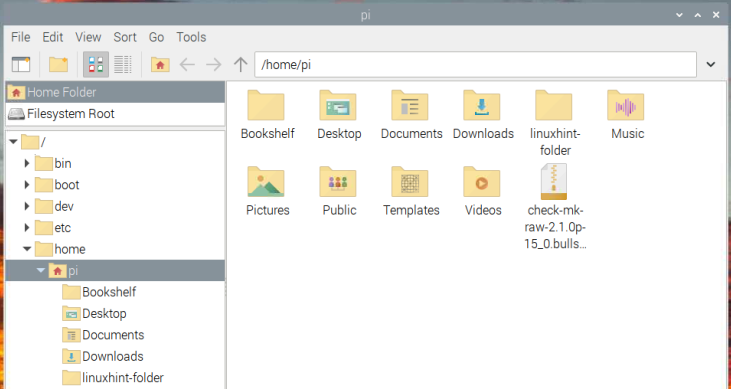
Step 2: A window will appear on the screen from where you can access all files and folders:
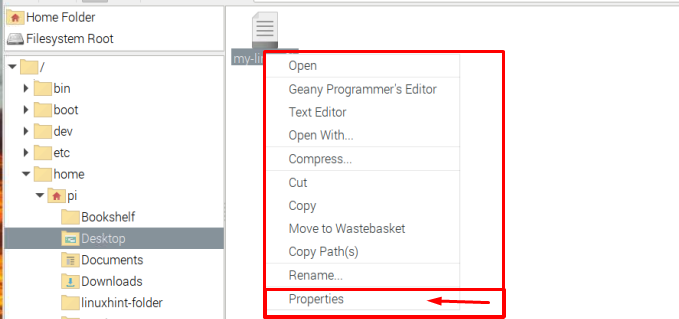
Step 3: Now, if you want to change the permission of a file, you have to right click on the file to open the drop-down menu. Then select the “Properties” option to open the “File Properties” dialogue box:
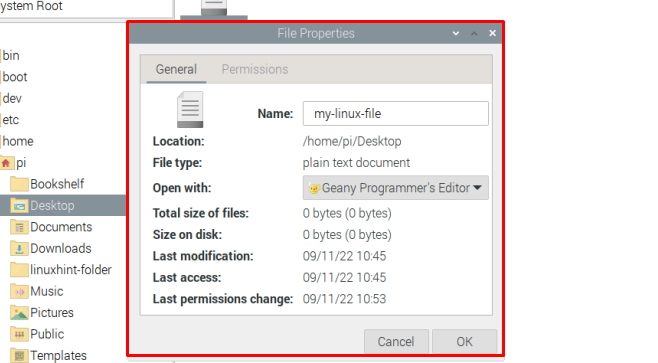
Step 4: There at the dialog box, go to the “Permissions” tab.
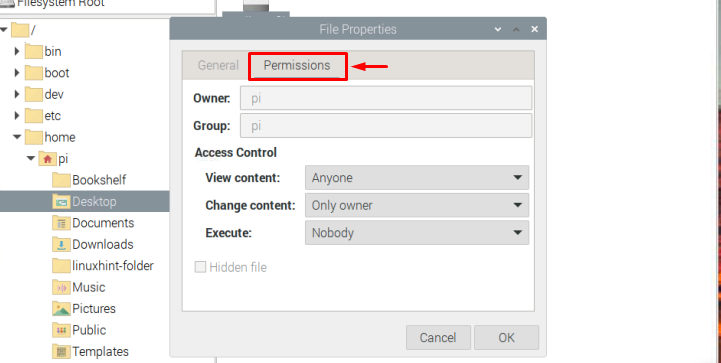
In the Access Control section, you can change the file permission like restricting the access to view the file content, changing the file content, and executing the file.
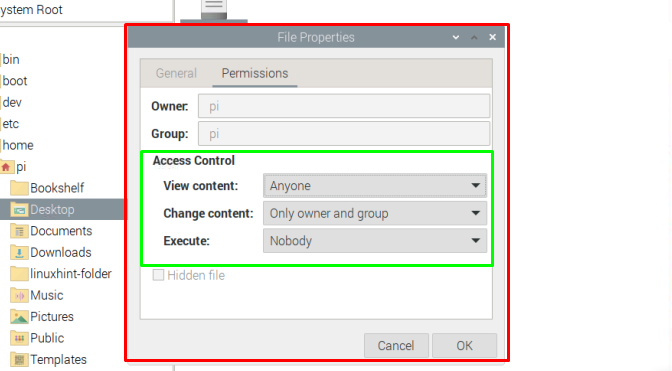
Step 5: Once you are done changing the file permission according to your preference, just simply click on the “OK” button to save the changes.

This changes the file permission and you can repeat similar steps for any file.
Method 02: Through Command Line Terminal
To change the permission of a file through the command line terminal, follow the below-given steps:
Step 1: Go to your directory where the file is present using the following command:
In my case I am changing the file permission present in the Desktop directory.

Step 2: Inside the directory, use the following command to look for permission access of a particular file:

Step 3: To change the permission of this file, we will use the “chmod” command. There are several ways to use this command:
Way 1
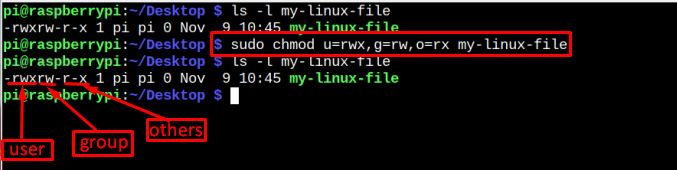
You can change file permission on your Raspberry Pi system using the following syntax:
The above command states that the user is given the access to execute the file. The representation can be decoded as:
- u => for user/owner
- g => for groups in which the user/owner is also a part
- o => for others
The sign representation is mentioned below:
- Positive (+) sign => Access is given.
- Negative (–) sign => Access is denied.
And for access privileges, the representation is mentioned below:
- r => read privileges
- w => write privileges
- x => execute privileges
Each of these representations can be used according to user requirements. For instance, let’s suppose we are restricting the file’s read access to group, thus to do this, we can use the following command:
Note: The ls -l command is only used to list/display the permissions.

Way 2
Another way of using the chmod command is that instead of changing the permission, user can set all the required permission privileges in just a single command as shown below:
Note: Remember my-linux-file is the name of my file, users can opt for any file of their choice.
Again mentioning, the ls -l command used in the above image is just for the sake of listing the permissions. If you want to check that too, you can follow the below-given syntax for that:

Way 3
The third way to use the chmod command is to use the octal code instead of using alphabetical representation. The following are the octal code you can use with chmod command:
- 4 => To assign read-only privileges.
- 5 => To assign read and execute privileges.
- 6 => To assign read and write privileges.
- 7 => To assign read, write, and execute privileges.
To use the above representation, user must follow the below-mentioned syntax:
Just to develop an understanding, I am providing an example below:

I hope everything is clear about changing file permission so that’s it for this guide and let’s conclude.
Conclusion
To change file permission in the Raspberry Pi system, there are two methods, one is GUI based and the other one is the command-based method. To change file permission through the GUI method, the user just has to right-click on the file, go into “Properties” and change the permission according to the need. Whereas, in the command method the chmod command is used in several ways. It up to the user’s whether to go with way 1, 2, or 3.
from https://ift.tt/I1pHhnS


0 Comments