The netstat command is comparatively slower than the Socket Statistics because it gathers the information by reading the /proc files. Reading from the /proc files takes plenty of time to display several network connections. On the other hand, Socket Statistics directly gathers the information from kernel space.
We listed down the different ways that the “ss” can be used to get an information about the network connections. The “ss” command was implemented on the command line of Ubuntu 22.04.
Let’s get started with the Socket Statistics command!
List the Network Connections
What if you want to list down all the network connections that are present in your system? You can use the ss command to achieve that. The following command lists down all TCP, UDP, and UNIX connections:
![]()
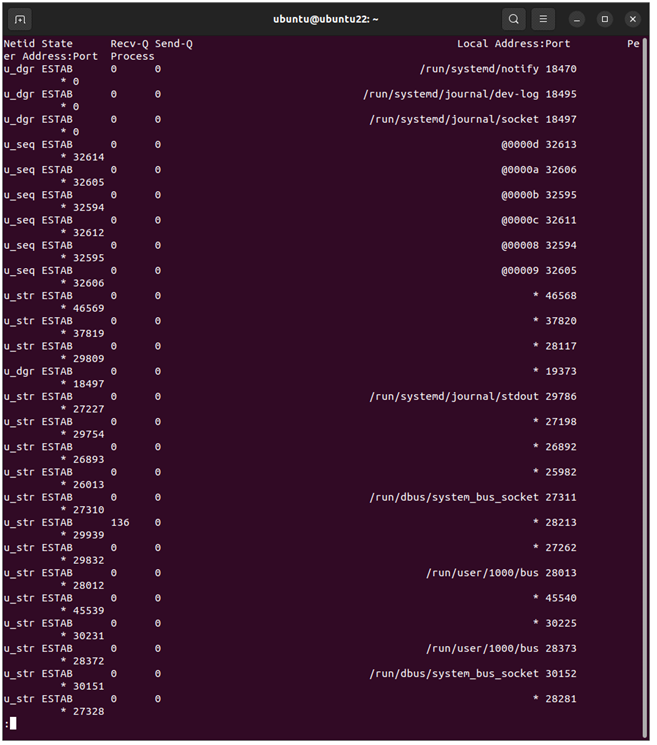
List TCP, UDP, and Unix Socket Connections
To filter out the network connections, we can make use of the different options with the “ss” command. For example, if we use the “t” flag in the output, we will see all the connections that are connected or established.
![]()

To see the TCP connections, use the “t” flag along with the “A” flag as shown in the following:
![]()

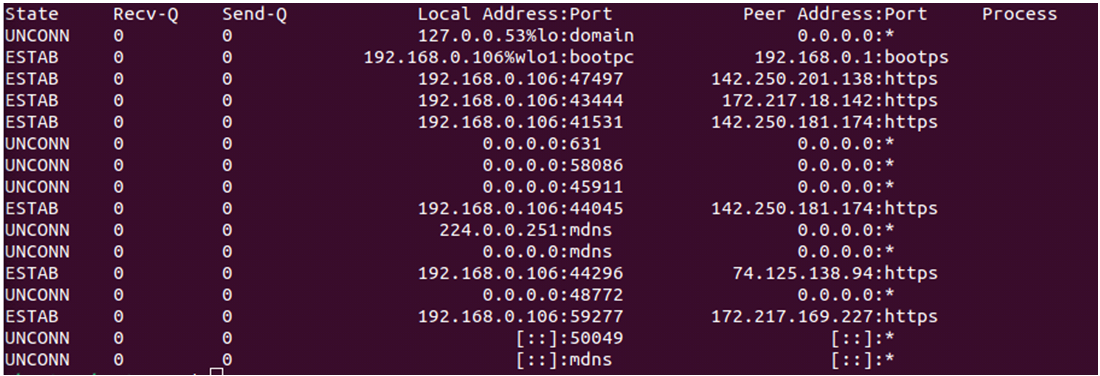
To see the UDP connections, use the “ss” commands like the following:
![]()
![]()
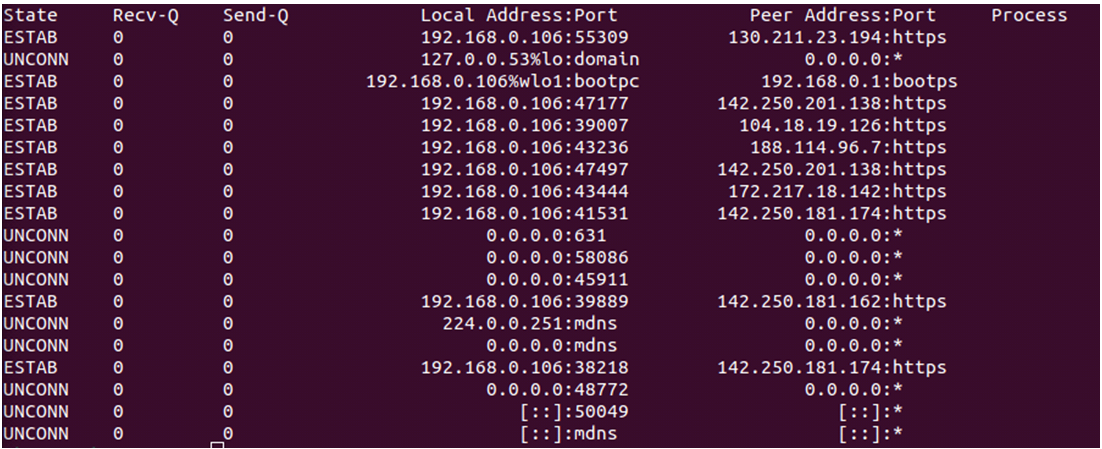
The “a” flag shows both connected and listening sockets. If we use the “ss –u” alone, the output will not show anything since UDP is a connectionless protocol. The “a” flag, however, can be used to see all UDP connections.
To see the Unix connections, execute the following command:
![]()
![]()
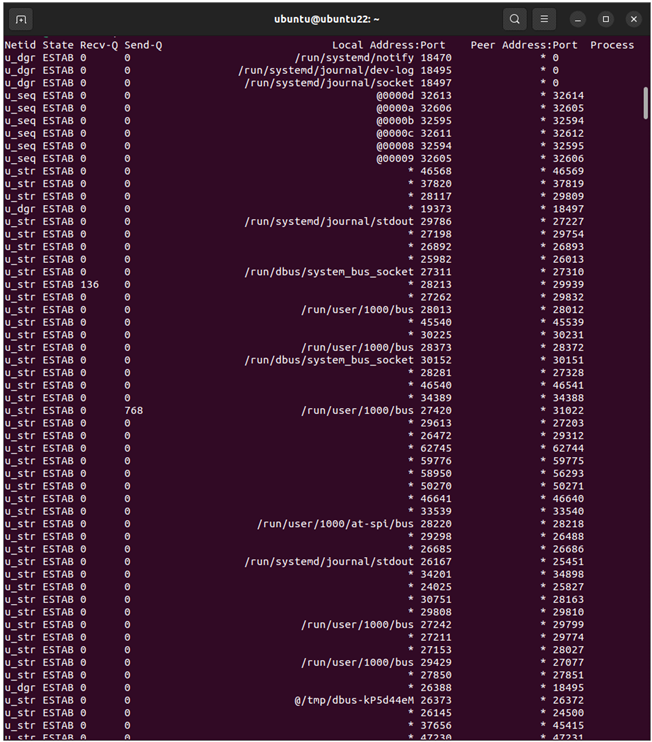
Display the Faster Output
The “n” flag, if used with “t” in the ss command, keeps the socket statistics from resolving the IP addresses to hostnames and displays the faster output as displayed in the following:
![]()
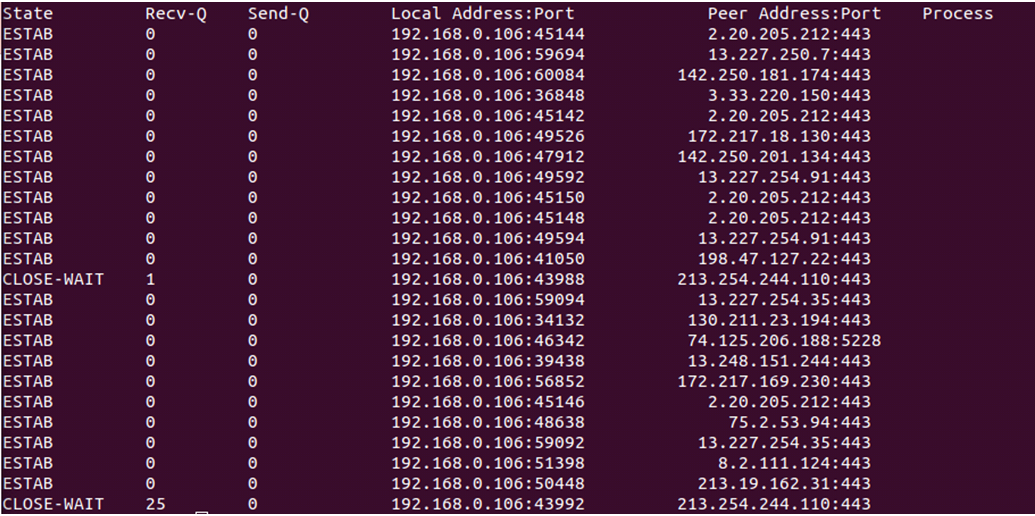
Display the Listening Sockets
To list down only the TCP sockets that are listening, issue the following command:
![]()

For UDP sockets, issue this command:
![]()

Display the Process Name and Its Pid
To display the process name and its pid, we use the following command:
![]()

Display the Statistics
To view the complete statistics, use the “s” flag as shown in the following:
![]()

Display the Time Info of Connection
We can also display the time information of each connection using the “o” flag. This is how it is done:
![]()

The time info tells us how long the connection is maintained.
Print IPV6 or IPV4 Socket Connection
What if we just want to print the IPv4 connections? We execute the command in this manner:
![]()

Similarly, we can also list down the IPv6 connections.
![]()

Filter TCP Connections by Connection State
We can also filter the connections by providing the connection state in the ss command. This is the command syntax to filter the TCP connections by their state:
For example, let’s see the established connections only using the command like this:
![]()

Similarly, you can provide the other states as shown in the following examples:
![]()

![]()

Filter Connections by Port Number or IP Address
Connections can also be filtered by port numbers or by IP address like this:
![]()

Conclusion
In today’s guide, we learned in detail on how to use the ss command. We learned the different ways that the ss command is used to gather information on the network connections of your system. The ss command is a great alternative to netstat and can help in network diagnosis.
We hope you liked the tutorial.
from https://ift.tt/0Zujik7


0 Comments