Apache Maven is an open-source utility that enables you to automate the development procedure of Java projects. It can also be utilized for Ruby, C#, and other programming languages. In Linux-based systems such as Ubuntu 22.04, Apache Maven is a well-known tool for developing projects related to Java. It is hosted by the maven project, which was once a part of the Jakarta Project until splitting off.
This write-up will demonstrate the method of installing Apache Maven on Ubuntu 22.04 using two different methods. So, let’s start!
Method 1: Installing Apache Maven on Ubuntu 22.04 using apt
You must follow the below-given step-by-step instructions for installing Apache Maven on Ubuntu 22.04 using the official APT repository.
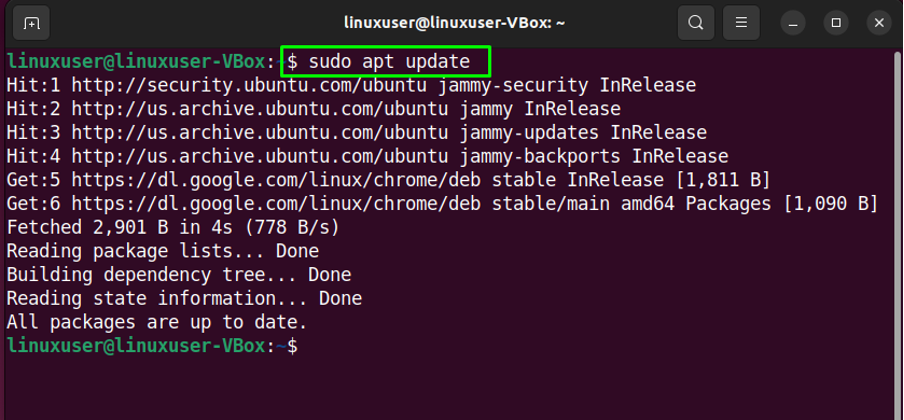
Step 1: Update system repositories
First of all, open up the terminal by hitting “CTRL+ALT+T” in Ubuntu 22.04 and write out the below-given commands for updating the system repositories:
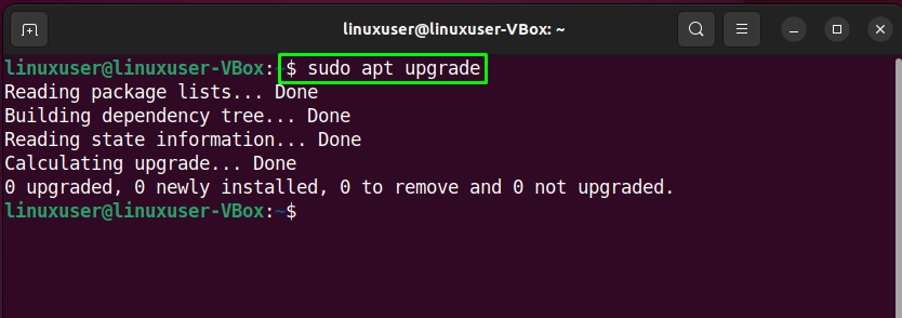
Upgrade the system packages as well:
Step 2: Apache Maven Installation on Ubuntu 22.04
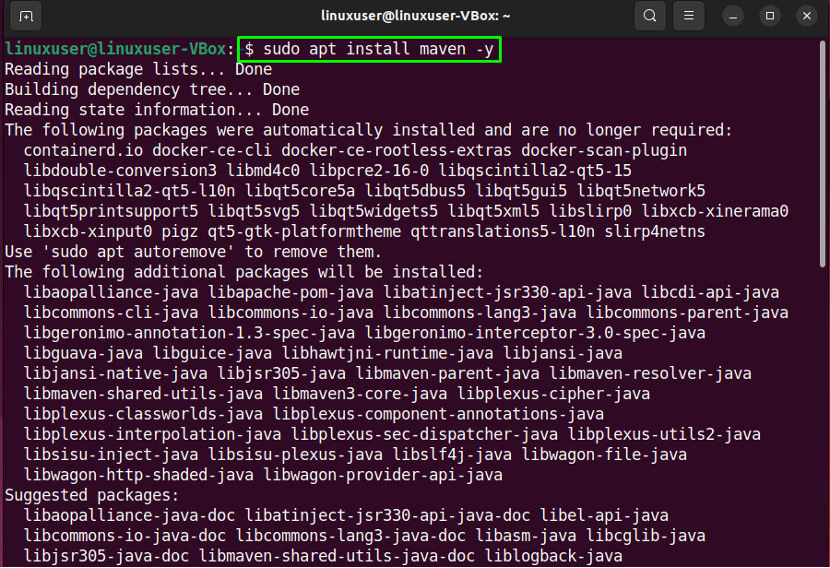
In the next step, execute the following command for the installation of Apache Maven on Ubuntu 22.04 system:
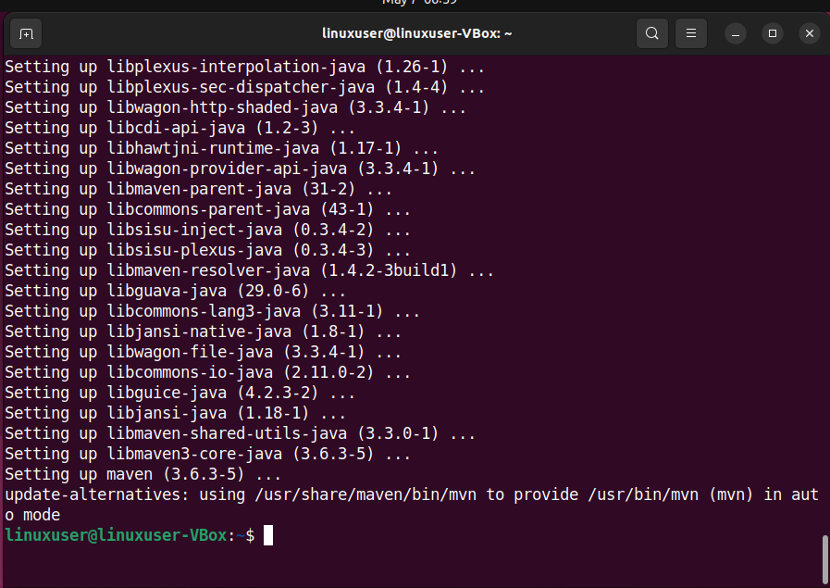
Wait for a few minutes as the Apache Maven will take some time to install:
Step 3: Check Apache Maven version
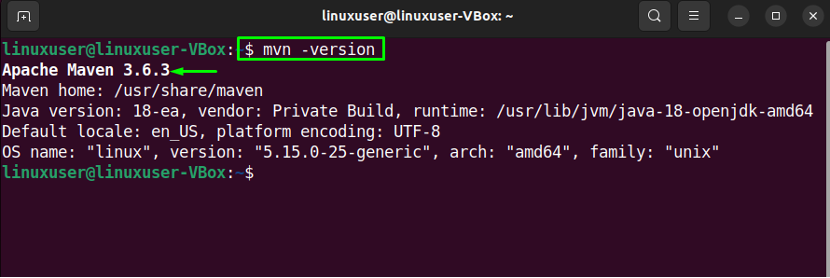
Lastly, verify the version of Apache Maven which you have installed on your Ubuntu 22.04:
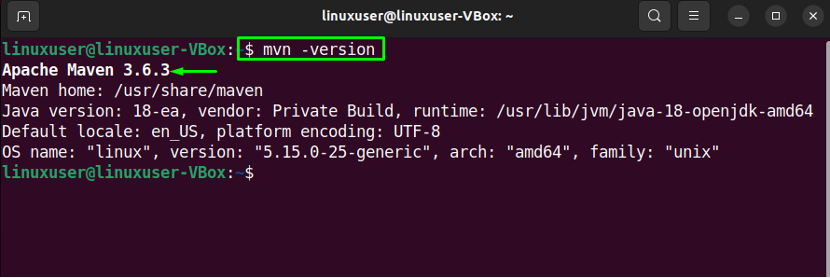
Now, let’s check out the manual procedure of Apache Maven installation.
Method 2: Installing Apache Maven on Ubuntu 22.04 using Manual method
For experienced Linux users, the manual method for installing Apache Maven is more suitable as it permits you to download and install the latest version.
Want to manually install Apache Maven? Follow the below-given procedure.
Step 1: Install Java
First of all, make sure that Java is installed on your Ubuntu 22.04; if you do not have it, then utilize the given command for its installation:
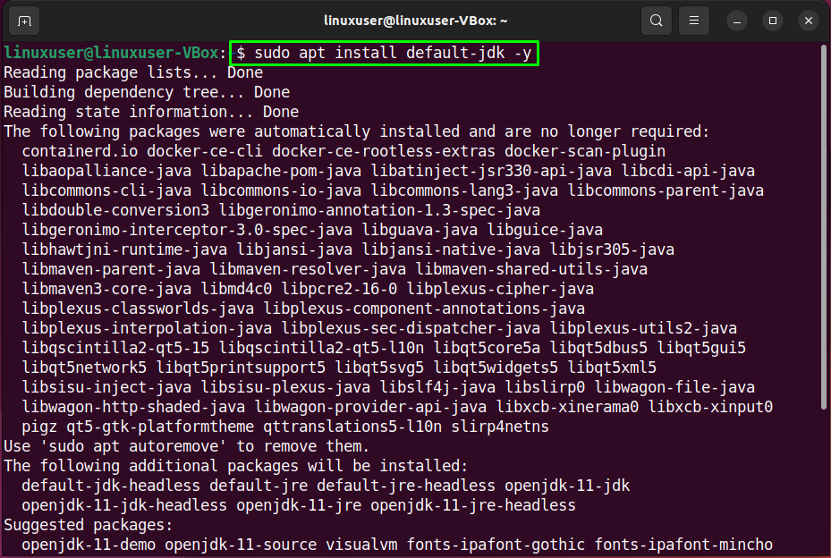
Step 2: Download Apache Maven latest version
Next, write-out the below-given “wget” command for downloading the latest version of Apache Maven from the official website:
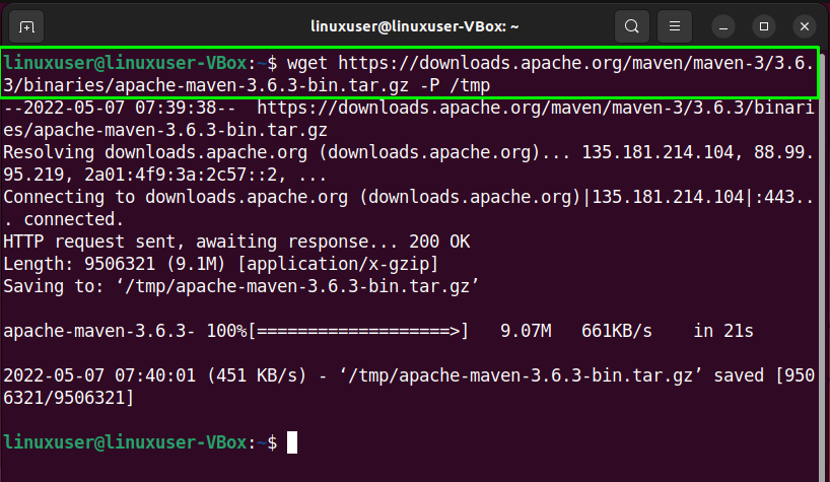
Step 3: Extract downloaded Apache Maven package
Now, move to the “/tmp” directory with the help of the “cd” command:

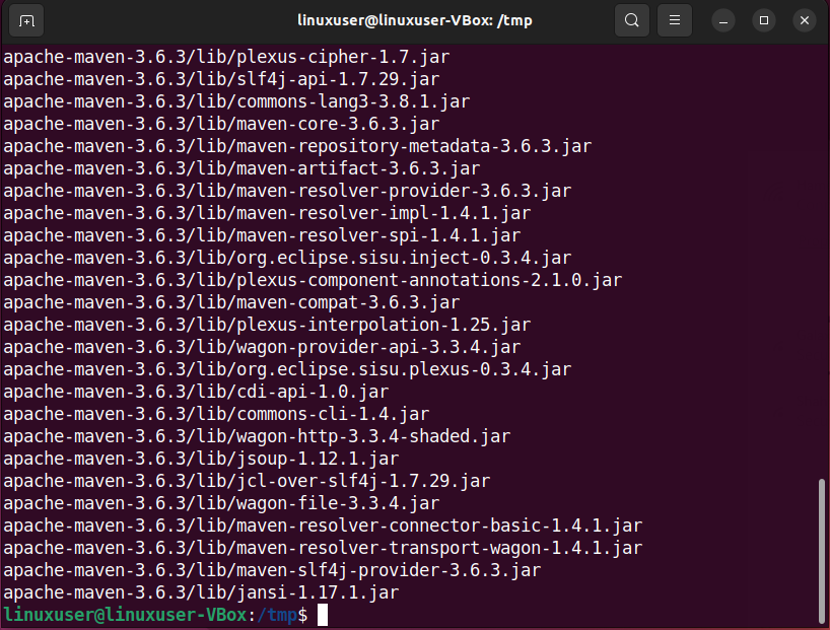
Then, execute the following command to extract the downloaded Apache Maven archive file:
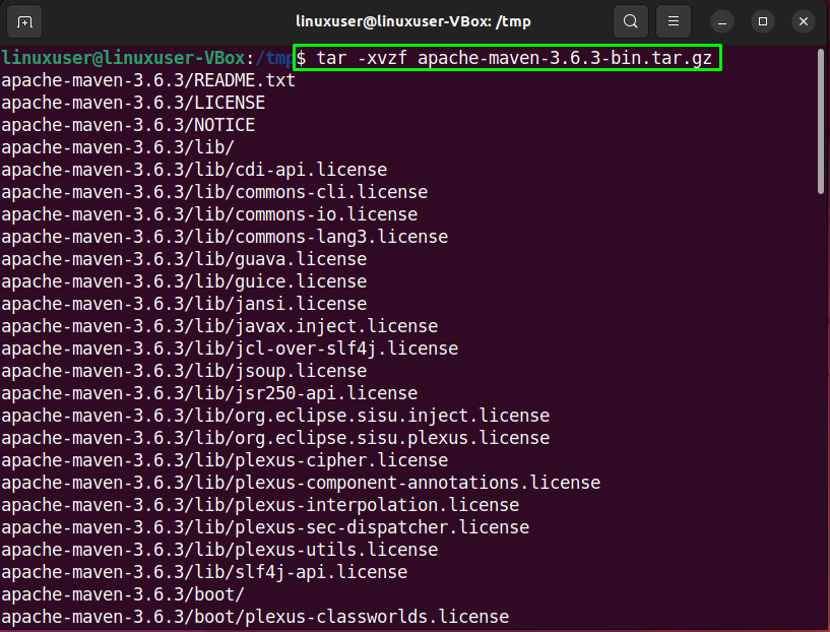
Wait for a few minutes:
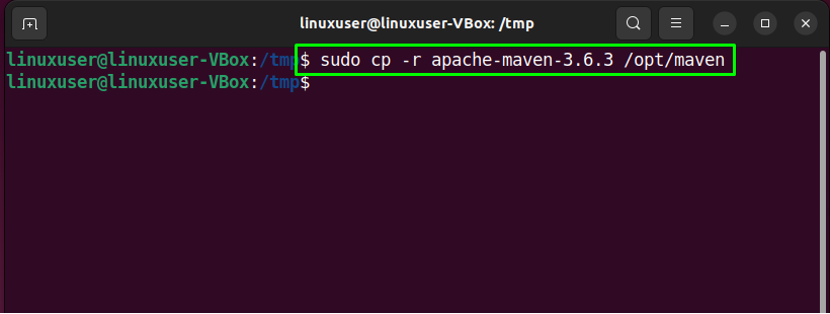
After extracting the required package, copy it to the “/opt/” directory:
Step 4: Set up environment variables
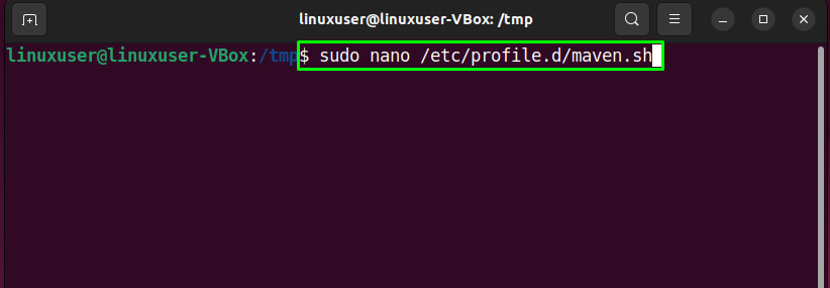
In the next step, we will set up the environment variables by creating a maven script file “maven.sh” inside the “/etc.profile.d” directory:
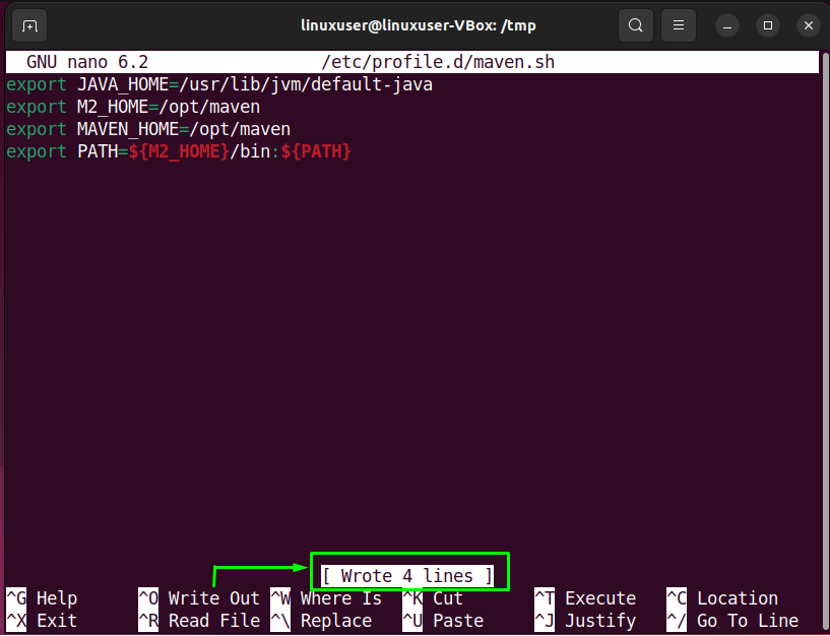
In the opened “maven.sh” file, paste the follow code and press “CTRL+O” to save it:
export M2_HOME=/opt/maven
export MAVEN_HOME=/opt/maven
export PATH=${M2_HOME}/bin:${PATH}
Next, write out the following command for enabling the executable permission of the created Apache Maven script:

After doing so, load the environment variables with the help of the following “source” command:

Step 5: Check Apache Maven version
Lastly, verify the version of Apache Maven which you have installed on your Ubuntu 22.04:
How to uninstall Apache Maven from Ubuntu 22.04
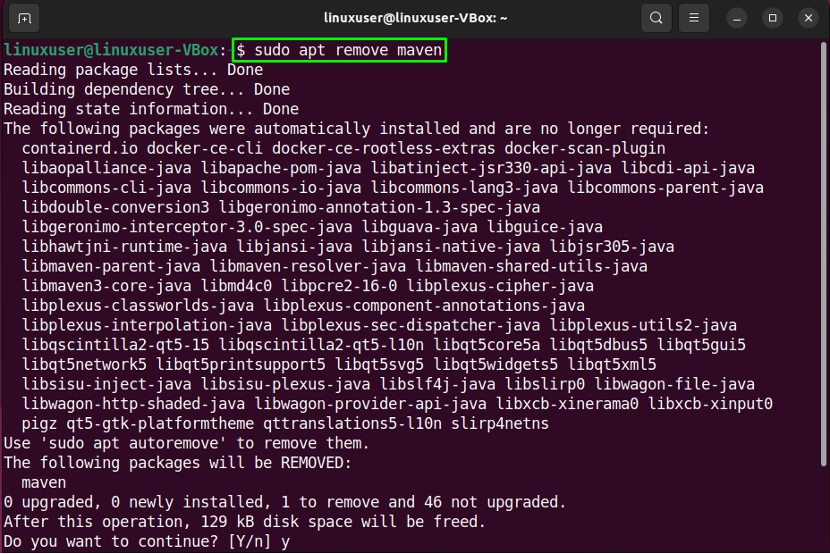
Want to uninstall Apache Maven from Ubuntu 22.04? If yes, then utilize the following command:
We have compiled the two simplest methods for the installation of Apache Maven on Ubuntu 22.04. Choose any of them according to your preferences.
Conclusion
For Apache Maven installation, you can either utilize “apt” or the manual installation method. In order to use “apt”, open your Ubuntu 22.04 terminal and execute the “$ sudo apt install maven -y” command. While in the manual installation, you have to download the archive file from the official website, extract it, and set the environment variables accordingly. This write-up discussed two methods for the installation of Apache Maven on Ubuntu 22.04.
from https://ift.tt/BlpV1UJ


0 Comments