


How to add an Event Handler to an Element in JavaScript
JavaScript provides addEventListener() that allows you to add an event handler to an HTML element. This method binds an event to an HTML element, moreover, it adds an event handler to a particular HTML element without overwriting any event handler that already exists on that element.
Syntax
element.addEventListener(eventtype,eventListener);
Example
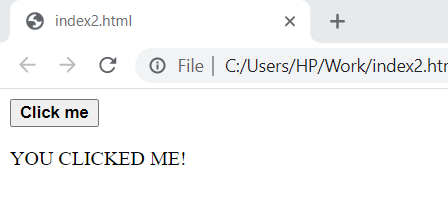
Suppose you want to add an event handler that binds click event to an element.
<html>
<body>
<button id="button"><strong>Click me</strong></button>
<p id="tutorial"></p>
<script>
document.getElementById("button").addEventListener("click", functionName);
function functionName() {
document.getElementById("tutorial").innerHTML = "YOU CLICKED ME!";
}
</script>
</body>
</html>
In the above example, we are creating a button using the following piece of code.
Using the addEventListener() method, we are attaching a click event to the button.
function functionName() {
document.getElementById("tutorial").innerHTML = "YOU CLICKED ME!";
When you click the button, a note will be appear telling you that you just clicked the button. We have shown the output below.
More About Event Handlers!
1. It is possible to add various event handlers or various event handlers of the same kind to a particular element.
Example
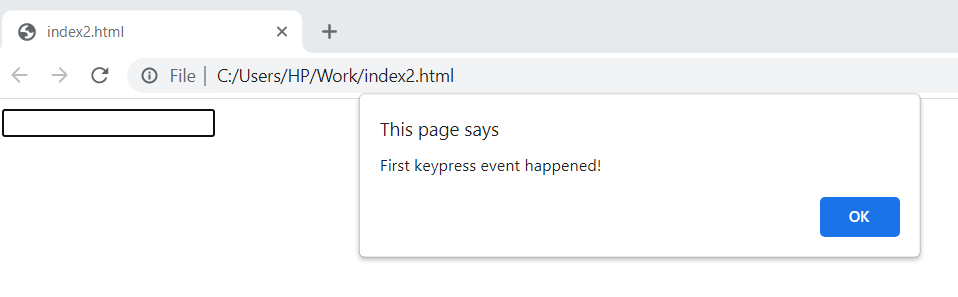
Following is an example of adding two keypress events to an input field using addEventListener() method.
<html>
<body>
<input id="myInput">
<script>
var x = document.getElementById("myInput");
x.addEventListener("keypress", firstFunction);
x.addEventListener("keypress", secondFunction);
function firstFunction() {
alert ("First keypress event happened!");
}
function secondFunction() {
alert ("Second keypress event happened!");
}
</script>
</body>
</html>
In the above example, the following piece of code adds two keypress events to an input field.
alert ("First keypress event happened!");
}
function secondFunction() {
alert ("Second keypress event happened!");
}
When you press a keyboard key while inside the input field, the first keypress event will occur.
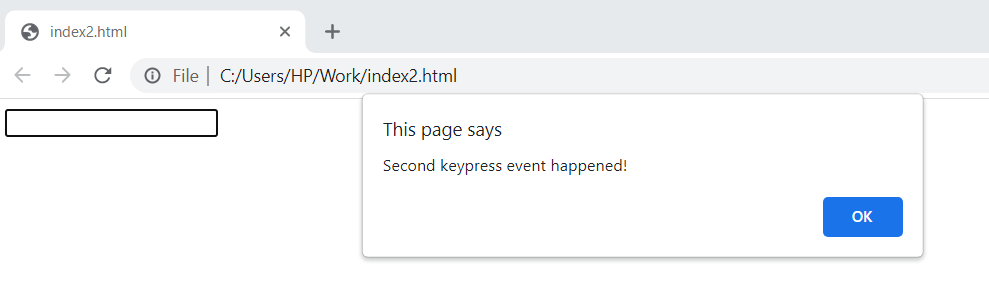
After you click OK in the dialogue box, second keypress will happen.
2. Event handlers can be added to DOM objects as well.
3. Event handlers dedicate the behaviour of events on how these react on bubbling.
4. To increase the readability, JavaScript splits up from HTML markup when addEventListener() method is used.
5. While using the addEventListener() method, you can also use event bubbling or event capturing but it is totally optional.
In event bubbling the event of inner most element is operated first and the event of outer most element later. However, in event capturing the event of the outer most element is operated first and the event of inner most element later.
Syntax for using event bubbling and event capturing is as follows.
element.addEventListener(event, function, useCapture);
Note: In the above syntax, by default the parameter value is false that means event bubbling will occur but if you pass the parameter value as true then event capturing will happen.
Example
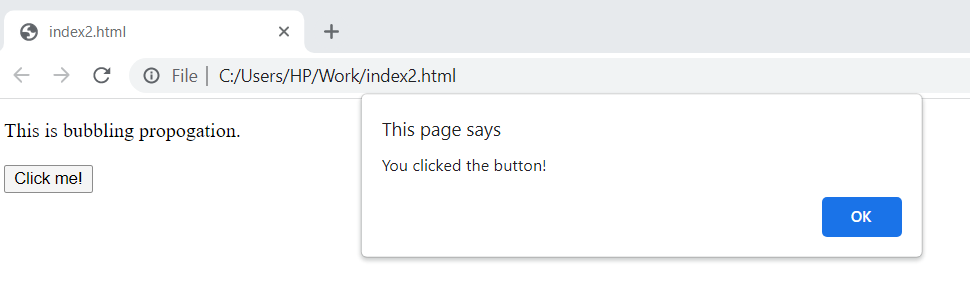
Following is an example of bubbling propagation.
<html>
<body>
<p id="para1">This is bubbling propagation.<br>
<br><button id="button1">Click me!</button>
</p>
<script>
document.getElementById("button1").addEventListener("click", function() {
alert("You clicked the button!");
}, false);
document.getElementById("para1").addEventListener("click", function() {
alert("You clicked the paragraph!");
}, false);
</script>
</body>
</html>
In the above example, we are creating a <p> element as a parent element and <button> element as child element.
<br><button id="button1">Click me!</button>
</p>
Using then used to add a click event using addEventListener() method along with bubbling propagation.
alert("You clicked the button!");
}, false);
document.getElementById("para1").addEventListener("click", function() {
alert("You clicked the paragraph!");
}, false);
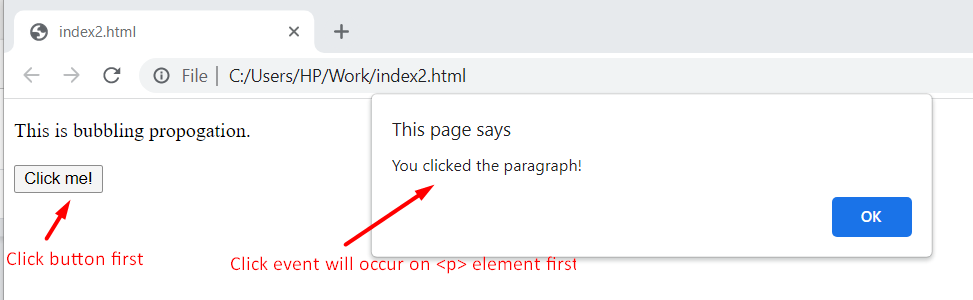
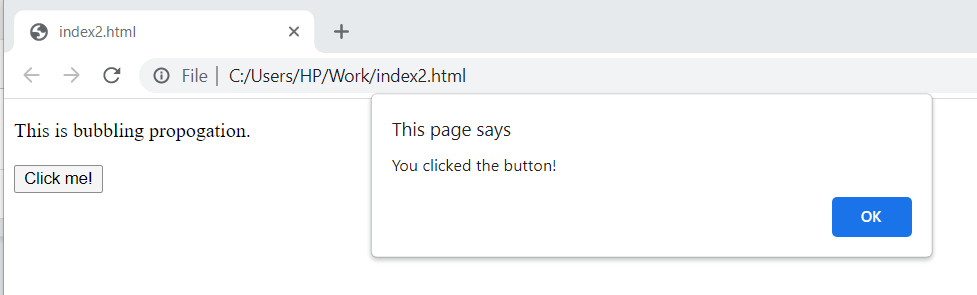
When you execute this program, and click the button first then bubbling propagation will operate the click event on the button (inner-most element) first and the paragraph (outer-most element) later. Here is the output.
Now when you will click OK, bubbling propagation will perform click event on the paragraph.

Using the same example, if you pass the parameter value as true then capturing propagation will happen.
<html>
<body>
<p id="para1">This is bubbling propagation.<br>
<br><button id="button1">Click me!</button>
</p>
<script>
document.getElementById("button1").addEventListener("click", function() {
alert("You clicked the button!");
}, true);
document.getElementById("para1").addEventListener("click", function() {
alert("You clicked the paragraph!");
}, true);
</script>
</body>
</html>
If you click the child element (button) first then capturing propagation will operate click event on paragraph (outer-most element) first and button (inner-most element) later. We have shown the output below.
After clicking OK, click event will happen on the <button> element.
6. It is also possible to remove an event handler using the removeEventListener() method.
Conclusion
JavaScript provides addEventListener() method that allows you to bind an event handler to an element. You can attach various event handlers of the same kind to a particular element, moreover, besides HTML elements you can also add event handlers to DOM objects. You can also add bubbling propagation and capturing propagation using addEventListener() method. This write-up discusses in detail, approaches of adding event handlers to an element using JavaScript along with suitable examples.
from https://ift.tt/8TDRM46
![How two Build a House in Minecraft [Step by Step]](https://lh3.googleusercontent.com/blogger_img_proxy/AEn0k_vbjn1OYUBfRATI9dHwChXUog-RvYQHFUHTtR-hVIPelugPzIl3XGYd8gf3HnuQvUkdothNBTUy3sMN1oiJyfWzQRzTeoAfe6R4qBdJvKt8zXJWzL4sy2iNvXArPzOiH__f7V-Wp_-k-fHMXRdtZi2VZZDcBxPVgfWqi0wVGQ=w100)


0 Comments