


This write-up will show you the procedure of converting an object to path in Inkscape. Moreover, the method of customizing the converted object will also be provided. So, let’s start!
Types of Objects in Inkscape
Inkscape supports a variety of objects such as Text, Circles, Rectangles, Stars, and Path. In between all objects, “Path” is unique in its own way as all other objects can be converted to it. Paths are also considered as the vector graphics universal representation. You can convert an object to path in Inkscape if you want to edit its nodes or perform other available operations from the Inkscape path menu.
How to convert object to path in Inkscape
The conversion of an object to a path comprises three steps in Inkscape. First of all, add the required object in the Inkscape canvas. Next, select your object and convert it to a path using the “Object to Path” option from the “Path” menu. Lastly, edit the path nodes by changing their color or customizing it to make curves or different shapes.
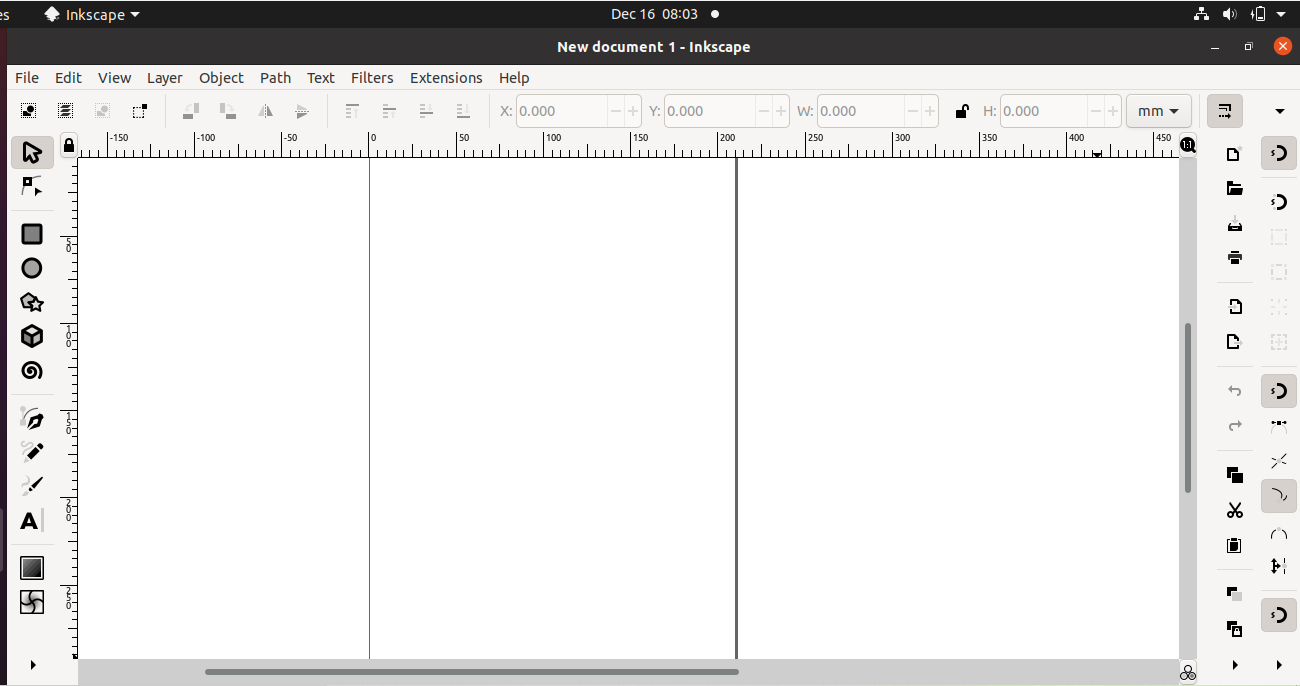
Firstly, open up the Inkscape application on your system. For this purpose, we will search for the “Inkscape” in our system application as follows:

As you can see, we have opened a new document in Inkscape:
For the demonstration of this section, we have created a new document. You can add any shape as an object such as Curve, Line, Rectangle, Star, or Polygon by utilizing the Inkscape toolbar from the left side of the Inkscape window.
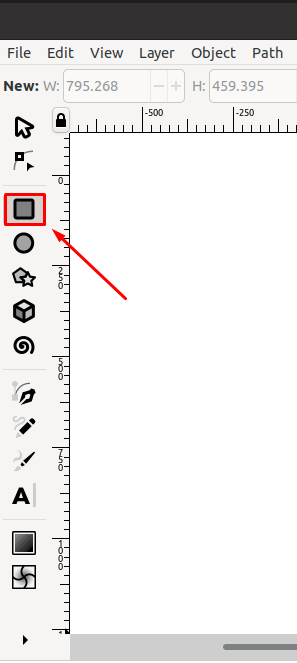
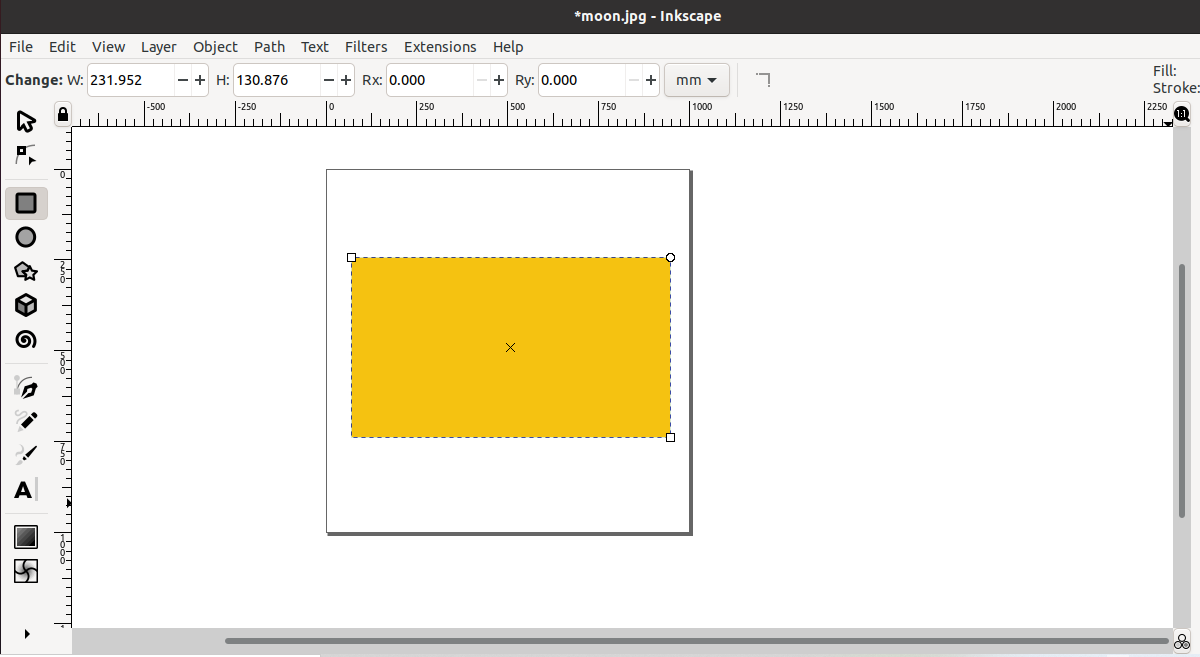
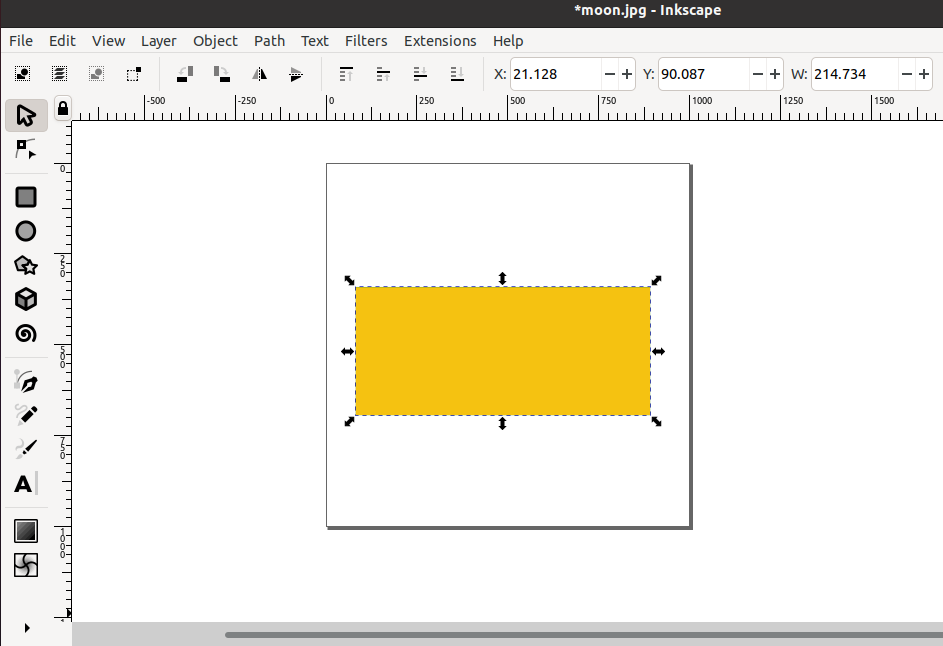
We will add a “Rectangle” as an object in the opened document. If you want to do the same, then choose the “Rectangles and Square” tool in the Inkscape toolbar and add the selected shape on your Inkscape canvas:
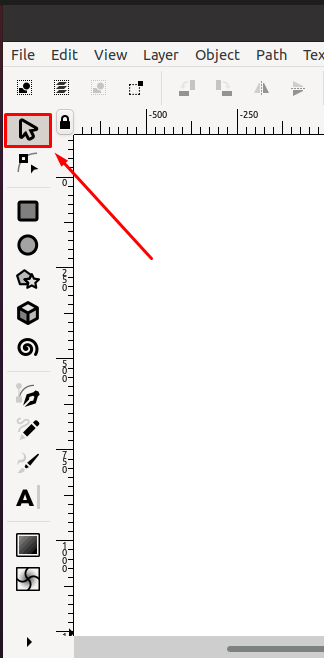
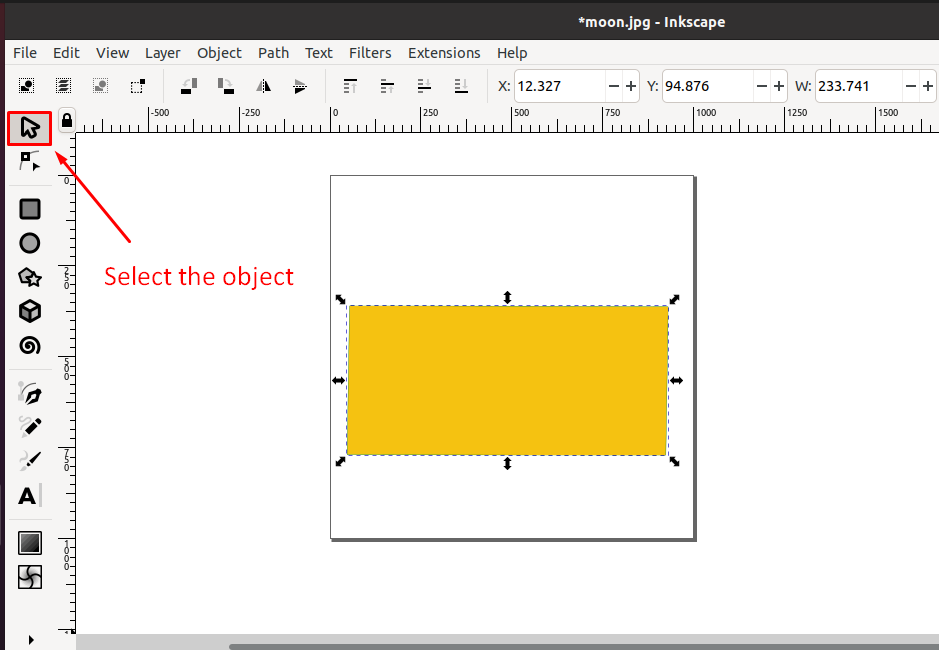
Next, click on the “Select and Transform” tool to select the added Object:
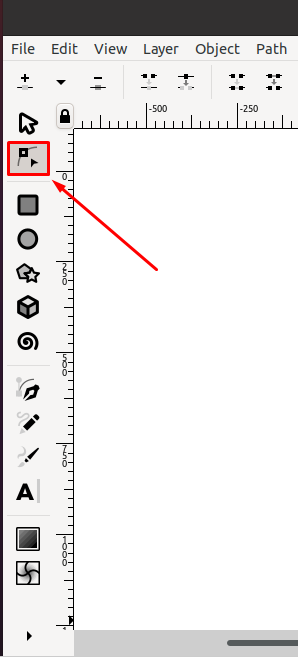
After selecting the object, click on the “Node” tool from the Inkscape toolbar:
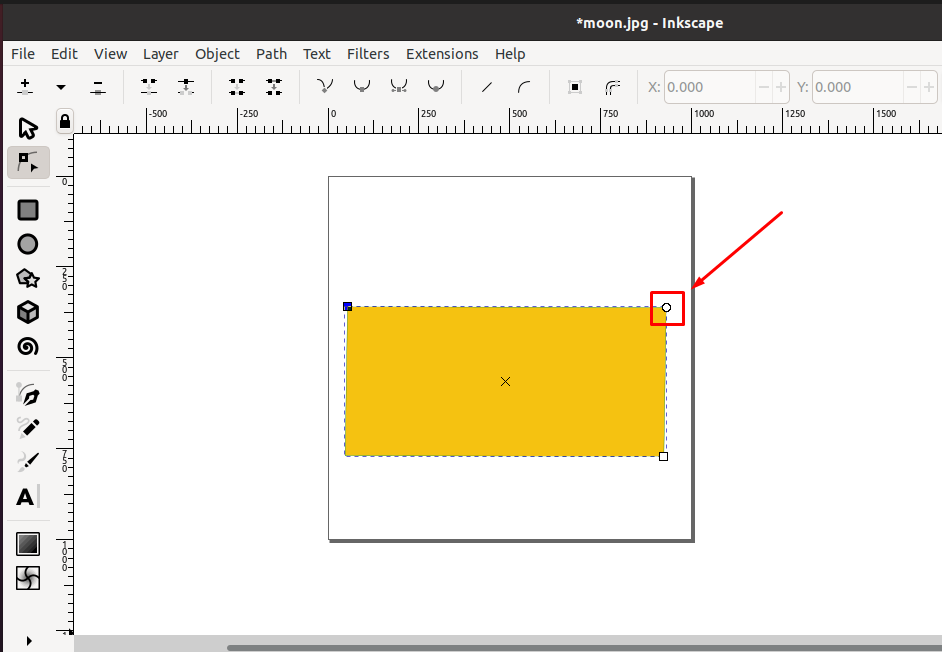
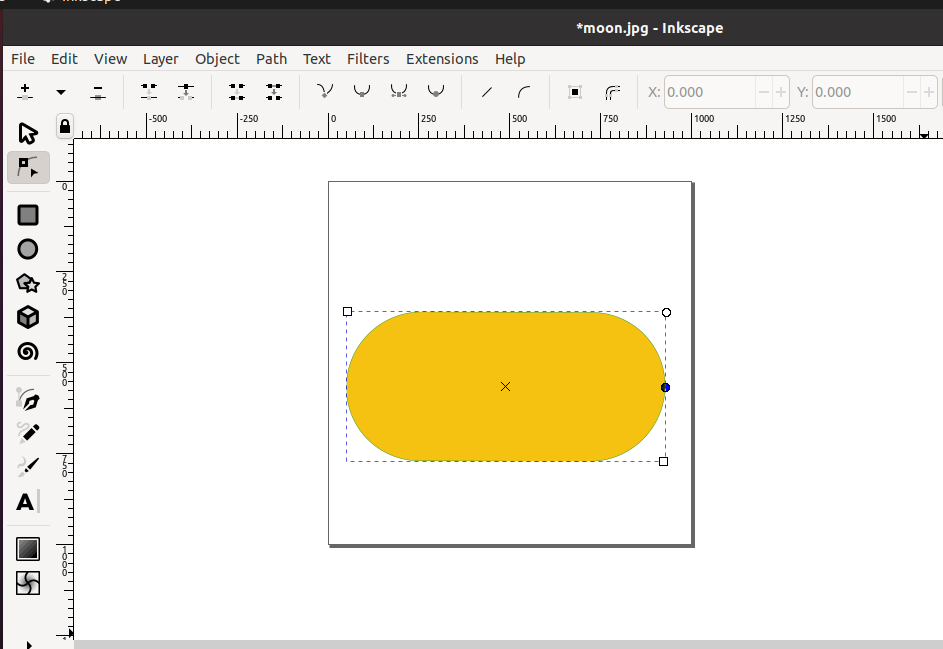
As you can see, without converting the object to path, you can only scale the object or round its corners; however, for adjusting the object nodes you have to convert it to “Path”:
Now, we have pressed “CTRL+Z” to redo the changes we have made. Next, choose the “Select and Transform” tool to select the object again:
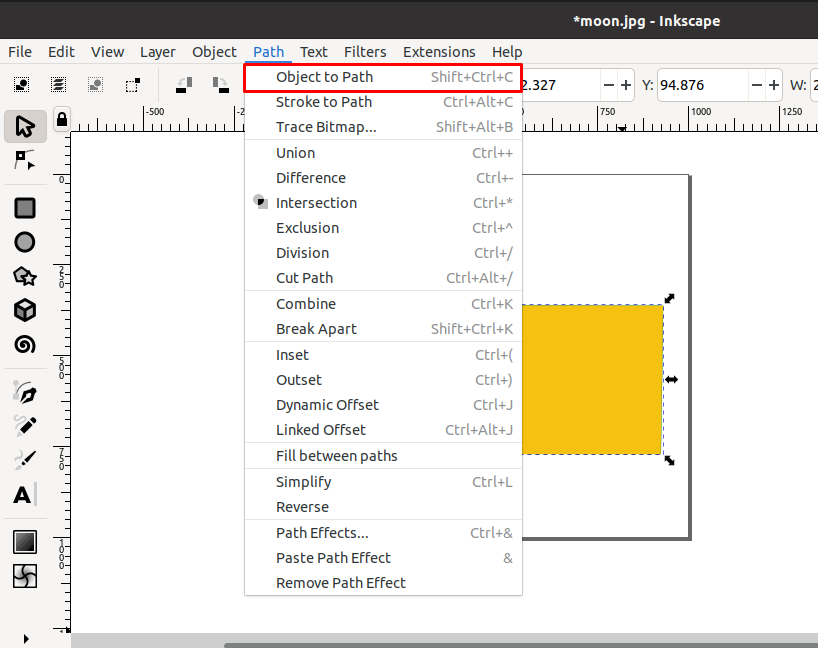
After doing so, look for the “Path” option in the Inkscape menu bar and open its drop-down menu:

From the “Path” menu, click on the “Object to Path” option:
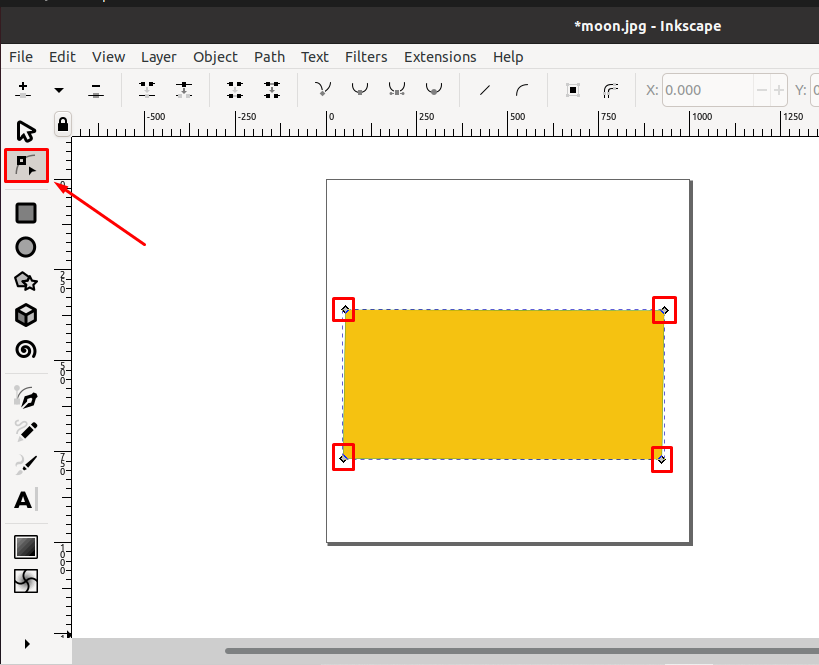
If you have followed the previously given steps, then your selected object is converted to path at this point. For the verification purpose, click on the “Node” tool from the Inkscape toolbar:
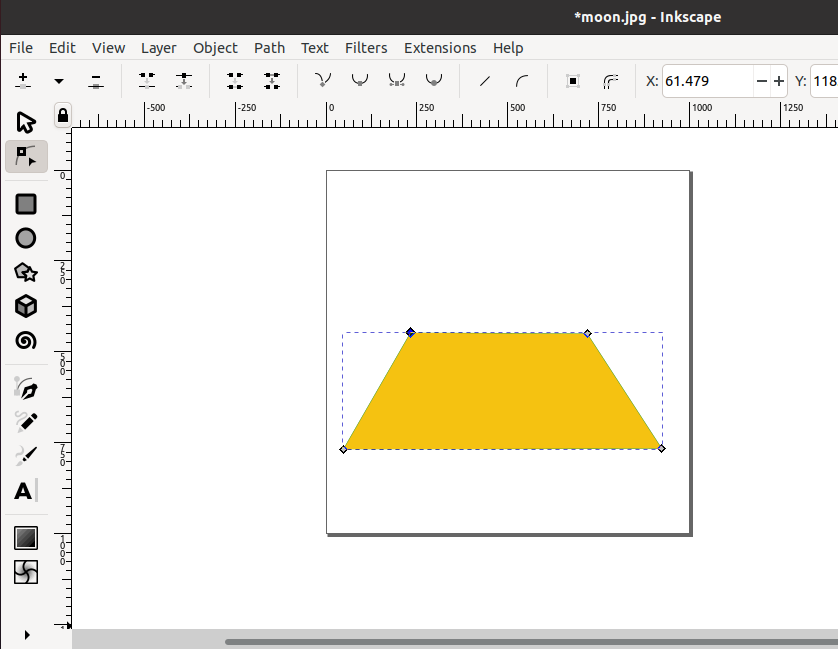
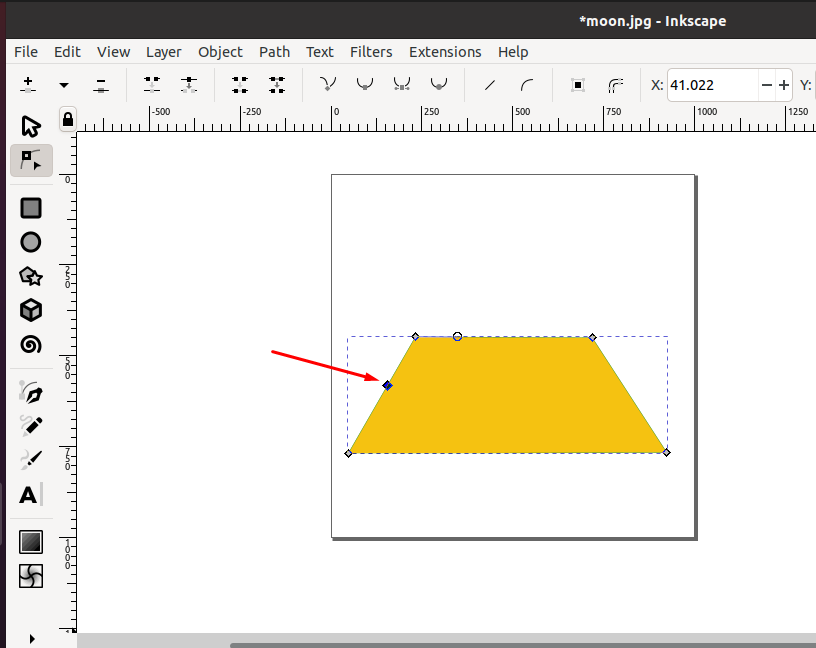
Now, change the position of the nodes according to your preferences:
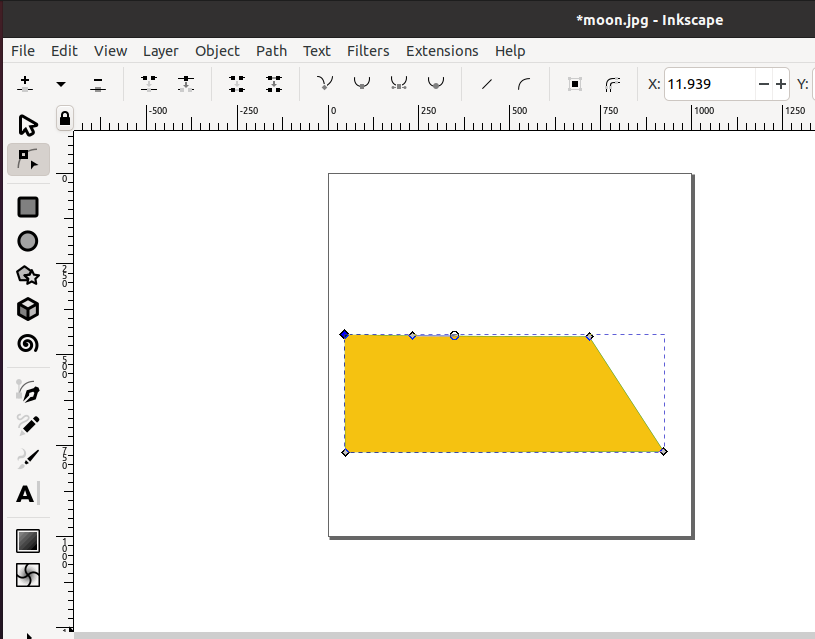
With the help of node handles, you can also edit the object paths, add and delete the nodes as well. For instance, to edit the path of our converted object, firstly we will click on the outline of the path where you want to add a node:
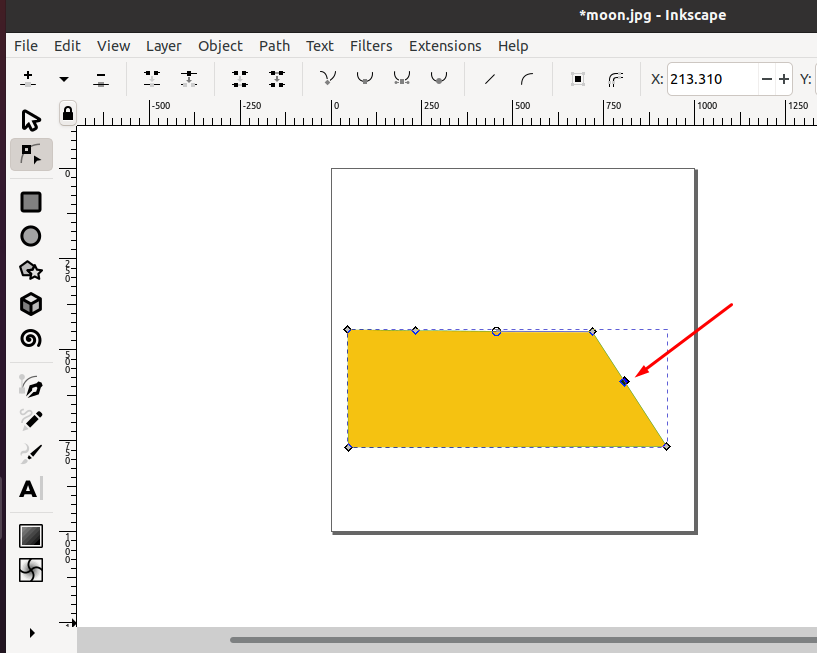
After dragging the added node from the left side, we will repeat the same process for the right side of the path outline:
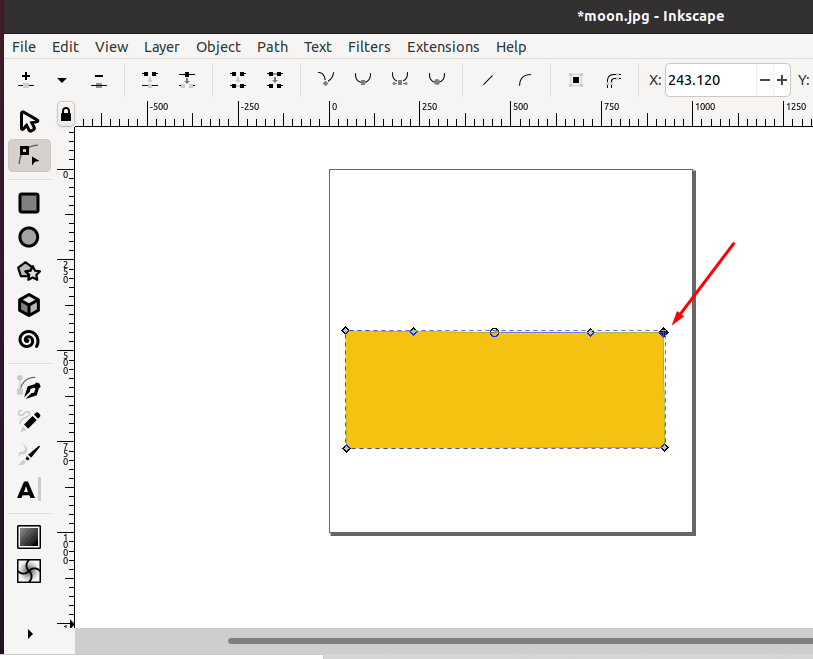
Here is the final look of our converted object:
Conclusion
In Inkscape, various methods exist for changing an object’s appearance. The added object can be a Star, Ellipse, Rectangle, Line, Curve, or Text. You can convert any object to the path using the “Object to Path” option from the Inkscape “Path” menu. After that, you can customize the path by dragging it to the inner and outer directions. We showed you the conversion of object to path in Inkscape in this write-up. Moreover, the method of customizing the converted object is also provided.
from https://ift.tt/3G2A13E


0 Comments