


We all know that there are millions of websites running on WordPress CMS and plenty of new websites mark their entry on WordPress daily. Undoubtedly, website owners take all the necessary steps to keep their sites safe from vulnerabilities, but it is always necessary to be on the safer side. Creating backup for your WordPress website gets you rid of tension in case of any human error, update issues, server outages or malware issues, etc.
Even though your hosting provider automatically creates a backup of your WordPress site, you still should have backup files on your own so that you don’t have to rely on other sources at the time of requirement.
In this article today, we will be talking about methods to create a free backup for your WordPress website. Let’s start:
How To Create A Free Backup For Your WordPress Site?
There are multiple WordPress plugins that allow you to create a backup for your WordPress website. But most of them are paid and involve complex methods.
Here are some WordPress plugins that help you in creating backups for your WordPress sites.
- Updraft Plus
- Backup Buddy
- Duplicator
- BoldGrid Backup
- Vault Press
Out of all the plugins mentioned above, Updraft Plus is the most trusted plugin for creating a free backup for WordPress sites.
Features Of Updraft Plus Plugin
- Automatic and Incremental Backup of data
- Full data encryption
- User-friendly interface
- Requires zero technical skills
- Allows storing backup files to remote locations
Now, I will be illustrating step by step how to create a backup for your WordPress website for totally free.
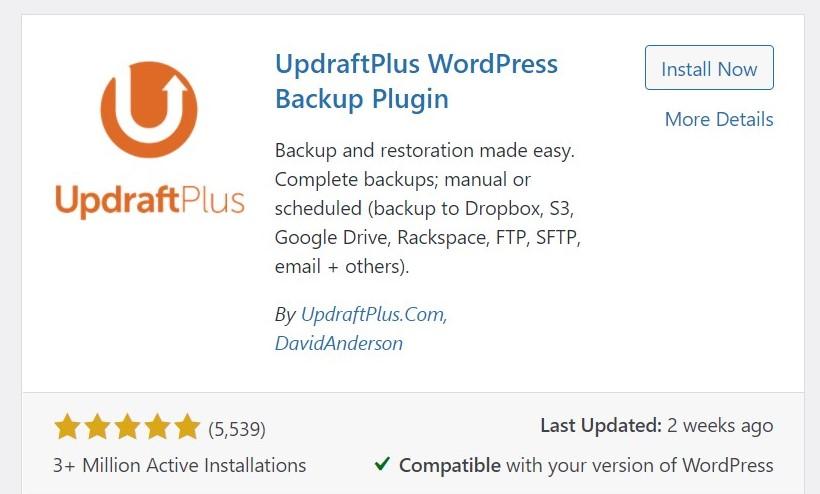
First of all, login into your WordPress dashboard, navigate to plugins and click on the “Add new” option. Search for the Updraft Plus plugin and install it.
After you have activated your plugin, you will be directed to Upgraft plus plugin page. If not prompted, you can manually go through the plugin by navigating through the setting and then Updraft Plus backups.
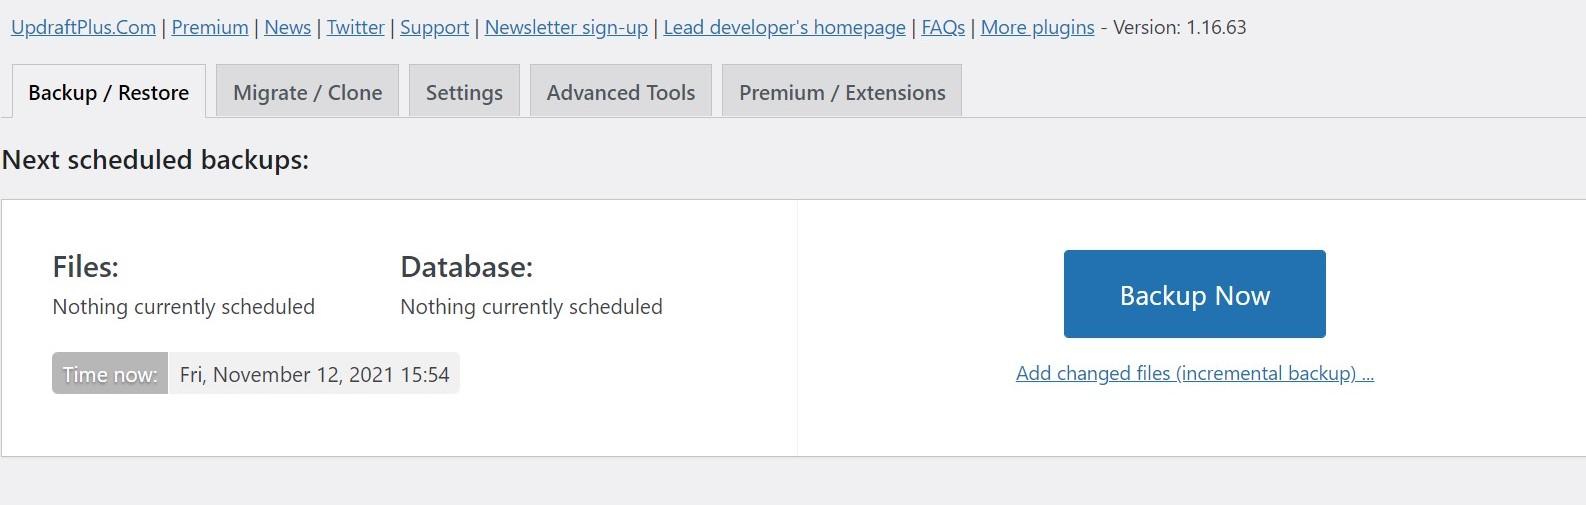
Click on the “Backup Now” Button. You will be shown a Pop-Up window asking you to select the files you want to backup and permission to send backup files to the remote storage. You can tick the files accordingly. In my case, I have checked all the boxes.
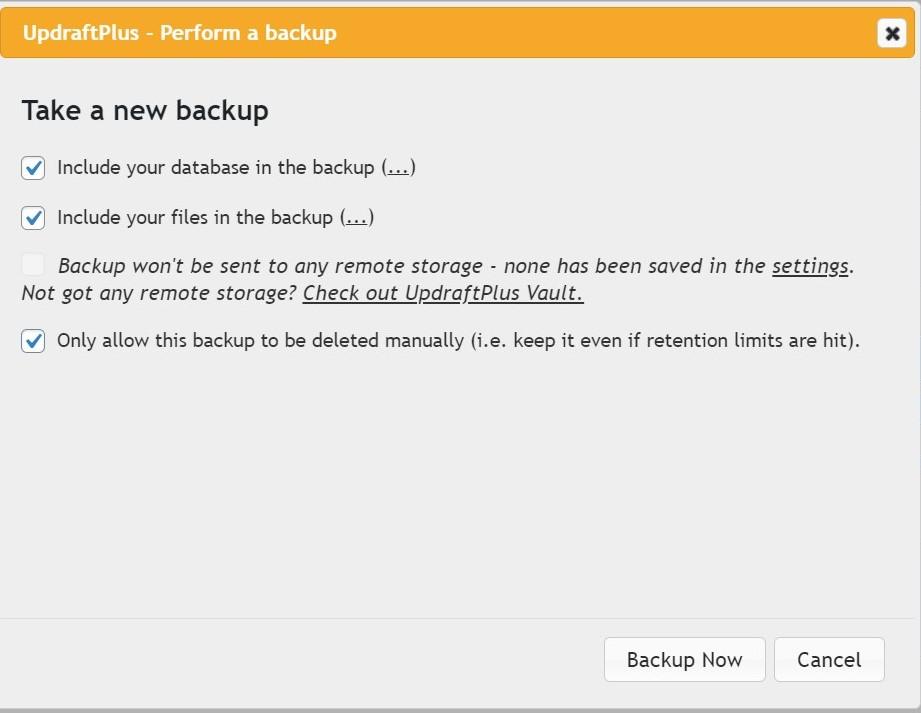
After you have checked the boxes accordingly, click on the “backup now” given at the bottom of the window. This will start creating backup files for your website. It might take some time, depending upon the size of the files on your website. Once the backup is completed, you can download it or store it in a remote location.

Saving Backup File To Remote Location
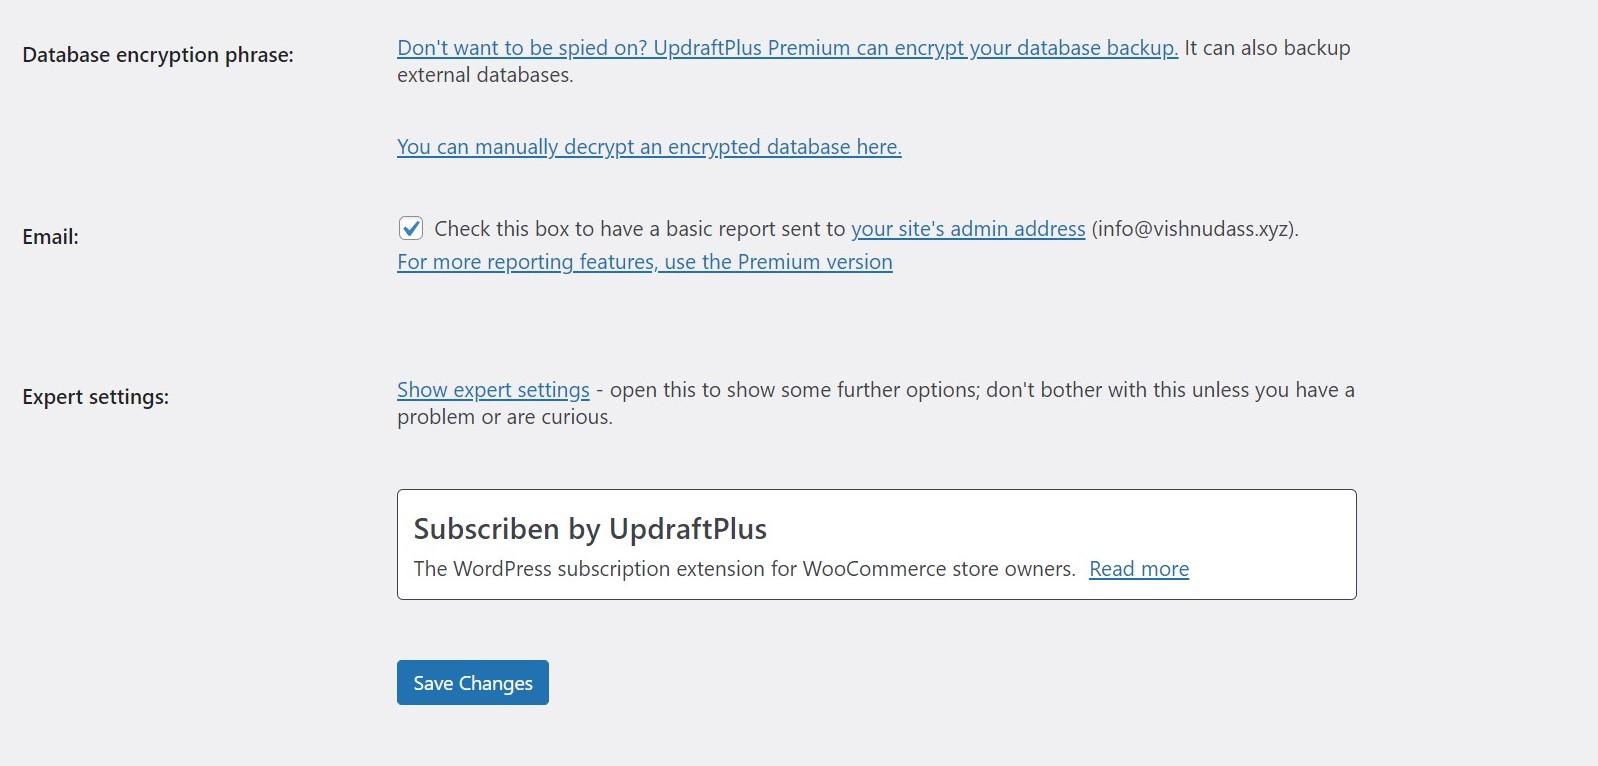
As of now, your backup file has been created, and you need to store it on your remote drive. Simply navigate to the settings tab. You will be shown different remote storage options for the backup file. For free users, you can select only one option. You will require a premium subscription if you want to store back to multiple destinations.
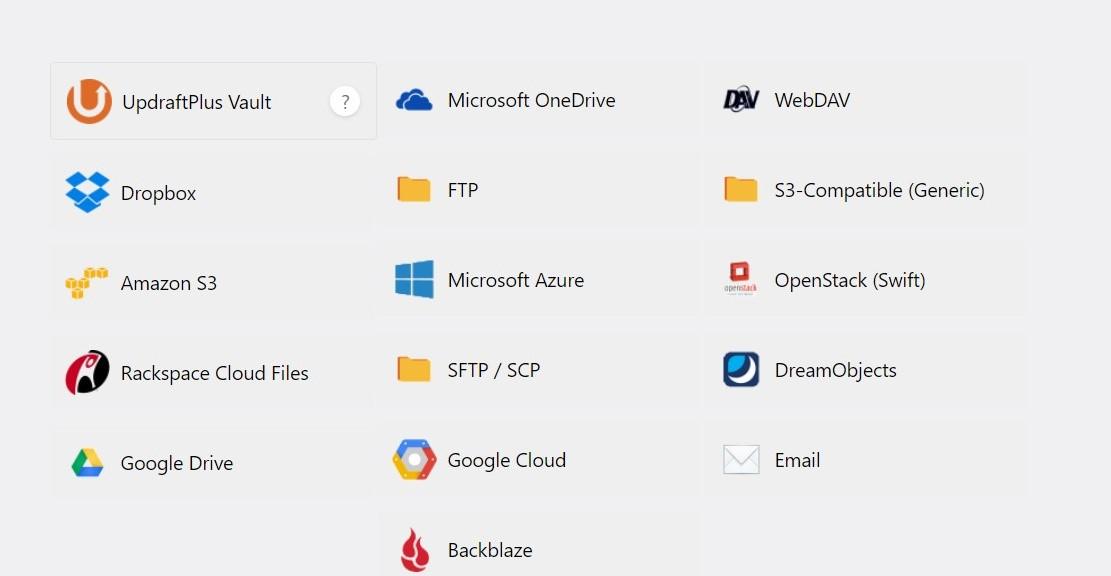
You have to click on the desired storage mode and proceed further. For google drive, select the Gdrive option and choose the files you wish to back up. Check the necessary boxes and Click on “Save Changes”.
You will be prompted to a pop-up window displaying a link to authenticate permissions to your google drive account. Click on the link to proceed further.
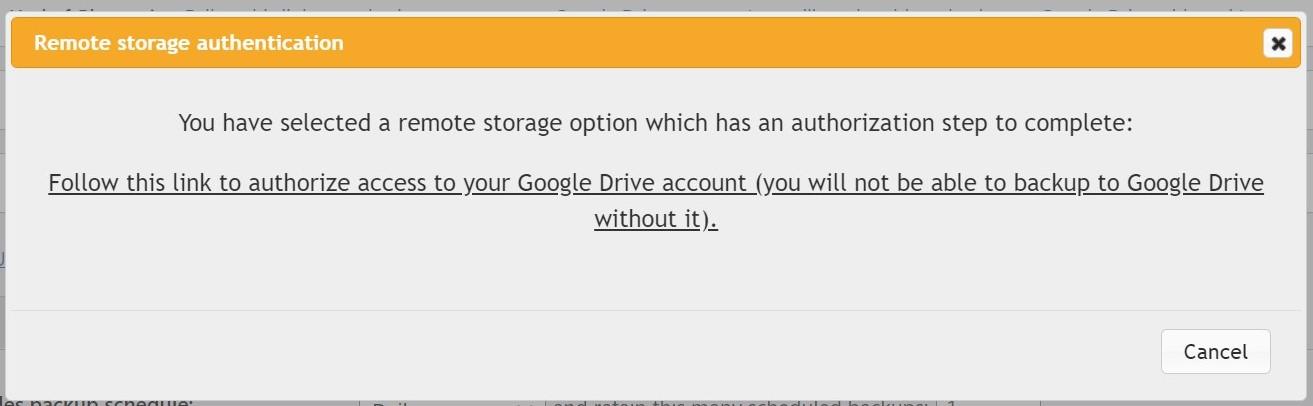
Select the google account you wish to store your backup. Click on allow to give the permissions. You will be directed to updraft the final authentication page. Click on the “Complete Setup” button.
This will store all the backups to your google drive. A similar process applies to other remote storage options available in this list.
How To Restore Backup File Created By Upfraft Plus?
Now you have created a backup and also stored it in a remote storage location. The important part still needs to be learned. Restoring back from updraft is not a difficult task.
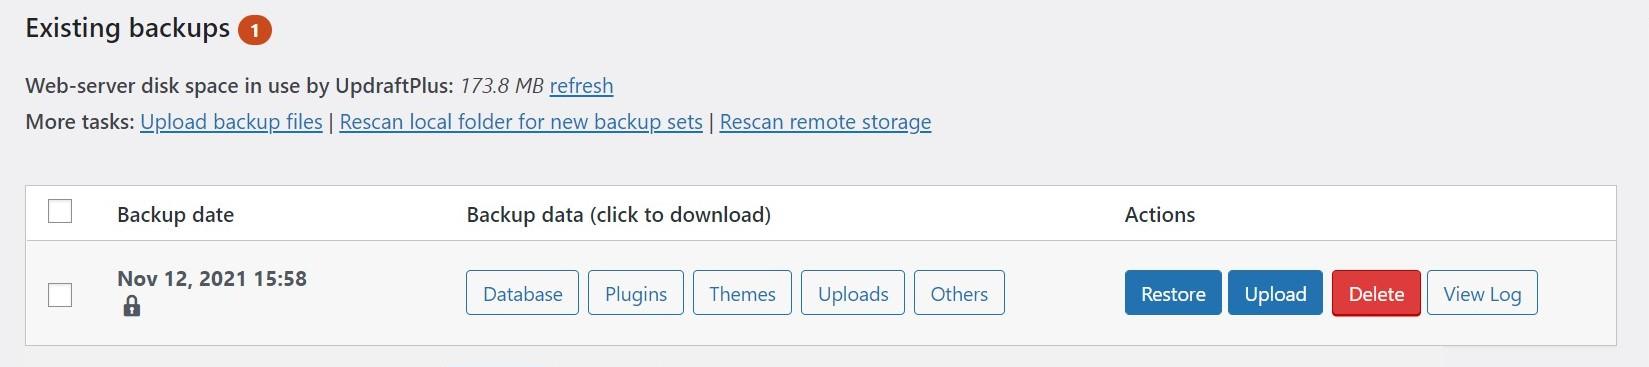
Go to the Updraft plugin page for the existing backups. Locate your backup and click on the “Restore” button. You can also manually upload the backup file.
In the next step, click on the files you wish to restore. Click on the “Next” button. Here you can exclude the database tables you don’t wish to restore. Once done, you can click on the restore button to proceed.
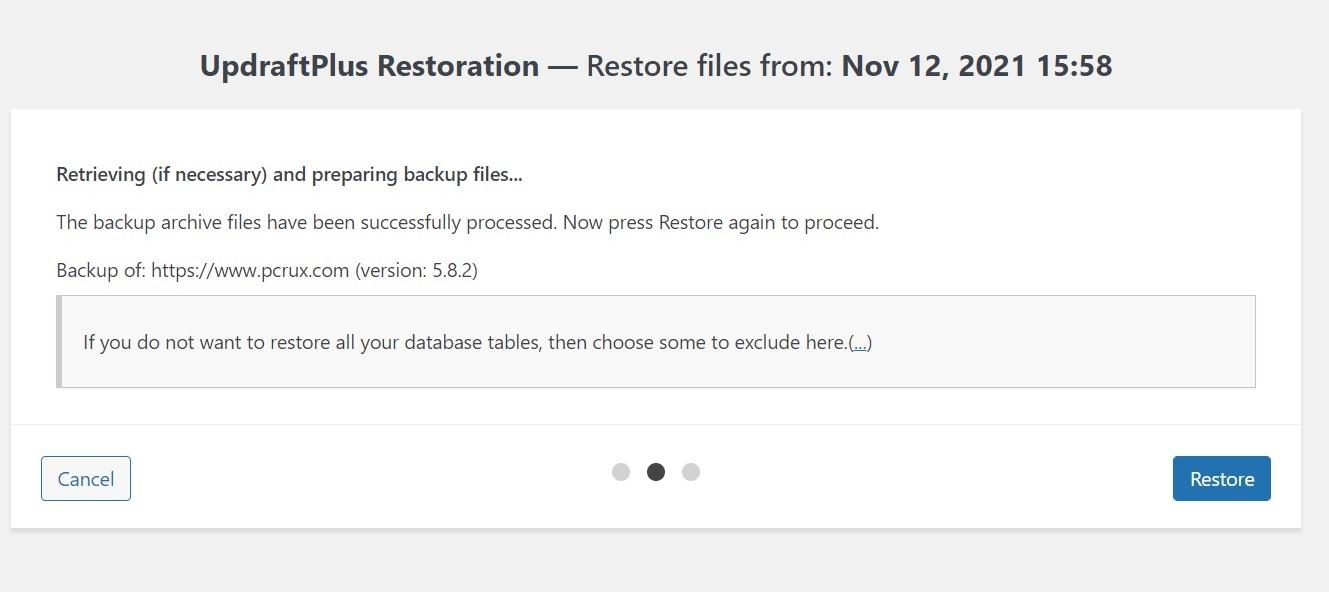
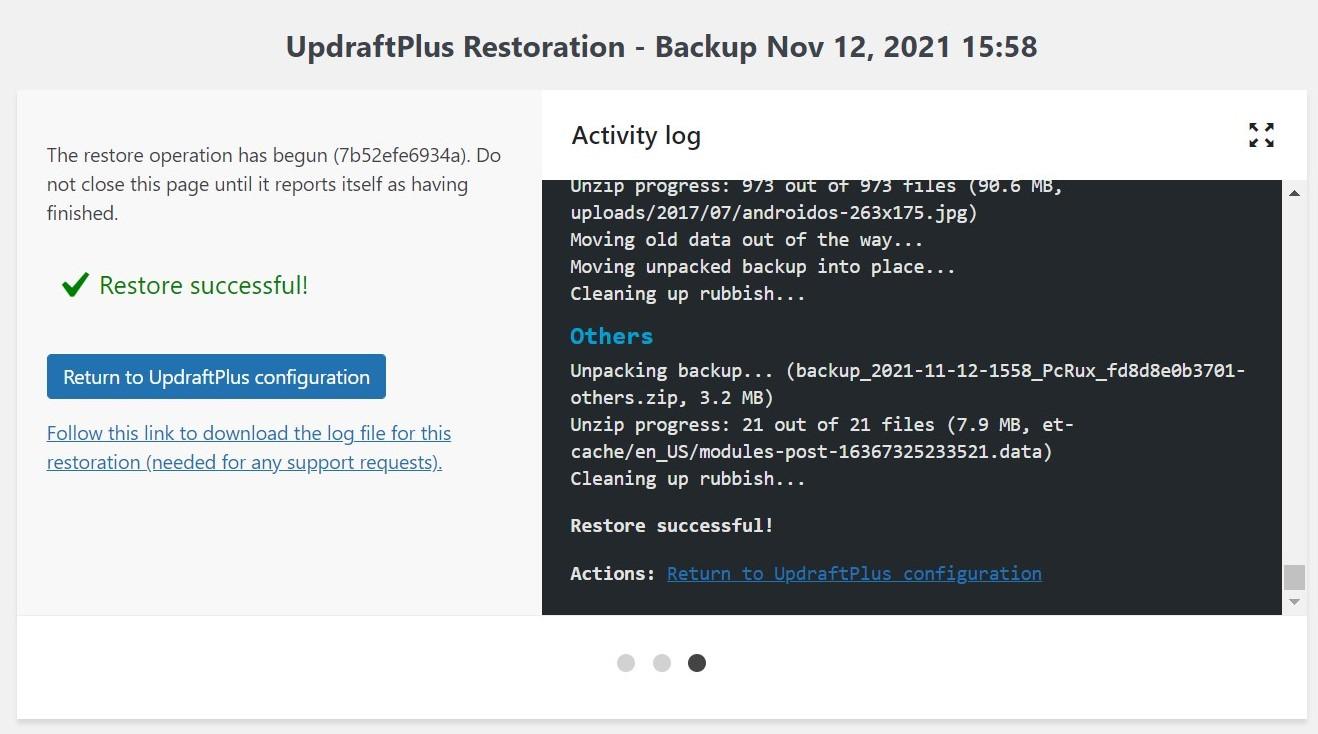
The restore process will begin, and you can see the progress on the left-hand side. It will take some time, depending on the size of your files. And once the process is completed, you will be shown the message “Restore Successful”. If you wish to download the log file for the restore, you can click on the message below.
So this is all about creating a free backup, soring it to a remote location, and then restoring it back. All this involves a few simple steps, and you need not be an experienced webmaster to perform them.
The Final Words
Many of us have questions about whether our hosting partners have a backup of our WordPress site or not. Well, the answer is YES. They do have a backup of the sites hosted on their server, but most service providers charge a high amount for the backup file, and that too for a limited period of time. However, this totally depends on your hosting. You should always have a backup of your WordPress site to be a safer end. Since it requires no extra effort other than installing a free WordPress plugin.
I illustrated the steps using Updraft Plus plugin as it is quite popular, free, and user-friendly. You can use any plugin of your choice to serve the purpose. I hope you found this article useful in creating a free backup for your WordPress website.
from https://ift.tt/3orxDNH


0 Comments