Here are step-by-step guides on how to use the clone tool to remove unwanted specks from a photo, edit out people or objects from a scene, and add new details to a picture.
(A) USING THE CLONE STAMP TOOL TO REMOVE SMALL UNWANTED DETAILS
Step 1: Launch GIMP

Step 2: Open the picture you want to correct.
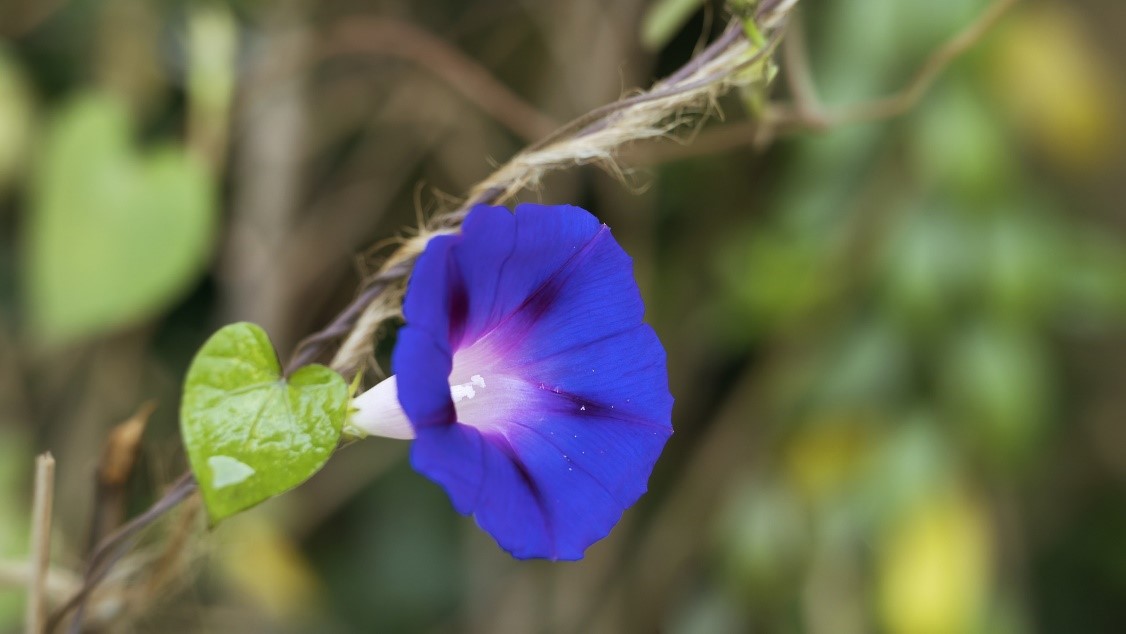
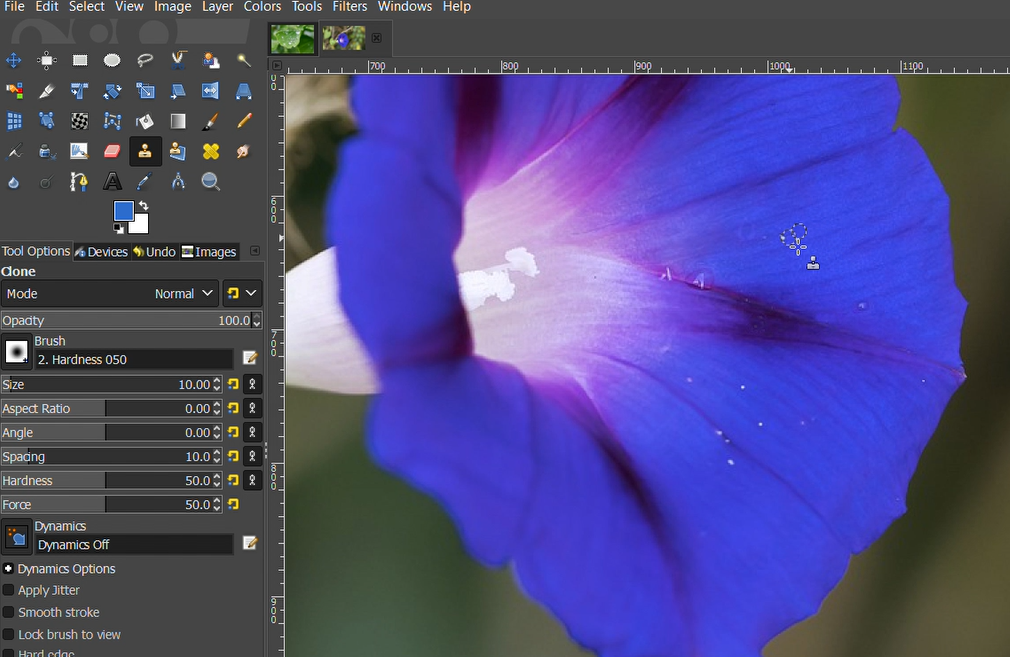
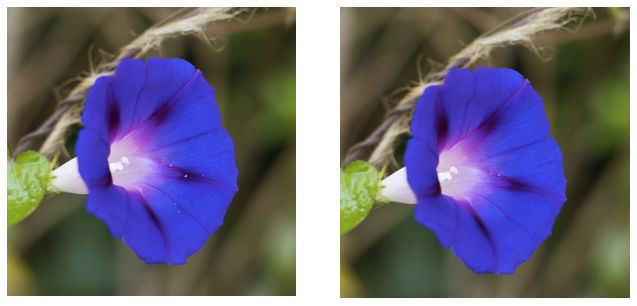
For this tutorial, I want to remove the white specks of pollen on the inner petals of this morning glory flower.
Step 3: Select clone stamp tool

Step 4: Choose a brush with hardness between 0.050 and 0.075.
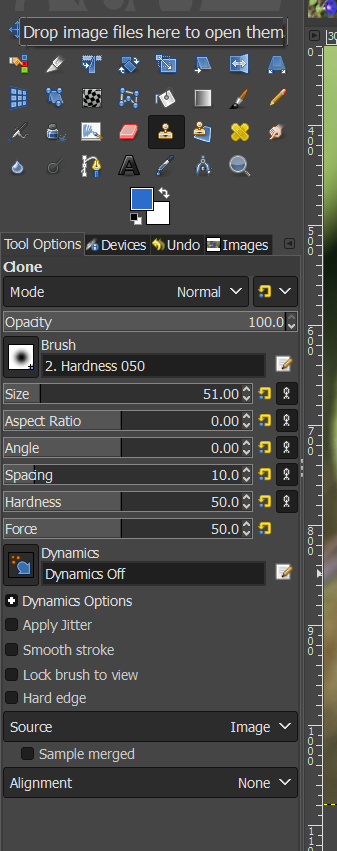
Soft (blurred) brush edges will keep your picture looking natural even after the clone adjustments. However, hard edges could add unwanted lines and artefacts to your picture, making it look fake and poorly edited.
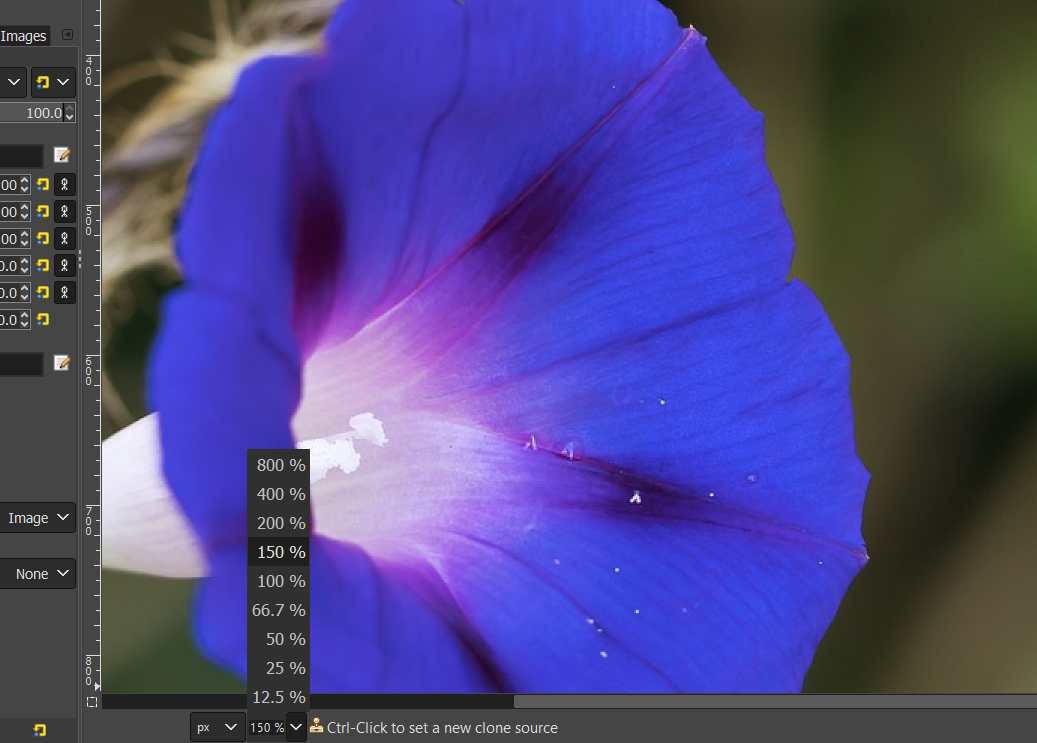
Step 5: Zoom in on the details you want to remove from your picture. I’ve zoomed in to 150% to ensure I can see the pollen specks clearly.
Step 6: Set brush size to match the size of the speck you want to be removed closely. I set my brush size to 10.
Step 7: Then, while holding the ctrl key, click on the part of the photo you want to clone from.
Step 8: Now, paint over the speck or spot you want to hide.
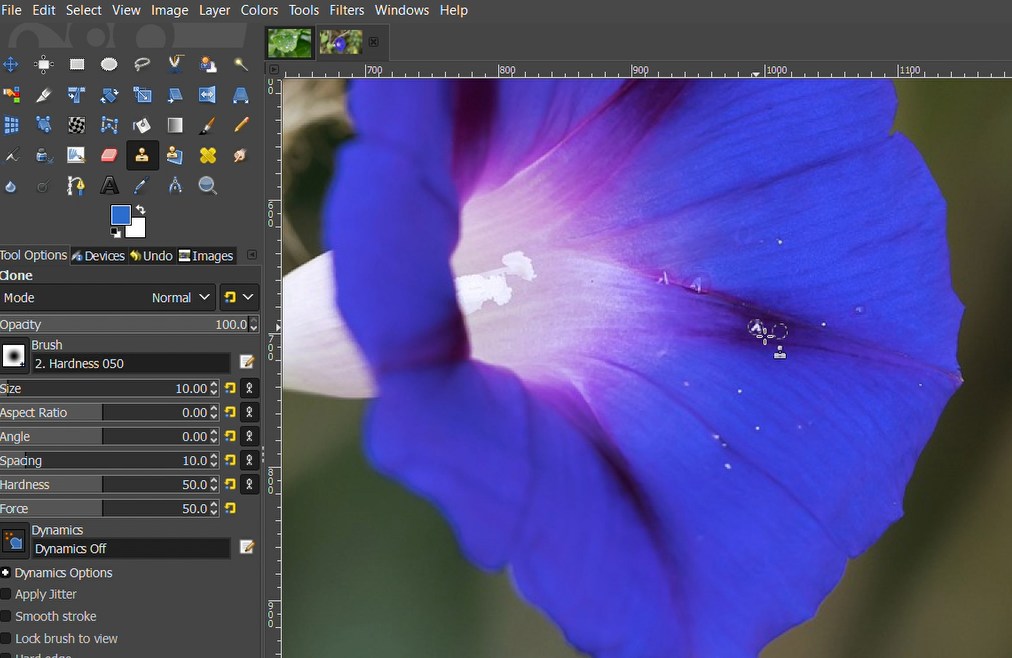
Make sure the cloned spot and the area you want to correct do not overlap. If they do, you may find that you are moving the speck around, not covering it up.
Here are the before (left) and after (right) pics.
(B) USING THE CLONE STAMP TOOL TO ERASE PEOPLE OR OBJECTS COMPLETELY
Step 1: Open the picture in GIMP.
I want to remove the stars from this picture of a newborn sleeping.

Step 2: Select clone stamp tool and set brush hardness to .050
Step 3: Zoom in to 100% and set brush size to 100.00 since the objects to be erased are relatively large.

Step 4: Use ctrl + left click to choose clone sample.
Step 5: Brush over details to remove them

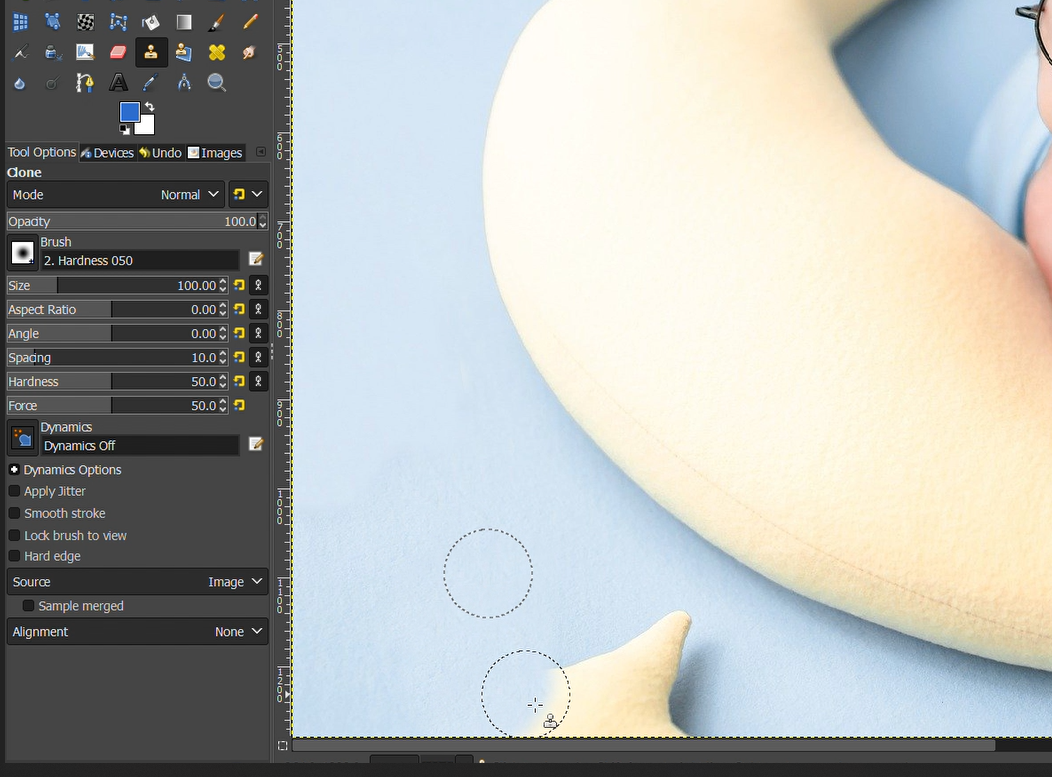
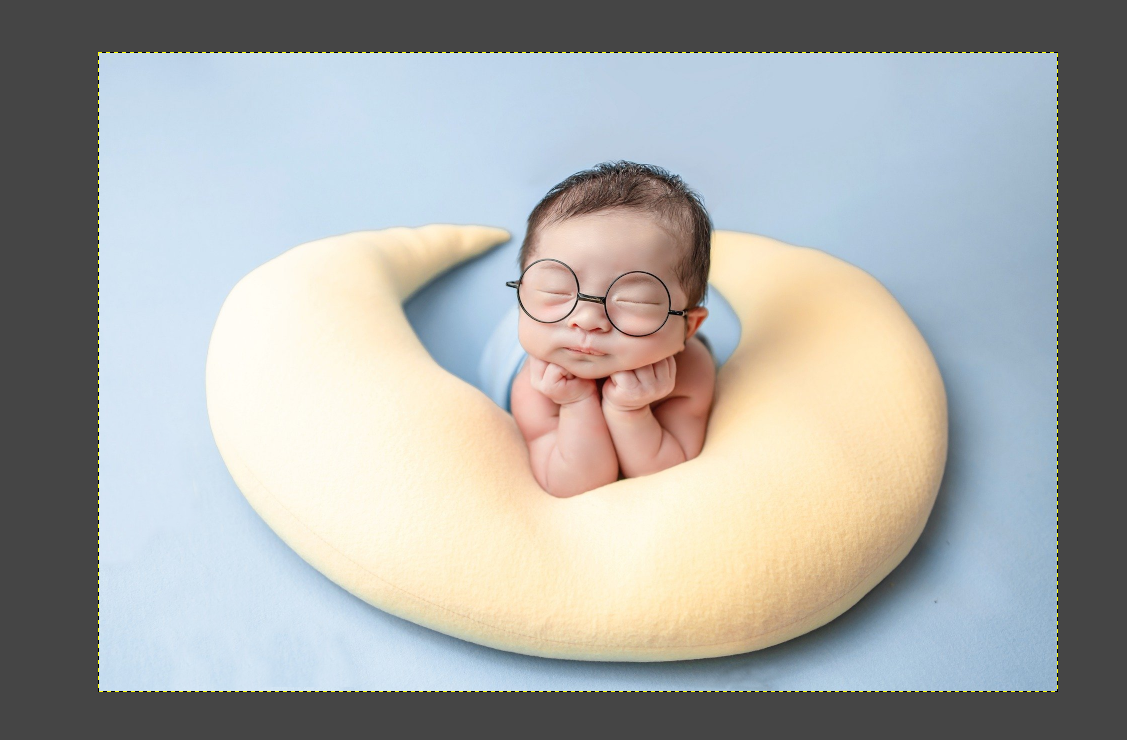
Remember to reduce brush size to remove smaller details. This way, you avoid adding unwanted details to your picture. See the edited picture below.
(C) USING CLONE STAMP TO ADD NEW DETAILS TO A PICTURE
Step 1: Open the picture you want to adjust in GIMP
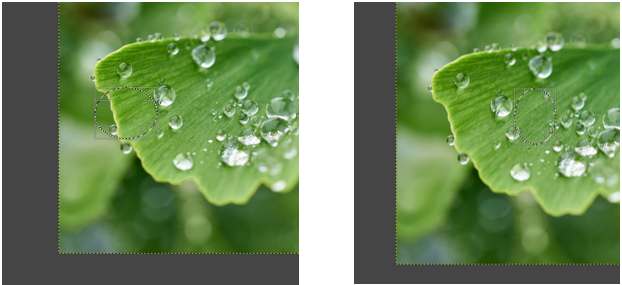
I want to add more water drops to the highlighted spots of this ginkgo leaf by cloning individual water drops.
Step 2: Select clone stamp tool
Step 3: Set brush size appropriately. I set my brush size to 70.00 to copy the first drops
Step 4: Choose clone sample by using ctrl + left click

Step 5: Begin brushing over the area where you want to add new details.
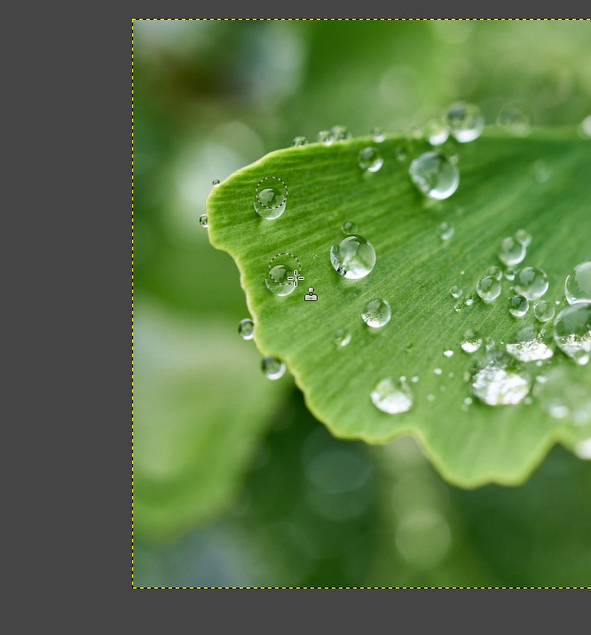
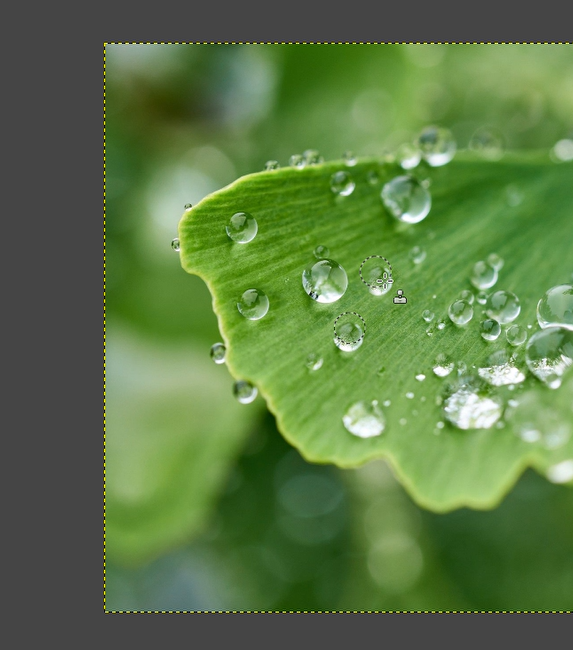
Brush gently and carefully to ensure you only add the details you want.
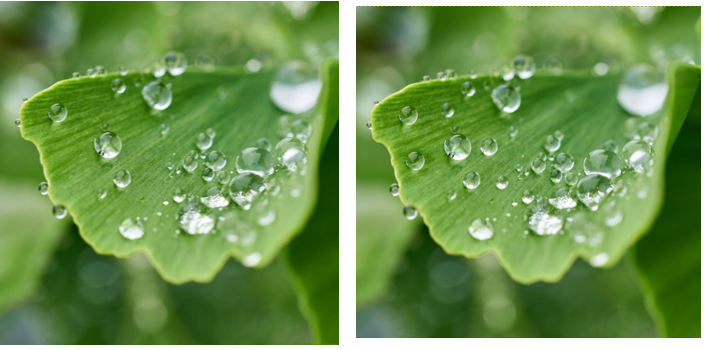
See before (left) and after (right) pics below.
CONCLUSION
Once you start using the clone stamp tool, you’ll be surprised at how much you can do. With this tool, you can correct as well as manipulate photos, making them more interesting than what they were original.
However, if you’re looking to create professional-grade corrections and alterations, you need to practice and experiment with different kinds of photos.
Try adding and removing people from scenes. This is one of the hardest things to do as it often requires adding other objects to make the scene as natural as possible. You also need to think about lighting because abnormal lighting in a scene will instantly give away your alterations. For instance, if the person you’ve added to a scene has the right side of his face lit by a light source while the main light source in the photo is clearly to the left, your photo won’t look right.
Whether you’re adding or removing people from a scene, remember to look at your picture critically. Take note of your light source, the subject’s line of sight, and the proportions in the photo. You should also think about what else you could add or remove from a scene to make the composition look more natural and less manipulated.
Finally, try to work in steps, adding and removing large and small details until you’re satisfied with the scene you’ve created. Attempting to add too many details at once could end badly.
from https://ift.tt/2YTOmz1


0 Comments