


Install FTP Components
First of all, we need to understand that Windows 10 do supports the FTP server setup. But we have to install the components of the FTP server on our Windows 10 system. Hence, open the Control Panel Settings and click on the Programs option.
Control Panel > Programs
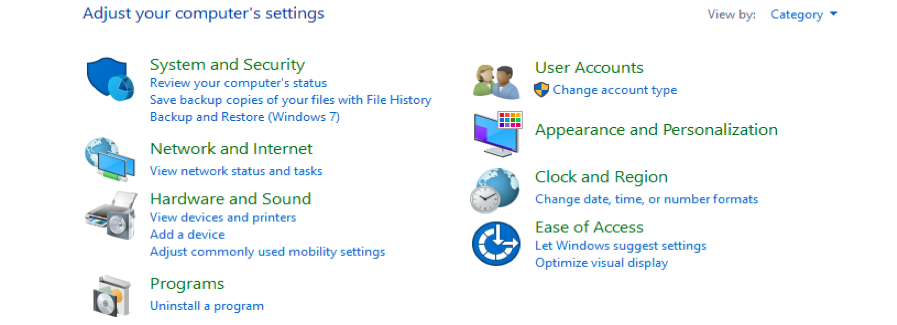
Underneath the “Programs and Features” option, pick the “Turn Windows features on or off” option.

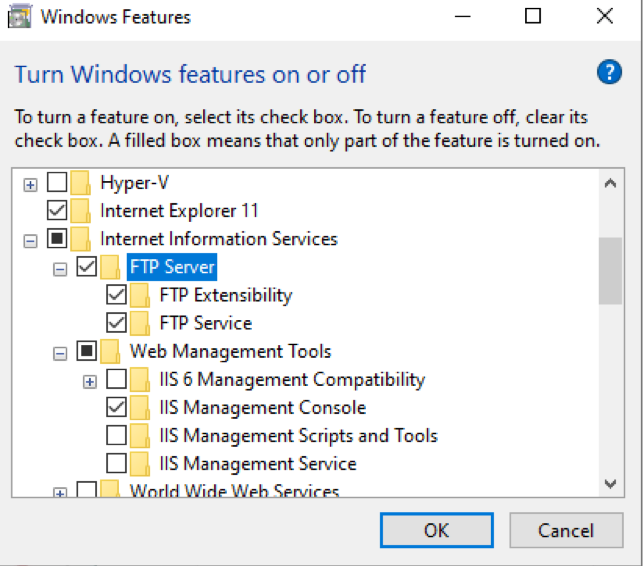
A dialogue box will display infront of you named “Windows Features”. Explore the “Internet Information Services” option and inflate the “FTP Server” feature. Within the “FTP Server” option, check-mark the “FTP Extensibility” and “FTP Service” selections. Also, expand the “Web Management Tools” feature and select its default feature of “IIS Management Console”. Tap on the “OK” button to continue.
Internet Information Services > FTP Server > FTP Extensibility
Internet Information Services > FTP Server > FTP Service
Web Management Tools > IIS Management Console
After the changes have been applied, tap on the “Cancel” button to quit the dialogue box; now, the components of the FTP Server are successfully installed and configured on our Windows 10 system.
Configure FTP Server Site
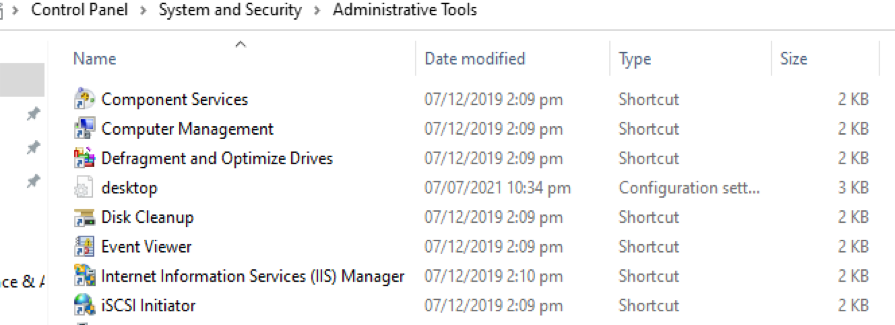
After you’ve installed all of the necessary components, you may establish an FTP server on your system by establishing a new FTP site, configuring firewall rules, and permitting external networks. Open the Control Panel settings once again and tap on the option of “System and Security”. Within the “System and Security” window, you will find many options and settings to be modified or updated. Tap on the last most listed option of “Administrative Tools” to continue.
Control Panel > System and Security > Administrative Tools

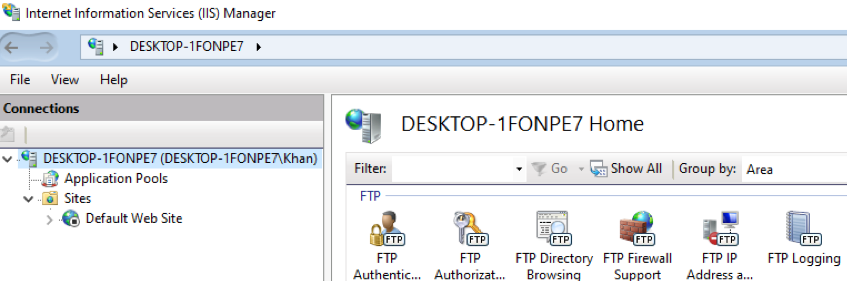
Now the file explorer will open the below “Administrative Tools” folder shown in the image. You will find many options here to be updated. You have to double-tap on the shortcut option of “Internet Information Services (IIS) Manager” to open it.
You will get the below window with the name “Internet Information Services (IIS) Manager”. At the left corner of this window below the Connections bar, you will find that your system has been listed there. Expand the “Desktop-1DONPE7” or whatever your system name is. Right-click on the option of “Sites” and within the several options, choose “Add FTP Site”.
DESKTOP-1FONPE7 > Sites > Add FTP Site
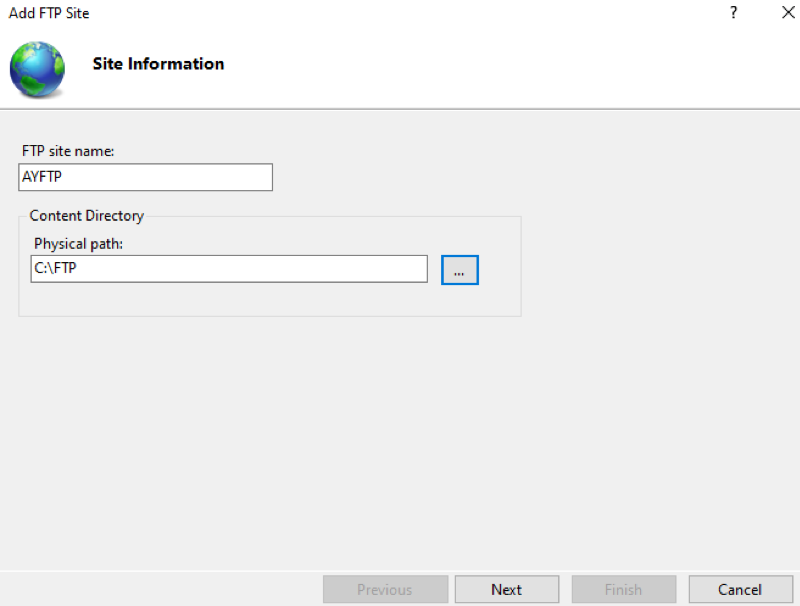
A new window named “Add FTP Site” will be opened as below. You have to add the name of an FTP site within the text area of “FTP Site Name”. Along with the name below the “Content Directory” section, you have to choose the “Physical path” of an FTP directory where you want to save it, as you can see in the image below. Tap on the “Next” button to proceed.
Note:
It’s best to create a directory just at the base of the primary system storage or even on a separate hard drive completely. If we place the home directory under one of our standard directories while creating dozens of accounts, users will not be able to reach it. (Adjusting directory permissions is possible, but that isn’t advised.)
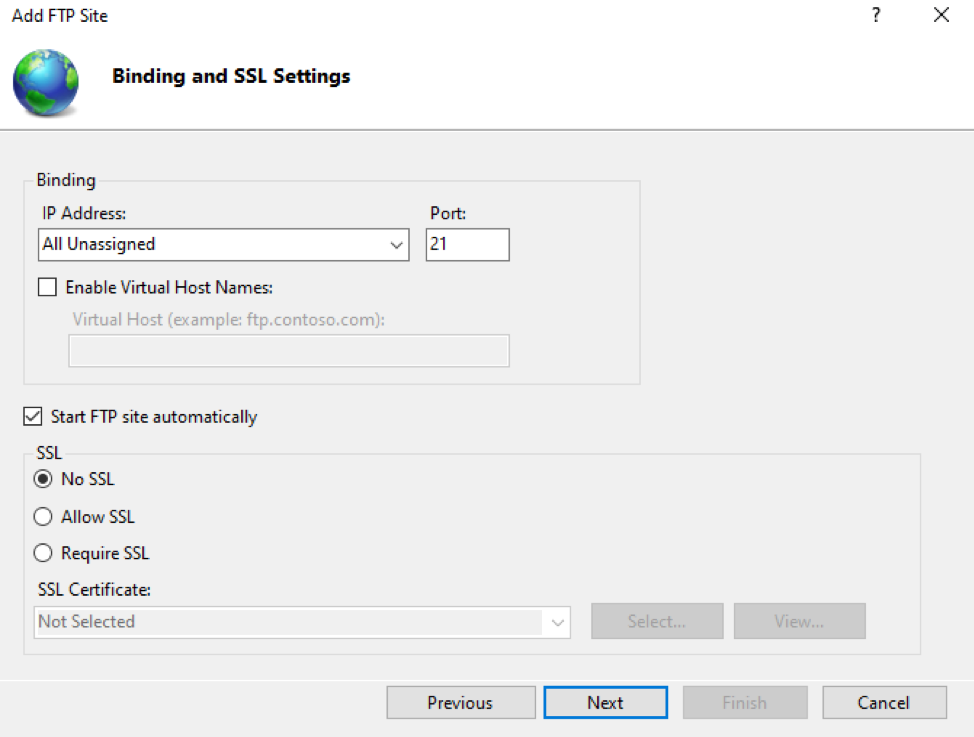
A window will be forwarded to another set of instructions. This screen enables you to set Binding and SSL settings for the FTP Server. Under the section “IP Address”, Explore the dropdown list and select the “All Unassigned” option from it. Add the port number as “21“. Checkmark the checkbox of “Start FTP Site Automatically” and under the section of SSL, select the radio button of “No SSL”. After all, this, tap on the Next button to continue configuration.
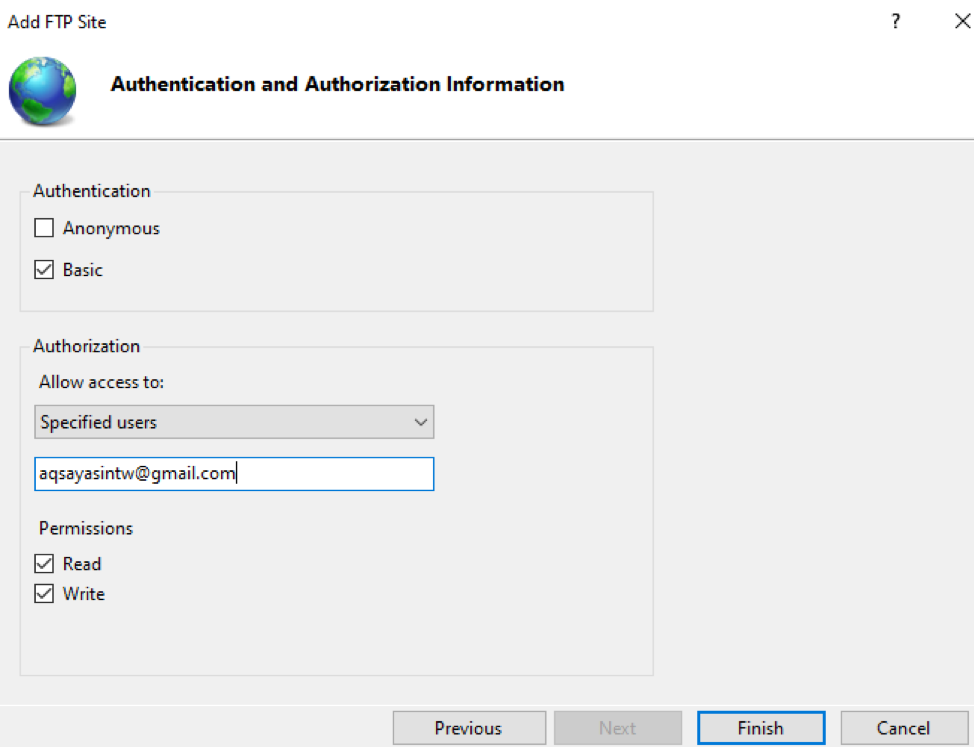
Now the window has been moved to the “Authentication and Authorization Information” section. In this section, you have to Check-mark the check box of “Basic” under the section of Authentication. Alongside it, within the section of Authorization, choose “Specified Users” from the drop-down list. Below the dropdown list, you have to add the username or email of a user, as you can see in the screenshot below. Check-mark the option of “Read” and “Write” under the section of “Permissions” to assign reading and to write permissions to our users to be. Now, Tap on the “Finish” button to complete the process of configuring the FTP Server Site on our Windows 10 operating system. Now the FTP Server Site must be in operation on our Windows 10 operating system.
Configure Firewall Rules
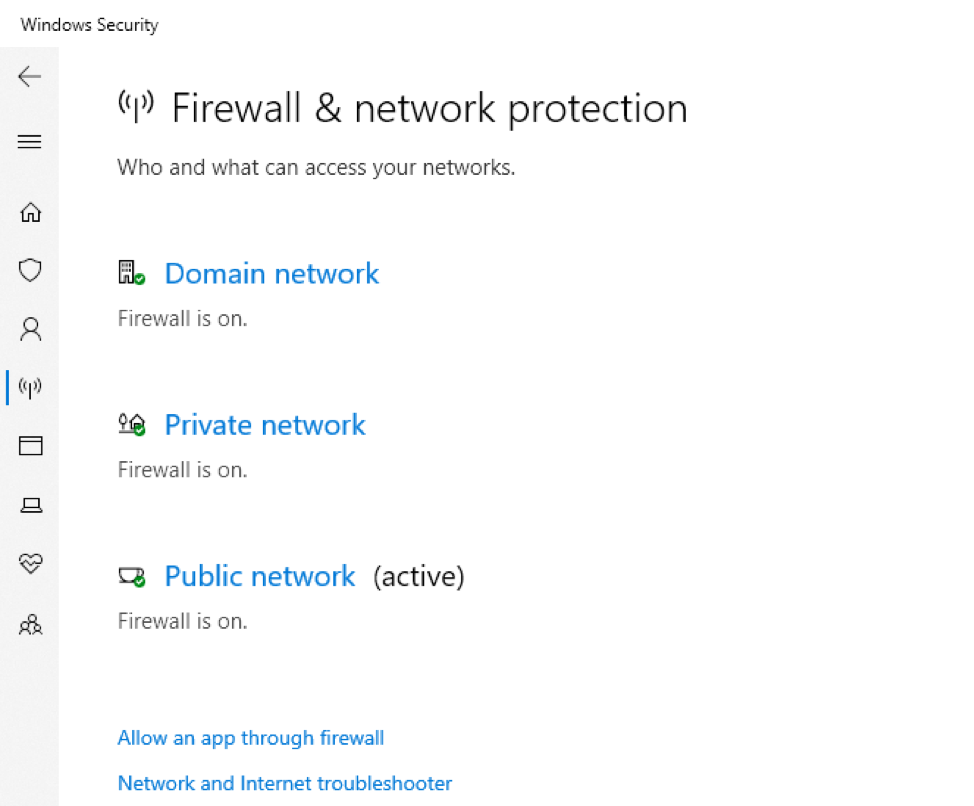
Finally, it’s time to configure some rules for the Firewall. Connections to the FTP server would be banned by standard if you have the integrated firewall turned on throughout Windows 10 unless you specifically enable the service to pass. Hence, we will be enabling the service of firewall using the Settings of Firewall. Hence, open the Windows Security settings from the search bar of your Windows 10. Explore the section of Firewall & Network Protection among all the other services. Within the Firewall & Network Protection, click on the blue highlighted line “Allow an app through firewall” stated below in the window.
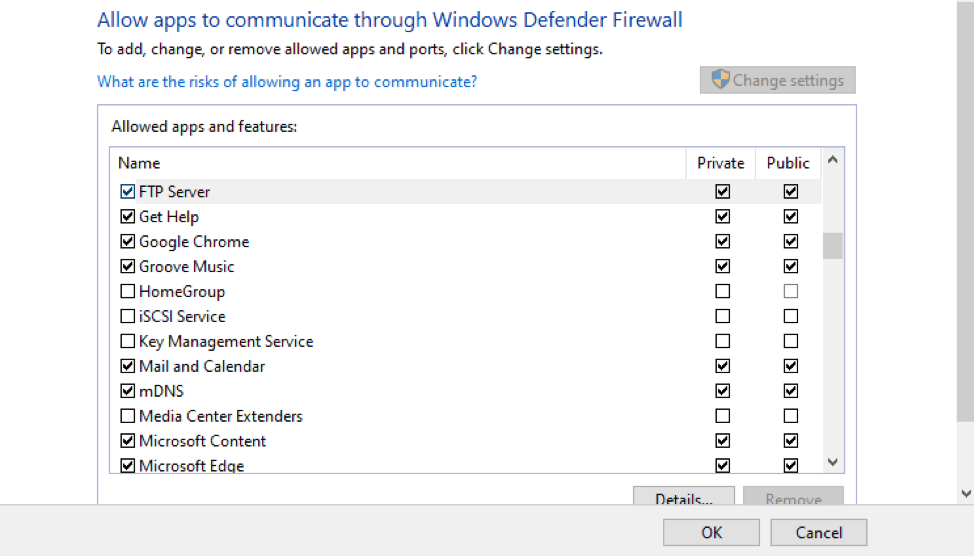
A new window named “Allowed apps” will be opened, as shown in the image appended below. Tap on the button of “Change Settings” to enable the modification and selection of apps and features. Now within the sections of Allow apps and features, tick mark the checkbox of FTP Server. After that, make sure to checkmark the checkboxes of “Private” and “Public” in front of it to assign public and private permissions to the FTP Server. Hit the “OK” button to apply the alterations. The FTP server must now be available from the local area network when we have already finished the procedures. If we use a third-party safety tool, try visiting the supplier’s help center for further information on how to establish firewall rules.
Allow External Connections
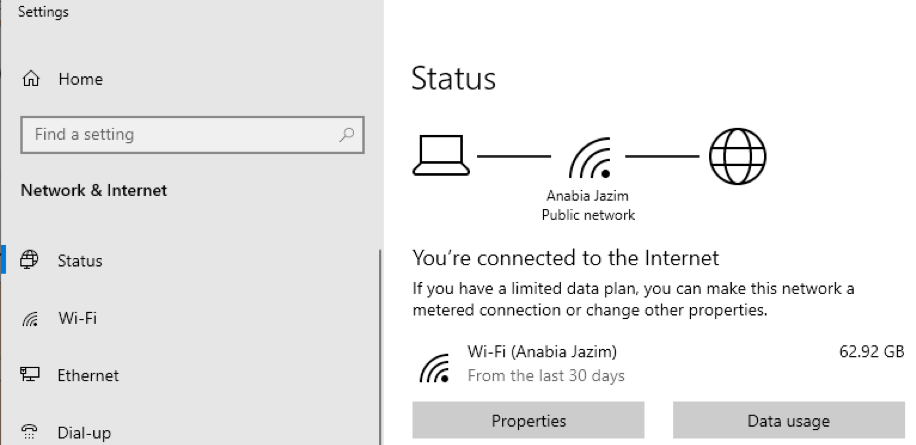
We must also enable the TCP/IP port 21 on our controller for our FTP server to be accessible through the internet. Open the Settings, expand the section of “Status” and Knock on the “Properties” button.
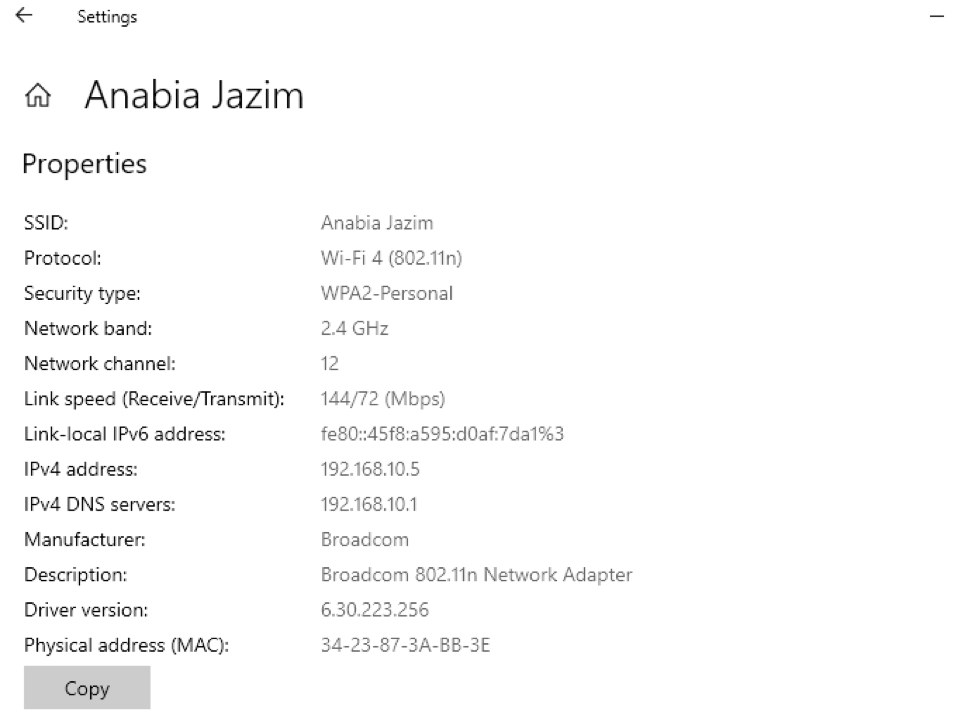
You have to note or copy the IP address of your server stated in front of IPv4 DNS-Servers.
Now, open any browser you have installed on your system, open the new tab and paste or write the copied IP Address, followed by pressing the “Enter” key.
Conclusion
Use your gateway credentials to log in. Go to the Port Forwarding segment of the website. Any arriving link on port 21 would be routed to the FTP server to create a network connection once you’ve completed the procedures.
from Linux Hint https://ift.tt/3zALGmU


0 Comments