


Checking for updates and installing them as soon as they are available is highly recommended as it makes your system more secure, stable, and less vulnerable to security threats.
When developers find any bugs in the system, they try to fix them as early as possible. Then, they give out the new fixed system as a security update. Security updates also have unique features.
This precise and to-the-point article will learn how to check for system security updates by two different methods: A) Manual B) Automatic.
Let’s first learn to install security updates manually.
Installing security updates manually
First, fire up the terminal of your CentOS 8 operating system and login as a root user or as a user with sudo privileges.
The commands given below will only work in case you’re a root user or have sudo privileges.
Now, use the command given below to check the kernel version currently installed on your system:
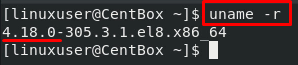
You can see in the screenshot attached above that kernel version 4.18.0 is installed on my CentOS 8 system.
After knowing the kernel version, the first step is to check for the package’s update. To check for updates, use the command:

This command checks for any updates for all the packages on your system.
You can also check for updates for a specific package using the same command followed by the package name. For example, to check update for the package cockpit, the command would go like this:

Now, if you want to check for updates and notices related to security, execute the below-given command:

As you can see, there is only one update available to install in the example given above.
You can also execute the “update info list sec” command to show the number of security packages for which updates are available:

You can see that there are no security packages for which updates are available.
Now, to install security updates that are available for all the installed packages on your CentOS 8 Operating system, execute the command:

There are no security updates needed for my CentOS 8 system, but they will be updated immediately if there are any security updates available.
This is how we can install security updates manually. Let’s learn how to install security updates automatically.
Installing security updates automatically
The automatic method of checking and installing the updates is most secure and easy. However, we might sometimes forget to install security updates leaving our system vulnerable and open to many attacks. The automatic method helps us avoid that.
Step 1: Install “dnf-automatic”
First, we need to install dnf-automatic on our system. To do that, use the command:
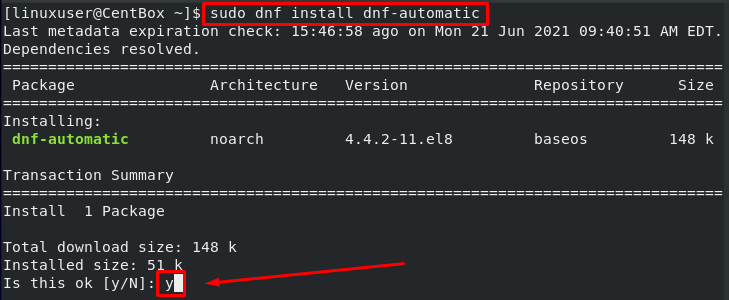
You will be asked for confirmation, so press ‘y’ and hit ‘Enter’ to confirm and continue.
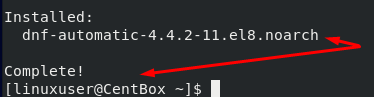
After the successful installation of ‘dnf-automatic,’ to verify the installation of dnf-automatic, you can use the command given below:
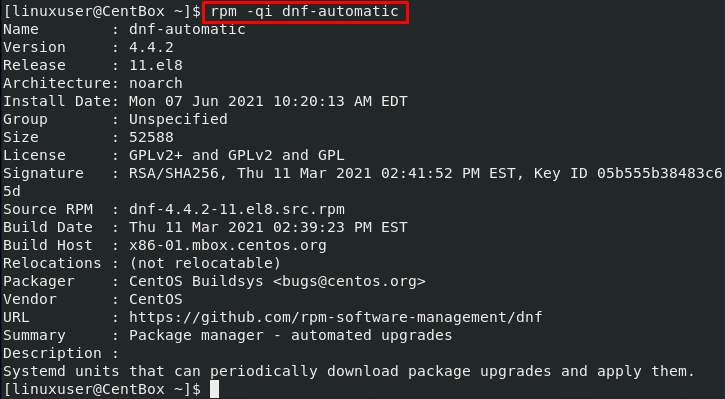
The terminal will output a lot of information, including version, group, size, packager, architecture, etc.
Step 2: Configure the “dnf-automatic” configuration file
Once the installation of “dnf-automatic” is confirmed, the next step is to update dnf-automatic’s configuration file. The “dnf-automatic” configuration file is placed in the /etc/dnf directory.
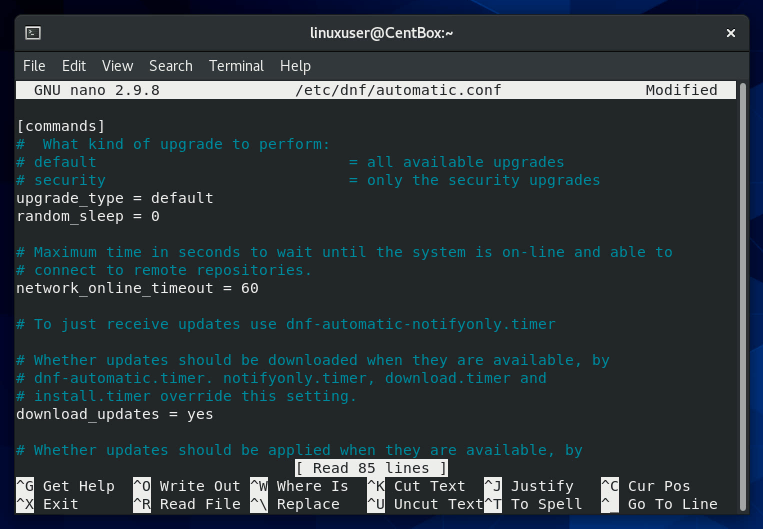
To configure the “dnf-automatic” configuration file, open the “automatic.conf” configuration file in the nano editor using the command:
The “dnf-automatic” configuration file will look something like this:
Make the following changes in the configuration file:
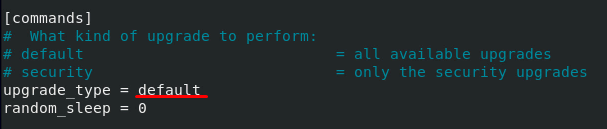
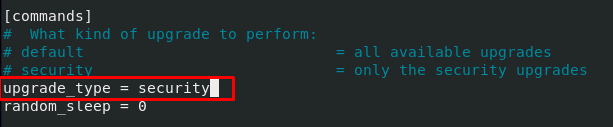
In the commands section, Change “Upgrade_type = default” to “Upgrade_type = security”:
In the emitters section, Uncomment the line “system_name = my_host” and change “system_name = my_host” to “system_name = CentOS 8”:


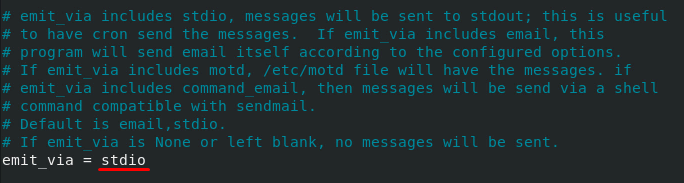
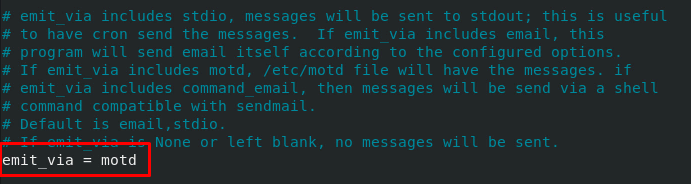
Similarly, in the emitters section, change “emit_via = stdio” to “emit_via = motd”:
Step 3: Initiate “dnf-automatic”
Once you have made all these changes, save the file and execute the command given below to initiate “dnf-automatic”:
![]()
Now to check the service status of “dnf-automatic,” input the following command in the terminal:

The above-written command will list the assigned tasks along with their specific time.
Conclusion
It is highly recommended to download and install security updates as soon as they are available to avoid any security mishaps. This article has learned different ways to check and install security updates on our CentOS 8 operating system.
from Linux Hint https://ift.tt/3xAJKKn


0 Comments