


In this article, I will show you how to create a Synology NAS shared folder and mount it as a datastore on a VMware ESXi server. So, let’s get started.
Things You Will Need:
To follow this article, you need to have,
- a Synology NAS device.
- a VMware ESXi server.
- a laptop or computer to access the web management interface of your Synology NAS and VMware ESXi.
You also need to know the IP address of your Synology NAS and VMware ESXi.
The IP address of my Synology NAS is 192.168.0.110, and the IP address of my VMware ESXi server is 192.168.0.113. These IP addresses will be different for you. So, make sure to replace them with yours from now on.
Enabling the NFS File Service:
You can mount your Synology NAS shared folders on your VMware ESXi server via the NFS (Network File System) protocol. So, you must enable the NFS file service on your Synology NAS.
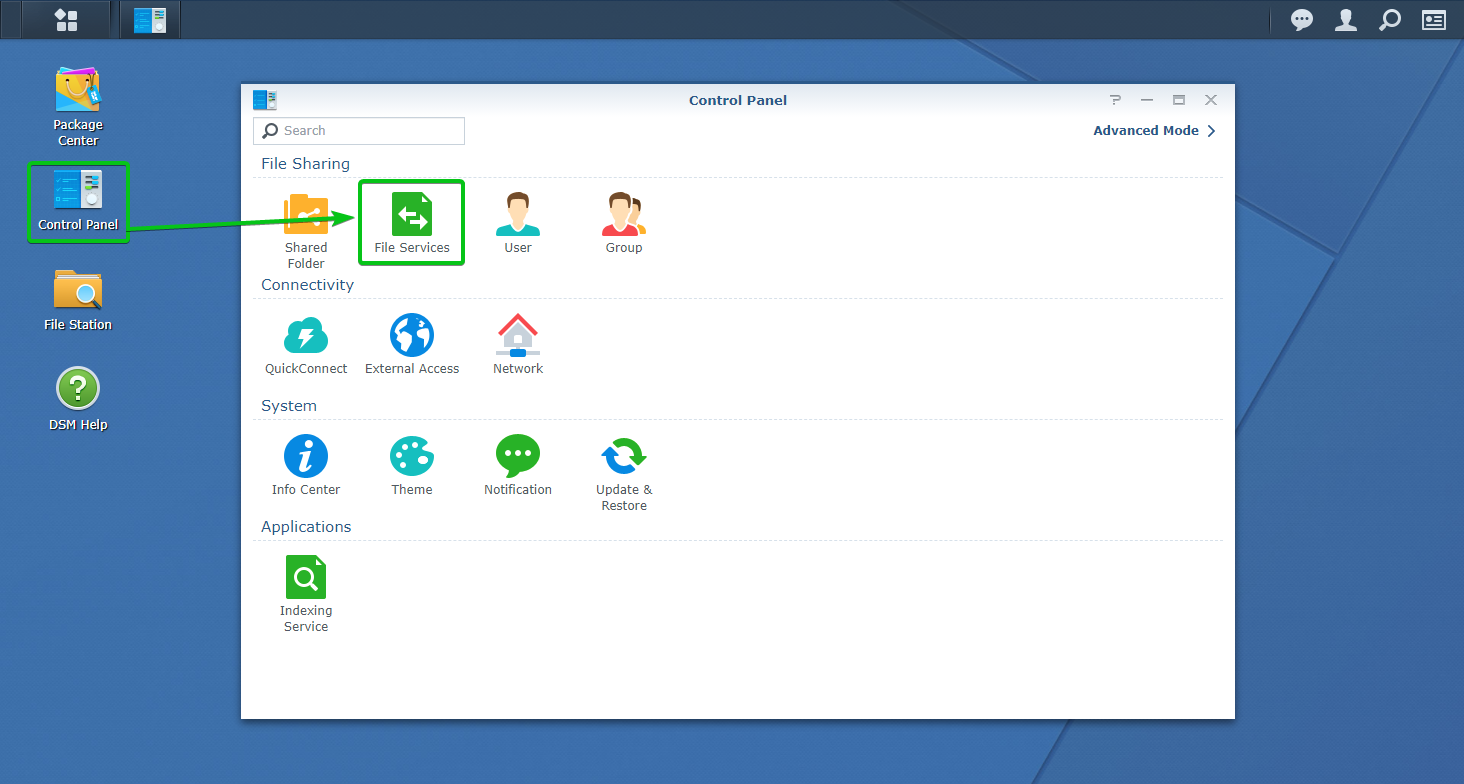
First, click on the File Services icon from the Control Panel app as marked in the screenshot below.
Now, scroll down a little bit and make sure the Enable NFS checkbox is checked. Once you’re done, click on Apply.
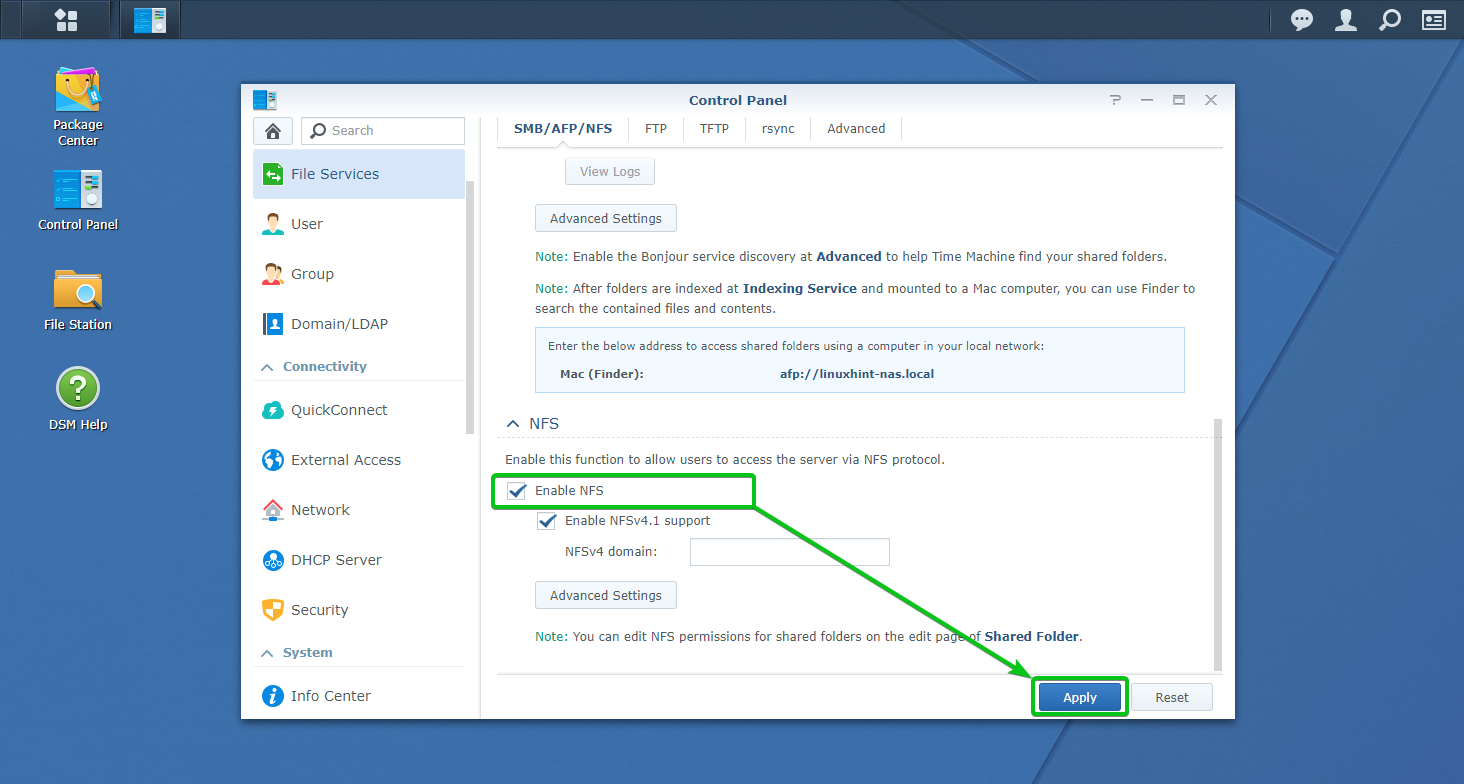
The NFS file service should be enabled.
Creating a Shared Folder for VMware ESXi:
Now, let’s create a shared folder for the VMware ESXi server.
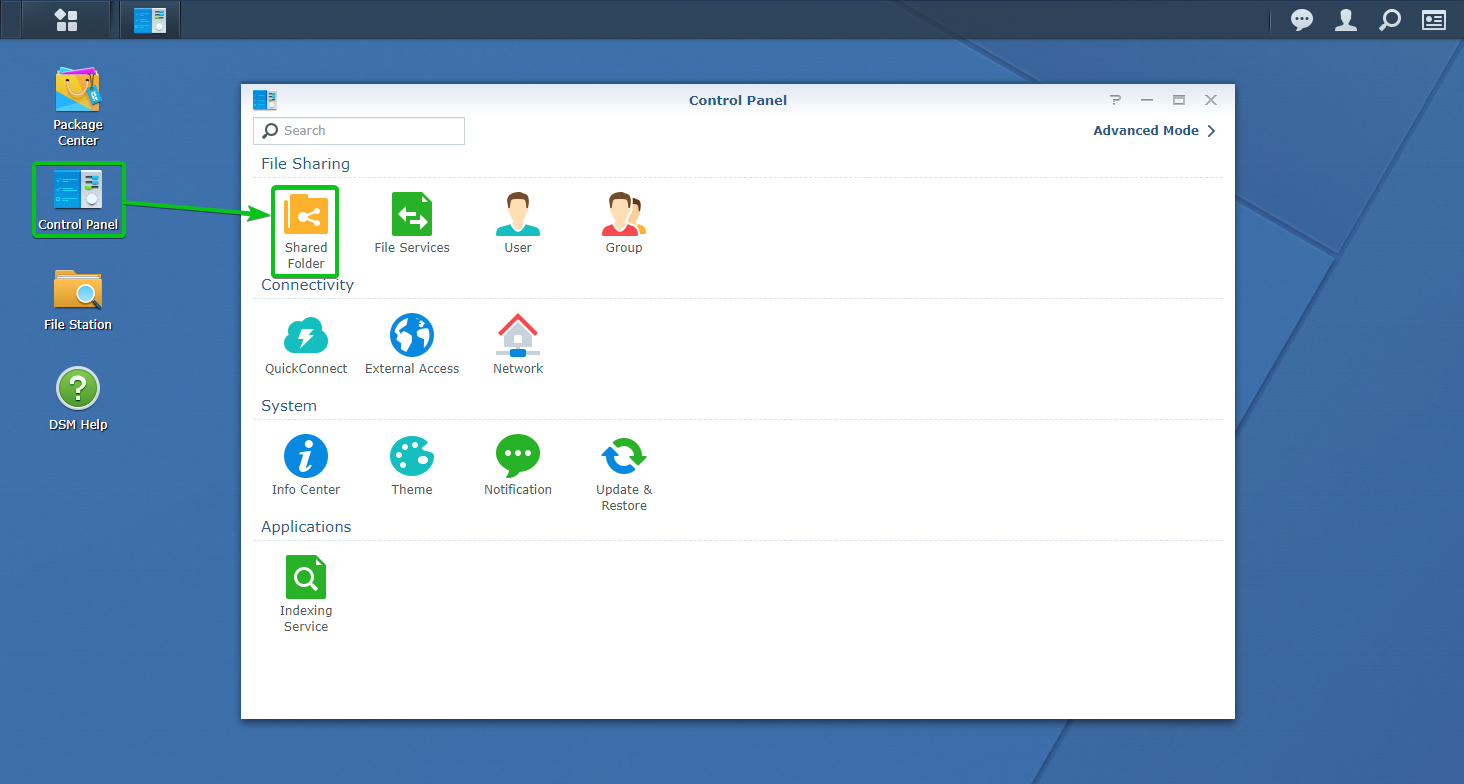
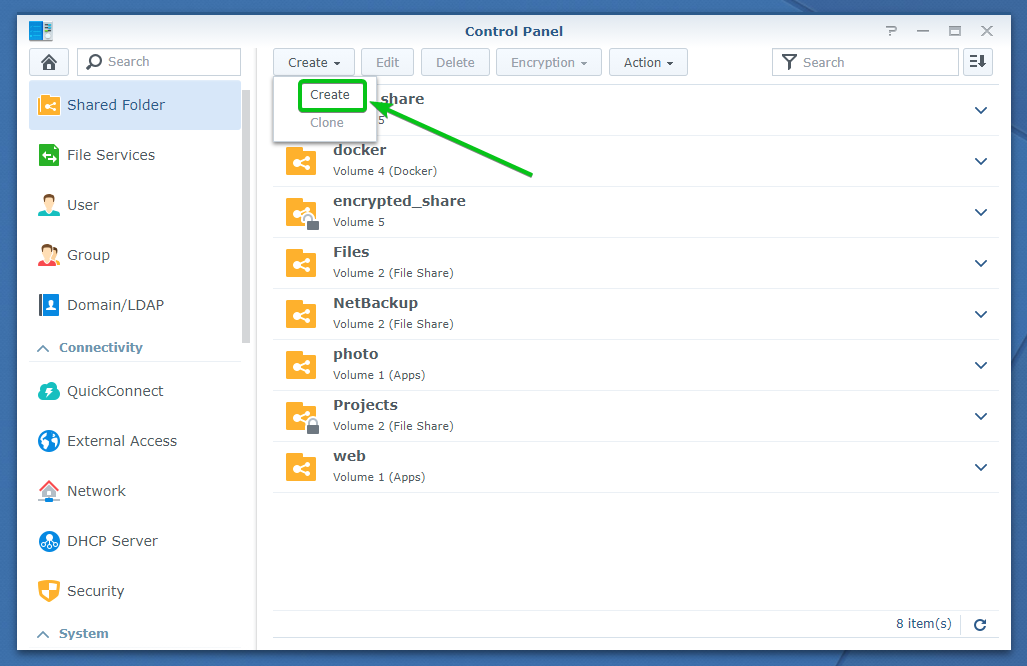
To create a new shared folder, click on the Shared Folder icon from the Control Panel app as marked in the screenshot below.
Click on Create.
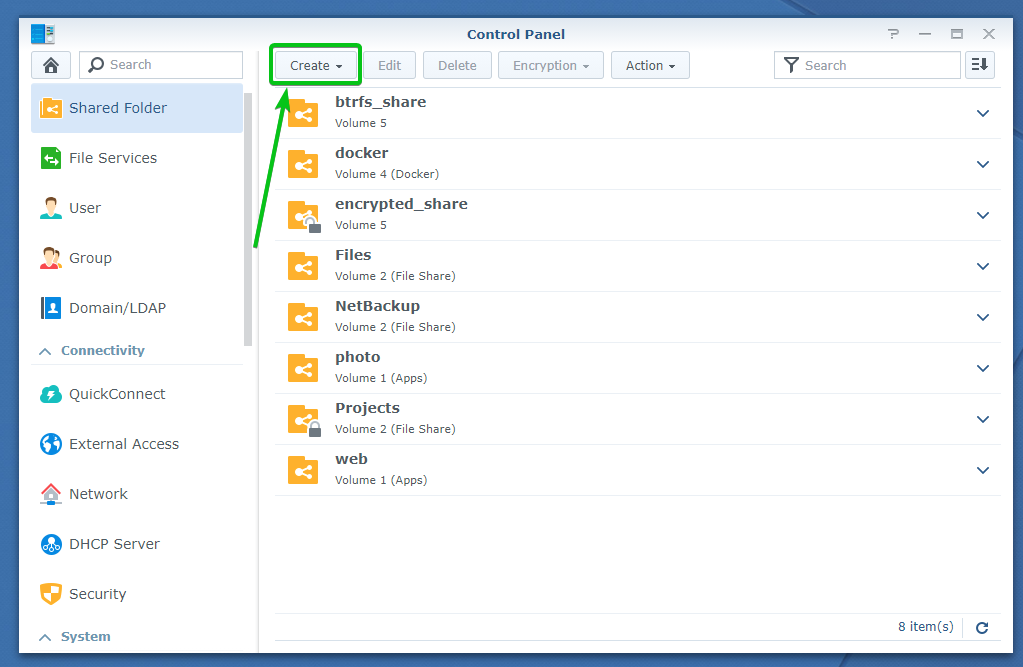
Click on Create.
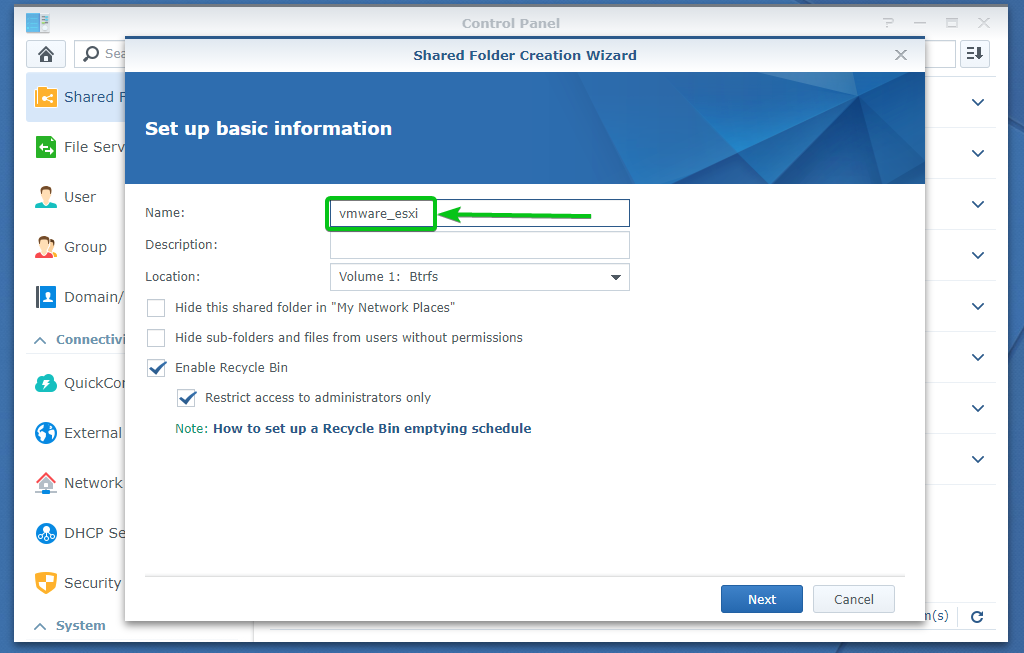
The Shared Folder Creation Wizard should be displayed. You can create a new shared folder from here.

Type in a name for the shared folder. I will call it vmware_esxi in this article.
Select a volume where you want to store the data of the shared folder from the Location dropdown menu as marked in the screenshot below.
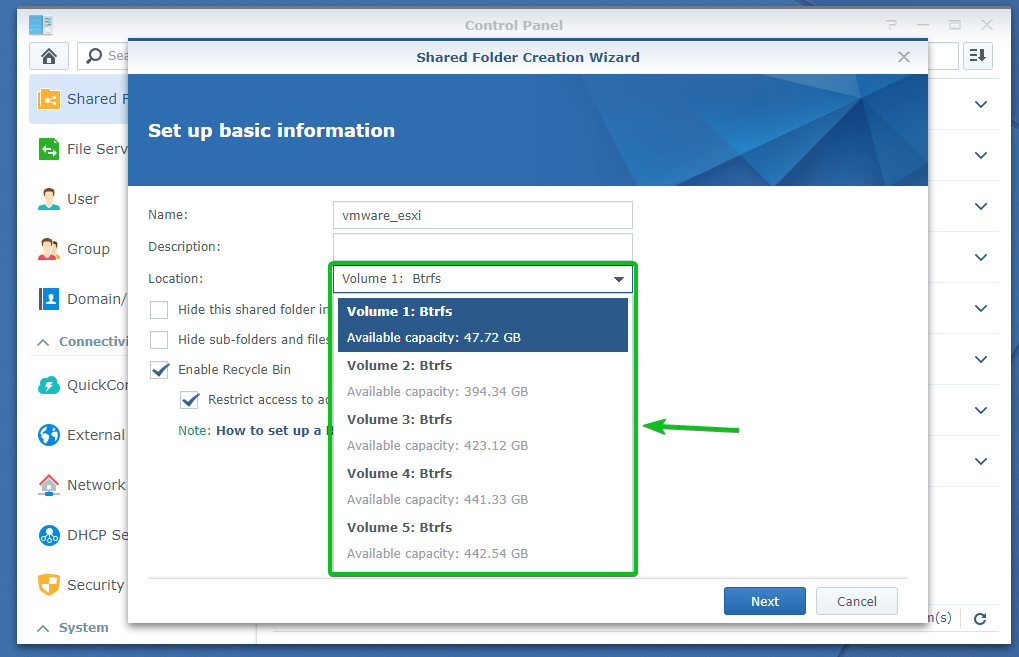
Once you’re done, click on Next.
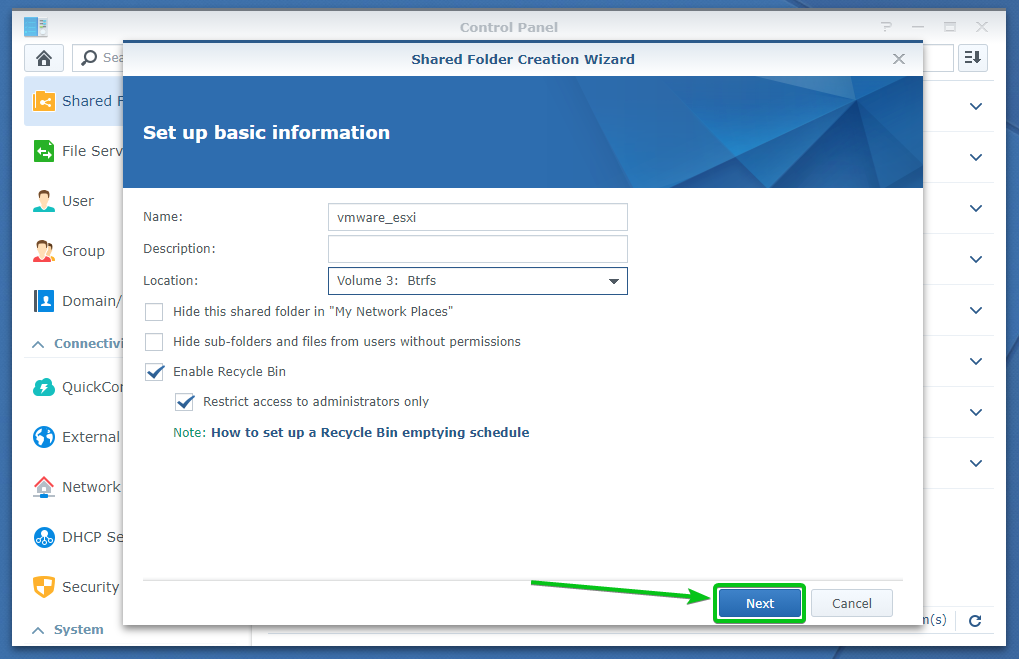
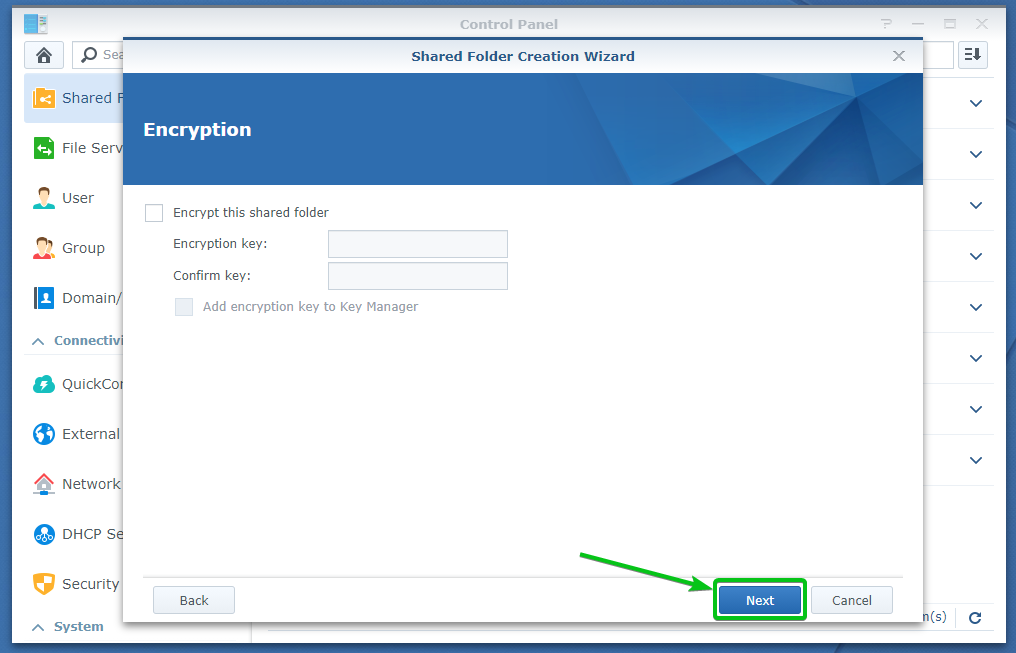
Click on Next.
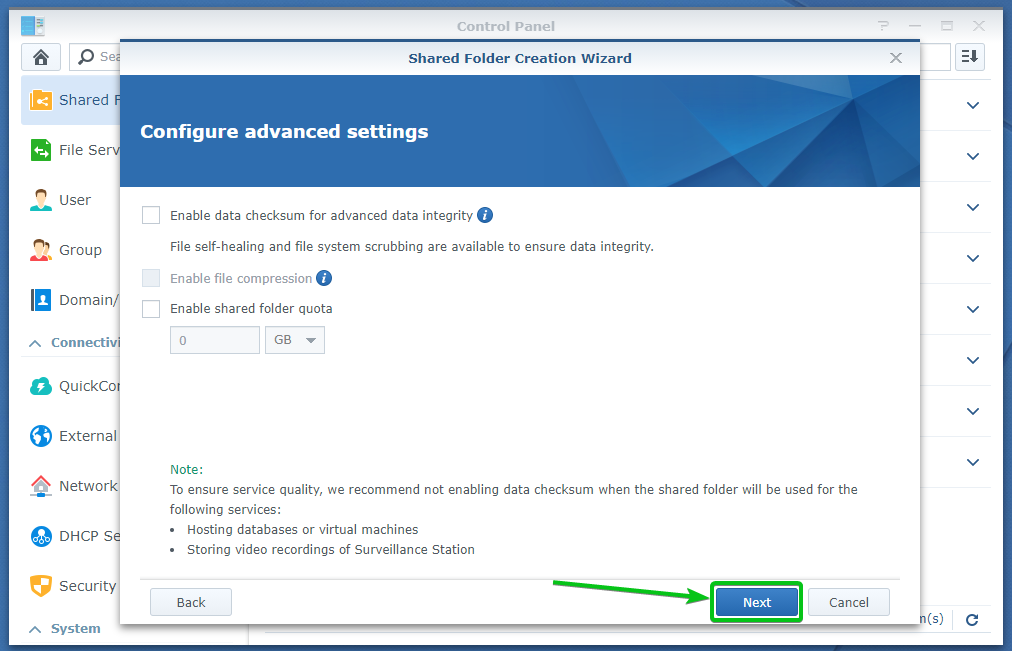
Click on Next.
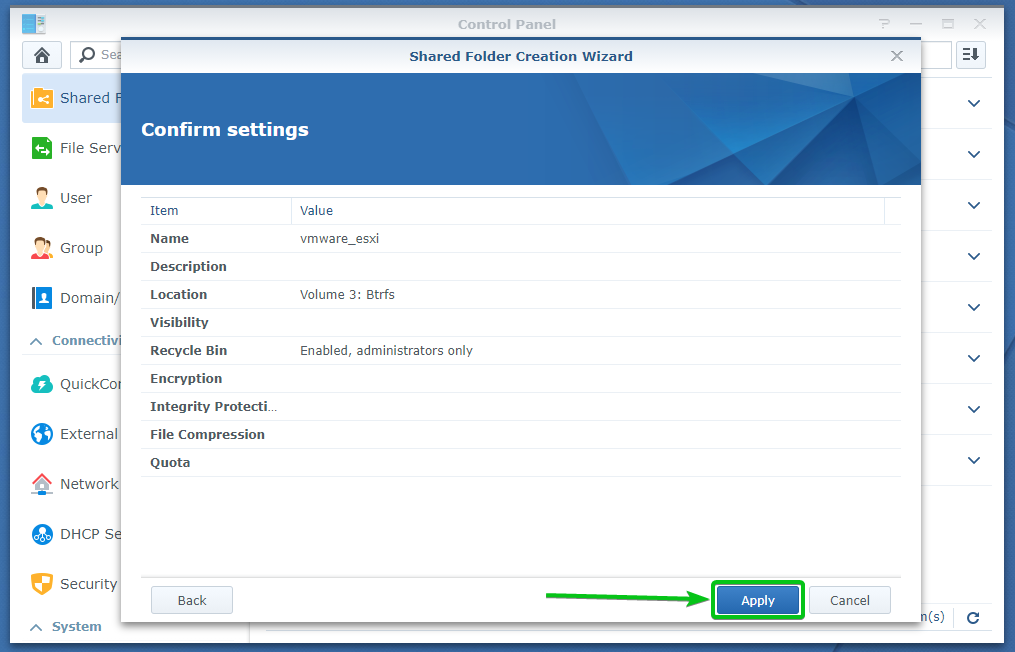
Click on Apply.
Select the required access permissions for the vmware_esxi shared folder and click on OK.

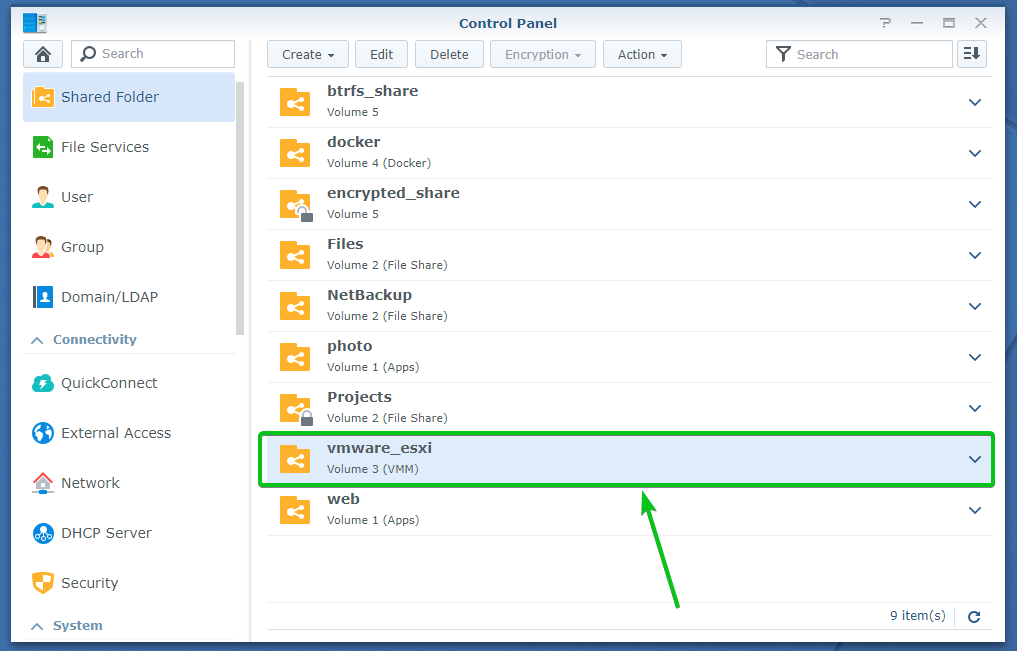
A new shared folder vmware_esxi should be created, as you can see in the screenshot below.
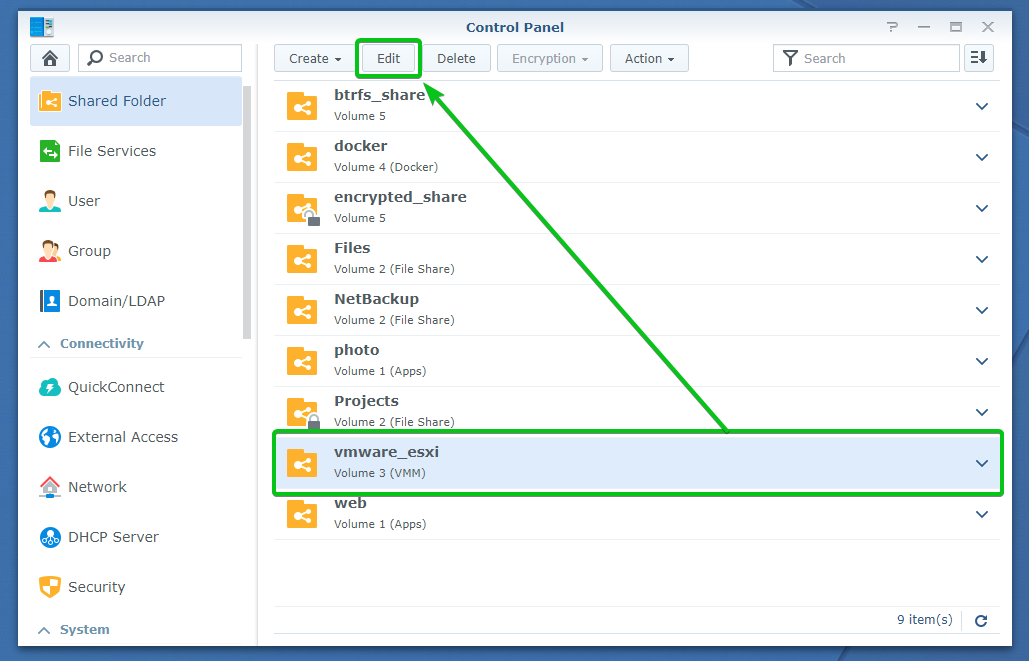
Now, you have to set the required NFS permissions for the shared folder vmware_esxi.
To do that, select the vmware_esxi shared folder and click on Edit as marked in the screenshot below.
Navigate to the NFS Permissions tab and click on Create to create an NFS rule.
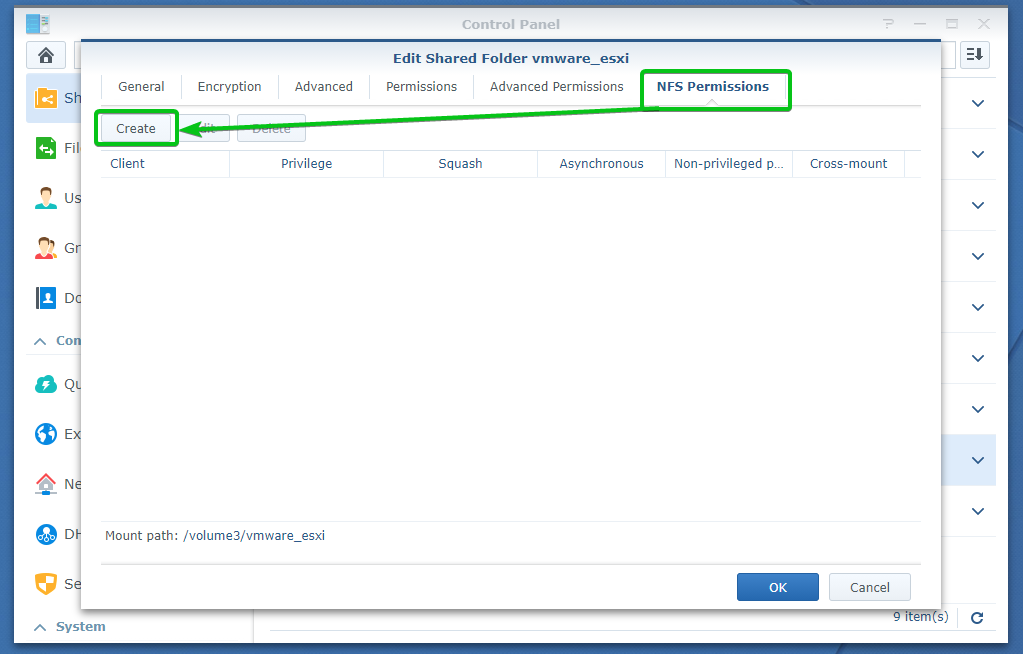
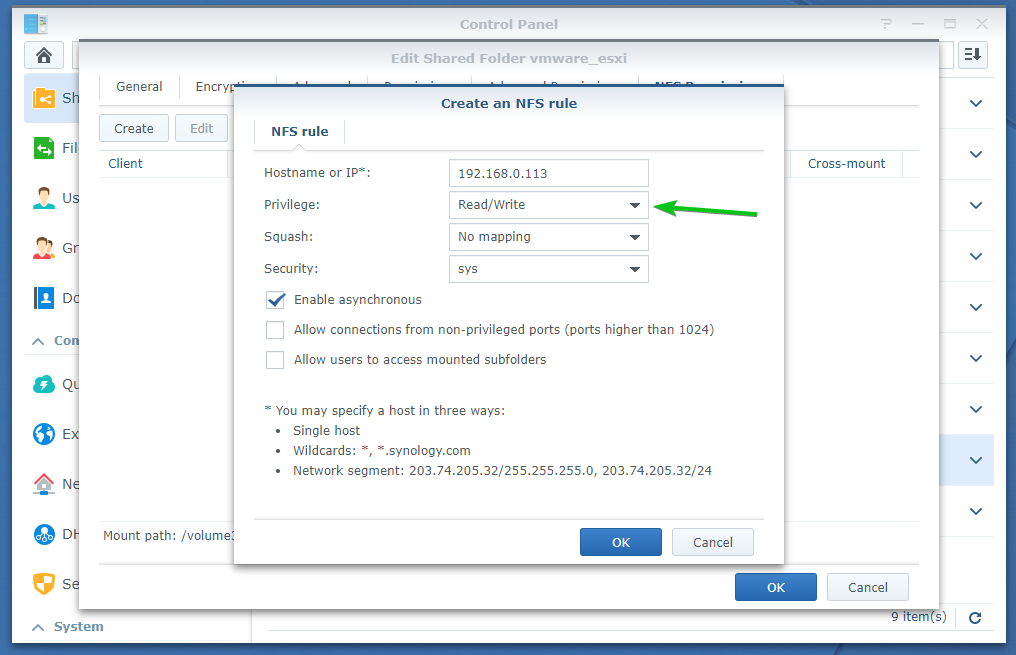
The NFS rule creation window should be displayed.
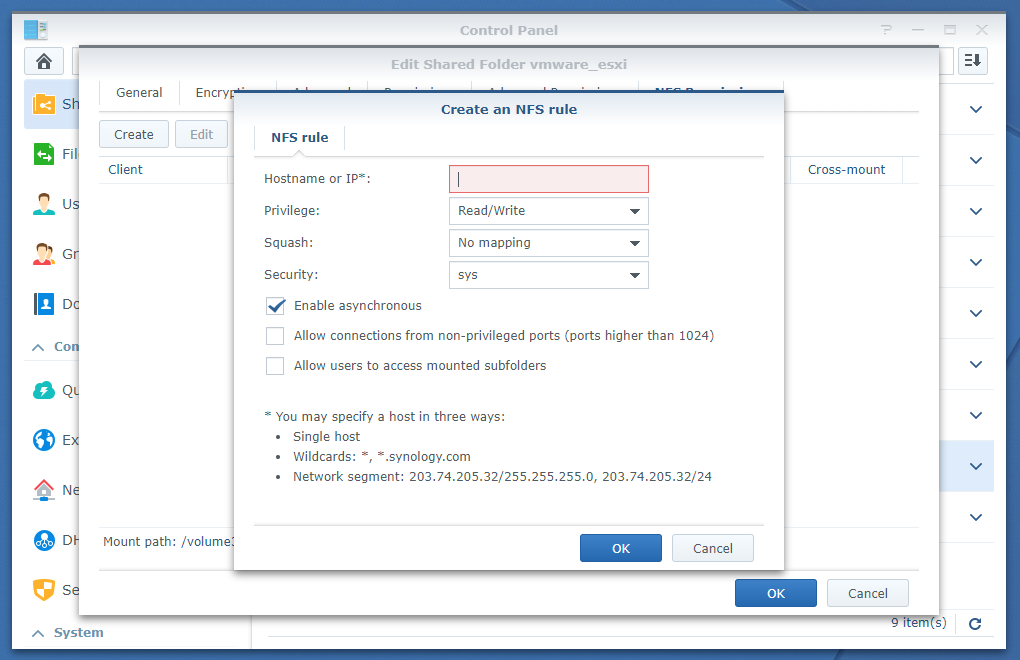
Type in the IP address of your VMware ESXi server in the Hostname or IP* section as marked in the screenshot below.
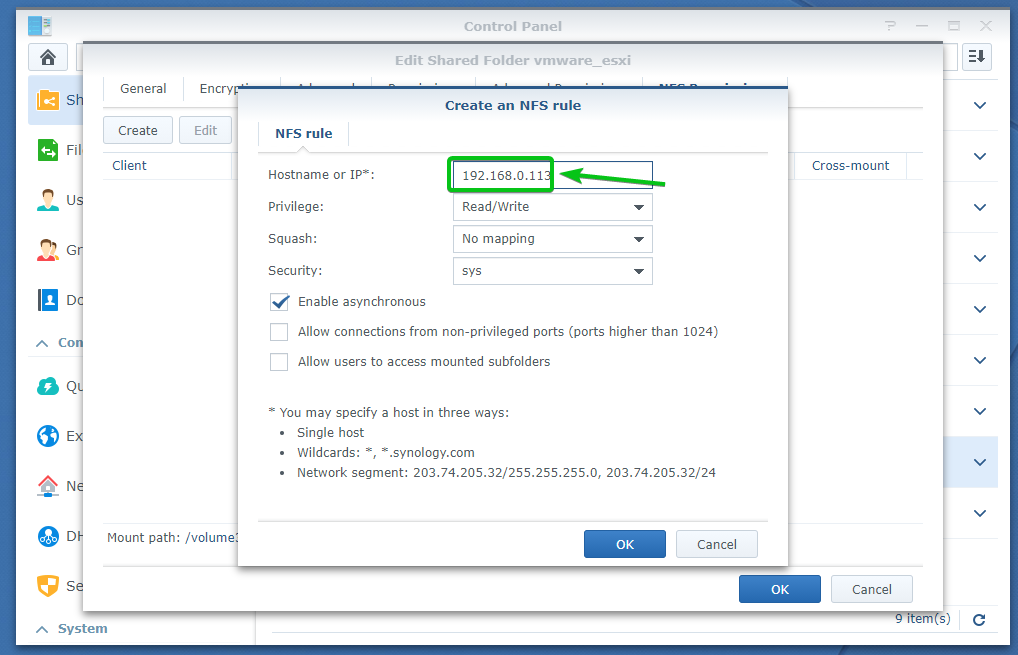
Select the required Read/Write privileges for the shared folder from the Privilege section as marked in the screenshot below.
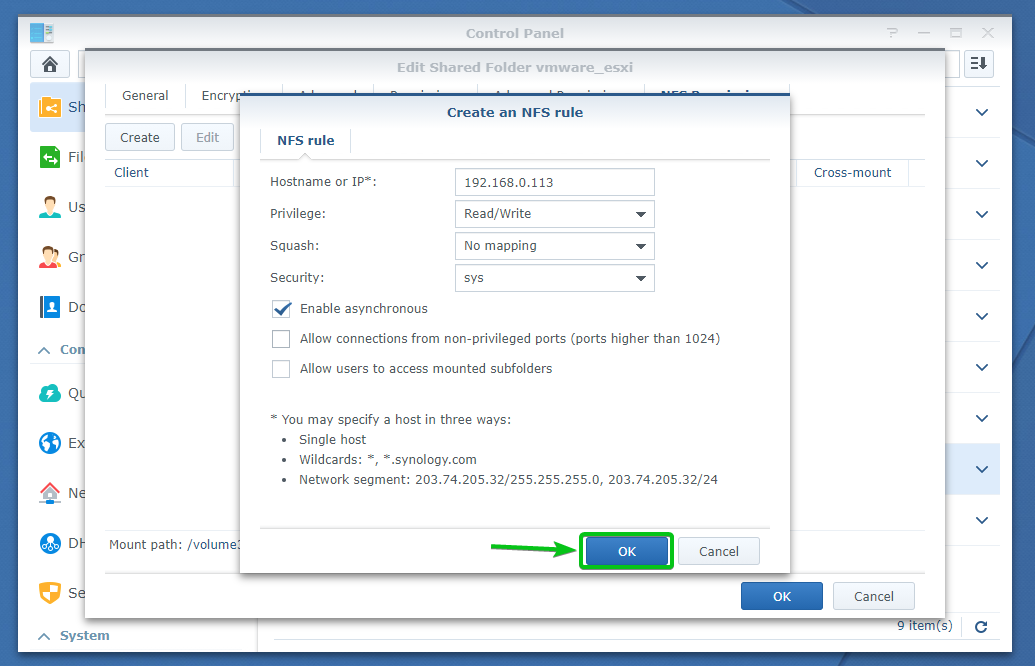
Once you’re done configuring an NFS rule, click on OK to add it.
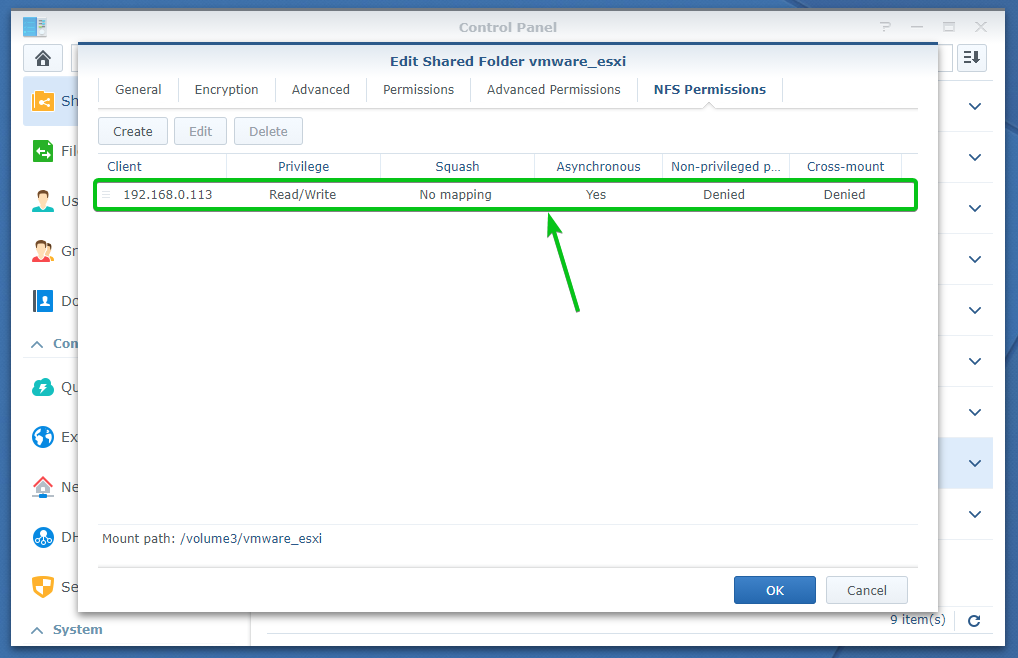
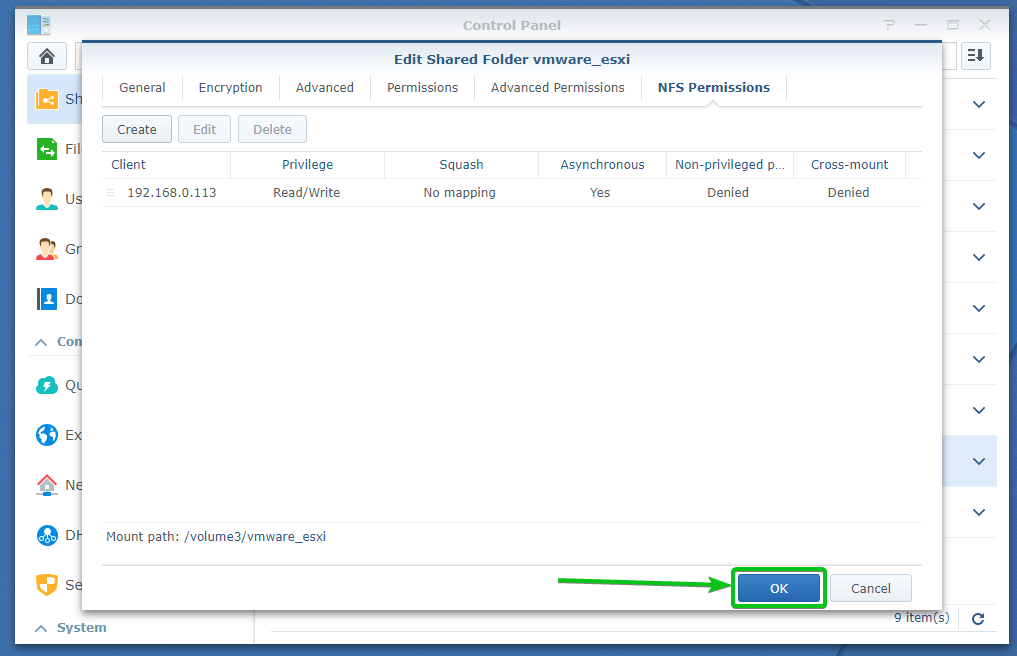
A new NFS rule should be added, as you can see in the screenshot below.
The mount path of the vmware_esxi shared folder should be displayed in the NFS Permissions tab, as you can see in the screenshot below. Remember it as you will need it to mount this shared folder on your VMware ESXi server.
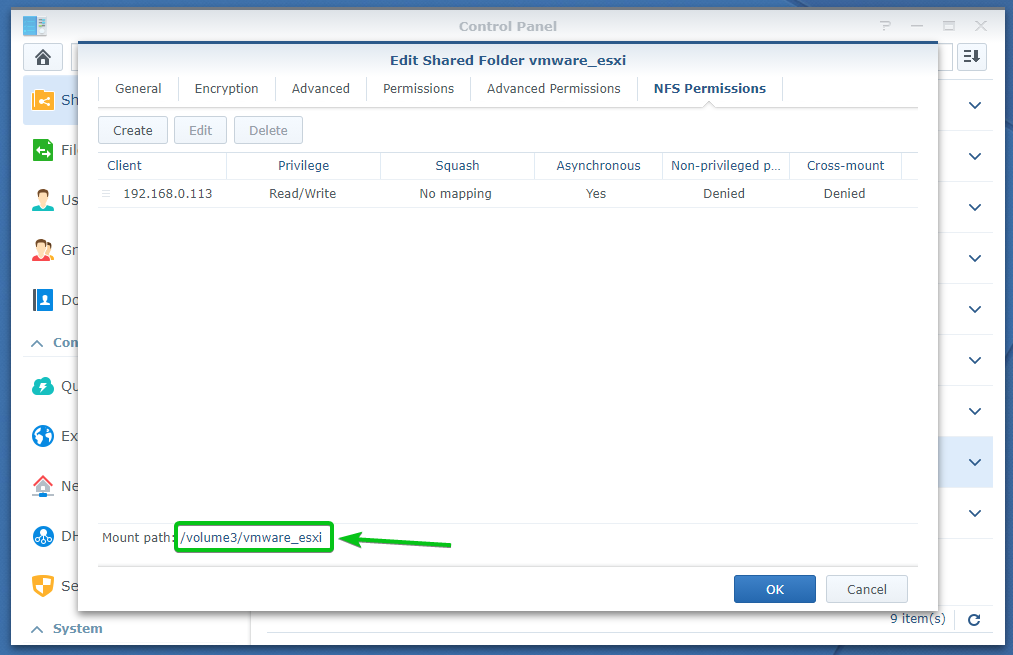
Once you’re done, click on OK.
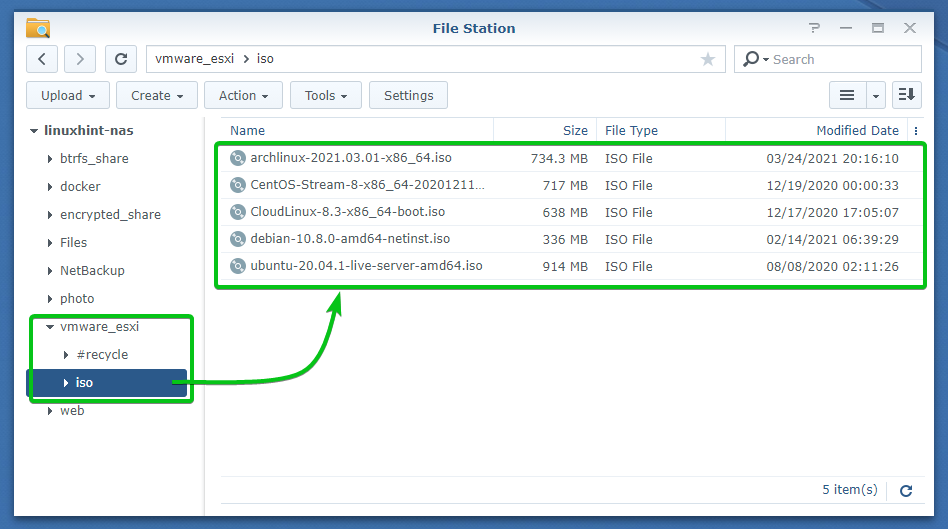
After creating the vmware_esxi shared folder, I have created an iso/ folder in the vmware_esxi shared folder and copied some ISO files in there, as you can see in the screenshot below. I should be able to access them when I mount the shared folder on my VMware ESXi server.
Mounting a Synology NAS Shared Folder on VMware ESXi:
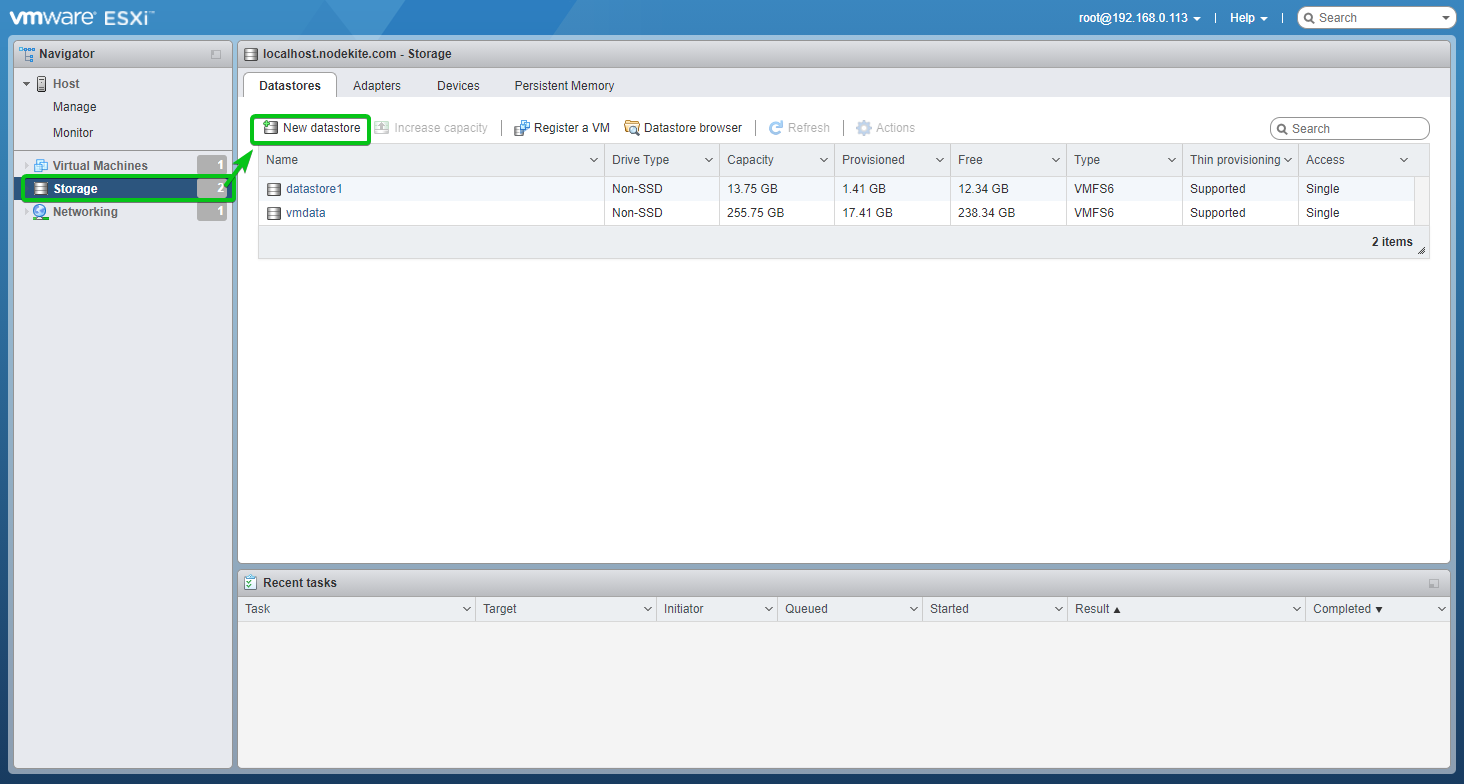
To mount the Synology NAS shared folder vmware_esxi, login to the VMware ESXi dashboard, navigate to the Storage section and click on New datastore as marked in the screenshot below.
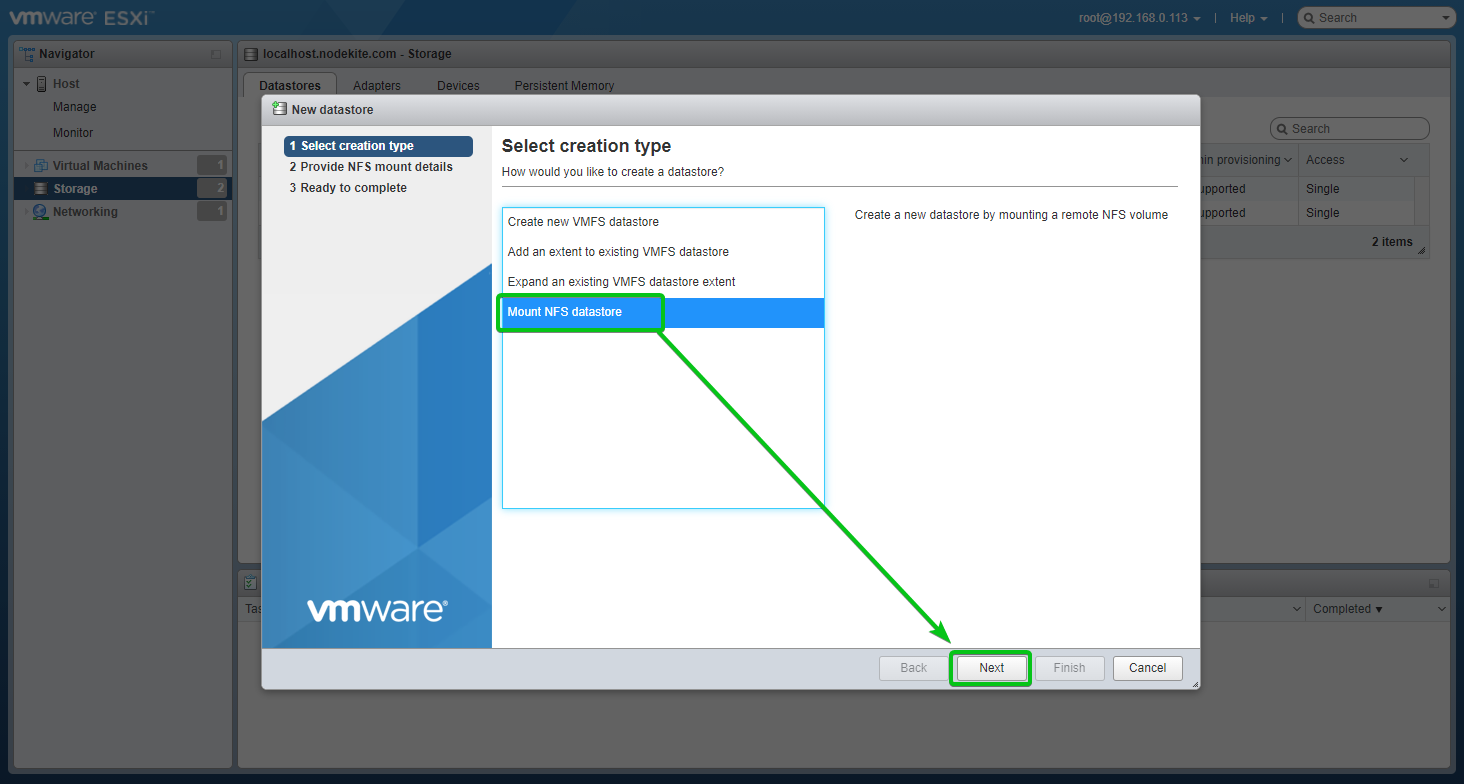
Select Mount NFS datastore and click on Next.
Now, you have to type in the required NFS mount information to mount the vmware_esxi shared folder from your Synology NAS.
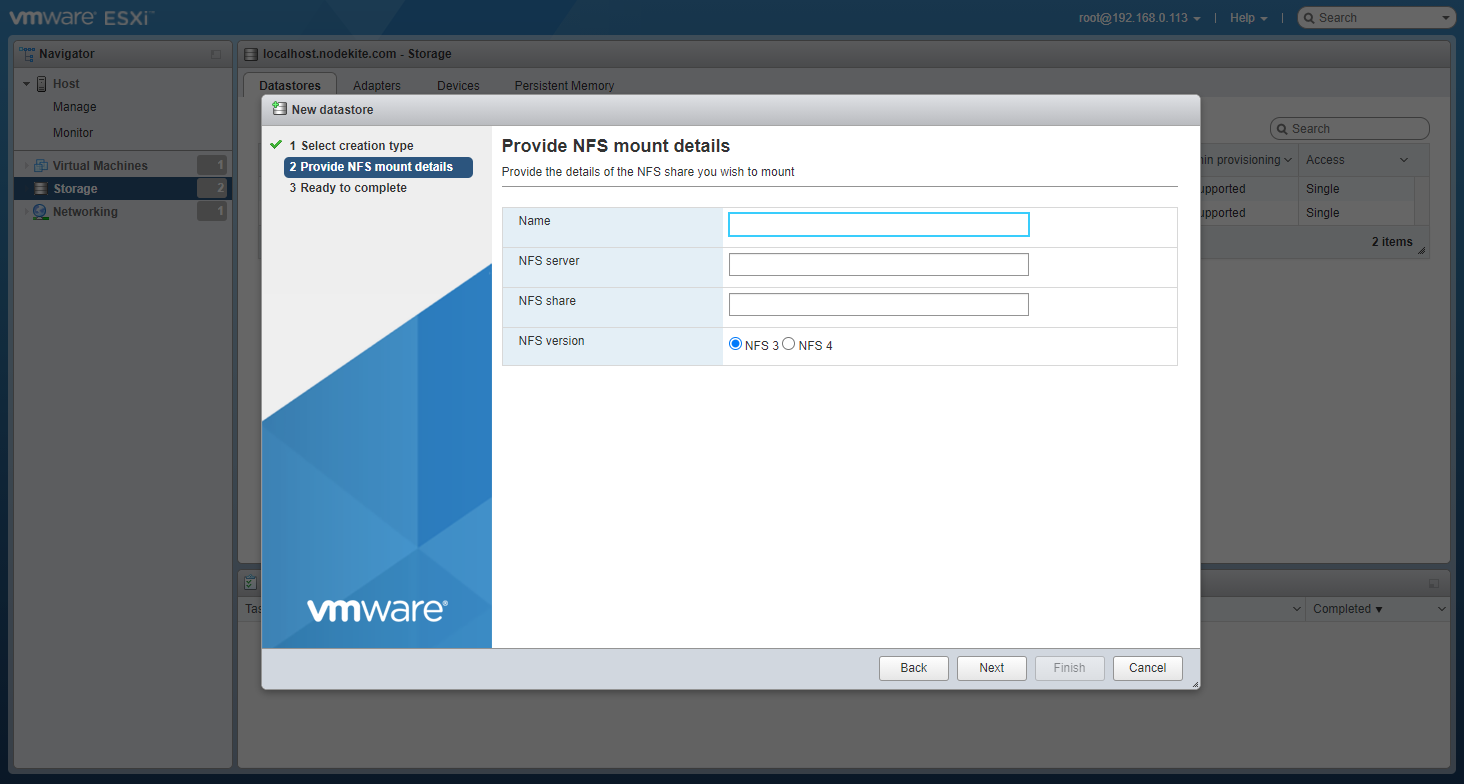
Type in a name for the VMware datastore, type in the IP address of your Synology NAS in the NFS server section, type in the mount path of your shared folder in the NFS share section, and click on Next as marked in the screenshot below.
In my case, the IP address of my Synology NAS is 192.168.0.110, and the mount path of the shared folder vmware_esxi is /volume2/vmware_esxi. These will be different for you. So, make sure to replace them with yours here.

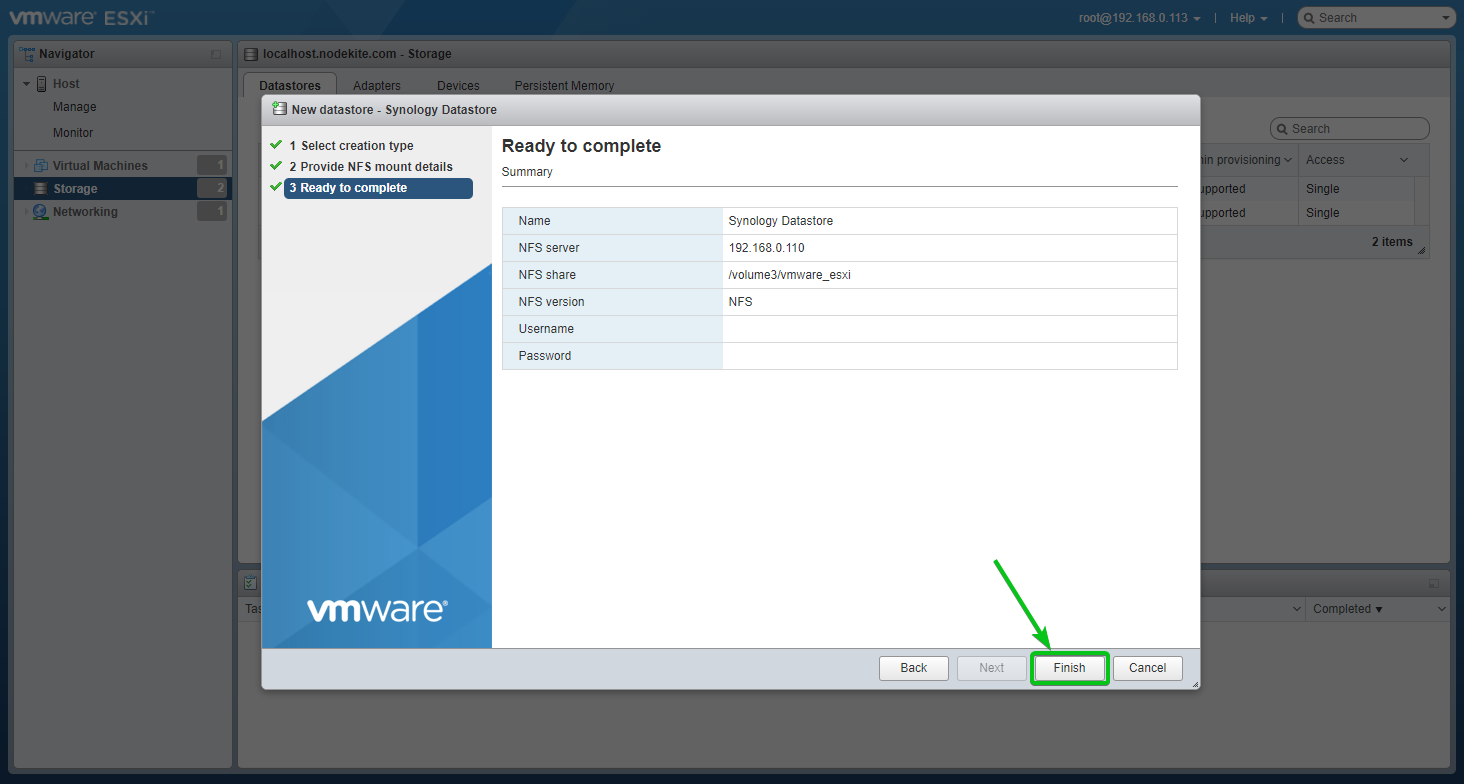
Click on Finish.
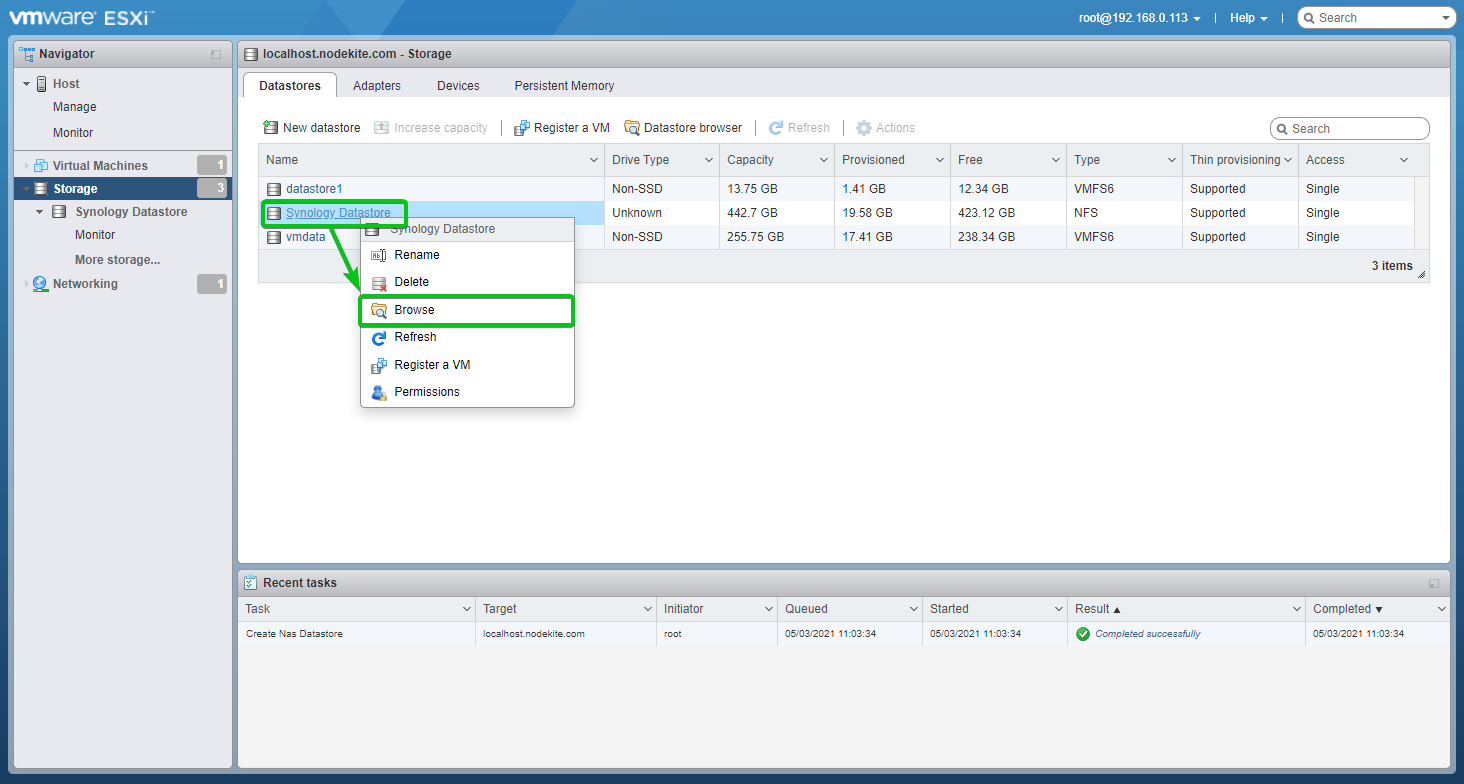
The vmware_esxi shared folder should be mounted as a VMware datastore on your VMware ESXi server, as you can see in the screenshot below.

To browse the contents of the VMware datastore you’ve just created, right-click (RMB) on it and click on Browse as marked in the screenshot below.
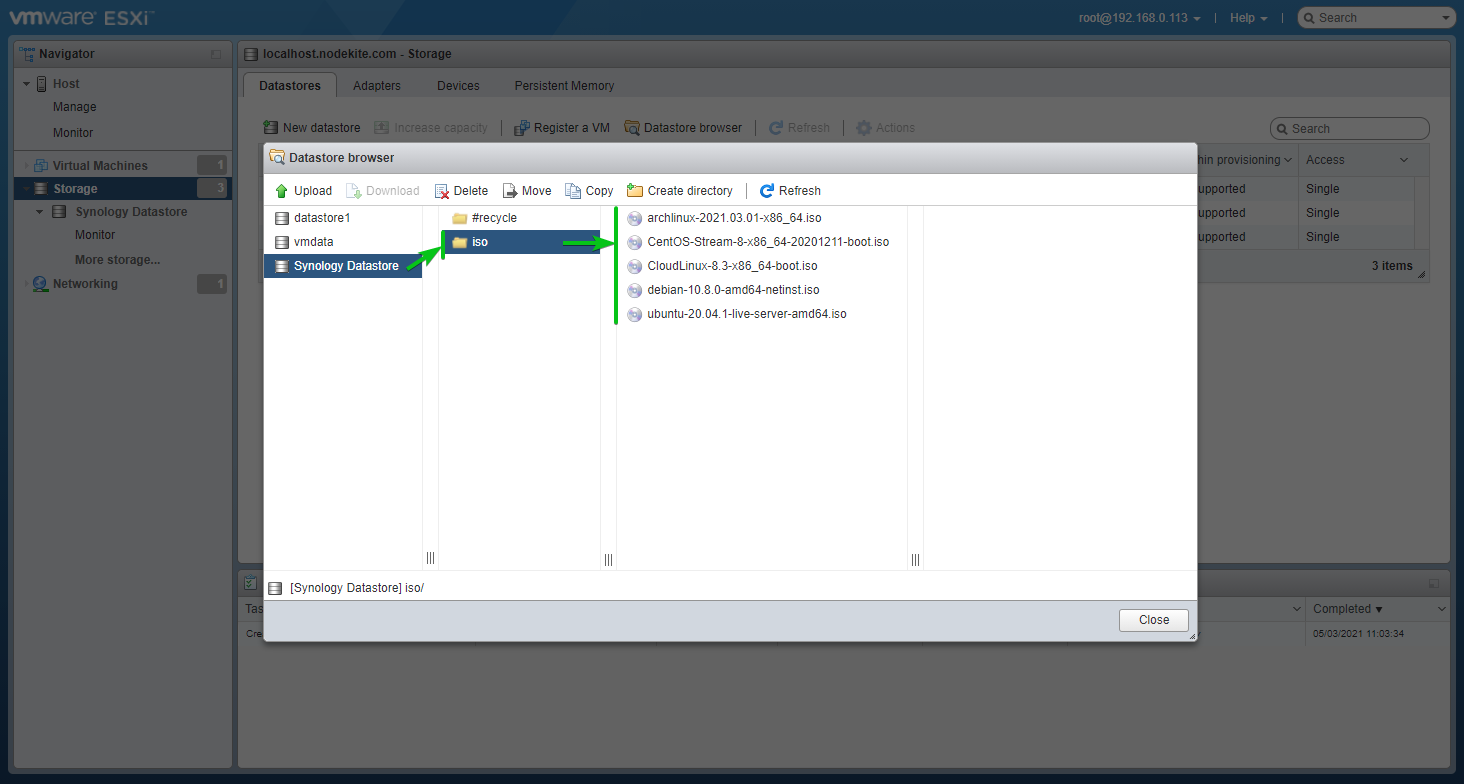
As you can see, the ISO files I have copied in the iso/ folder of the vmware_esxi shared folder of my Synology NAS are accessible from my VMware ESXi server. So, the shared folder vmware_esxi is successfully mounted on my VMware ESXi server.
Conclusion:
In this article, I have shown you how to enable the NFS file service on your Synology NAS, create a shared folder, and configure it for NFS access. I have also shown you how to mount a shared folder of your Synology NAS on your VMware ESXi server as a VMware datastore.
from Linux Hint https://ift.tt/3ohgTa8
![How two Build a House in Minecraft [Step by Step]](https://lh3.googleusercontent.com/blogger_img_proxy/AEn0k_sy-96lyG4Ca5HZvlZ1qZib9w2gamRNC2hb1Gn2BdTHAFzOG8o5rHY7zQXeD1ejzSixLq6_fLs3pebodgGPQVpsglJ4KsPTX2sxKljk5CfJ1eVivwaEcP7BBeVETsFSCr7Fsfhih4sUdxY9Z_PVS-z4pK_BwUTaxeS7oIR_4A=w100)


0 Comments