


We have already covered different approaches to personalized your Minecraft experience, such as seeding, commands, and using add-ons. Thousands of Minecraft can be found from various online sources, and we have already discussed the rare Minecraft skins. This write-up is covering what Minecraft skins are and its step-by-step process of using them to modify the appearance of the avatar. First, let’s understand what Minecraft skins are.
What are Minecraft Skins?
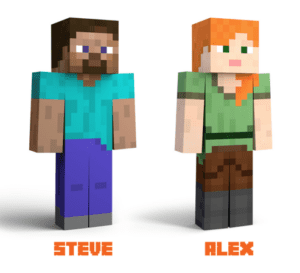
Well, technical skins are textures that are used on characters to give them a distinct look. You can use any skin and replace it with default ones. For instance, Minecraft has 2 default characters, Steve and Alex, and their default skins can be seen in the following image:
You can change the skins of these avatars to anything like Mario, Sponge Bob, and even Spiderman. The process of changing the skin is quite simple thanks to Minecraft developers. The next section is covering how to replace the skins in Minecraft.
How to Install Skin in Minecraft?
There are two methods to install skins in Minecraft, either can be used to modify the skins of your avatar:
- Through Browser
- Through Minecraft Launcher (Java Edition)
Install Minecraft Skins Through Browser
Step 1:
Firstly, download your favorite skin from any reputable online source. I am downloading skins from “Minecraft Skins”, you can download tons of skins from here. For this guide, I am downloading a “Mario” skin:
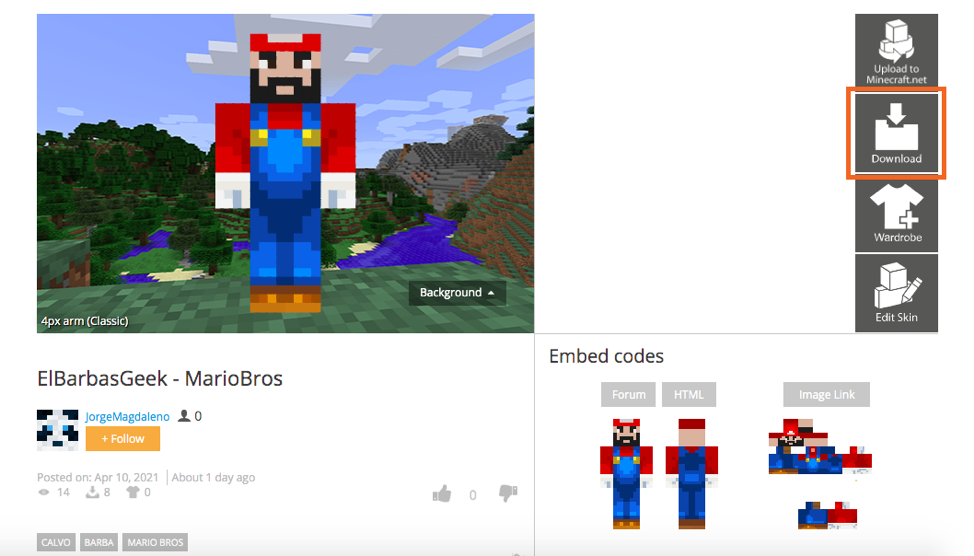
It would be a small “png” file.
Step 2:
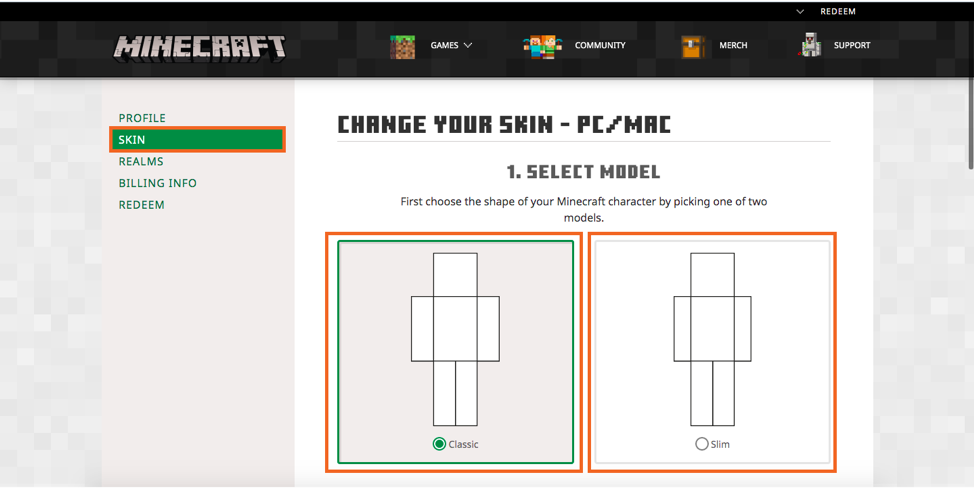
Now, visit the Minecraft website and log in, click on “SKIN”:
Step 3:
There are two types of models in Minecraft, select the model type you prefer:
Step 4:
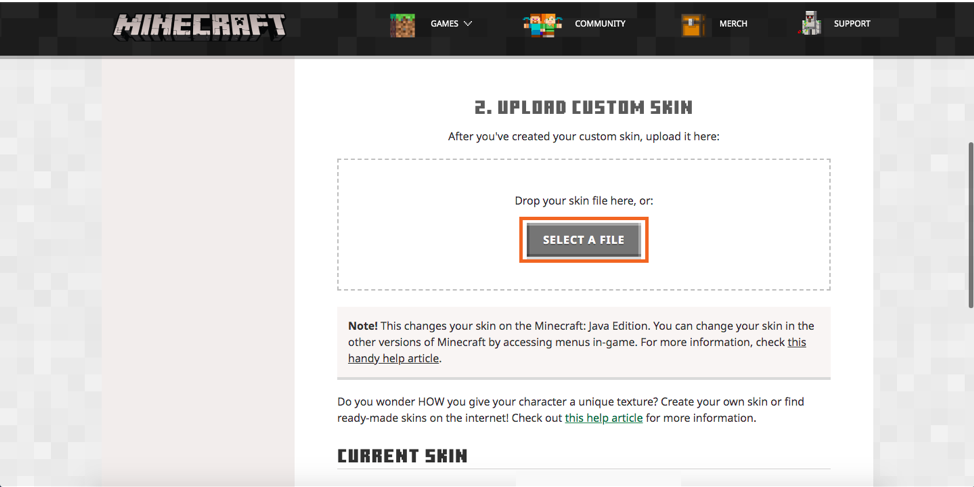
Upload the skin, click on “SELECT A FILE”:
After selecting the file, click on “UPLOAD”:
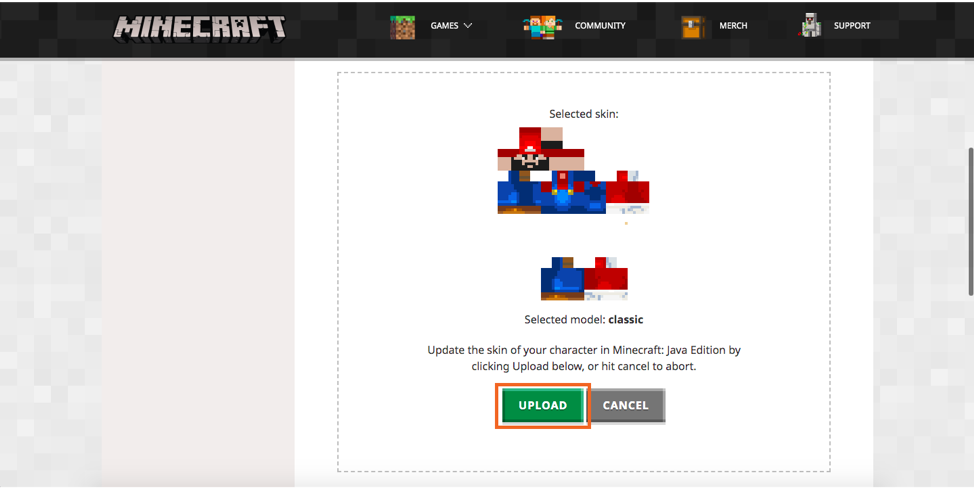
The skin will be changed. Launch the game and play with your new skin.
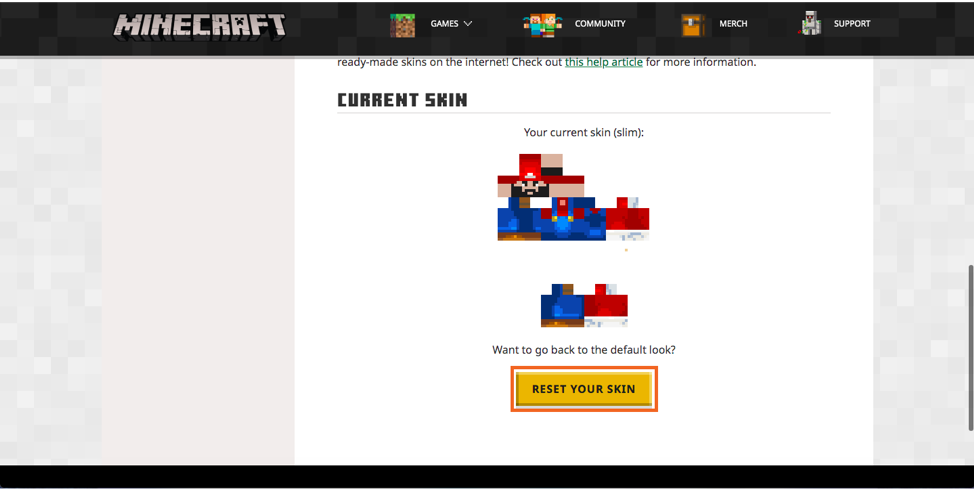
You can also reset skin to default by clicking on “RESET YOUR SKIN”.
Install Skins Through Minecraft Launcher
This process is quite similar.
Step 1:
Download the skin from any reputable online source.
Step 2:
Open Minecraft launcher, click on the “Skins” option:

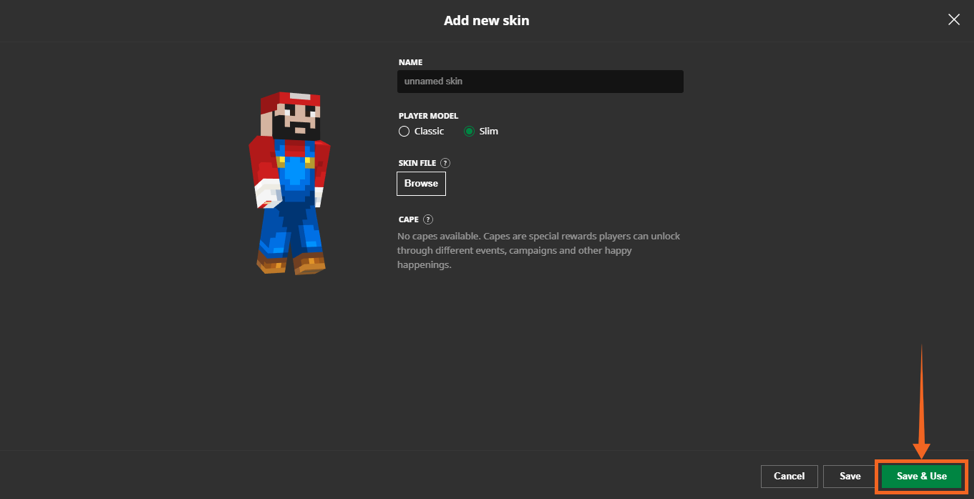
Step 3:
Click on “New skin”:

Select the model and then click on the “Browse” key to select skin file:
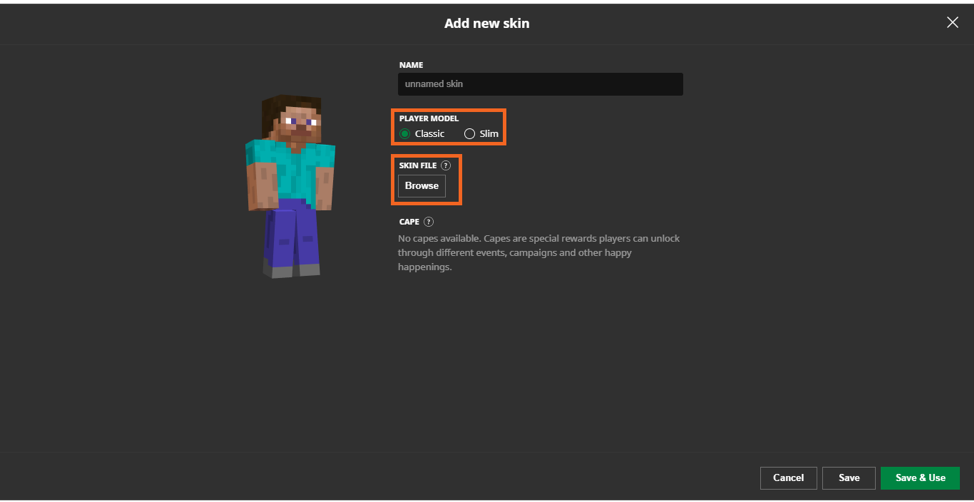
Now click on the “Save & Use” key:
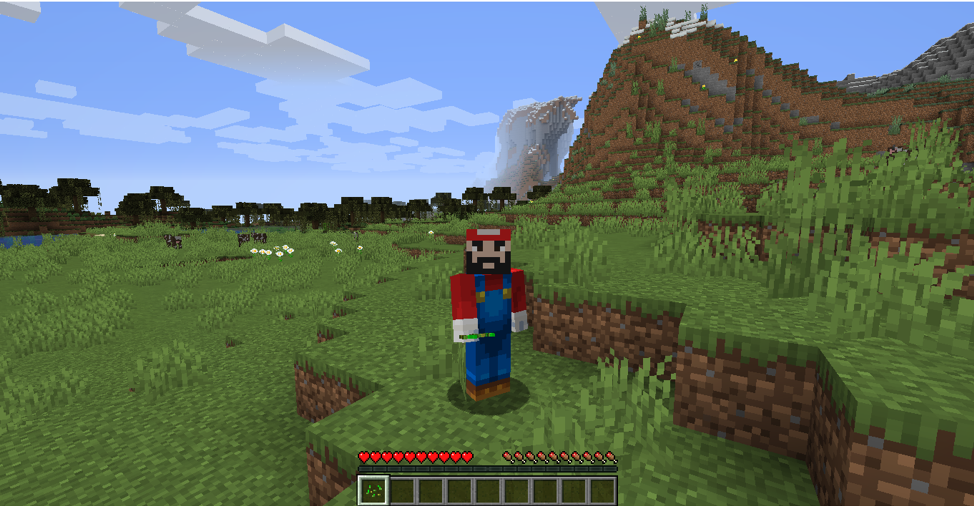
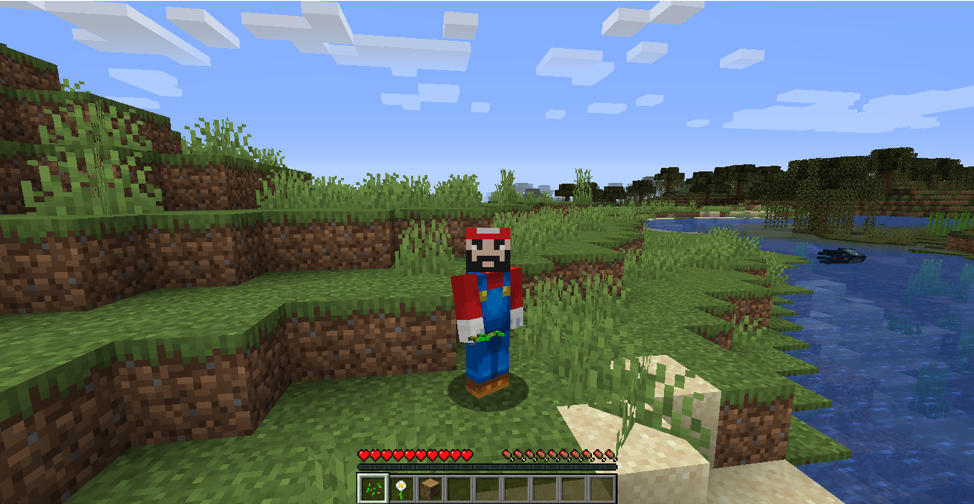
Launch the game and play with Mario skin:
Conclusion
Who wouldn’t like to personalize the game that you play all day? Many games allowed customization, some have limited customization, and some are fully customizable. Minecraft is one of those games that gives boundless freedom when it comes to personalization of the game, thanks to mods, various ads, texture packs, shaders, and, of course, skins.
Skins change the default appearance of Minecraft avatars. In this write-up, we learned how to change skins in Minecraft on PC using two different approaches. There are many online source forms you can get skins. Moreover, you can make your own skins as well with the use of any editor, all you need a creative mind and some practice.
from Linux Hint https://ift.tt/2RrEgSD


0 Comments