


About Flask
Flask is a Python based web application development framework that is specially designed to be minimal to get you started. This helps in rapid prototyping, fast development and quick deployment. Any advanced features that you need to add to your web application can be added through extensions. The official site of Flask describes itself as a “micro” framework since it leaves all major decisions to users themselves and decides little on behalf of them. Users can choose their own template engines, database management libraries, form validation tools and so on, though Flask does come with some sane defaults.
Installing Flask in Linux
If you are using Ubuntu, you can install Flask by executing the command mentioned below:
You can avoid using repository version and install latest version of Flask from “pip” package manager by running following two commands in succession:
$ pip3 install flask
If you are using any other Linux distribution, search for “Flask” packages in the package manager or install it from the “pip” package installation tool. Further detailed instructions are available here.
Once the installation has finished, you can check Flask version by using the command specified below:
The Client-Server Model
As stated earlier, Flask is used to develop web applications. Typically, all web application development frameworks in Python and other programming languages use client-server architecture. Flask also uses a client-server model where users can write server side logic to create web applications or websites. The “client” here refers to a web browser or any other app that allows rendering of web pages using HTML, JavaScript and CSS technologies. While the “server” refers to a local or remote server where your Flask app written in Python language is executed.
When you run a Flask app locally on your PC, a local server is automatically created to serve the web application. Flask will output a localhost URL in your terminal. You can visit this URL in any web browser to view the end result. You can also set up a remote server to facilitate communication between a client and server and launch your own public website or web application.
You can create client-side HTML, JavaScript and CSS code needed for your web application by using server side code written in Flask and Python. But once the web application is deployed and you run it in a web browser, your web application won’t see or understand Python code. It will process HTML, JavaScript and CSS only as only these technologies are mainly supported by web browsers. You will still be able to communicate with the server from the client side using HTTP requests. You can very much pass data from client to server, process it using some server side logic and return the result.
So depending on the kind of web application you are developing, you may have to decide where to implement logic: on server side or client side on case by case basis.
Simple Hello World Application in Flask
You can use the code sample below to create a simplistic “Hello World” application in Flask to get started:
app = Flask(__name__)
@app.route('/')
def hello_world_app():
message = "Hello World!!"
return message
The first statement in the above code sample imports the “Flask” class from the “flask” module. Once imported, you will be able to use all methods available in the “Flask” class.
In the next statement, a new instance of “Flask” class is created and the name of the file is supplied to it as an argument. If you are just using a single “.py” file without an additional “__init__.py” file typically used while creating a file structure for a Python package, the name will have a hardcoded value of “__main__”. The “__name__” argument tells Flask where to look for files related to the current flask application being executed. You can also supply your own custom path to your main Flask file instead of supplying a “__name__” argument. But typically, most developers use “__name__” only and this seems to be standard practice.
Next, a “decoration” “app.route” is attached to the “hello_world_app” function. Decorating functions extend or modify the function they are attached to, without actually changing them. Here, “app.route” decorator is used to specify the URL path where the attached function will run. The “/” symbol tells Flask to execute a function on “/” URL, which stands for “root” domain or “root” URL. For instance, if the URL for your app is “app.com”, the function will be triggered for “app.com” URL. You can change it to something else as well. For instance, by using a decorator “@app.route(‘/helloworld’)”, you can map the function to “app.com/helloworld” URL.
Finally the function “hello_world_app” is used to return the content you want to display in a web browser when your web app is running.
Running a Flask App
To run a Flask app in Linux, you need to run a command in the following format:
$ flask run
Change “main.py” name as needed to match it with your own .”py” file where you have written your Flask code. The second command runs your Flask app. You can also run this alternate command as well:
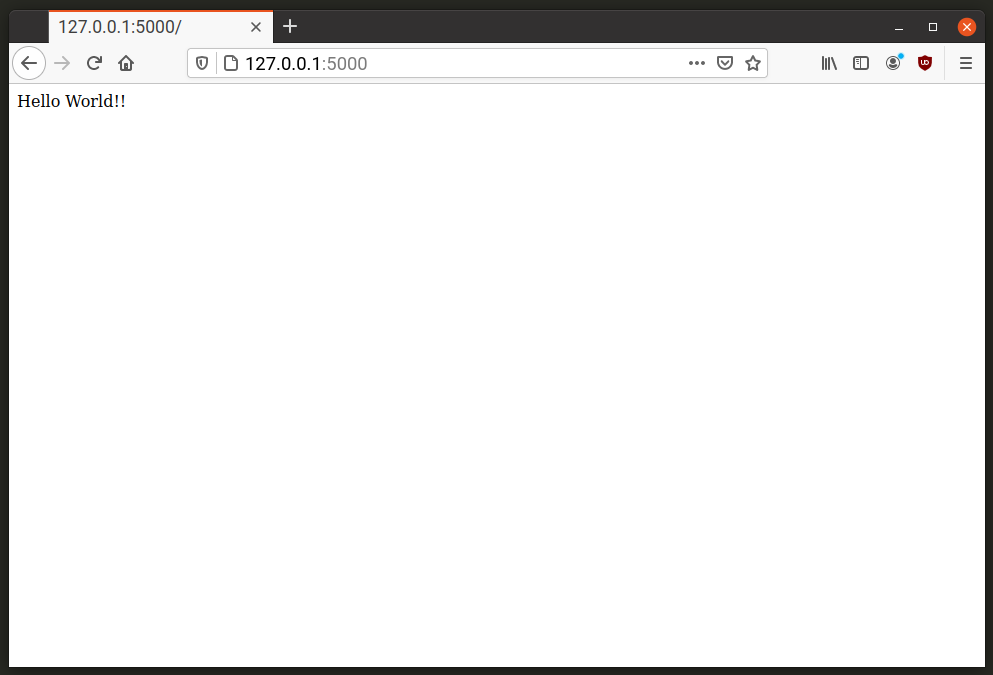
After running these commands, you should see some output like this:
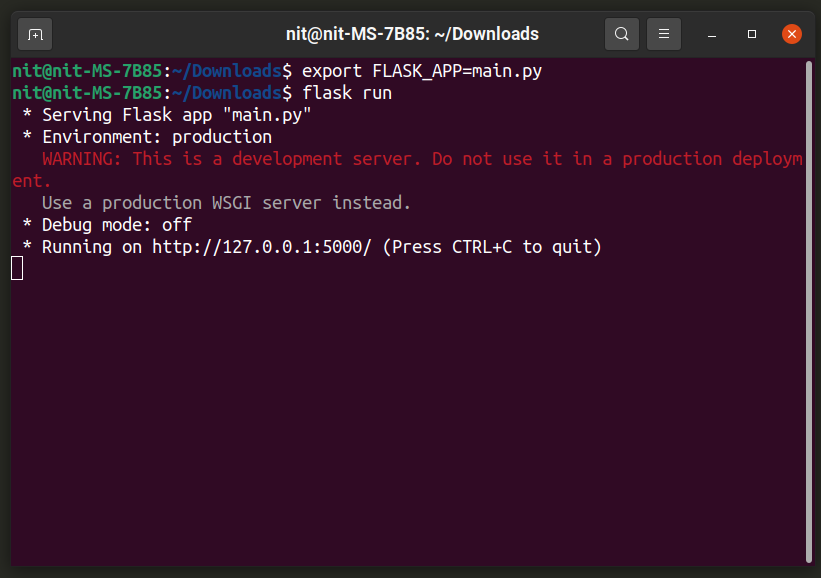
Just open the URL mentioned in the terminal in a web browser to see your application in action.
You can run Flask app in debug mode by using “FLASK_ENV” environment variable in the following format:
Using Jinja2 Template Engine
Flask uses “Jinja2” to template engine to facilitate writing of HTML code in Python. You can use it to set a markup for “Hello World!!” message.
Create a new directory called “templates” where your main Flask script is located. Inside the “template” directory, create a new file named “hw_template.html”. Open the “hw_template.html” file and put the following code in it:
This code is written in a syntax that “Jinja2” understands. You can refer to “Jinja2” documentation available here. The template markup checks if a variable named “color” has been passed to it or not. If yes, then it changes the color of the “Hello World!!” message using the value from the “color” variable passed to it.
To pass a variable to “Jinja2” template, you have to write code in following format:
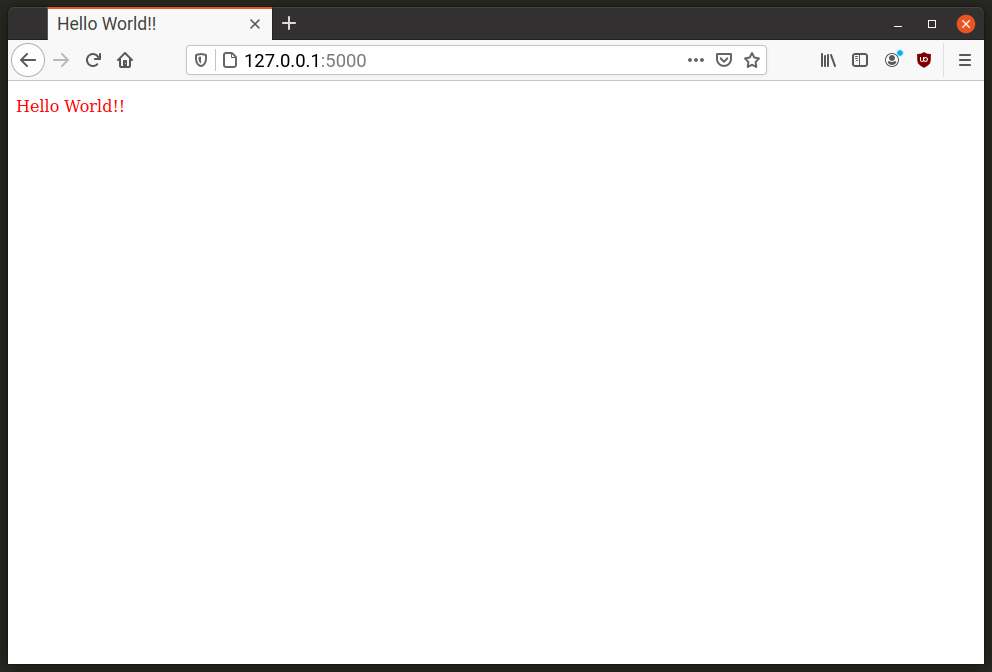
def hello_world_app():
return render_template('hw_template.html', color="red")
The “render_template” method is used to render markup from a “Jinja2” template file. You can supply it the name of the template you want to render and any arguments you want to pass on to the template. The “hw_template.html” template used above processes a “color” variable after the Flask code has passed it a “color” variable having a value of “red”. After running the code sample mentioned above, you should get the following result:
You can also pass on variable values from a URL itself. Have a look at the code sample below:
@app.route('/<color>')
def hello_world_app(color="blue"):
return render_template('hw_template.html', color=color)
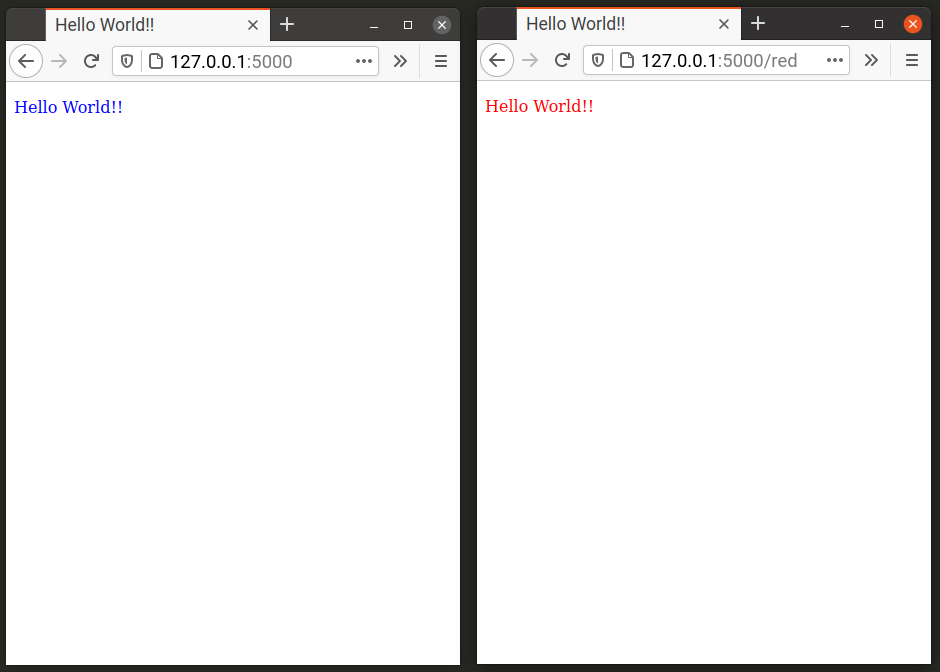
Two URL paths or routes are attached to the “hello_world_app” function. When you visit the root domain (example “app.com”), you will see the “Hello World!!” message in blue color as the default value for “color” variable is defined as “blue” and this is the value you are passing to “Jinja2” template as well.
The second path defined by “@app.route(‘/<color>’)” uses a special syntax. Within “<>” symbols, you can define any variables to pass on to the “hello_world_app” function. The default value for this variable is defined as an argument for the “hello_word_app” function. You then pass your own custom variable as an argument to the “render_template” method and set its value to the variable you defined while decorating the function with a new custom route.
For instance, “Hello World !!” message will change to color red when you visit “app.com/red” URL but it will remain blue when you visit “app.com” URL. Here is a side-by-side comparison:
Conclusion
Flask is a powerful web application development framework that can be used to create both simple and advanced applications. This tutorial mainly explains creating a simple “Hello World!!” app. You can connect it to a database and use extensions to further extend its functionality. Refer to Flask documentation to know more about managing databases and extensions.
from Linux Hint https://ift.tt/3t3eXUl


0 Comments