Anaconda is a popular Python platform that is widely used in Machine learning and its associated fields. It contains many open-source data packages, and we can also install more than 7500 data packages using Anaconda repositories.
Anaconda can be installed on Linux Mint 20 from the installer script.
Installing Anaconda in Linux Mint 20
Anaconda is available in four versions i.e., Team, Individual, Enterprise, and Commercial. Except for the Individual version, all other versions are paid. Therefore, we will install Anaconda Individual version.
Complete the below-given steps to install Anaconda on Linux Mint 20:
1. Fire up the terminal and update and upgrade the system with the command:
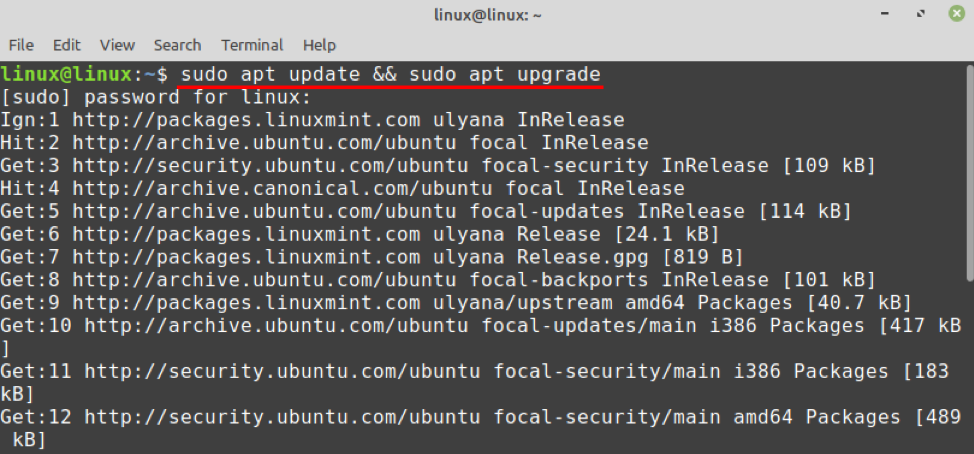
The system will be updated and upgraded successfully.
2. Anaconda is dependent on some additional libraries. Next, install the required dependencies:
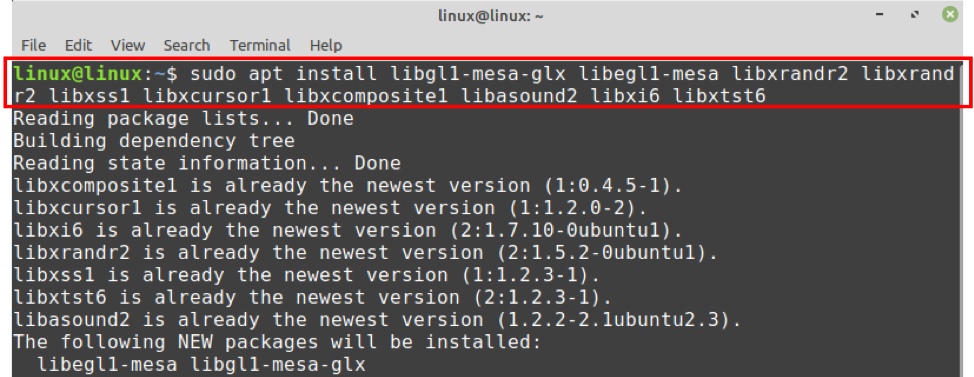
Press ‘y’ to continue installing the dependencies.

3. As of preparing this post, the latest available version of Anaconda is 2020.11. We will download the installer script in the/tmp directory because the installer script will run once. Next, download the Anaconda installer script by typing the command:
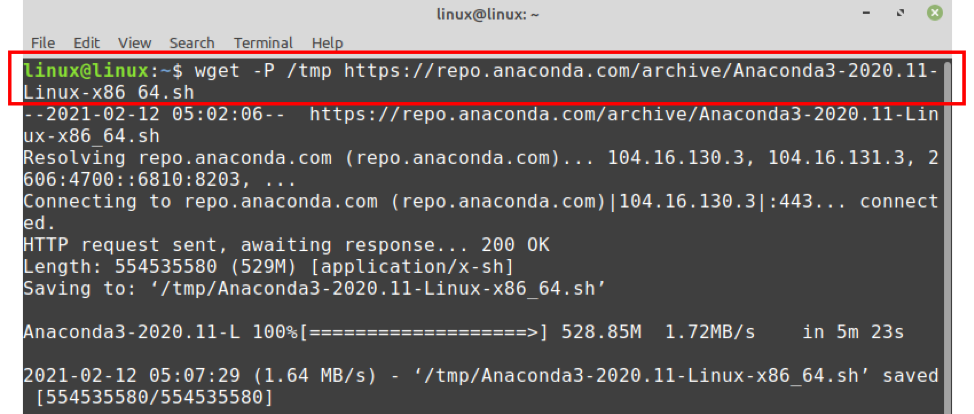
4. When the Anaconda installer script is downloaded successfully, verify the data integrity of the script with the command:

However, this step is optional and you can skip it.
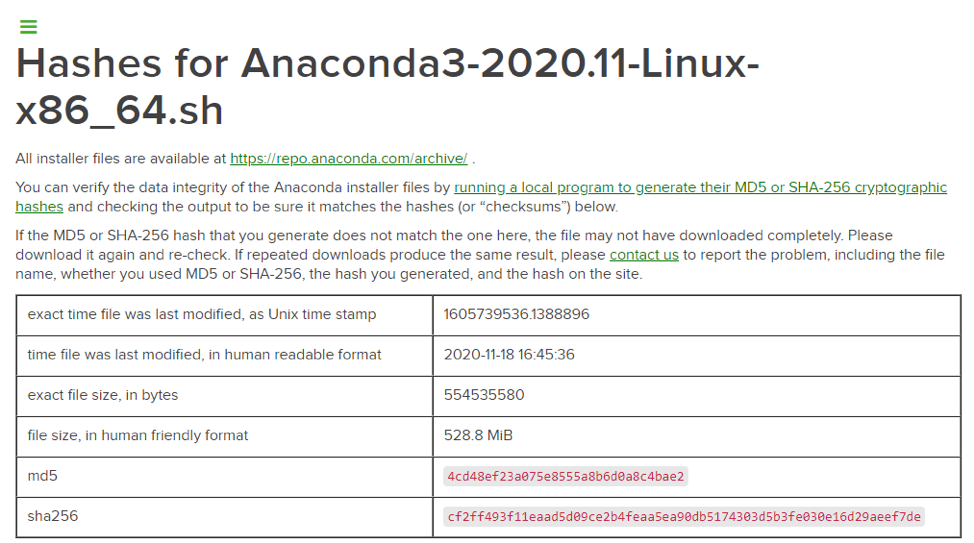
Visit the Anaconda webpage (https://docs.anaconda.com/anaconda/install/hashes/Anaconda3-2020.11-Linux-x86_64.sh-hash/) and make sure that the hash value printed on the command line is equal to the value provided on the official webpage.
5. Now, install the Anaconda on Linux Mint by executing the command:

Press ‘Enter’ to continue installing Anaconda.
While installing Anaconda, you will see the License Agreement text. Keep pressing ‘Enter’ to continue reading the License Agreement.
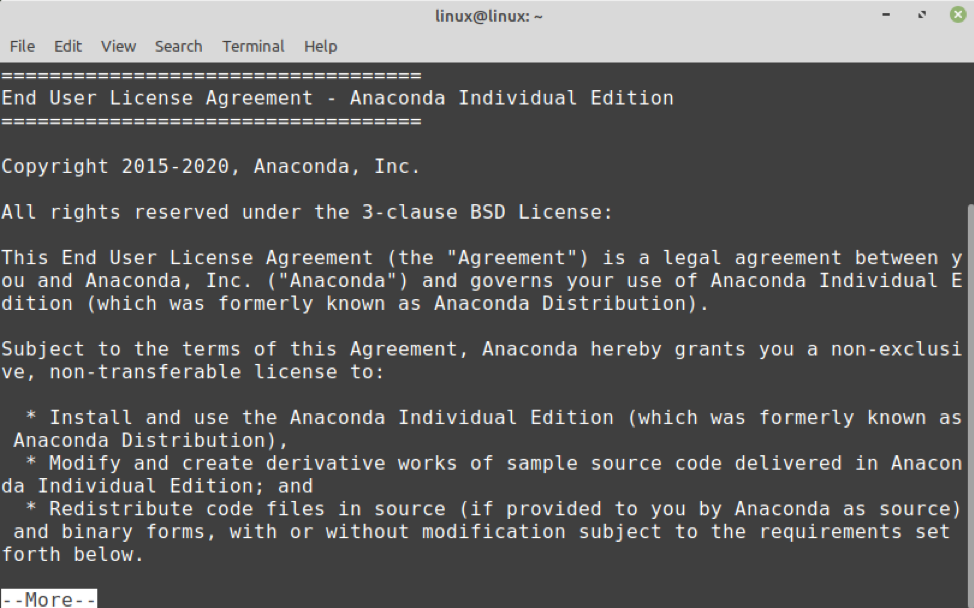
Accept the license terms by typing ‘yes’.

Now, choose the location where Anaconda will be saved and installed.

The Conda init file initializes the Anaconda3 initialization. Type ‘yes’ to start Anaconda initialization.

Once the Anaconda is successfully installed, activate the Anaconda using the command:

Anaconda is activated successfully.
Removing Anaconda from Linux Mint 20
If you wish to remove Anaconda from your Linux Mint 20 system, run the below-given command to do so:

The above-given command will remove the Anaconda directory and all the files from your system.
Conclusion
Anaconda is available in various editions or versions. However, the Individual edition is free and open-source. Anaconda is a Python distribution and is widely used by many popular organizations to perform the data analysis task. In this post, we have learned about Anaconda installation on Linux Mint 20.
from Linux Hint https://ift.tt/2PW84p3


0 Comments