You might have just started building your dynamic web application in PHP, and you want to set up the LAMP Stack. LAMP term comes from the Linux Operating System, Apache server, MySQL database, and PHP language. Let’s get started with the installation of LAMP Stack on Ubuntu 20.04.
First of all, you should have sudo privileges on your system or log in as a root to perform the following tasks:
Update the System’s Package Repository
To get started with all the installation, it is the best practice to update the APT cache repository first so that all the latest applications can be installed smoothly.
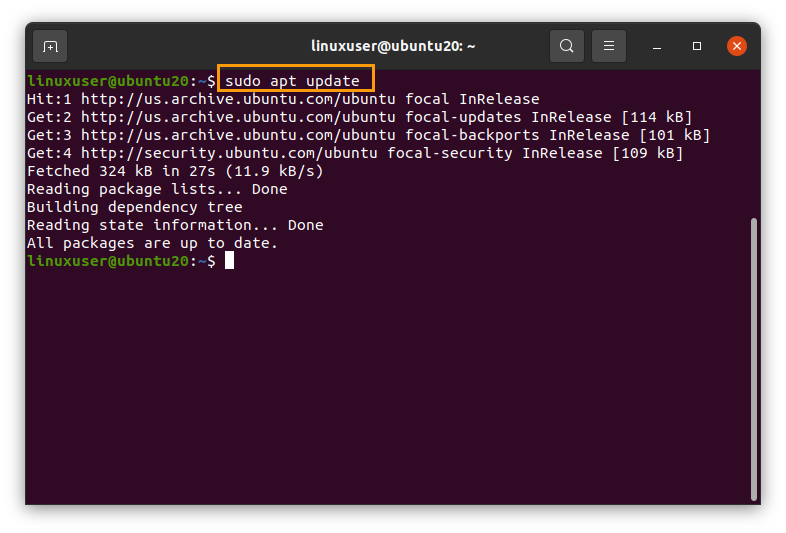
Once the apt-cache is updated, we are ready to move forward with the LAMP Stack installation.
Let’s first install MySQL.
Install MySQL on Ubuntu 20.04
Since MySQL is mostly used as a database with PHP and used to manage and store data to install MySQL on your ubuntu system, type the command given below.
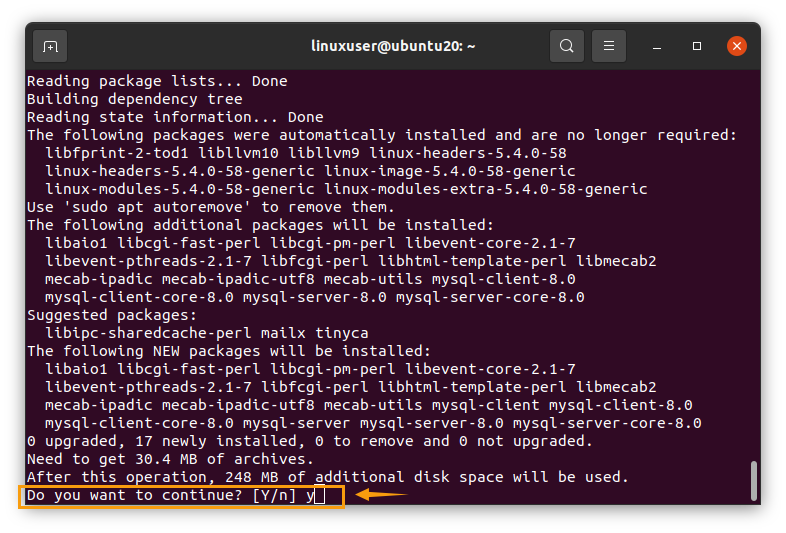
It will ask you to take additional disk space for the package to install, so press “y” to continue installing MySQL.
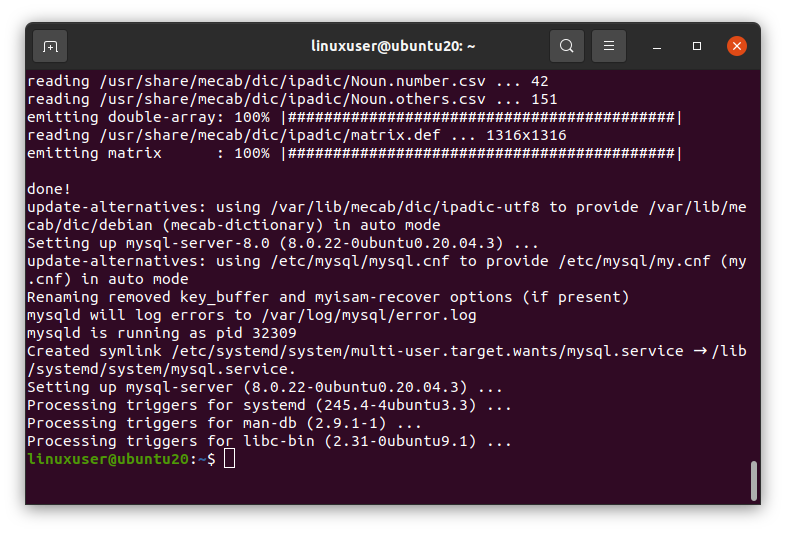
Once MySQL is installed, check the version by typing this command.

And to check that MySQL’s service is running or not on your ubuntu system, type this command to check the status.
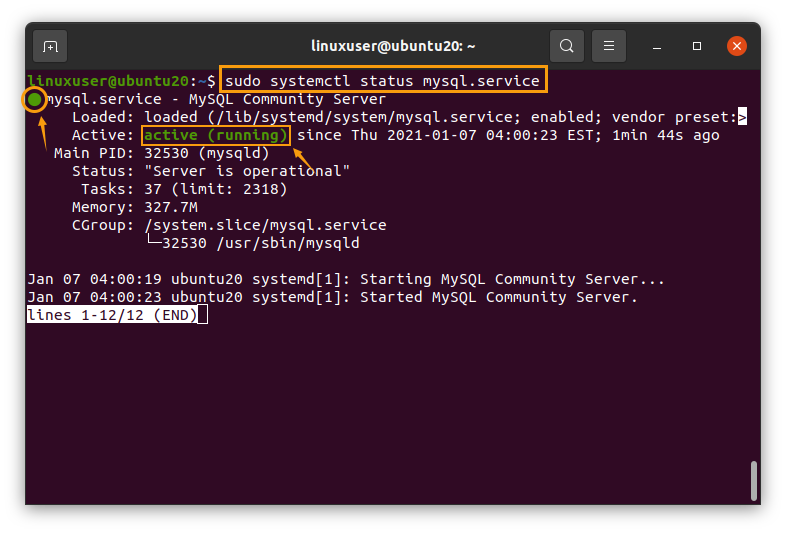
If it is not active, you can start it by using the start keyword in the above command like this
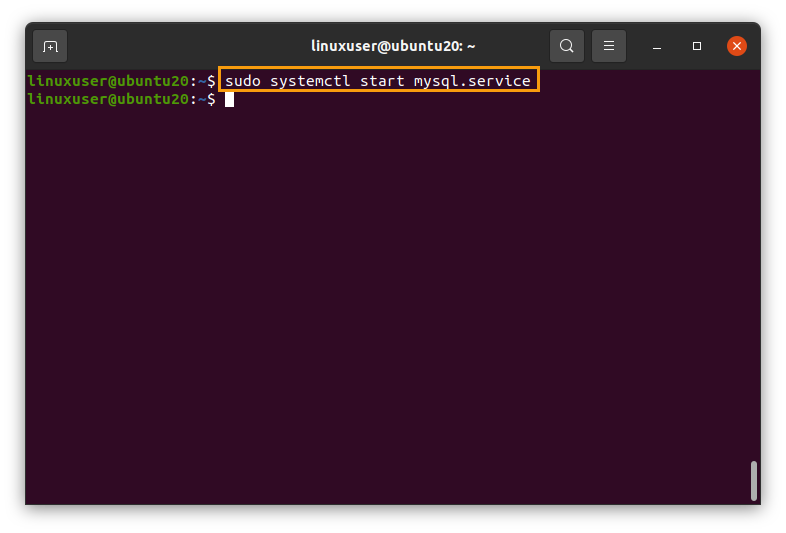
To login to the MySQL’s shell, type the following command

It won’t ask you for any password for the first time.
Once you log in to MySQL’s shell, you can set up your password or perform any function related to the database in it.
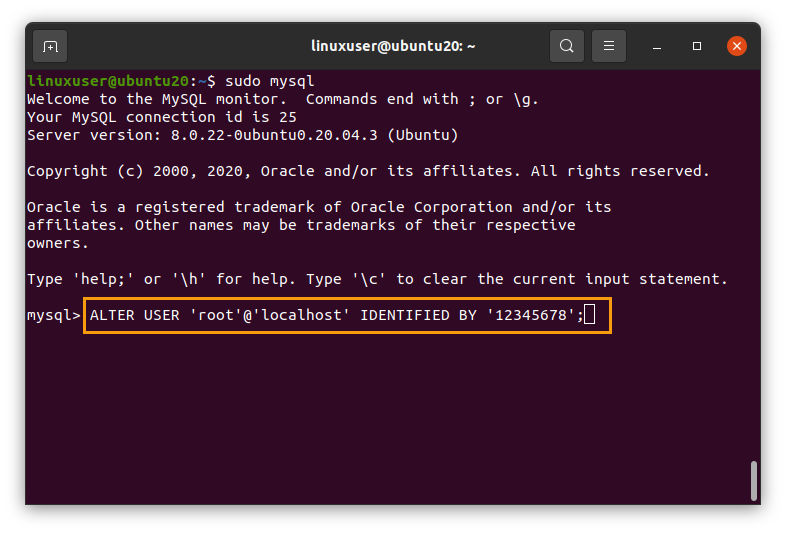
Now let’s exit through it and install the Apache 2 web server on the Ubuntu system.

Install Apache Web Server on Ubuntu 20.04
Apache 2 is a web server that handles the servers for hosting web applications. To install Apache 2 on your ubuntu system, run this command.
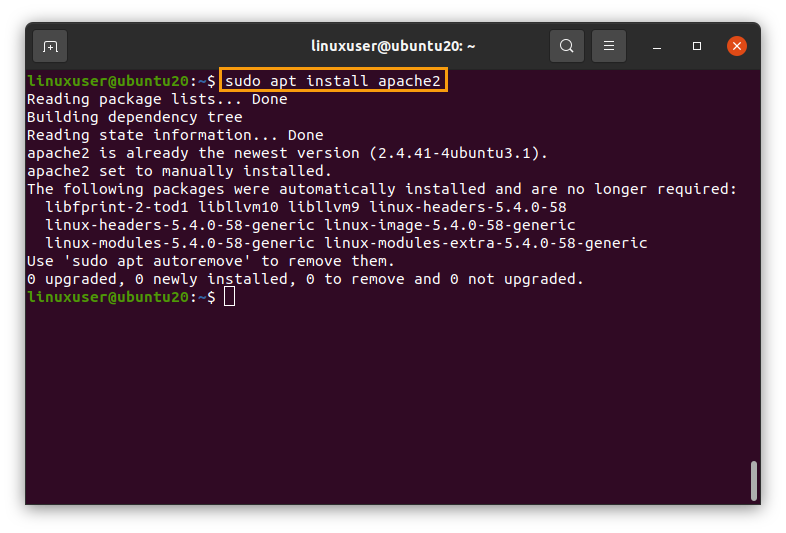
It may also prompt for taking a grant of additional disk space for the Apache’s installation, so press “y” to continue the installation process.
Once, Apache 2 web server is installed as well; you can check the status by typing the following command.
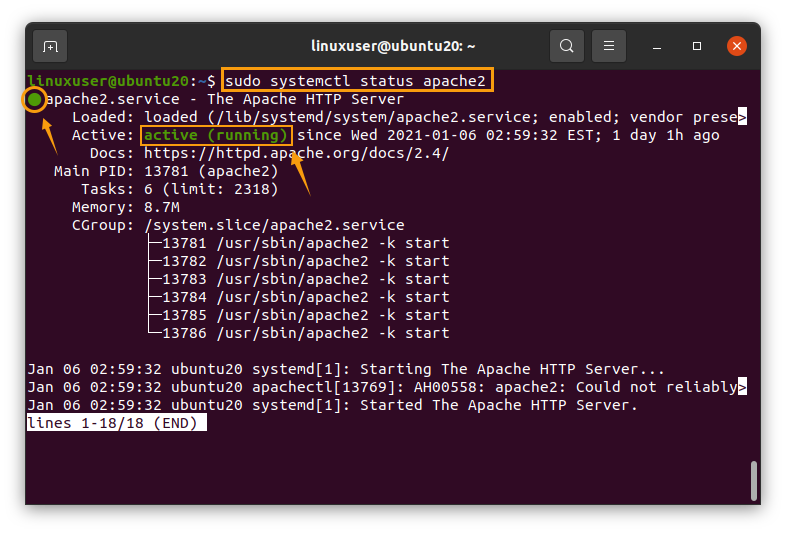
If it is active and running, then you are good to go with the installation of PHP; otherwise, start using the command
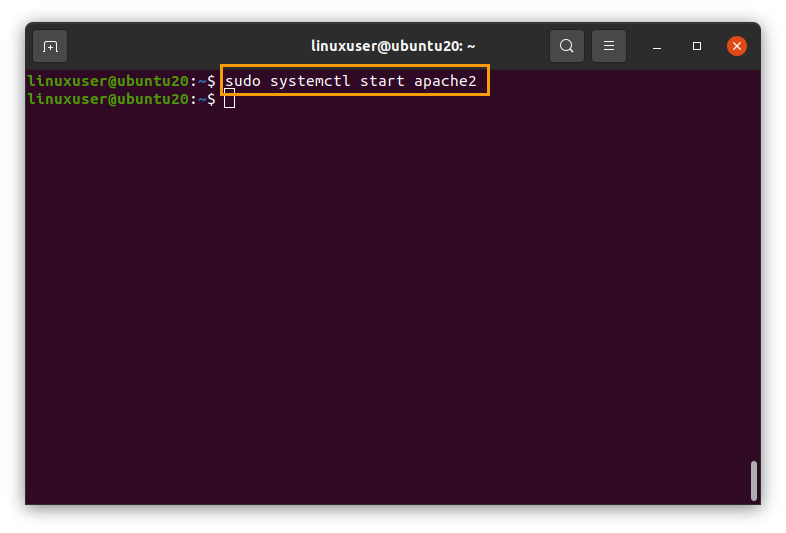
After starting it, let’s install the PHP now,
Install PHP on Ubuntu 20.04
PHP’s latest stable version can easily be installed on ubuntu from the APT package repository by typing the command given below in the terminal

Press “y” to continue the process if it prompts for taking additional disk space for installing PHP.
After the successful installation of PHP, you can check the version by typing the command

PHP version 7.3.4 is installed.
Install PHP Extensions
Now if you want to install some other basic PHP extension as well, which are required for the phpMyAdmin, For example,
- php-curl
- php-gd
- php-mbstring
- php-mysql
- php-zip
- php-json
- php-xml
You can do so by typing the following command.

Allow it to take additional disk space for the extensions to install by typing “y” and hitting the “Enter” button.
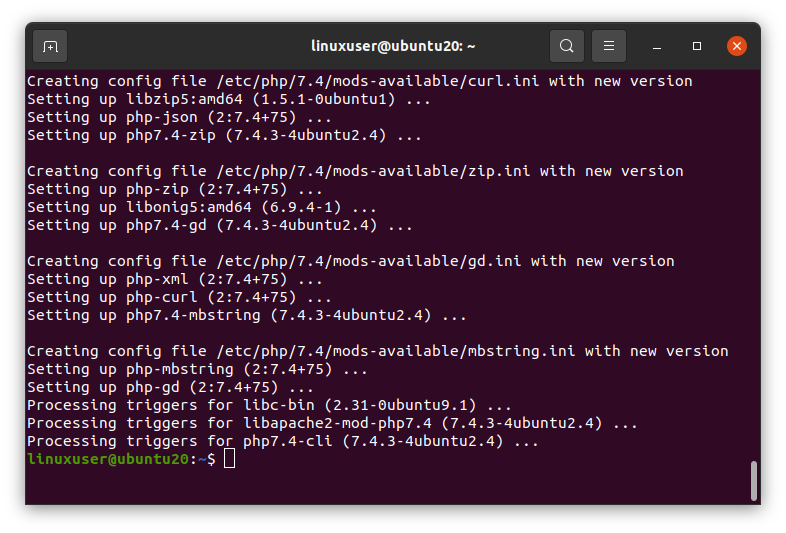
This command will install all the required PHP extensions for running the phpMyAdmin.
So this is how you can install all the required packages on Ubuntu 20.04 and set up the LAMP Stack for building your dynamic web application.
Conclusion
This post contains the step by step guide to install and set up the LAMP stack on Ubuntu 20.04 LTS.
from Linux Hint https://ift.tt/3sZSxDM


0 Comments