Eclipse is a framework for interactive development that is being used in software development. It comprises a base platform and an optimized environment customization plug-in framework. On the other hand, PyDev is a third-party module or plug-in, which is used in Eclipse. It is an optimized development platform that facilitates code refactoring, graphic debug, code inspection, and other functions for Python coding. If you are searching for a guide to install and configure both the tools, then you are in the right place.
Download Eclipse
Search for the official eclipse website from the below-given link:
eclipse.org/downloads/packages/
![]()
The Eclipse website will be opened as shown. On the rightmost side, under the Downloads option, there are some downloads available for different operating systems. Download your required version of the Eclipse tool on your system.

The download page will be opened as below. Hit on the Download button to proceed.

Wait for a little to get your download complete. After that, the download will be completed and you will be able to install it properly.

Install Eclipse
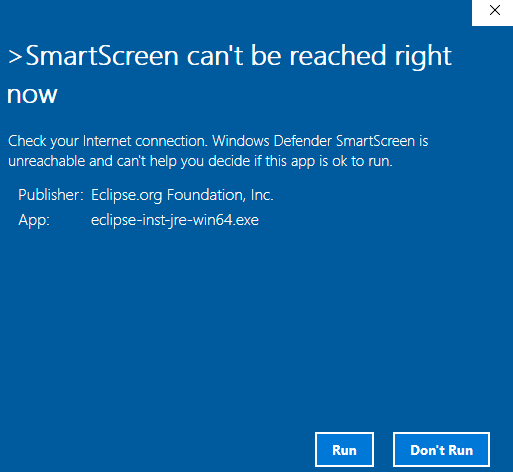
Open the downloaded Eclipse WinRAR file as ‘Run as Administrator’. A new window will be opened. Tap on the Run button to carry on with the installation. If you don’t need to install it, tap on the Don’t Run button.
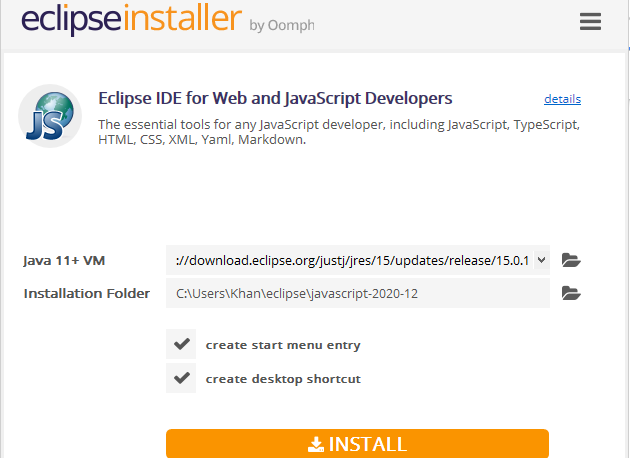
A new window will be opened, titled Eclipse Installer, as shown in the attached photo. There are listed tools for different platforms available.

Get on your required tool to install. I have been installing Eclipse IDE for Web and JavaScript Developers.

When you click on the particular tool, it will start configuring it. Modify the installation folder and checkmark the checkboxes if required. Tap the Install button to carry on the installation process of Eclipse.
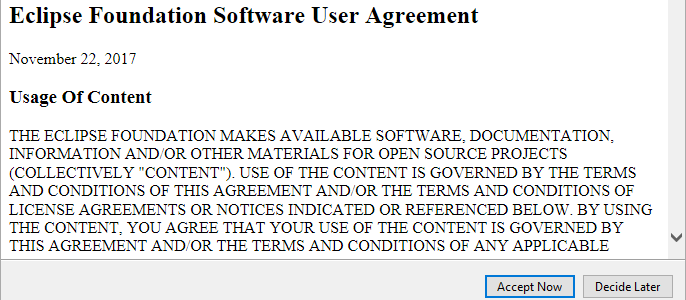
Right after you click the Install button, a new window will be opened named Eclipse Foundation Software User Agreement. Click on the Accept Now button to accept the license agreement for Eclipse to continue the process.
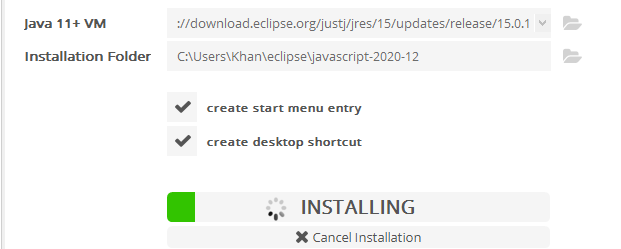
Your special Eclipse tool will start installing itself. Confirm that your device is attached to the internet properly for quick installation. You might have to wait for a little longer to get the installation of the Eclipse tool done.
After some time, your Eclipse tool will be successfully installed and you will be able to start it properly for further use. Now tap on the Launch button to proceed.
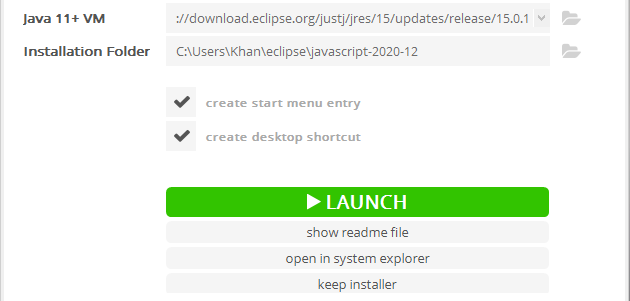
Your newly installed Eclipse software will start launching itself, as shown below.

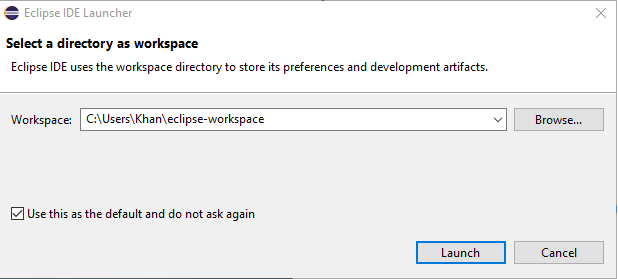
Again, a new dialog window will be opened. Set the workspace path to continue Launch. Checkmark the check-box and hit on the Launch button.
Eclipse will start launching IDE again.
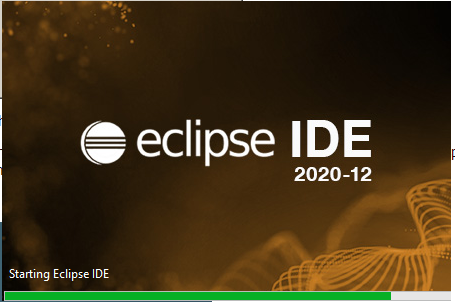
When you interact with the Welcome screen that means your Eclipse IDE has been successfully installed and configured in your system.

Installation of PyDev
In order to download PyDev, open your Eclipse IDE. Route to the Menu bar at the top of the Eclipse Workspace window. Navigate to Help and Beat On Eclipse Marketplace.
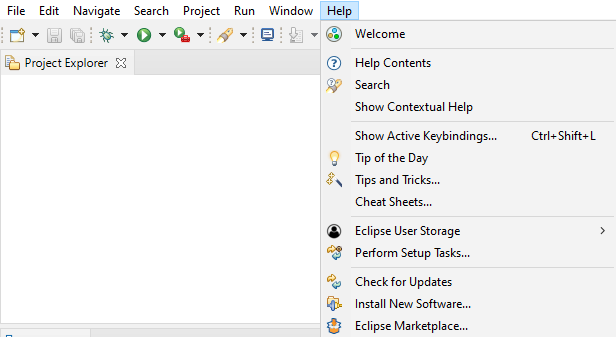
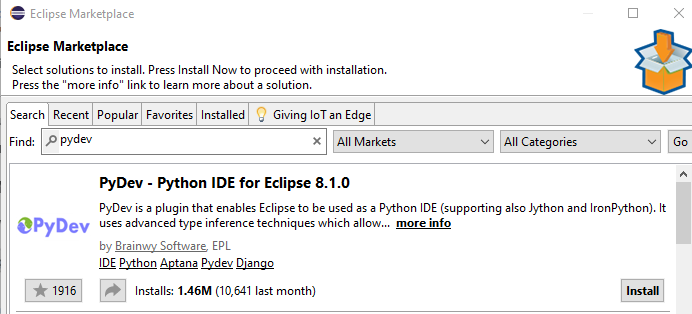
A new window will be opened and it is called Eclipse Market. In the search bar located right after the Find attribute, search for the PyDev. It will provide you a lot of PyDev IDE’s for Python with a different version. Click on the Install button of the required version to download and install it.
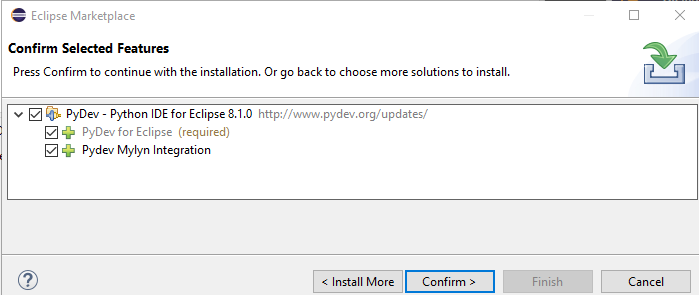
A new window will be opened mentioning different features of PyDev. Tap on the Confirm button to continue.
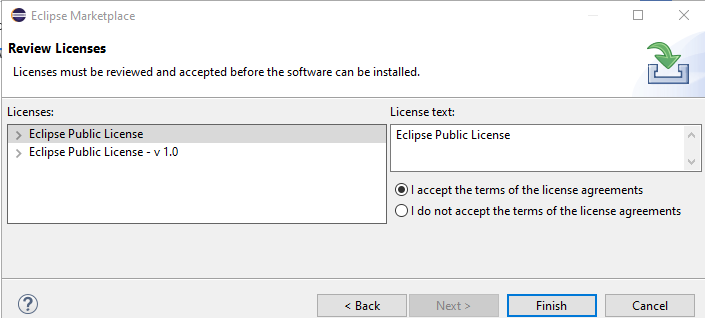
Review Licenses named window will pop-up. Accept the license agreement by selecting the right radio button. Hit on the Finish button to carry on with the installation.
Your PyDev software will start installing itself in the Eclipse tool.
![]()
After the installation, a dialog window will be opened for the software update. Click on the Restart Now button to precede the update.

The PyDev plug-in has been successfully installed on your system.
Configure a Project
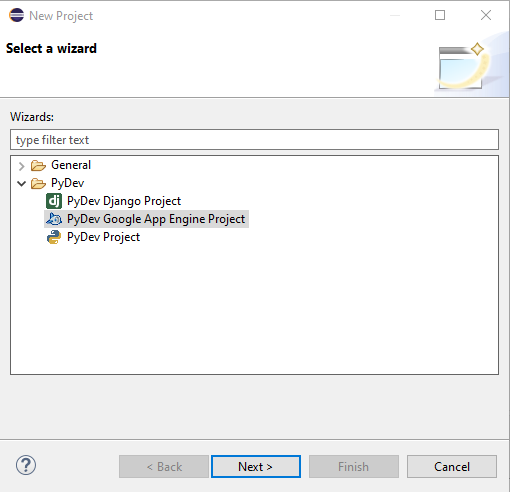
To configure a new project, navigate to the File > New > Project. New window Select a wizard, as shown below, will pop-up. Navigate to PyDev > PyDev Google App Engine Project. Hit the Next button to precede the configuration of the project.
The new page will be shown as PyDev Project. Give a name to the project and tap on the highlighted line, ‘Please configure an interpreter before proceeding’, to configure the Eclipse default interpreter.
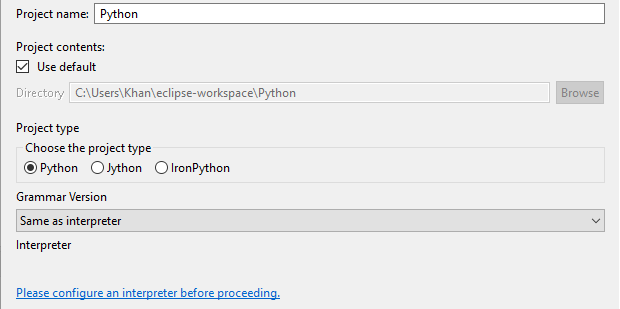
Again, a new dialog box will appear. Hit on the Manual config button to proceed.

On the Python Interpreters page, tap on the Browse for python button to browse for the default interpreter.

Install Python
As we don’t have Python installed on our system, we will have to install it from scratch. It will then bring a new window to install the up-to-date Python version. Checkmark both checkboxes and tap on Install Now option.
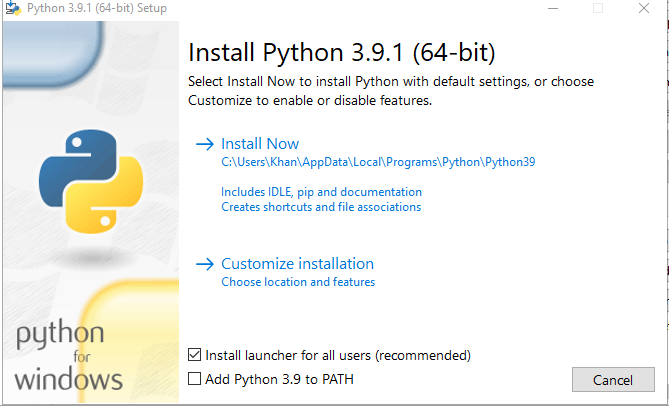
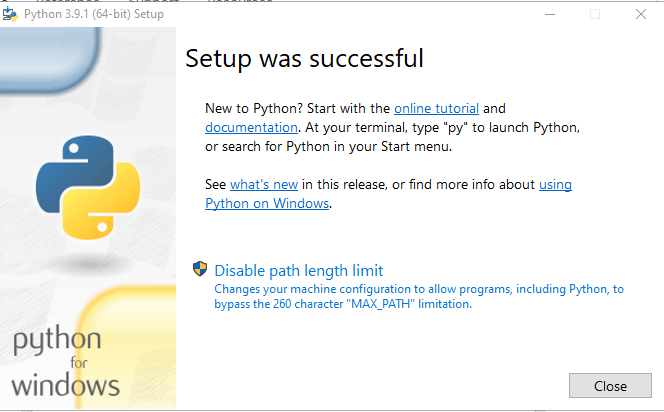
In a glimpse, your Python will be installed on your system. Tap on the Close button to end it.
Optional Features window will be opened. Tap the Next button to carry on after check-marking the features.
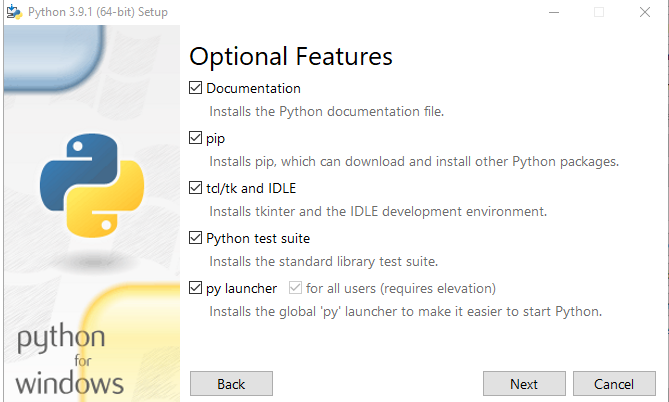
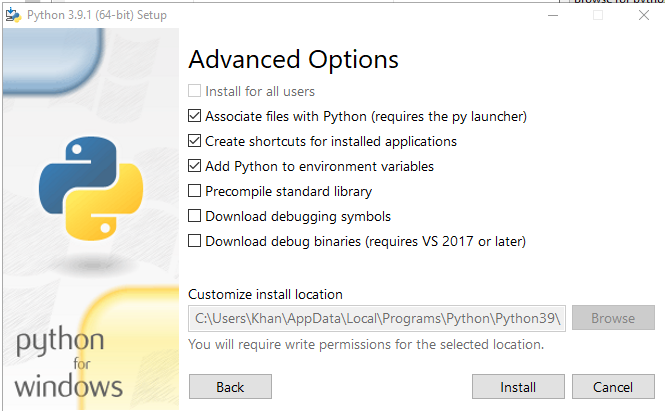
Checkmark some options and hit on the Install button to complete the installation of Python’s recent version.
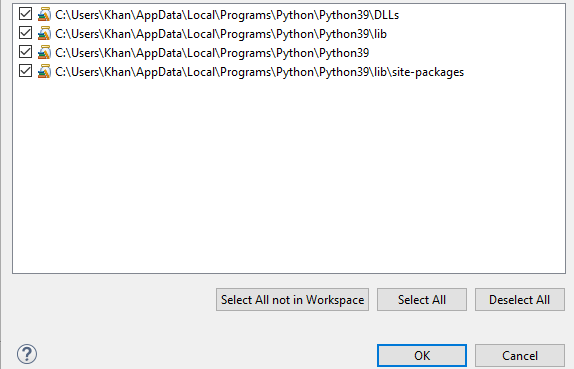
Pick the folders to be added to the system Python Path. You can select all of them. Get on the OK button to carry on with it.
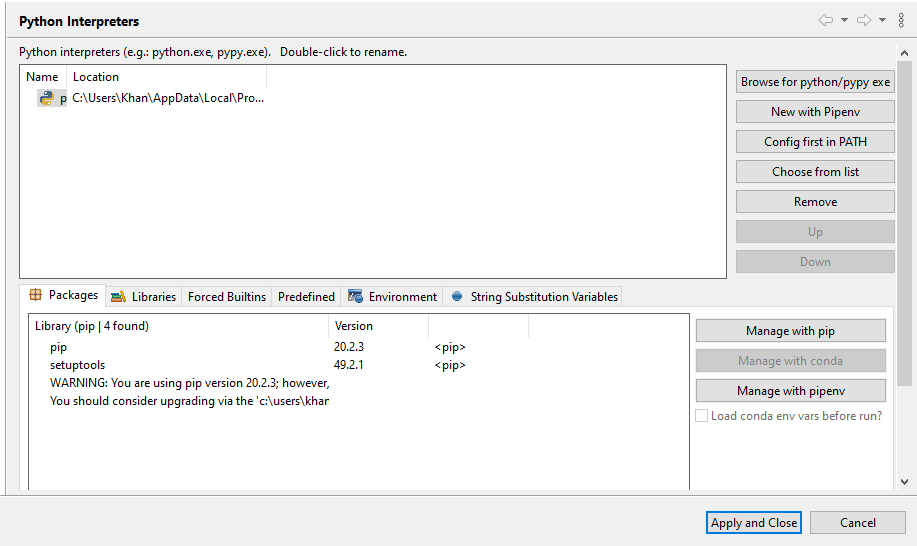
Now you see that we have successfully added our default python interpreter in our PyDev location with respect to Eclipse. Click on the Apply and Close button to set up the environment for the fresh project.
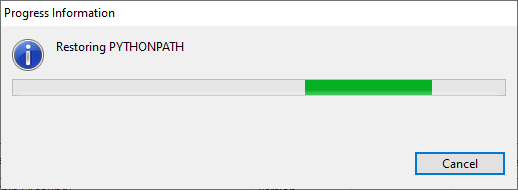
You can see that your system has started restoring your Python Path for the new project concerning its default python interpreter.
Conclusion
This setup makes it easier to manage your App Engine directly in a debug state and create breakpoints and walk across your script using Eclipse’s Debug viewpoint. That’s how you can install Python Eclipse and PyDev on your system.
from Linux Hint https://ift.tt/2Noe7BH


0 Comments