


VPN creates a virtual network between the client and the host server and in that way it protects your computer from hackers and snoopers. All of your online activities use a virtual network that
bypasses the network maintained by internet service providers (ISP).
Do I need a VPN on Linux?
The question is why VPN is important and do I need it on my device? The answer is Yes! Linux distributions are very secure but if you want to add an extra layer of security to your network, then having a VPN on your device is the best choice.
Let’s check some significant benefits of using VPN:
- It hides your private information.
- Protects you from being tracked by everyone and anyone since the connection is encrypted
- It makes you anonymous.
- It allows increase security of your wireless traffic when in public locations
- It allows you to appear that you are in a different geographical region when using internet services which can be convient in many scenarios
All of these advantages especially privacy and security would probably compel you to install a VPN on your Linux device. Let’s check how to get it on your Linux device.
Installing SurfShark VPN on Ubuntu:
There are many VPN services are available then why SurfShark? SurfShark is the latest, secure, cheaper, reliable, and fast VPN service that is available for Ubuntu. Let’s check step by step process of installing and setting up SurfShark on Ubuntu:
Step 1:
First, visit (https://surfshark.com/download/linux ) and download the SurfShark VPN package:
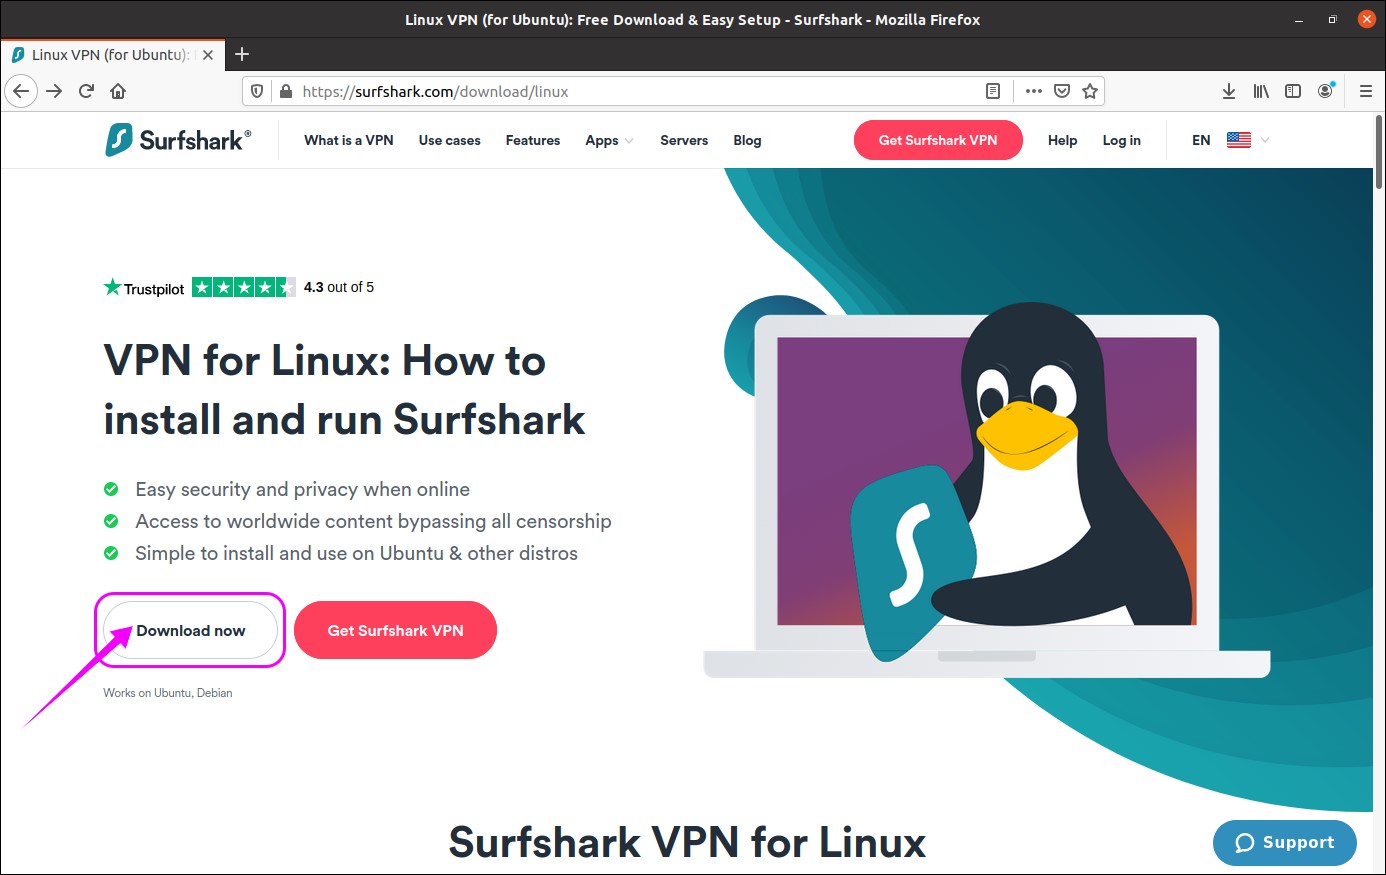
SurfShark VPN package will be downloaded:

Step 2:
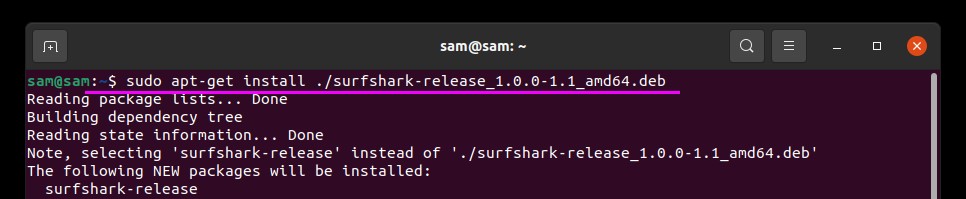
Make sure that you are in the same directory where the package is downloaded. Open terminal and type the below-mentioned command to start the install process.:
Step 3:
Now, update the packages list by using:
Step 4:
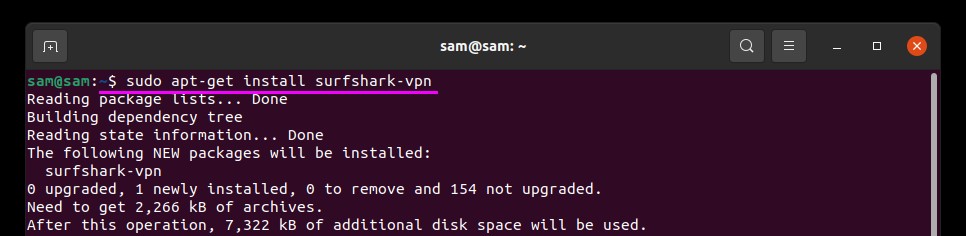
To complete the installation process of SurfShark VPN use the command mentioned below:
Step 5:
Once the installation is completed, it’s time to connect SurfShark VPN. Type the following command to run SurfShark:

Step 6:
In this step, the setup process will begin. Firstly, it will ask you for the credentials of your account. If you have not subscribed SurfShark, then make an account by visiting (https://order.surfshark.com). Once the signup process for SurfShark is finished, then put your email and password:

Step 7:
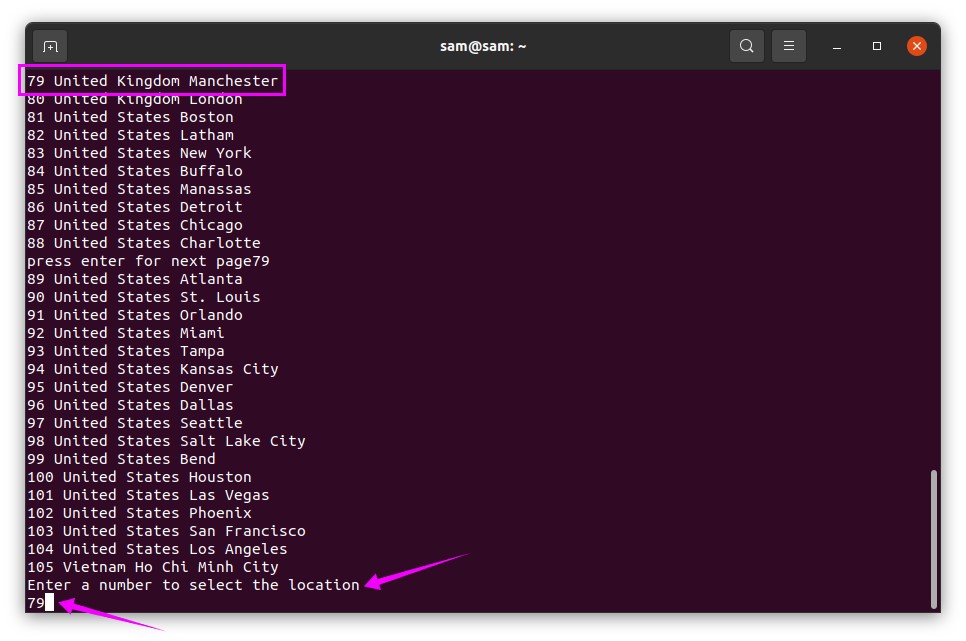
Now you will be given a list of different regions to select. Select any country by typing the number of that country. I am putting “79” for the United Kingdom:
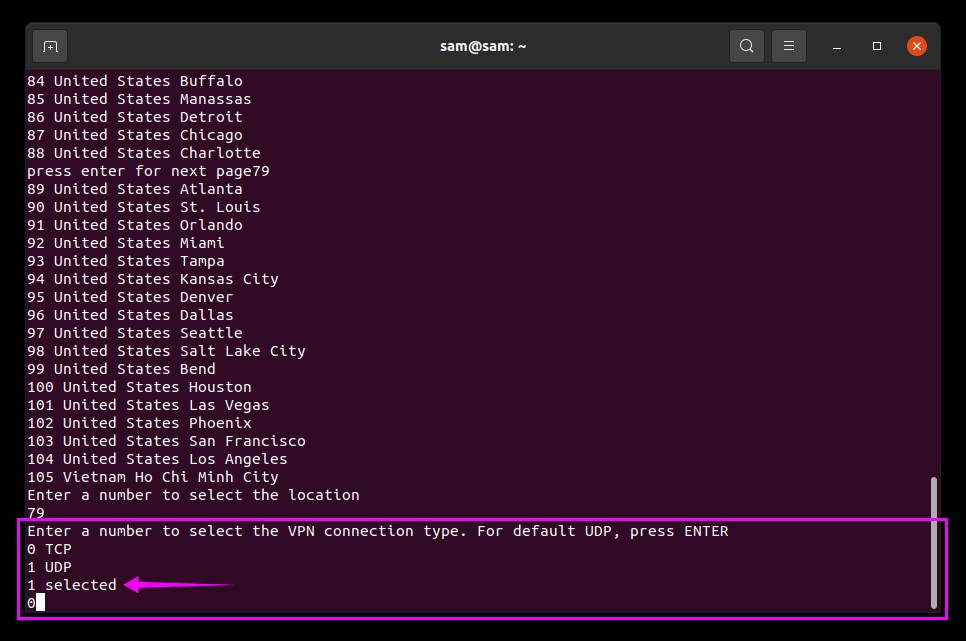
Step 8:
You will be prompted for the connection type. There are two options for connection, “0” for “TCP” and “1” for “UDP” if you press “Enter” UDP connection will be applied by default:
Now, it will take few seconds to set up the connection and show the status of the connection, see the image below:
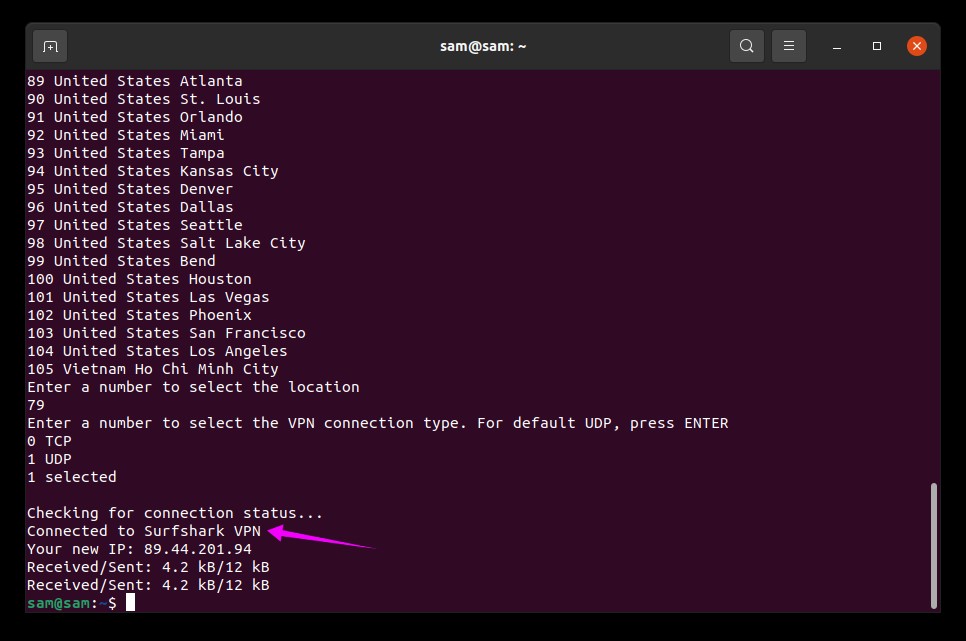
Now your device is on a virtual network, you can use it without compromising your data and sensitive information.
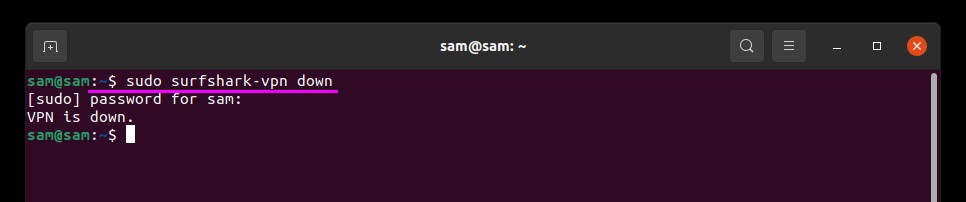
How to disconnect SurfShark VPN?
To disconnect SurfShark VPN use the below-stated command in terminal:
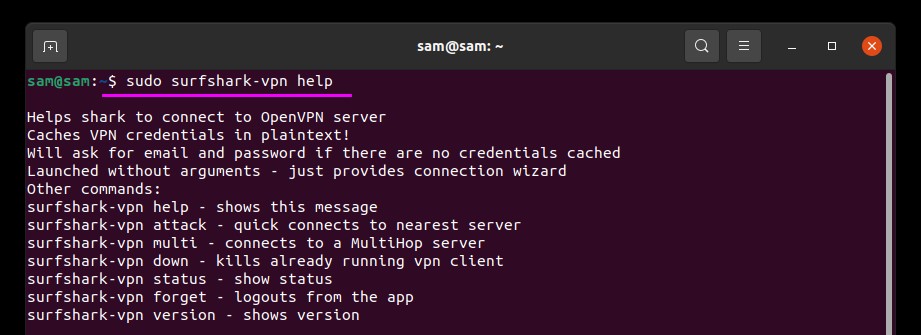
Other SurfShark useful commands:
Some other useful commands for SurfShark are:
For help and viewing all SurfShark command use:
For connection status:

For a quick connection:

For Multihop connection use:

Conclusion:
VPN holds vital importance when it comes to protecting your device from trackers like websites and internet service providers. It hides your identity, protects your data on public wi-fi, and gives access to region-blocked websites. In this post, we understood how to get SurfShark VPN on Ubuntu and how to set up the connection. And then, we learned how to disconnect SurfShark VPN and then a few other useful commands.
from Linux Hint https://ift.tt/39VwOEr


0 Comments