If you are a Linux user, it is good to know about the firewall and the procedure to enable/disable it. This article covers all commands to enable/disable the firewall on Ubuntu without any error.
How to Enable/Disable Firewall on Ubuntu
Check the Status of Firewall on Ubuntu
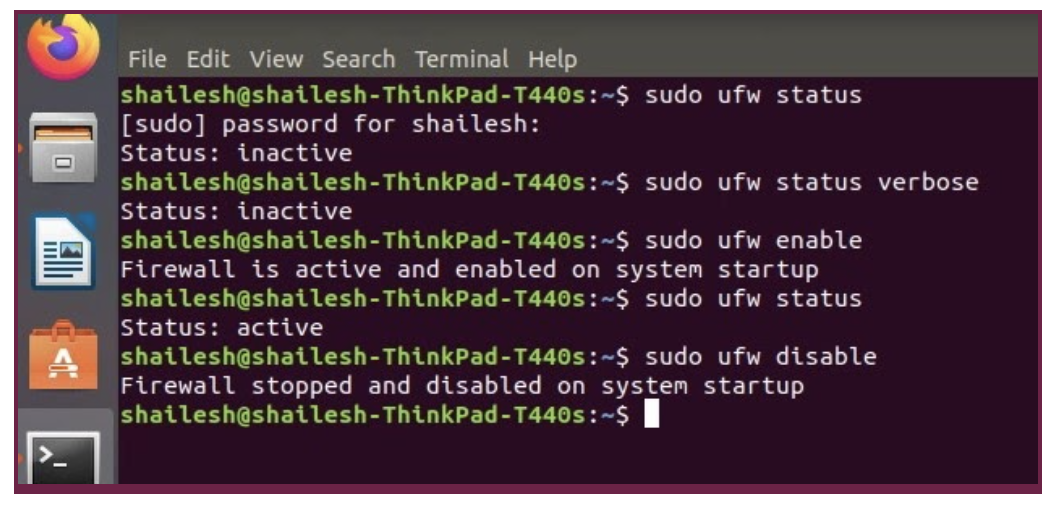
First, check the firewall status by using the below command in the command terminal of Linux.
We have used “sudo,” which is a short name of SuperUser DO. This command is used to access all of the system’s restricted files because Linux restricts access to the system’s specific parts to prevent the sensitive files.
After executing the above, the system will show up the status of the firewall like this:
Status: inactive
It means that the firewall is inactive in the system currently.
You can also use this command with “verbose” because it provides additional details about the system’s current status.
Enable Firewall on Ubuntu
The firewall is currently disabled as the status shows that it is inactive in the system.
Execute the below command in the terminal to enable the firewall on Ubuntu:
After executing the command, the system will show up a message like this:
A firewall is active and enabled on system startup.
This message verifies that the firewall is successfully enabled in your Linux system. You can also check the status of the firewall manually by using the status command.

Disable Firewall on Ubuntu
To disable the firewall in Ubuntu, use the below command in the Linux terminal:
The system will show a message after executing the disable command:
firewall is stopped and disabled on system startup
This message verifies that the firewall is disabled successfully.
How to Enable/Disable Firewall on Ubuntu by GUFW
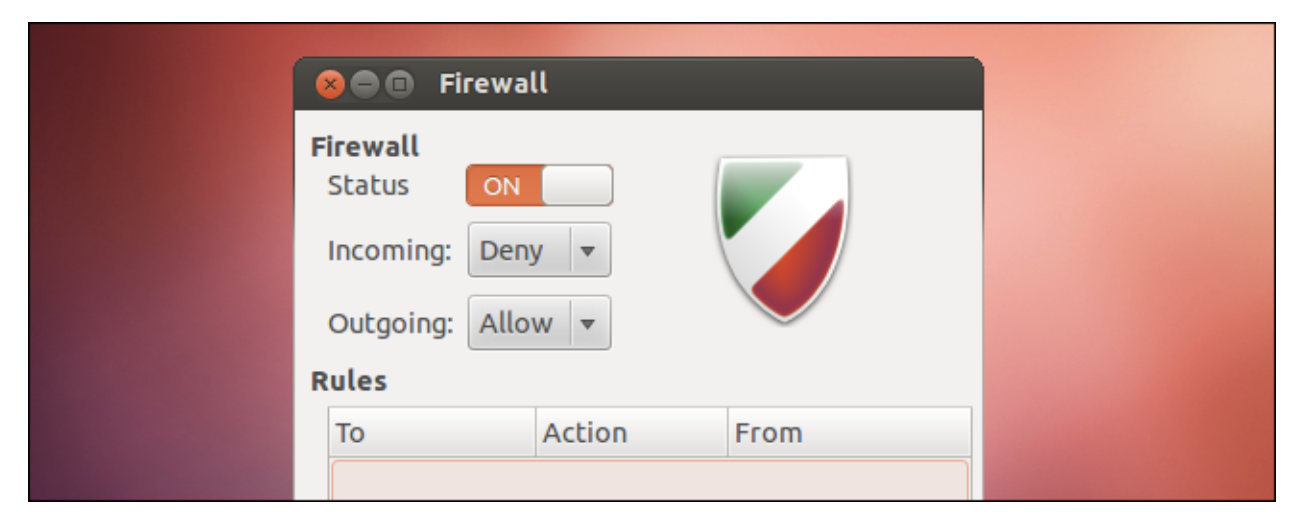
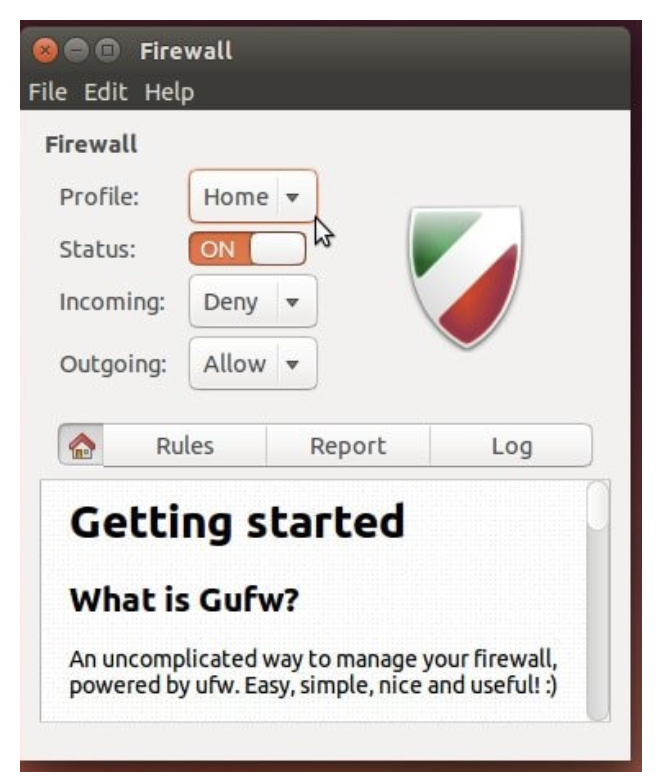
GUFW is a graphical user interface application that allows to enable/disable firewalls on Ubuntu easily.
First, execute the below command in the Linux terminal for installing GUFW packages in the system.
This command will start to install the GUFW packages in your system, then open GUFW by searching it in the start menu.
The firewall requires all of the administrative permission, so enter the open dialog box’s system password.

Now, the firewall interface will show up on the screen by which you can enable and disable it easily.
Conclusion
Ubuntu’s firewall is less complicated, and a user can easily control it by controlling it by a graphical interface. If you are a Linux user, you know that iptables are complex, but they offer complete control. However, when you want to learn the procedure to enable/disable the firewall on Ubuntu. In that case, this article is perfect for you to gain complete information for enabling and disabling a firewall by knowing its status.
+++
from Linux Hint https://ift.tt/2J6Zktf


0 Comments