


If you have the experience of working with Git very frequently, then you must know that you can have multiple branches within a single Git project repository. However, the head of your project repository always points to your recently committed branch. It means that you can only make changes to that branch where the head is pointing in your Git project repository. But at times it happens that you are working on one branch and you realize that you need to add something to a previously committed branch. Also, you do not want to commit the branch yet that you are currently working on as you still want to work on it.
So you start exploring the solutions through which you can switch your context for a while for which the data of your current working branch is also saved temporarily without being committed. The “git stash” command acts as a blessing in disguise in such situations. The sole purpose of using this command is to save the changes temporarily without committing them while you can work with some previously committed branch. After that, you can simply switch back to your current branch by restoring your stashed work. To explain to you the usage of the “git stash” command in Ubuntu 20.04, we have designed the following helpful yet simple tutorial through which you can easily grasp the working of “git stash”.
Method of Using “git stash” in Ubuntu 20.04
Stashing literally means keeping something stored or saved temporarily. For using the “git stash” command in Ubuntu 20.04, we have made use of a test repository named simplegit-progit. The exact sequence of steps is discussed below:
Step # 1: Navigate to your Git Project Repository
First, we have to navigate to the directory where our Git project resides. We can use the following command to do so:
![]()
Here, you can give any path from your Ubuntu 20.04 system where your respective Git project repository resides. You can easily see from the image shown below that the path of our terminal is now pointing towards our Git project repository:
![]()
Step # 2: Make some Random Changes to your Project Repository
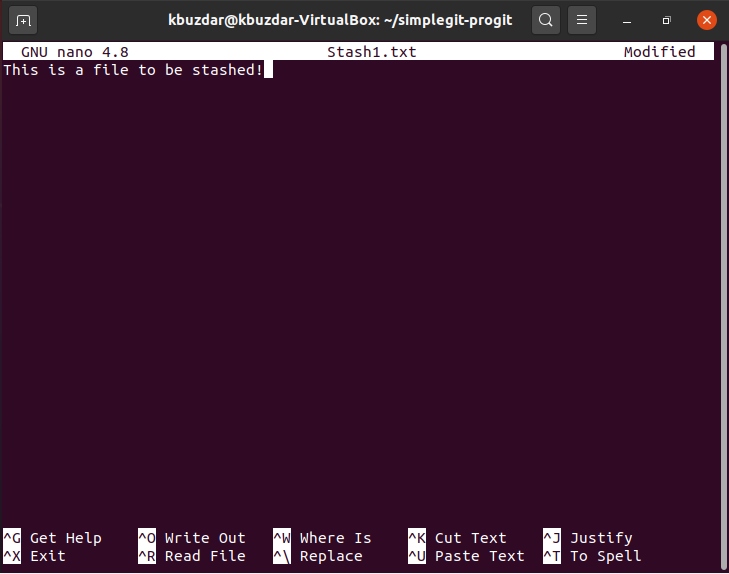
Now for demonstrating the purpose and usage of the “git stash” command in Ubuntu 20.04, we will be doing some random changes in our Git project repository. First, we have created a new text file named Stash1.txt in this directory by issuing the following command:
![]()
After issuing this command, we will type some random text in our file, as shown in the image below after which we can save and close it.
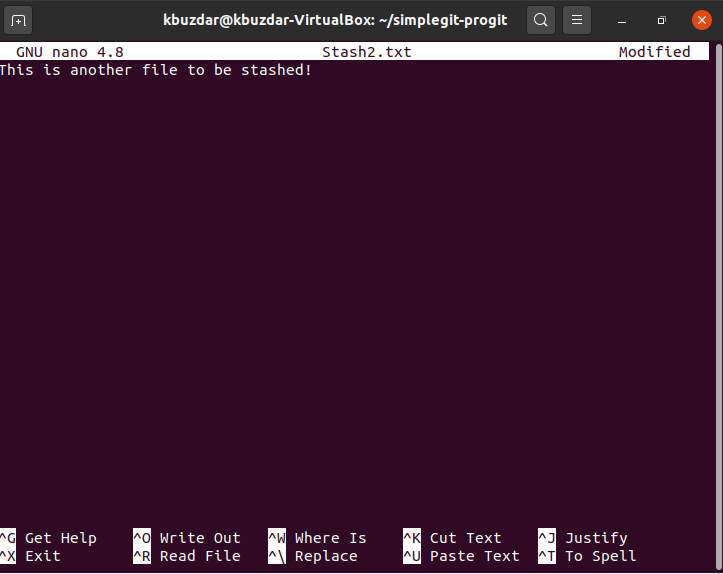
Then we have created another text file in the very same project repository named Stash2.txt by issuing the following command:
![]()
After that, we have simply typed some random text in that file, as shown in the image below. Then we have saved and closed our text file.
Step # 3: Reinitialize your Git Project Repository
Now we have to reinitialize our Git project repository with the following command:
![]()
Once Git manages to reinitialize your project repository, it will display the message shown below on the terminal:

Step # 4: Add the Changes you have made to your Git Project Repository
Now we need to add the changes that we have just made, i.e. the two text files that we have created to our Git project repository with the help of the following command:
![]()
If your newly made changes are added successfully to your Git project repository, then your terminal will not display any error messages as shown in the image below:
![]()
Step # 5: Check the Current Status of Git
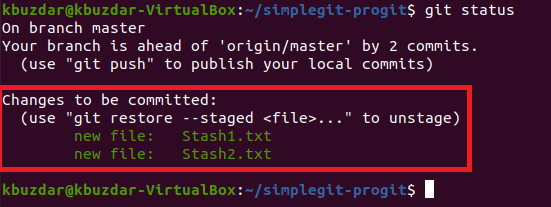
Now we need to check the status of Git. Ideally, in this status, we should be able to see all the changes to be committed, i.e. the names of the two text files that we have just created. Git status can be checked with the following command:
![]()
You can easily see from the highlighted section of the image shown below that the two newly created text files are in fact, the changes that are to be committed next.
Step # 6: Issue the “git stash” Command
Then comes the time of issuing the “git stash” command since instead of committing the new changes, we want to save them temporarily. The “git stash” command can be used in the following manner:
![]()
If this command works successfully, it will display a message on the terminal saying that your working directory has been saved as shown in the image below:

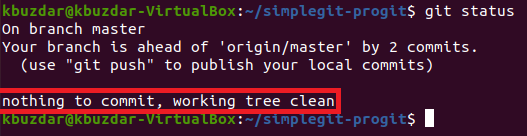
Step # 7: Check the Status of Git Again to find out if the “git stash” Command has worked properly or not
If our changes have been stashed successfully, then check the status of Git will reveal that there are no changes to be committed for now, as shown in the following image:
Step # 8: Restoring your Stashed Changes to Work with them again
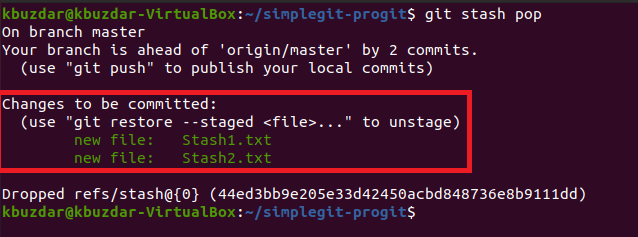
Now, whenever you feel like working with your stashed changes once again, for example, you may want to commit them, then you have to restore them first with the command stated below:
![]()
After executing this command, you will notice that the changes that you have previously made to your Git project repository, that was stashed before, are ready to be committed now as highlighted in the following image:
Conclusion
The “git stash” command is an extremely useful and frequently used command within the Git environment. It not only stores the current working branch temporarily but also allows you to work with any of your previously committed branches very conveniently. After performing all the desired operations on your previously committed branches, you can simply make use of the “git stash pop” command for getting back to your current working branch.
from Linux Hint https://ift.tt/3nFDg80


0 Comments