


Using Shell Redirection Command:
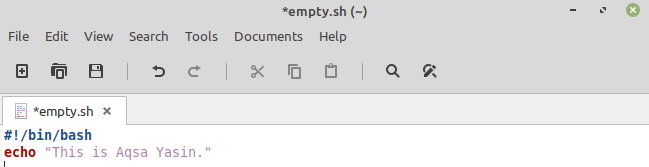
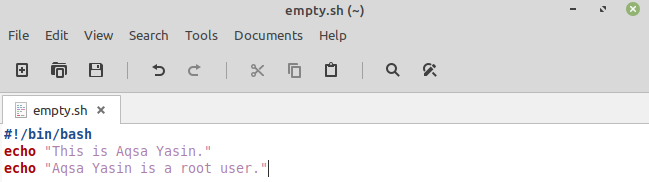
First of all, to apply the truncate function on a file, you have to create a new file with any name in your home directory in Linux Mint 20. As you can see in the image, I have created a file with the name “empty.sh” in my home directory.
Now add some bash script in this file to run it on the terminal, as you can see the script in the image below with one echo statement.
Open your Linux Mint 20 terminal. Use the bash command to run the newly created file. The appended image displays a line that we just wrote in the file.

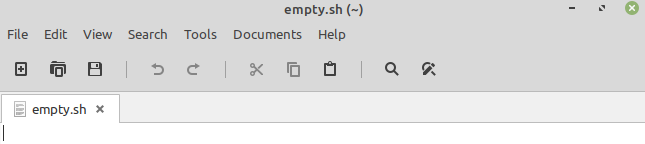
To truncate the file “empty.sh” using shell redirection, use the following command:
![]()
Now open the file “empty.sh” from your home directory. The file is empty, as shown.
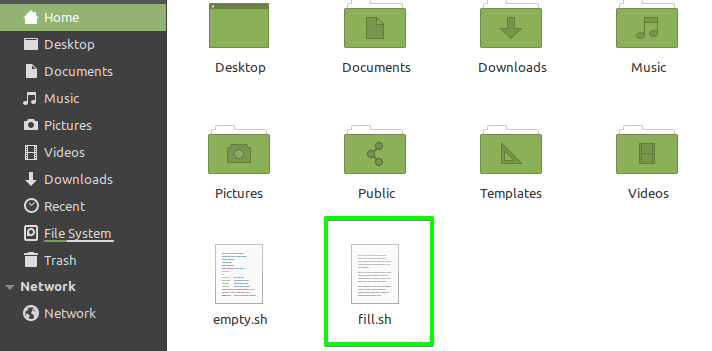
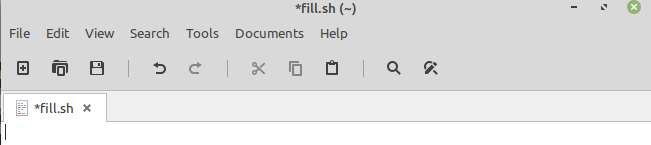
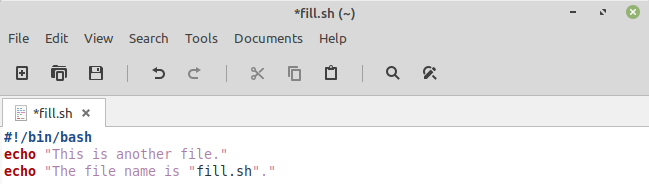
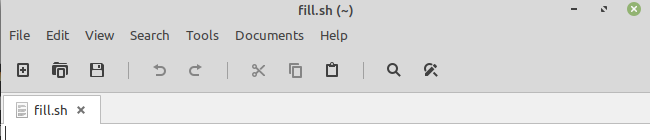
On the other hand, this command can create a new empty file. So in the below image, we have created another empty file titled as “fill.sh”.

Now, the file “fill.sh” is present in the home directory, as shown in the image.
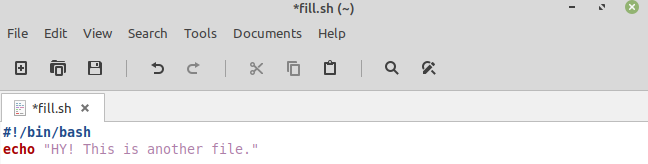
Now open the newly created file “fill.sh” and write some bash script in it.
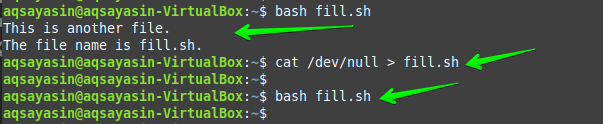
Run the bash command followed by the file name, and you will see the output.

Use the following shell redirection command with a minor change in it to truncate the file “fill.sh”.

You will find the file “fill.sh” empty.
Using True Command:
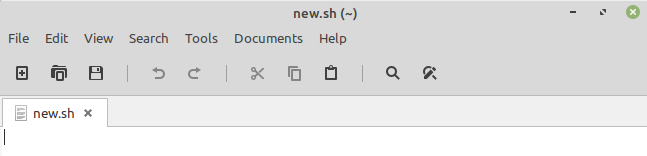
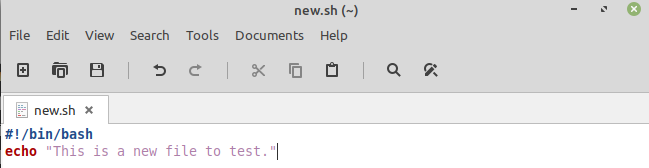
Now create another file named as “new.sh” with some bash script to test the “true” truncate command on it.

Firstly, I have run the bash command to test this file. The output is given below.

Now using the “true” command, I have truncated the file “new.sh”.
![]()
The newly created file “new.sh” is now empty.
Using Echo Command:
You can also empty a file using the “echo” command. Use the already created file “empty.sh” with some changes in its bash script as shown
Firstly, execute the bash command to test the file. Now truncate the file using the “echo” command followed by “-n” and filename. You will find the bash command will output nothing when executing again after the “echo” command.
Or
Or

Now, the file has no contents.
Using Cat/Cp Command:
Use the same old file “fill.sh” with having little change in the script.
You can use the same bash command to execute the file and to check the output result. Now execute the “cat” command to remove the text from the file as follows:
Now use “cp” instead of “cat” to truncate the file.
Remember that you should not have to use the “>” sign in the “cp” command as used in the “cat” command.

There will be no text in the file upon checking.

Using dd Command:
Using the file “new.sh” again for this purpose with no change in its text script.
Again, I have to run the bash command to test this file. By using the “dd” command, the file “new.sh” has been truncated and has no records, as seen clearly in the image.
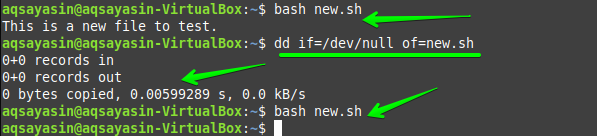
The file “new.sh” is truncated as shown.

Using Sudo Command:
Another method to make a texted file null is using a sudo command, by using the file “empty.sh” here again with little difference in the script as below.

So, run the bash command to test the outputs of the file. After that, use the “sudo” command to make this file empty. Upon running the bash command again, you will get null output.

After that, open the file “empty.sh”. There will be no text in the file, as shown.

Another way of using the “sudo” command to make the file null is by using it along with the “tee” keyword. Therefore, use the file “fill.sh” again with the same contents in it.

Now use the “sudo” command followed by the keyword “tee” as follows:
After that, the bash command will be used to check the null output.

The file will be empty after using this “sudo” command.
Using Truncate Command:
Another different way to remove the contents of a file is using the “truncate” command. The file “empty.sh” has been used here again with the same text script.

By running the bash command, the output will be as same as in the image. After that, we will use the “truncate” command followed by the “-s” keyword. This keyword “-s” is followed by the number “0”, which means that this file will be truncated to zero contents. Now you will get null output after running the bash command.

For deleting the contents for more than one file, there is a single line command. For this purpose, you just have to provide the directory path followed by the file type or extension, e.g., “.sh” or “.log”. We have three files with the “.sh” extension in the home directory right now.

When you run the bash command, you will see the outputs according to each file. You can remove the contents of all three files by following one quick step, using the “truncate” command followed by the directory location and file extensions.
After this, while checking these three files, you will get to know that there are no contents in the files anymore.

Conclusion:
In this tutorial guide, you have learned about different truncate commands followed by keywords: sudo, truncate, echo, dd, cap/cp, true, and also shell redirecting method. I have a high hope that after following this article keenly, you will be able to truncate any file without any further assistance.
from Linux Hint https://ift.tt/3lIC4iG


0 Comments