This article will cover a guide about installing Electron and creating a simple “Hello World” Electron application in Linux.
About Electron
Electron is an application development framework used for creating cross-platform desktop applications using web technologies in a standalone web browser. It also provides operating system specific APIs and a robust packaging system for easier distribution of applications. A typical Electron application requires three things to work: Node.js runtime, a standalone Chromium based browser that comes with Electron and OS specific APIs.
Install Node.js
You can install Node.js and “npm” package manager by running the following command in Ubuntu:
You can install these packages in other Linux distributions from the package manager. Alternatively, download official binaries available on Node.js website.
Create a New Node.js Project
Once you have installed Node.js and “npm”, create a new project named “HelloWorld” by running the following commands in succession:
$ cd HelloWorld
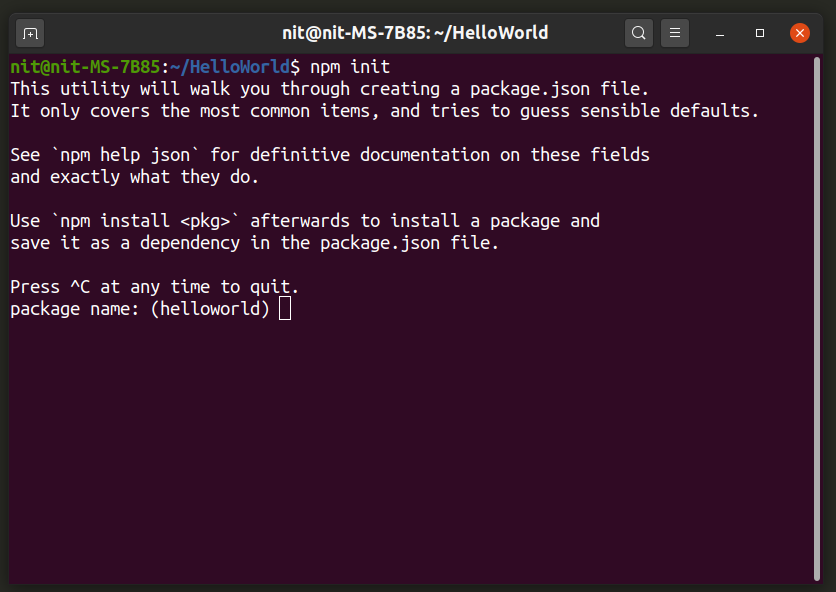
Next, fire up a terminal in the “HelloWorld” directory and run the command below to initialize a new package:
Go through the interactive wizard in the terminal and enter names and values as needed.

Wait for the installation to finish. You should now have a “package.json” file in “HelloWorld” directory. Having a “package.json” file in your project directory makes it easier to configure project parameters and makes the project portable for easier shareability.
The “package.json” file should have an entry like this:
“Index.js” is where all logic for your main program would be located. You can create additional “.js”, “.html” and “.css” files according to your needs. For the purpose of “HelloWorld” program explained in this guide, the command below will create three required files:
Install Electron
You can install Electron in your project directory by running the command below:
Wait for the installation to finish. Electron will be now added to your project as a dependency and you should see a “node_modules” folder in your project directory. Installing Electron as a per-project dependency is the recommended way of installing Electron according to the official Electron documentation. However, if you want to install Electron globally on your system, you can use the command mentioned below:
Add the following line to “scripts” section in “package.json” file to finish Electron setup:
Create Main Application
Open “index.js” file in text editor of your choice and add the following code to it:
function createWindow () {
const window = new BrowserWindow({
width: 1600,
height: 900,
webPreferences: {
nodeIntegration: true
}
});
window.loadFile('index.html');
}
app.whenReady().then(createWindow);
Open “index.html” file in your favorite text editor, and put the following code in it:
The javascript code is pretty self explanatory. The first line imports necessary Electron modules needed for the app to work. Next, you create a new window of the standalone browser that comes with Electron and load the “index.html” file in it. The markup in the “index.html” file creates a new paragraph “Hello World !!” wrapped up in the “<p>” tag. It also includes a reference link to the “index.css” stylesheet file used later in the article.
Run Your Electron Application
Run the command below to launch your Electron app:
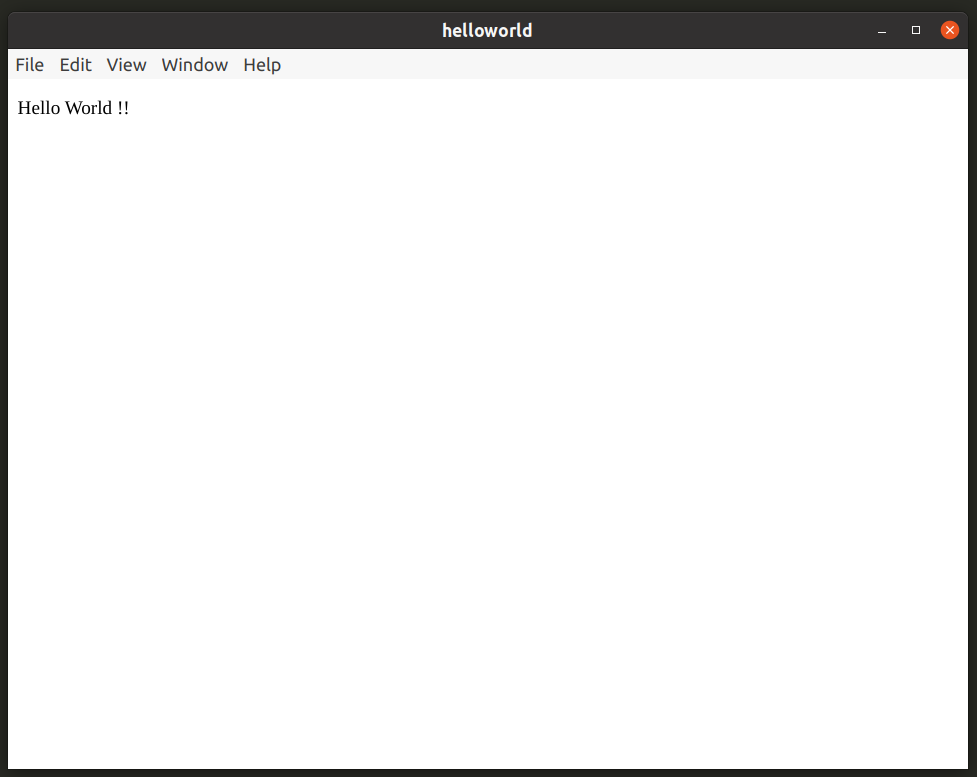
If you have followed instructions correctly so far, you should get a new window similar to this:

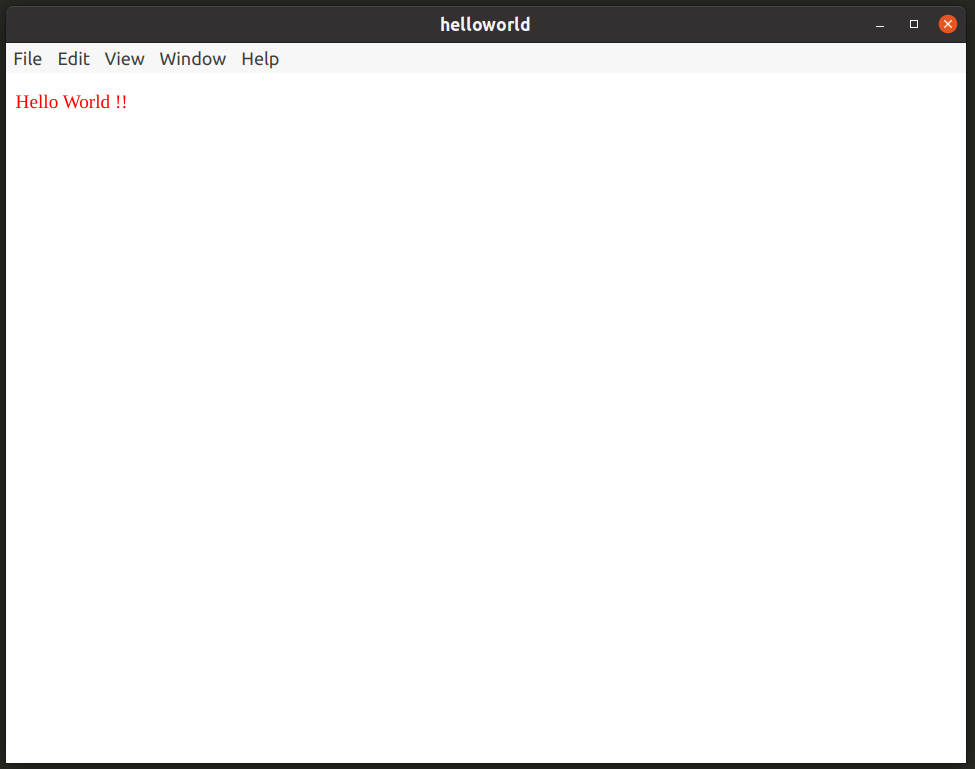
Open “index.css” file and add the code below to change the color of “Hello World !!” string.
color: red;
}
Run the following command again to see CSS style applied to “Hello World !!” string.

You now have the bare minimum set of required files to run a basic Electron application. You have “index.js” to write program logic, “index.html” for adding HTML markup and “index.css” for styling various elements. You also have a “package.json” file and “node_modules” folder containing required dependencies and modules.
Package Electron Application
You can use Electron Forge to package your application, as recommended by the official Electron documentation.
Run the command below to add Electron Forge to your project:
You should see some output like this:
✔ Initializing Git Repository
✔ Writing modified package.json file
✔ Installing dependencies
✔ Writing modified package.json file
✔ Fixing .gitignore
We have ATTEMPTED to convert your app to be in a format that electron-forge understands.
Thanks for using "electron-forge"!!!
Review “package.json” file and edit or remove entries from “makers” sections according to your needs. For instance, if you don’t want to build an “RPM” file, remove entry related to building of “RPM” packages.
Run the following command to build the application package:
You should get some output similar to this:
> electron-forge make
✔ Checking your system
✔ Resolving Forge Config
We need to package your application before we can make it
✔ Preparing to Package Application for arch: x64
✔ Preparing native dependencies
✔ Packaging Application
Making for the following targets: deb
✔ Making for target: deb - On platform: linux - For arch: x64
I edited the “package.json” file to build only the “DEB” package. You can find built packages in the “out” folder located inside your project directory.
Conclusion
Electron is great for creating cross-platform applications based on a single codebase with minor OS specific changes. It does have some issues of its own, most important of them is resource consumption. Since everything is rendered in a standalone browser and a new browser window is launched with every Electron app, these applications can be resource intensive compared to other applications using native OS specific application development toolkits.
from Linux Hint https://ift.tt/38KAlq1


0 Comments