To summarize how Fail2ban works, it actively looks out for signs of potential password authentication abuses to filter out IP addresses and regularly update the system firewall to suspend these IP addresses for a certain period.
This brief guide will show you how to set up Fail2ban on your Ubuntu 20.04 system.
Update the official package listing
We will be getting fail2ban from the official Ubuntu repositories. Fire up the terminal and enter the following command to update the package listing for the latest available version of Fail2ban:

Install Fail2ban
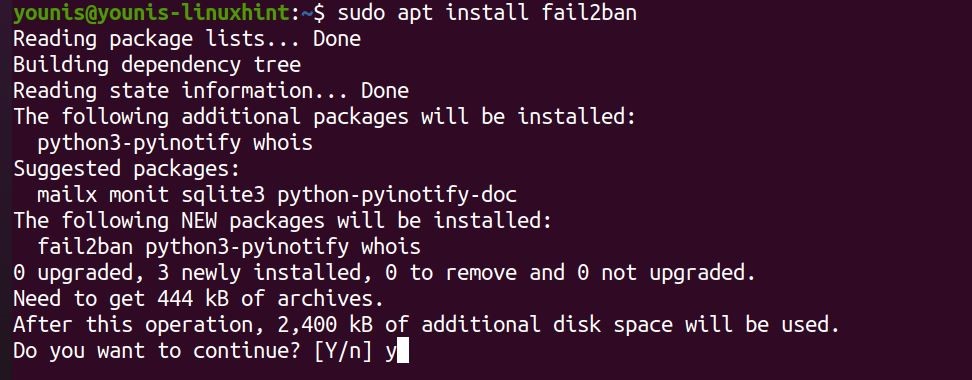
Then, enter the following command to Install the updated Fail2ban package:

The fail2ban service will activate and launch by itself upon installation.
Verify installation
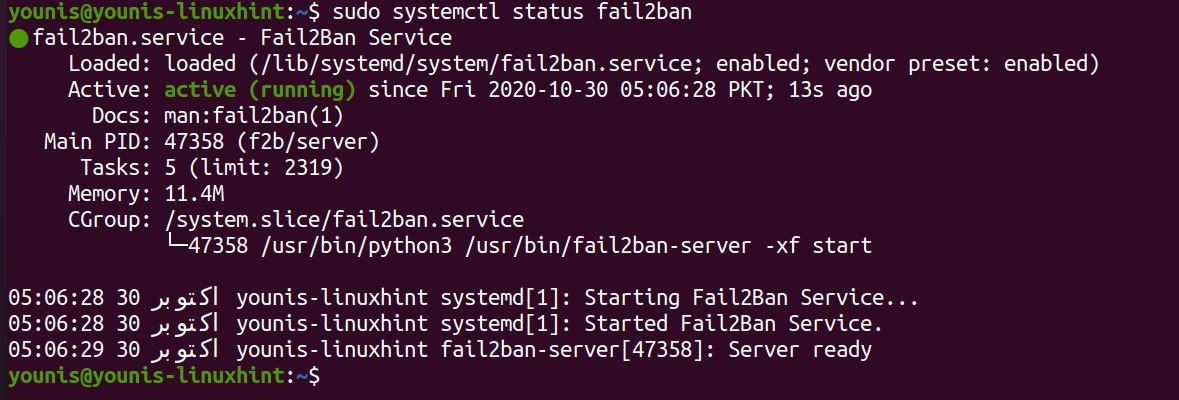
Still, you should verify if it was installed properly. Run the command below to check the install:

If the Active line in the output contains active (running), you’re all good. Let’s move on and see how to configure Fail2ban.
Configuring Fail2ban on Ubuntu 20.04
To configure Fail2ban on Ubuntu, we will edit two particular configuration files. One is jail.conf in the /etc/fail2ban/ location, and the other is named defaults-debian.conf in /etc/fail2ban/jail.d/. But to maintain their integrity, we will not be editing them directly, as it could potentially break the program, and we most certainly won’t be able to update the software. Instead, we make copies of each and perform editing on them.
Run the command below to copy-paste jail.conf as jail.local:
![]()
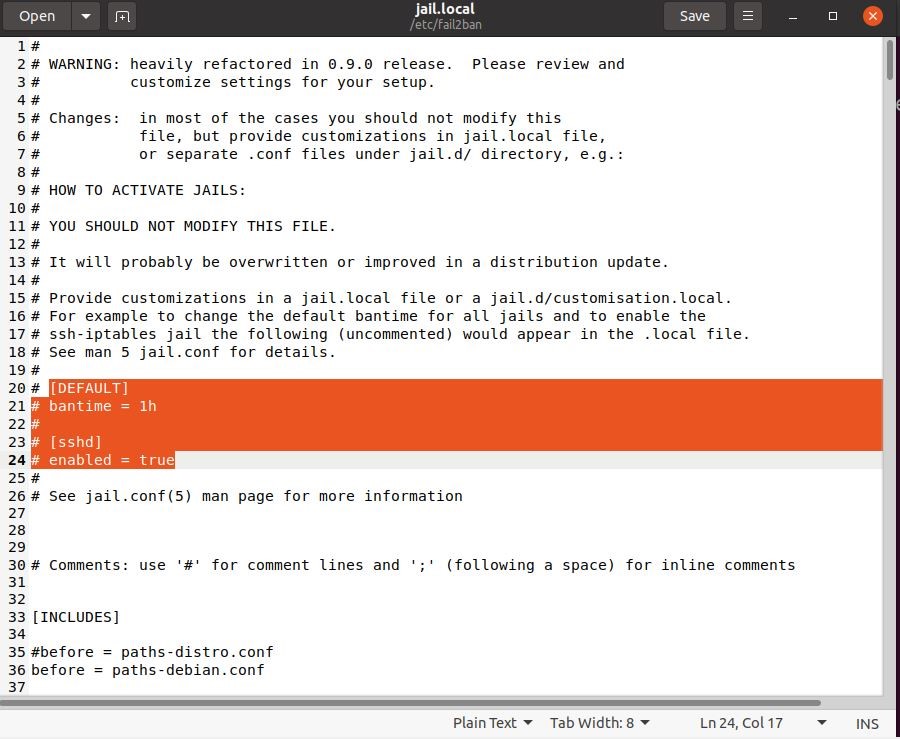
We will commit ourselves to modify this specific file in this tutorial. Launch the copy in a text editor to start editing. Run the following command:

Let’s see what changes we can make.
Configuring IP ban parameters
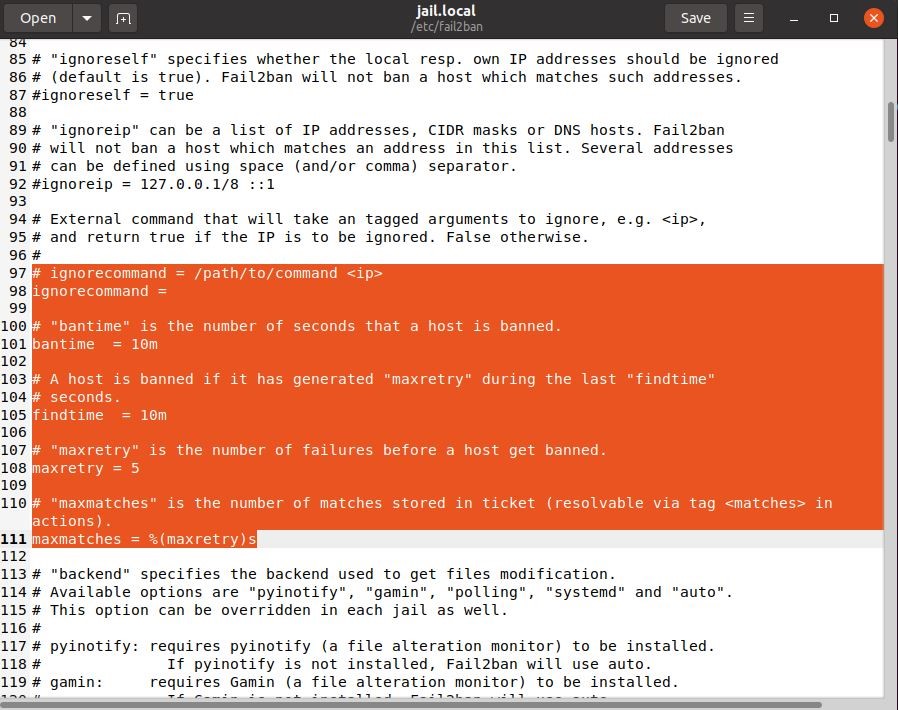
The ban-time of all IP addresses is set by a parameter known as bantime. The value set for bantime by default is just 10 minutes. You can change set its value to whatever time-limit you want to impose on the banned. For example, to set the bantime for all banned IP addresses, you could set it as:
You can also make permanent bans by assigning a negative value.
Another very important variable is findtime. It defines the time-duration allowed between consecutive login attempts. If the multiple login attempts were made within the time defined by findtime, a ban would be set on the IP.
Lastly, there’s maxretry. It defines the exact number of failed login attempts allowed within the findtime. If the number of failed-authorization attempts within the findtime exceeds the maxretry value, the IP would be banned from logging back in. The default value is 5.
Fail2ban also allows you to grant immunity to IP addresses and IP ranges of your choice. These conditions discussed above won’t be applied to these IPs, essentially letting you create sort of a whitelist.
To add an IP to this whitelist, modify the ignoreip line and type in the IP address to exempt:

As the administrator, you should add your IP address to this whitelist before anything.
Wrapping up
This tutorial showed you how to set up Fail2ban on Ubuntu. We installed it directly from the Standard Ubuntu repositories. We’ve also looked at how we can configure it and in what ways. You should now know how to set ban conditions and how to exclude IPs from getting the ban.
from Linux Hint https://ift.tt/2JFYGTy


0 Comments