Among the different concepts of an operating system, the most crucial one is access control, which specifies the level of access that is granted to each user of that operating system. The access control policies ensure that no user is allowed to perform those activities for which he has not been granted any privileges. The two most common types of users in any operating system are the root user (has administrative level privileges) and the guest user (only has a limited set of privileges).
At times, even a guest user needs to perform some tasks that require administrative privileges. Fortunately, Linux provides us with a way of doing this, i.e., by making use of the “sudo” keyword before a command. It is such a magical keyword that whichever command is followed by this keyword is allowed to run with the root privileges rather than its own limited privileges. Sudo stands for Super User DO. For today’s discussion, our aim is to explain to you the usage of the “sudo” command in Linux.
Note: We have used Linux Mint 20 for explaining the method of using the “sudo” command.
The method of using the “sudo” command in Linux Mint 20 will be demonstrated by the following three example scenarios:
Scenario # 1: Updating your System with the Sudo Command
Whenever you want to install any new program, application, package, or command in your Linux system, you are always advised to update your system’s cache before it. It is so because, at times, some existing packages might be unpatched, which can cause trouble for you while installing anything new on your system. You can execute the “update” command with the root user privileges. Therefore, for updating your system with the sudo command, you will have to do the steps mentioned below:
In the first step, launch the terminal in any Linux distribution (I am using Linux Mint 20); it can be done by clicking on the terminal icon present on the. You can visualize the Linux Mint 20 terminal in the following image:

Once you have launched the terminal, the next thing you need to do is to run the “update” command while making use of the “sudo” keyword before it as shown below:
![]()
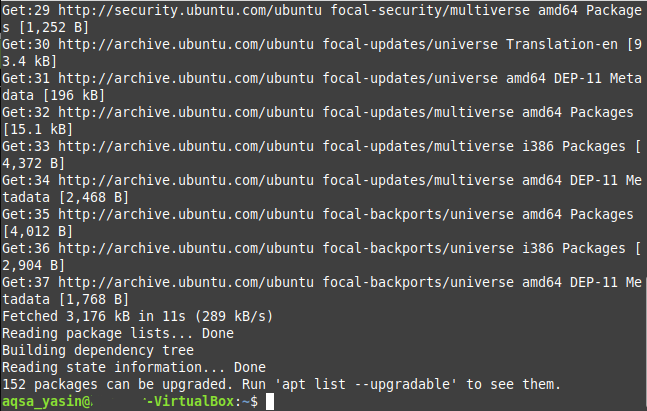
When you hit the Enter key, the “update” command will take a few seconds to complete its execution, depending upon the total number of packages to be updated. The more the broken or outdated packages or dependencies are, the more time it will consume to execute the “update” command. However, once its execution finishes, your terminal will manifest the following output on it:

Scenario # 2: Upgrading your System with the Sudo Command
Usually, after a system update, you are required to upgrade those packages, too, whose upgraded versions are available on the Internet. This process takes a little longer than running the simple “update” command because, after all, you are installing all the newer versions of the packages whose upgrades are available. Moreover, these upgrades also require additional space on your system. Again, for upgrading the packages on your system, you need to run the “upgrade” command with the “sudo” privileges, which can be done as follows:
In your Linux Mint 20 terminal, you are supposed to execute the following command:
![]()
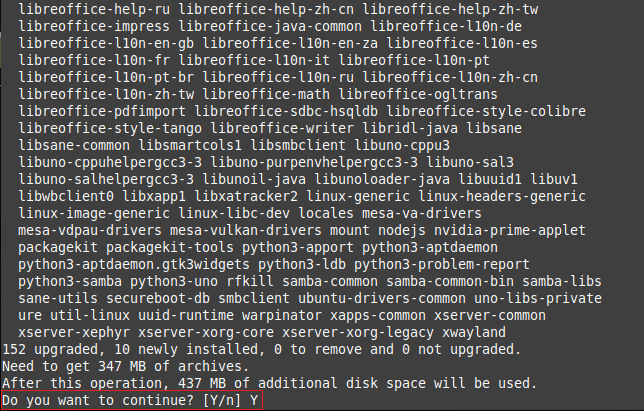
Once you press the Enter key to run this command, you will be asked for confirmation regarding whether you actually want to upgrade your packages or not. This is done because Linux considers it mandatory for asking the user before installing any such package that occupies an additional space on his system as well as requires a sufficient amount of time. If you are sure to carry on with this process, you can simply convey this to your OS by typing in “Y” in your terminal and then pressing the Enter key as highlighted in the image shown below:

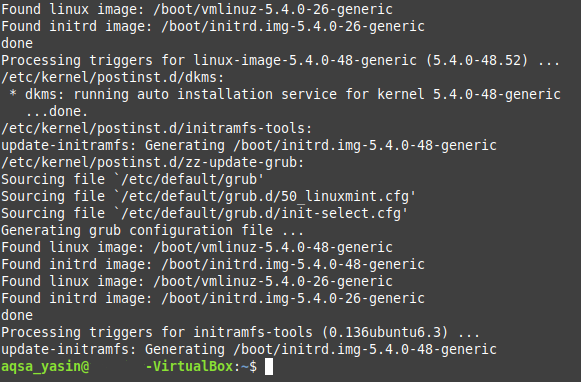
It will take some minutes for the “upgrade” command to complete its execution, which again depends on the exact number of packages that are to be upgraded. However, once all the packages have been upgraded, your terminal will display the following output on it:

Scenario # 3: Creating a Text File with the Sudo Command
For accessing most of the text editors in the Linux operating system, you require root user privileges. Similarly, for creating a text file with the nano editor, you have to do it while making use of the “sudo” keyword, and the whole process is explained in the steps mentioned below:
In the first step, you have to execute the following command:
You can replace “MyFile.txt” with any name of your choice to your text file instead of naming it MyFile.txt. As in this case, we have named our text file as Sudo.txt.
![]()
Once you run this command, it will not only create a new empty text file with the specified name in your Home directory, but it will also open that file with the nano editor from where you can add any content of your choice to this file as shown in the following image:

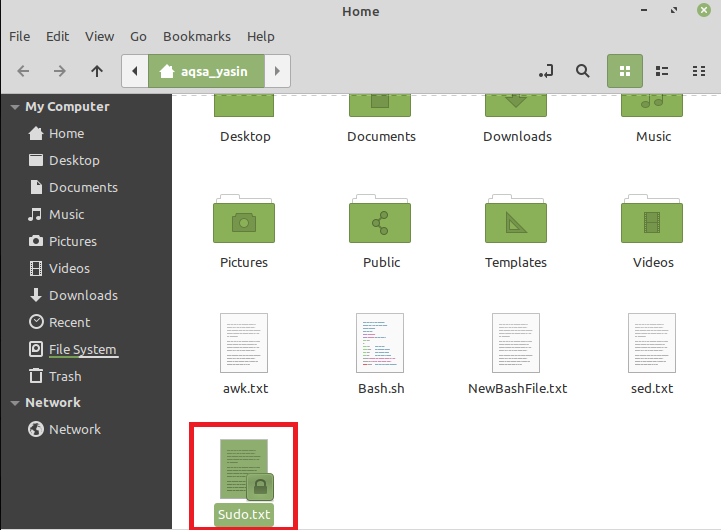
After making all these changes, you need to save your file and exit from the nano editor simply by pressing Ctrl+ X. You can also verify if a text file has actually been created in your Home directory by running the “sudo” command or not simply by going to your Home directory. Here, you will be able to find your newly created text file, as shown in the image below:

Conclusion
In this article, we tried to give you a brief overview of the usage of the “sudo” command in Linux Mint 20. These are just some of the example scenarios in which you can effectively make use of this command. However, this keyword can be used with a large number of other commands as well as on the other flavors of the Linux operating system.
from Linux Hint https://ift.tt/3mehdnX


0 Comments