TeamViewer offers a freemium-like model. For personal and non-profit use, TeamViewer is available for free. For professional use, TeamViewer requires a subscription. Check out TeamViewer pricing.
In this guide, check out how to install and use TeamViewer on Ubuntu 20.04.
TeamViewer on Ubuntu
As mentioned earlier, TeamViewer is a cross-platform app that’s available on Windows, Linux, and macOS. In the case of Ubuntu, there are two methods to install TeamViewer – install the TeamViewer DEB package or manually installing from TeamViewer repo.
In this guide, I’ll be showcasing TeamViewer for personal use.
Install TeamViewer on Ubuntu
Install TeamViewer DEB package
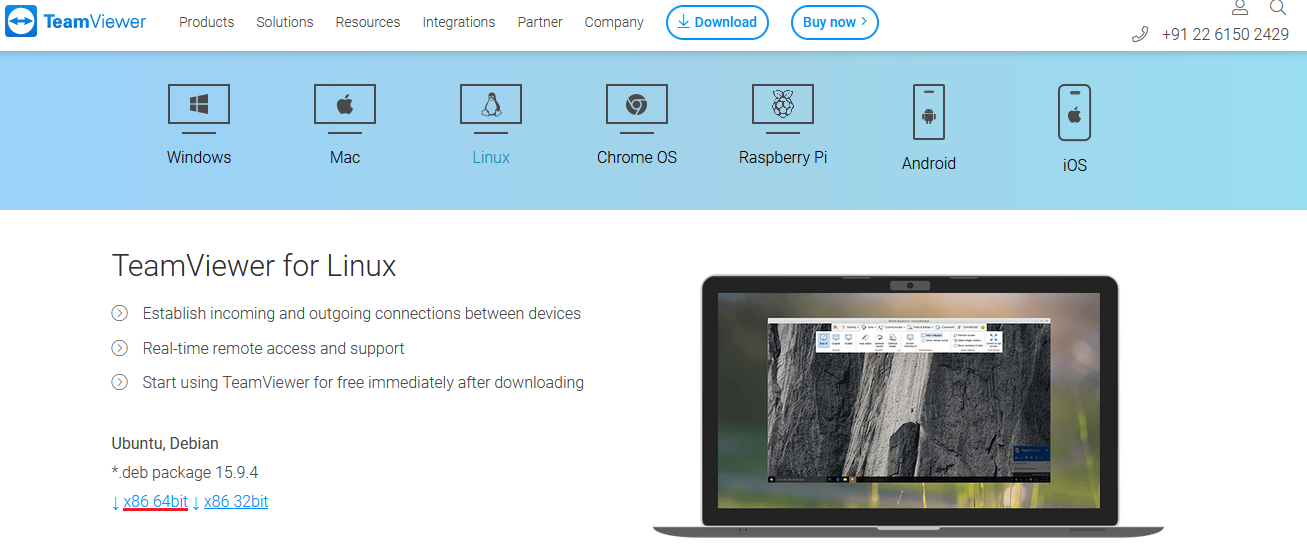
This is the recommended method of installing TeamViewer on Ubuntu. Download the DEB package from the TeamViewer Linux download page.
Once downloading is complete, install the DEB package using APT. Run the following command.
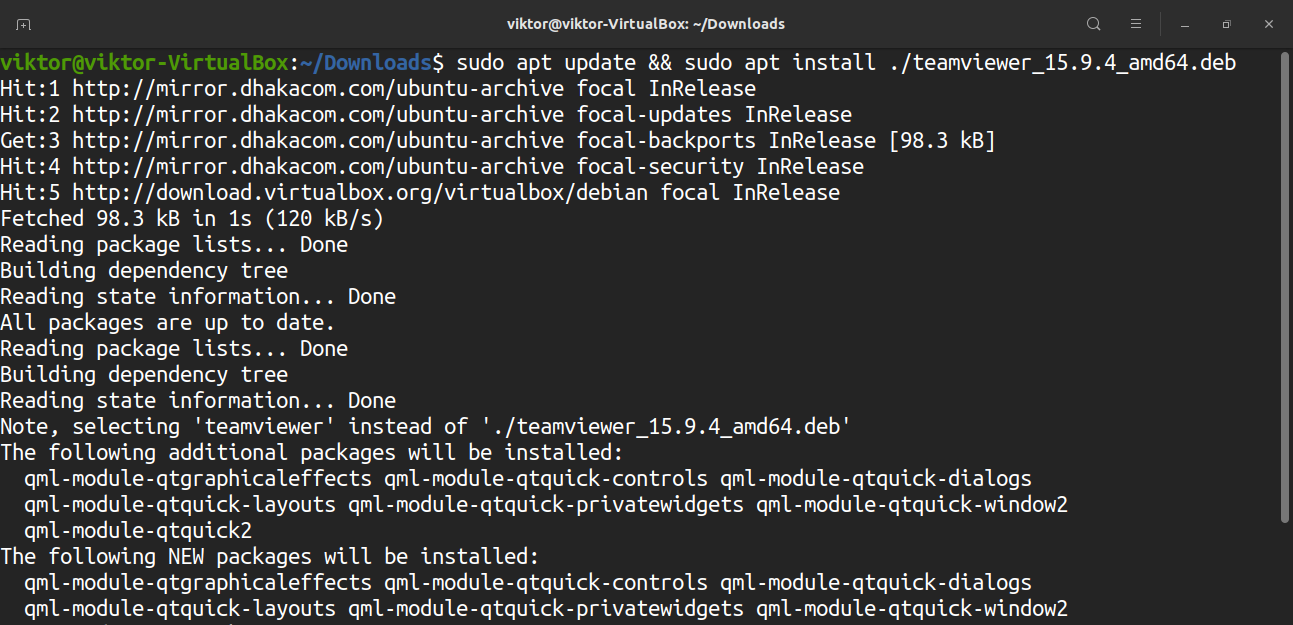
If you follow this method, TeamViewer will automatically configure the TeamViewer APT repo.

Install TeamViewer from TeamViewer repo
In this method, we’ll manually add the TeamViewer repo and let APT to do the rest. It’s a bit more complicated than the previous one.
First, we need to add the TeamViewer GPG key. Run the following command.
TeamViewer2017.asc | sudo apt-key add -

Next, add the TeamViewer repo. The following repo is for TeamViewer’s stable edition.
>> /etc/apt/sources.list.d/teamviewer.list'

Update APT cache.

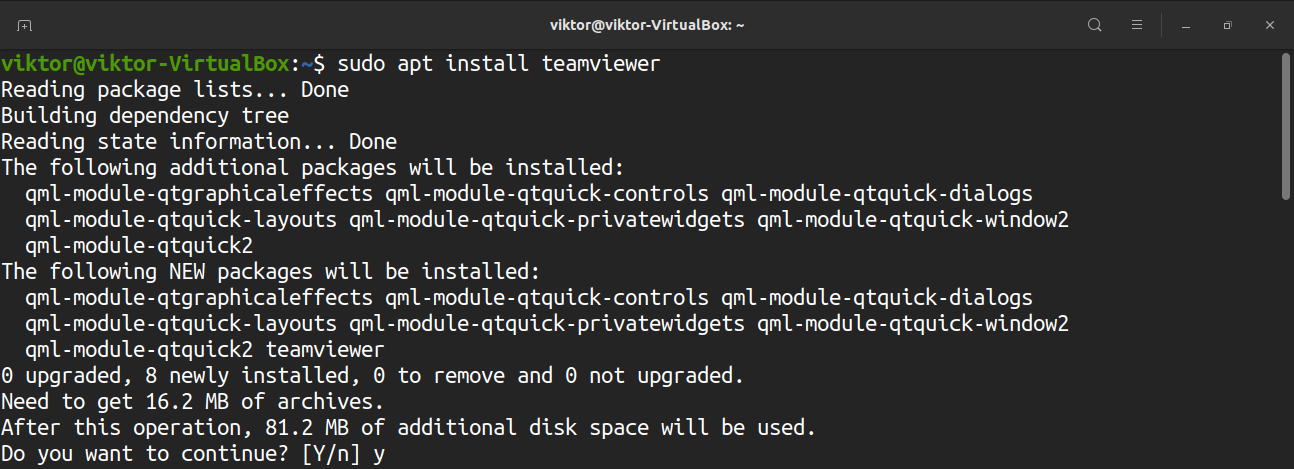
Finally, install TeamViewer.
Using TeamViewer
Launch TeamViewer.

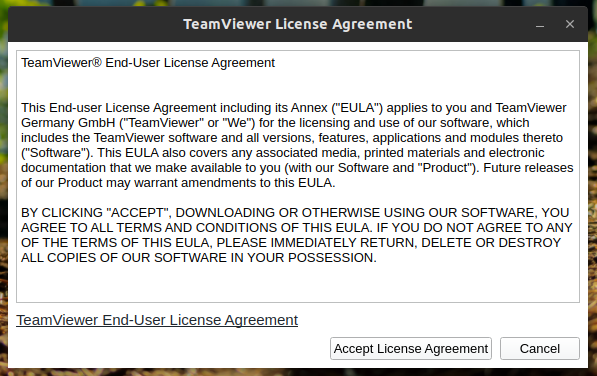
In the first run, TeamViewer will open up the TeamViewer license agreement. To continue, click “Accept License Agreement”.
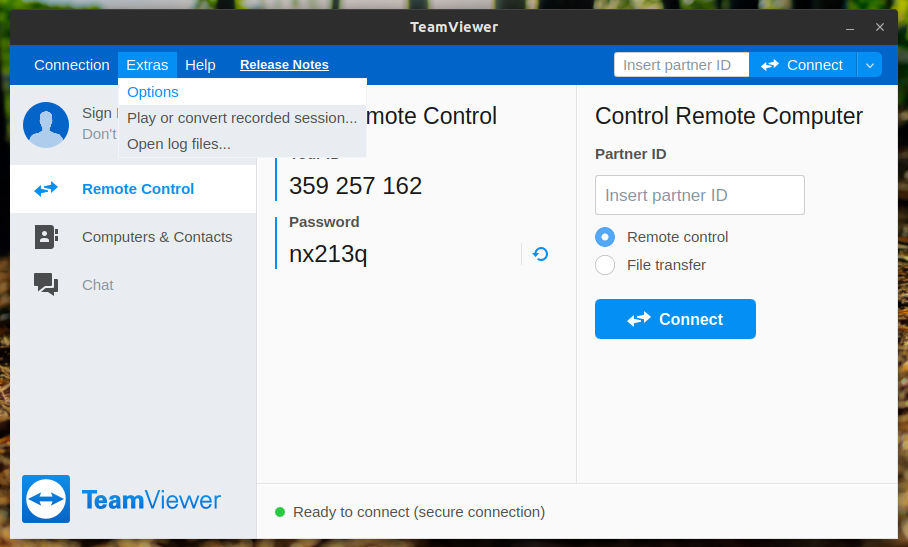
TeamViewer will show an ID and password of your machine. If anyone else wants to connect to your computer, these credentials are necessary. Note that these are temporary credentials.
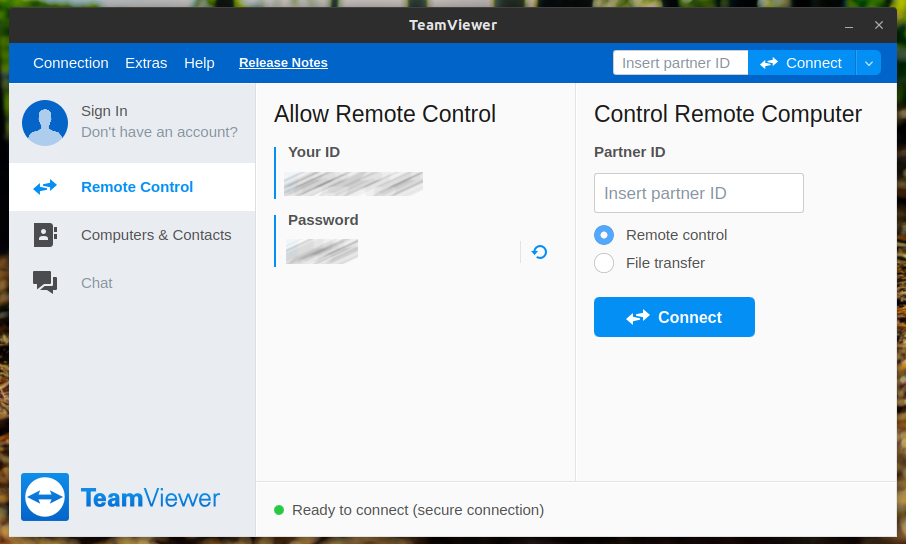
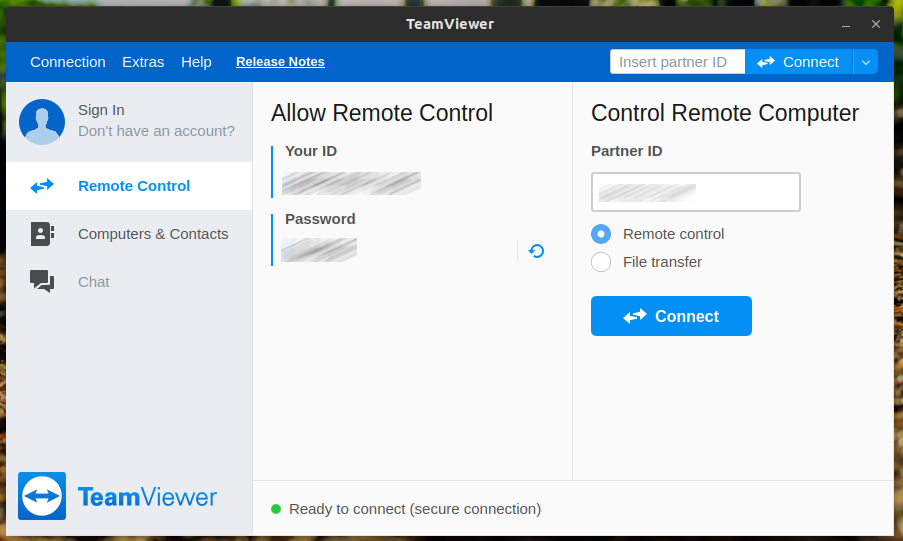
Let’s see how to connect to a remote desktop. Enter the partner ID under the “Control Remote Computer” section and click “Connect”.
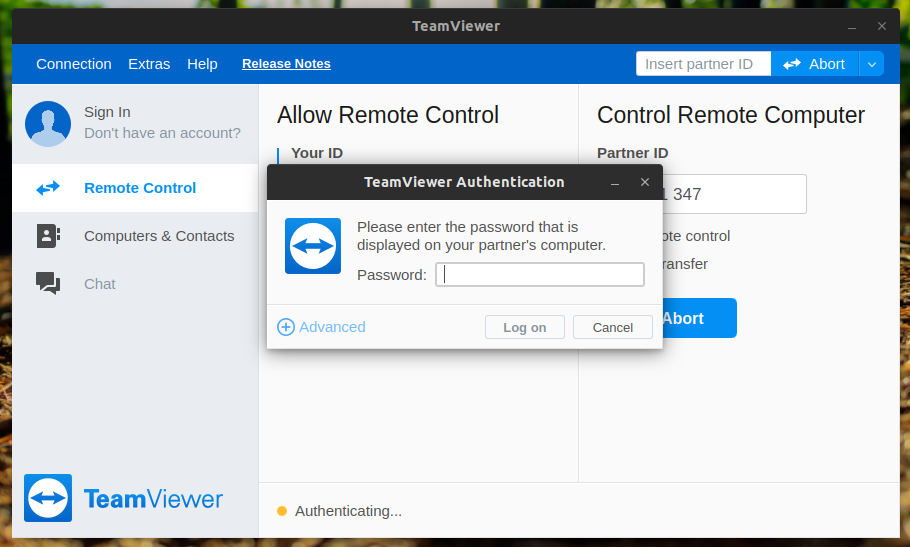
The client will ask for the password of the remote desktop.
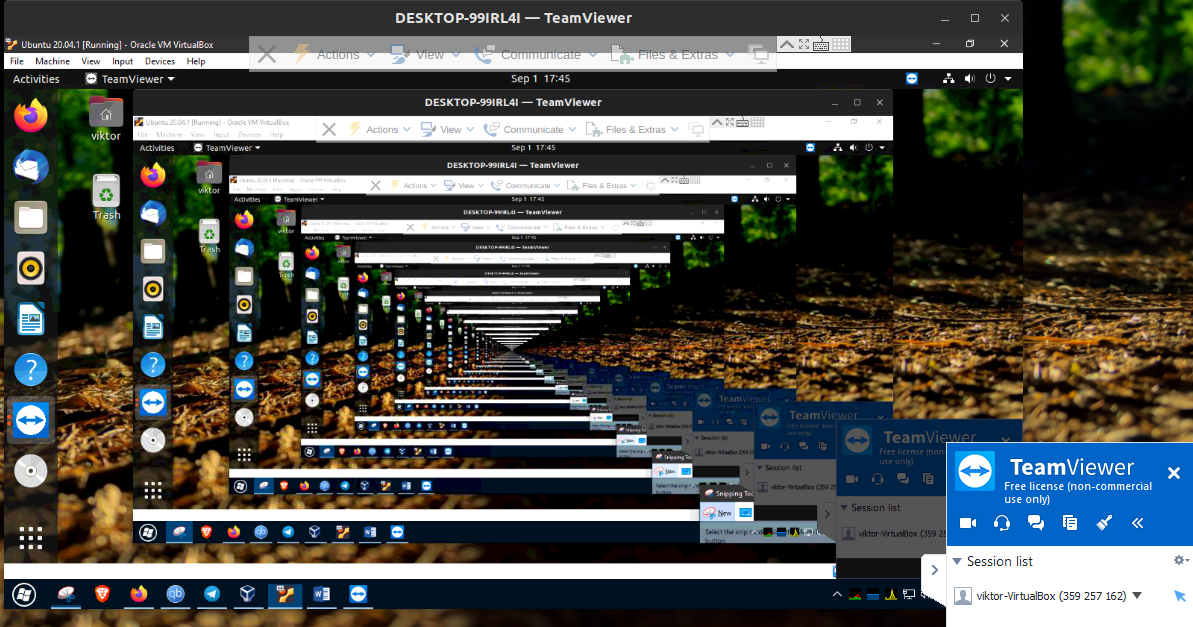
Voila! You’ve successfully connected to the remote desktop!
It’s possible to change TeamViewer client behavior and others from the options. Go to Extras >> Options.
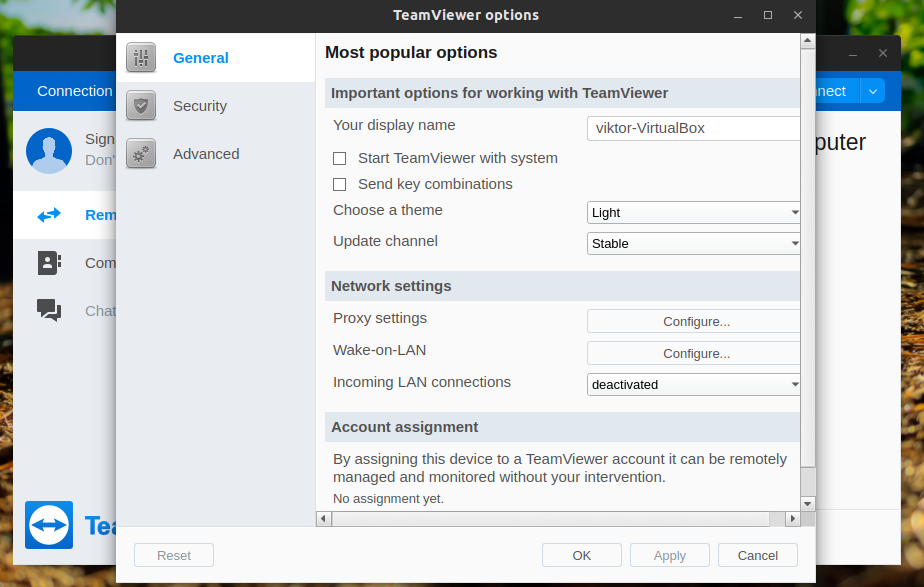
Under the “General” section, you can change the display name, theme, and various network settings.
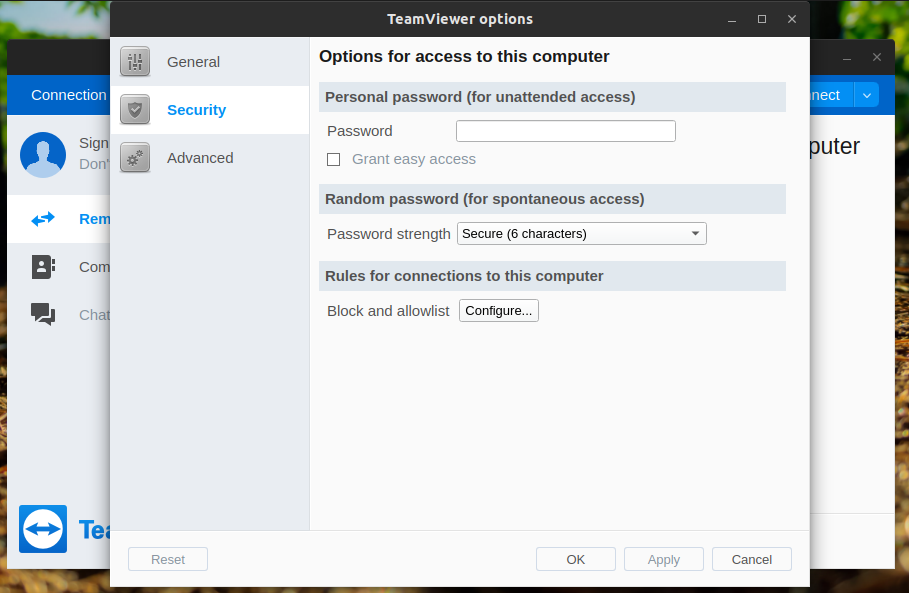
Under the “Security” section, you can decide the password strength or assign your password.
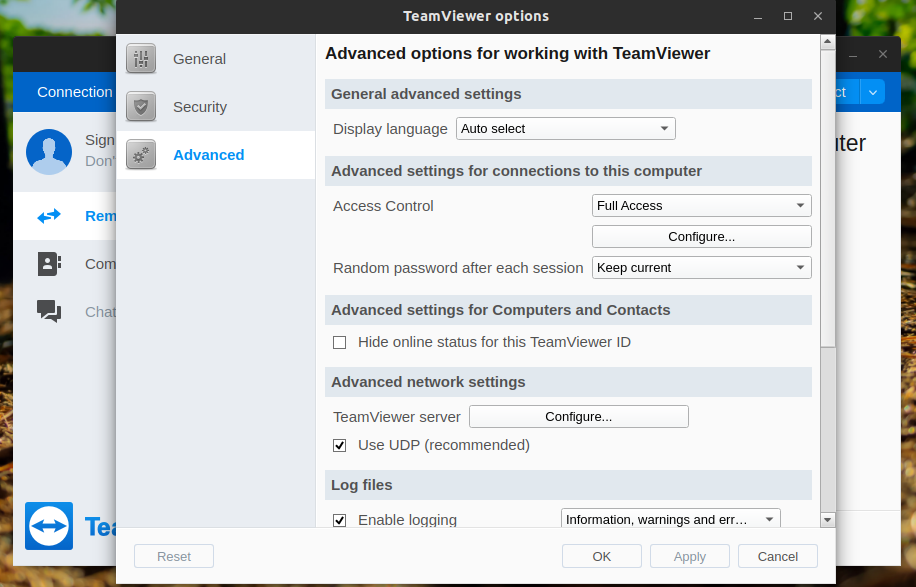
Under the “Advanced” section, you can configure miscellaneous TeamViewer options.
Final thoughts
TeamViewer is powerful but simple. It doesn’t take much effort to configure and use it. Now you can connect to your friend or customer machine and offer immediate assistance. Don’t forget to check out the TeamViewer account. It’s an awesome way to keep all the TeamViewer device connections in a single place.
TeamViewer isn’t the only remote desktop solution. Check out the best remote desktop sharing apps for Ubuntu. Having a TeamViewer alternative at your disposal is always handy.
Enjoy!
from Linux Hint https://ift.tt/3kKiwtQ


0 Comments