Yarn is a reliable, well-maintained, and time-tested utility that will work wonders when it comes to managing software on your system.
This article shows you how to get Yarn up and running on your Ubuntu 20.04 system. Read carefully and follow the instructions below.
Step 1: Install Yarn’s Package Repository
Before installing Yarn, you must add the Yarn ATP repository on your system.
First, verify that the packages are coming from the official sources by adding the repository’s GPG key. Enter the following commands to include the Yarn repository’s GPG key in your system.
To add the Yarn repository with the GPG key, fire up a terminal and enter the following commands:


Then, to add to the repository, enter the following:
sudo tee /etc/apt/sources.list.d/yarn.list

The system is now ready to add Yarn to its active programs.
Step 2: Install Yarn on Your Ubuntu 20.04 System
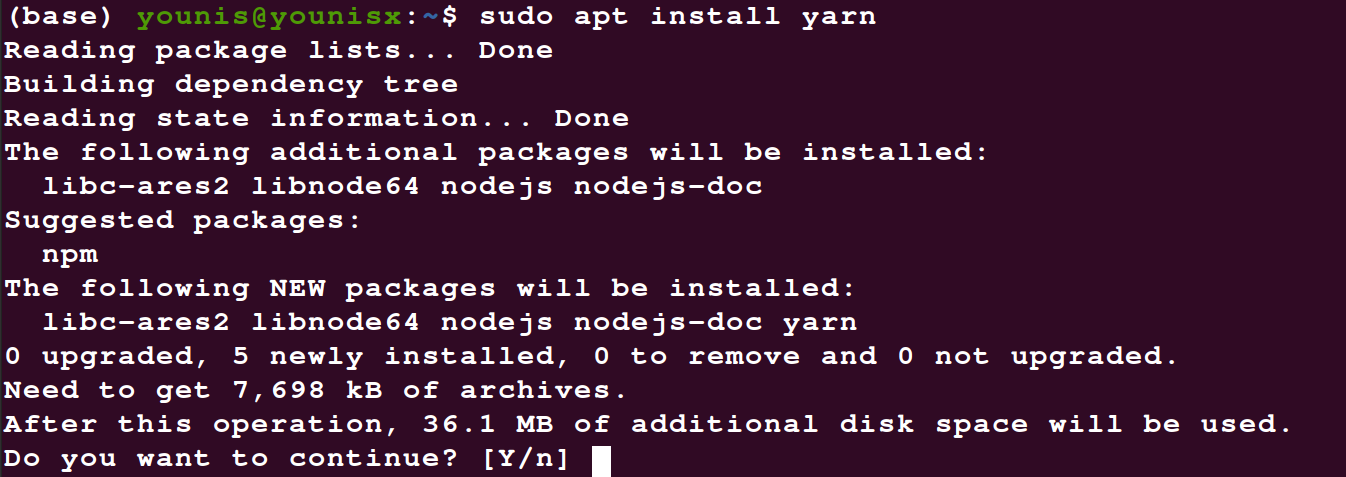
With the above step taken care of, you can now move on to installing Yarn. Check whether your system has Node.js on it. If Node.js is preinstalled, you can custom install yarn by running the following command:

Otherwise, if Node.js is not pre-installed, you will need to download the Node.js dependencies with Yarn.


This is how you can install Yarn on your Ubuntu 20.04 machine.
Step 3: Verify the Install
With Yarn now installed on your system, all there is left to do is verify that the install was up-to-date. Type in the following commands to begin the installation.

This should print out the version of Yarn that your system has, displaying the number and thereby verifying the install.
We will now look at some of the basics to get you started with Yarn.
Step 4: Getting Started with Yarn
Now that you are done with the installation, it is time to familiarize yourself with some fundamental commands used in Yarn.
The commands you will frequently need when using Yarn will include the following.
Start a New Project
Type in the following command to create a directory for your new project:

Then, create your project with the following line:

You will be queried about the specifications of your project, which you can answer yourself, or simply use the default values.

The script will make your project’s package.json file to get you started.
Adding and Upgrading Dependencies
You can append an npm package to a file you have created with the following command:
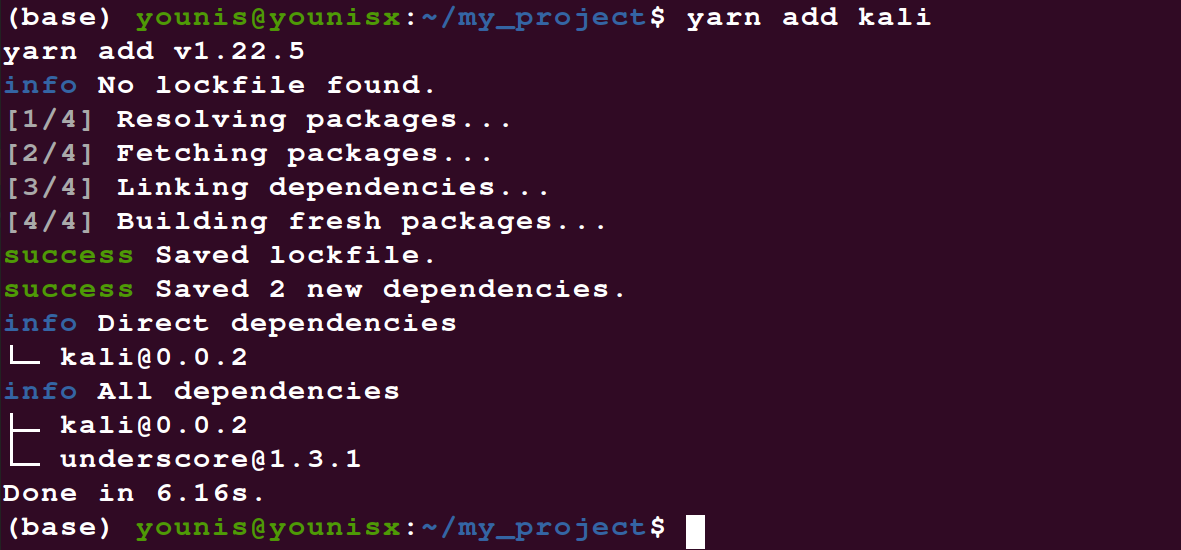
To add an npm package to the project dependencies, use the yarn add command, followed by the package name:

This should update your package.json file. Keep in mind that Yarn installs the latest version when you only add the package name. Type in the following code to update to a version of your choice.

Removing a Dependency
You can also remove a dependency. Type in the following command:

Note that your project’s package.json and yarn.lock files will also be updated.
Automate Installation of All Dependencies
You can also automate the installation of all project dependencies included in your package.json project file. Type in the following command to do so:

Wrapping Up
This article discussed the installation of Yarn on the latest version of Ubuntu, 20.04. The article also discussed creating new project files and updating them and their dependencies.
With Yarn installed on your system, you can manage npm packages much efficiently with the Yarn APT repository. Yarn records what version update has worked on which systems and works out the optimum solution to upgrade your dependencies. The official repository for Yarn is regularly updated and maintained to give you the latest versions of the software you download.
To learn more about Yarn, check out their official website.
from Linux Hint https://ift.tt/36aWvR3


0 Comments