Note: For installing or removing any package in any Linux distribution, including Linux Mint, you must be root user or normal user with sudo privileges. Moreover, we will be using the command line Terminal application for the installation process. To open the command line Terminal, use the Ctrl+Alt+T keyboard shortcut.
Installing PIP for Python 3
For Python 3, you will need to install the PIP3 package. Python 3 is already installed on Linux Mint 20 system. You can verify it using the following command in Terminal:
If it is installed, you will see the following similar output.

Now to install PIP for Python3 in you Linux Mint system, follow the below procedure:
1. Update the system repository index using the following command in Terminal.
When prompted for the password, provide a sudo password.
2. Then install PIP for Python 3 using the following command in Terminal:
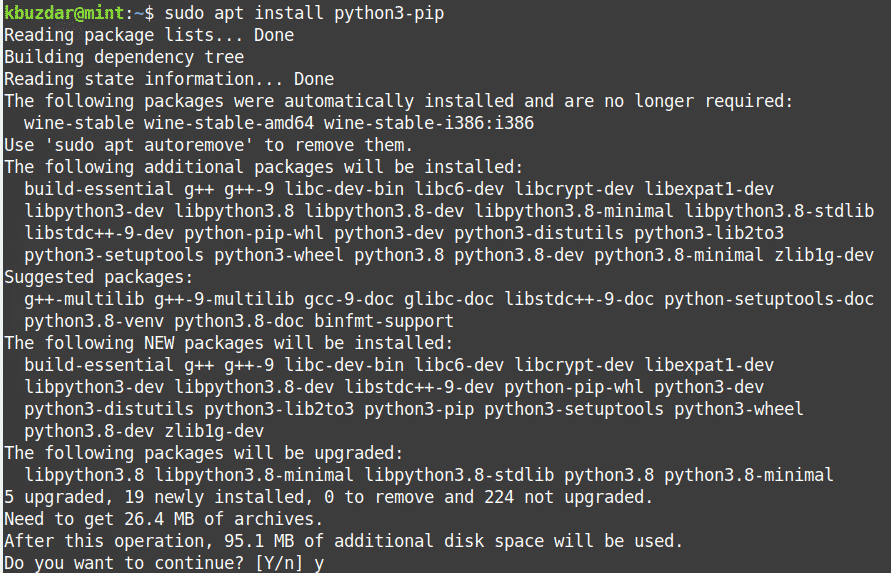
After running the above command, the system might ask for confirmation that if you want to continue the installation or not. Press y to continue; after that, the installation of PIP will be started on your system.
3. Once the installation of PIP is completed, you can verify it using the following command in Terminal:
From the output, you will see a version number similar to this, which implies that the PIP has successfully installed on your system.

Installing PIP for Python 2
For Python 2, you will need to install PIP2. PIP2 package does not exist in the official Mint repositories. However, you can install it using the get-pip.py script. Follow the below steps to install PIP for python 2.
1. Add the required repository using the following command in Terminal:
2. Then update the system’s repository index with that of the newly added universe repository. Issue the following command in Terminal to do so:
3. Python2 is not installed by default in the Linux Mint 20 system. You can install it with the following command in Terminal:
To verify if PIP is successfully installed, issue the following command in Terminal:

4. Download the get-pip.py script. Issue the following command in Terminal to do so:
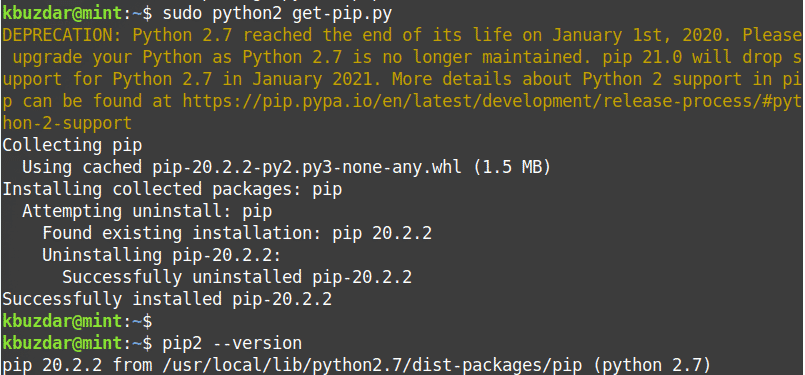
5. Now, run the get-pip.py script as the sudo user. Issue the following command in Terminal to do so:
6. You can verify the installation using the following command in Terminal:
The above output shows that the PIP for python2 has been successfully installed.
Using PIP
Now that you have learned to install PIP for python 3 and python 2, let’s have a look at some of the basic and useful PIP commands.
The following are the basic PIP commands that work with PIP3. If you have installed PIP2, just replace “pip3” with “pip”.
View help
To view all the PIP commands along with their options and a brief description, you can use the following command in Terminal:
Search for a package
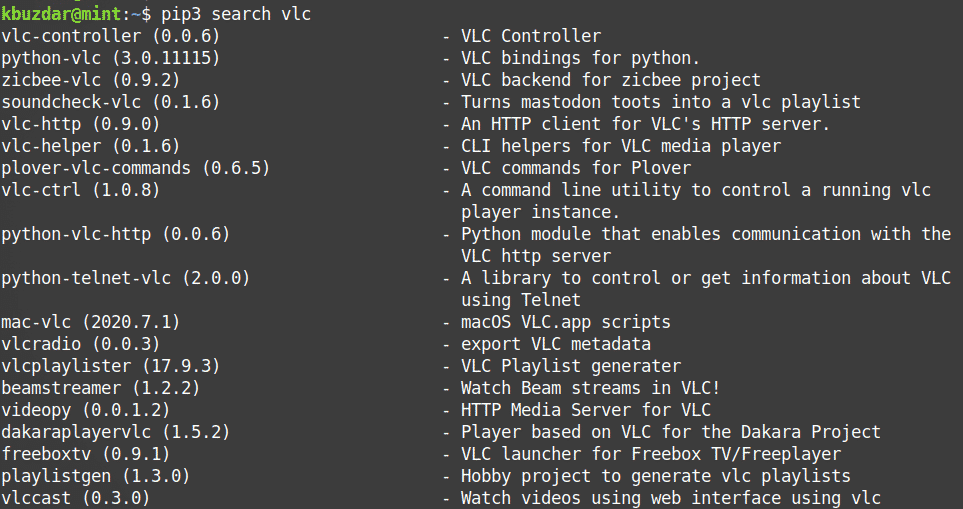
To search for a package whose name or description contains a matching <keyword>, use the following command syntax:
For instance, if you search for a keyword “vlc”, it will return all the packages whose names or description contains the keyword “vlc”.
Install a package
To install a package using PIP, use the following command syntax:
For instance, to install vlccast package, the command would be:
Remove a package
To remove a package installed via PIP, use the following command syntax:
For instance, to remove vlccast package, the command would be:
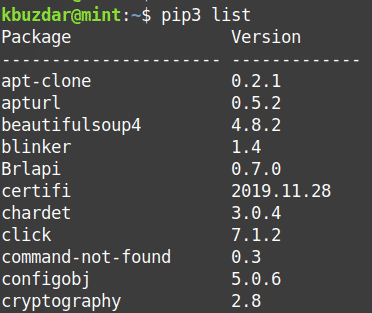
List packages
To list all the installed PIP packages, use the following command in Terminal:
View installed package information
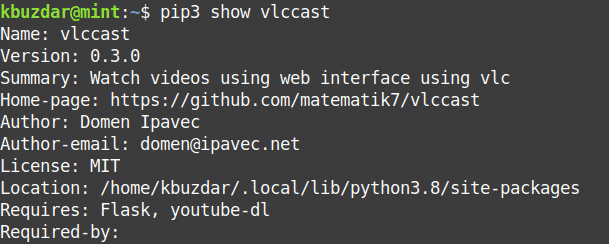
To view installed package information, you can use the following command syntax:
For instance, to search for information regarding the installed “vlccast” package, the command would be:
Uninstalling PIP
In case, you want to uninstall PIP3 from your system, use the following command in Terminal:
In case, you want to uninstall PIP2 from your system, use the following command in Terminal:
This is how you can install and use PIP in Linux Mint 20 system. You have also learned how to uninstall PIP if you no longer need it. I hope it will be helpful for you!
from Linux Hint https://ift.tt/334L8He




0 Comments