Gradle borrows its fundamental ideas from Apache Ant and Apache Maven and adds to their aspects by boasting the Groovy-based domain-specific language. This is, of course, different from Maven, which uses the XML form used to present the project’s overview. It’s also set apart from other utilities of its kind by its application of acyclic graph, which, through dependency management, it uses to evaluate the optimum sequence of the tasks associated with the project.
This is a short walkthrough to help you install Gradle on Ubuntu 20.04.
Step 1: Installing JDK
We must install OpenJDK 8 or 11 first. Use the command below to proceed:


Alternatively, you can use the following command to install OpenJDK 11

Now see what java version you have. I have the latest version 14 installed:

Step 2: Download Gradle
For this demonstration, we’ll be downloading Gradle version 6.4. You can opt to download the latest version or any version of your choice from the Gradle’s official website.
We’ll be downloading Gradle’s installing in the /tmp directory. Type in the following command:


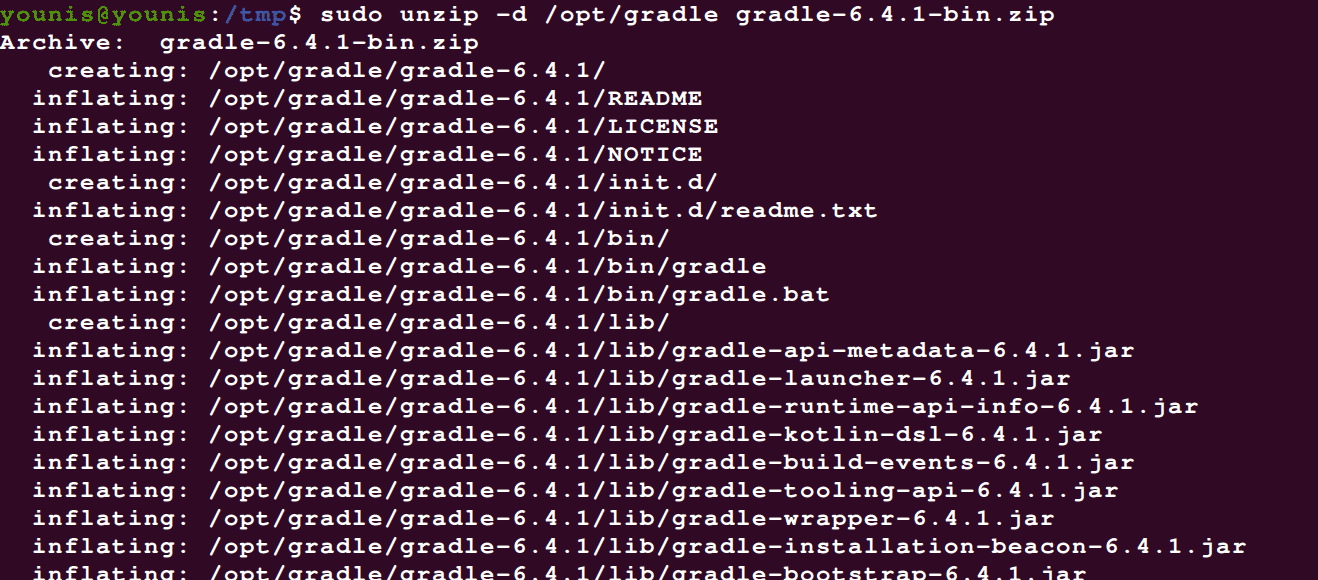
Extract the gradle binary setup in the /opt/gradle directory

Alternatively, you can install the default version of the Gradle that is recommended for Ubuntu.
Enter the following codes to append a PPA repository, custom for Gradle:


With the above commands, you’d have Gradle successfully installed on your computer.
Step 3: Configuring the Environment Variable
To configure the environment variable, open the below file:
![]()
Now add the following line into the file:
# export PATH=$PATH:/opt/gradle/gradle-6.4.1/bin
Then fire up the variables by entering the following commands:
Step 4: Verifying the installation
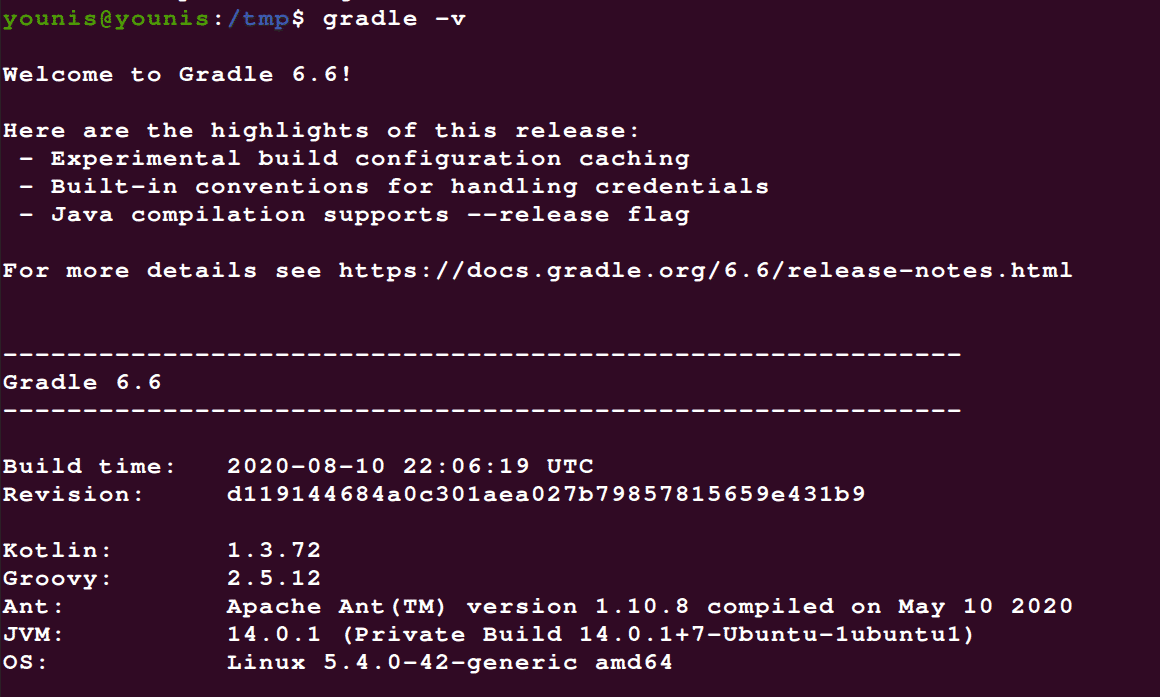
You can verify what version you’ve downloaded with following commands:

Wrapping up
In this walkthrough, we’ve looked at Gradle, and see how it is installed on Ubuntu 20.04. We also made configurations to the environment variable for Gradle. I hope you’ve found this walkthrough helpful, and that you’ve found it easy to install Gradle on your system.
from Linux Hint https://ift.tt/33mXD16


0 Comments