The functionality of Google Chrome can easily be extended by installing different useful extensions and web applications. You can also change the browser’s look by installing new themes.
This article will show you how to install Google Chrome in Linux Mint 20 OS using the command-line interface. All commands in this article were implemented in the Linux Mint 20 distro. Let us now start the demonstration!
First, open the terminal using the keyboard shortcut method Ctrl + Alt + t. You can also access the terminal window from the Start Menu of the Linux Mint distribution. Click on the Start Menu icon and click on the terminal.
Installing Google Chrome in Linux Mint 20
You can install Google Chrome onto your Linux Mint 20 distro by using either of the following two methods:
- Install Chrome by adding the Google Chrome repository
- Install Chrome using the .deb package
Method 1: Install Chrome by Adding the Google Chrome Repository
To install google chrome using this method, you need to perform the following steps:
Step 1: Update apt Repository
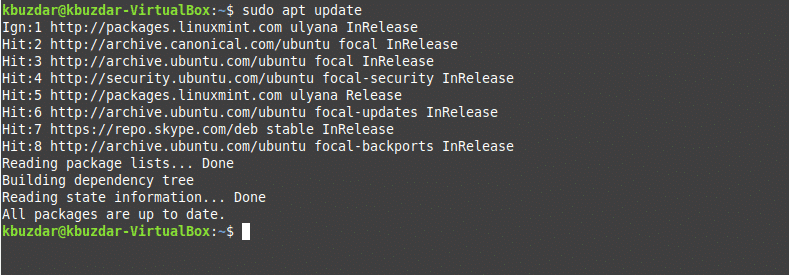
It is recommended that you first update the apt repository before installing any new packages onto your Linux system. So, update the apt-cache by issuing the following command:
Step 2: Add the Google Chrome Repository
Now, you can add the Google Chrome repository to your system. To do so, download the Google signing key using the following command:
The OK status should be displayed on the terminal, as follows:

Step 3: Set Up the Google Chrome Repository
Next, set up the Google Chrome repository on your system by entering the following command:
| sudo tee /etc/apt/sources.list.d/google-chrome.list

Step 4: Update apt-cache Again
In this step, you will update your apt-cache again.

Step 5: Install Google Chrome
Install the most recent, stable version of Google Chrome onto your system by issuing the command given below:
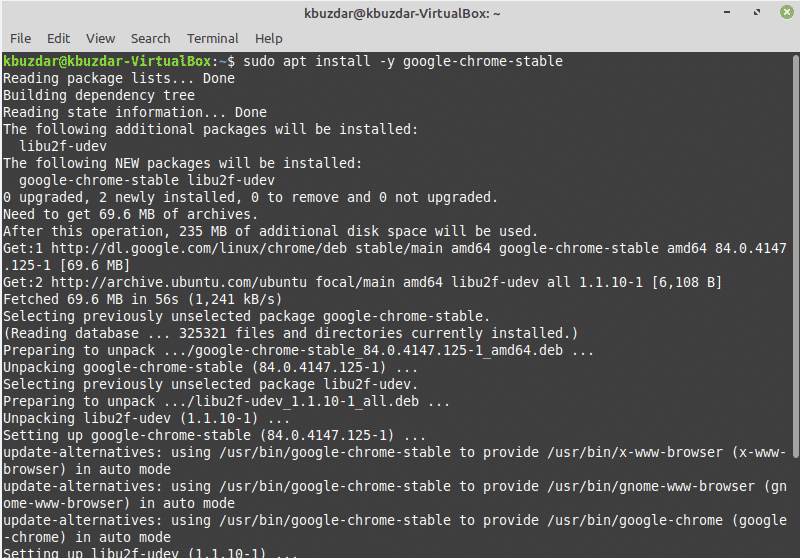

To install Google Chrome beta, then issue the following command:
Step 6: Launch Google Chrome
You can launch the stable version of the Google Chrome application through the terminal by issuing the following command:
or

For the beta version, use the following command instead:
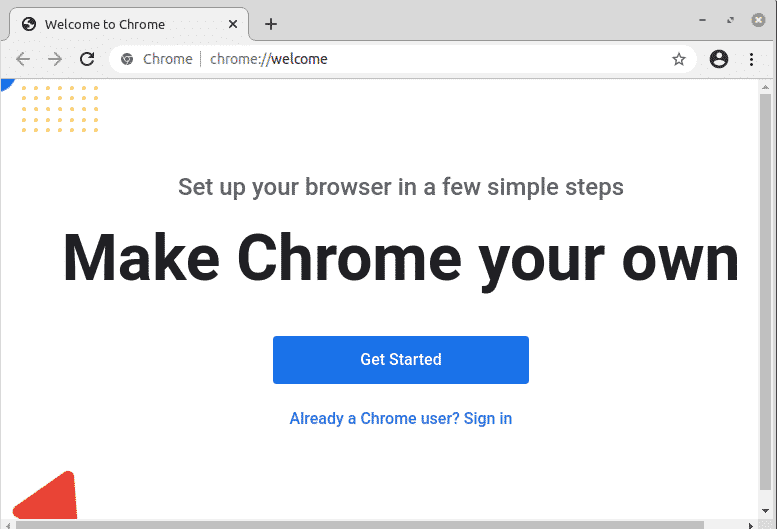
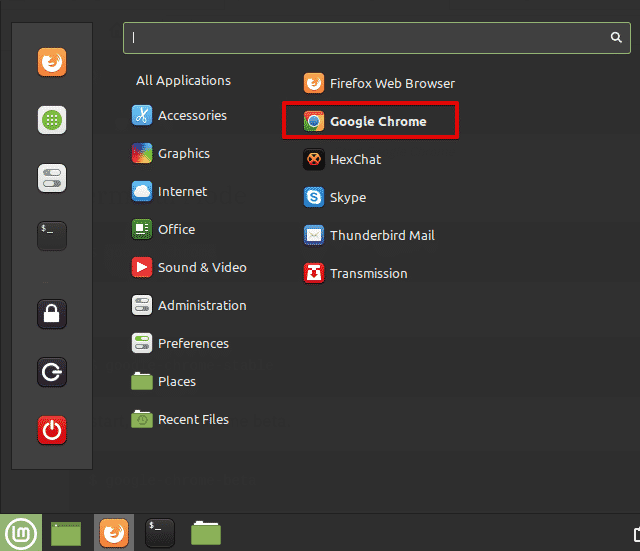
You can also access Google Chrome using the graphical interface. To do so, click on the Start Menu and then select the ‘internet’ option, then click on the Google Chrome icon, as follows:
Method 2: Install Chrome Using the .deb Package
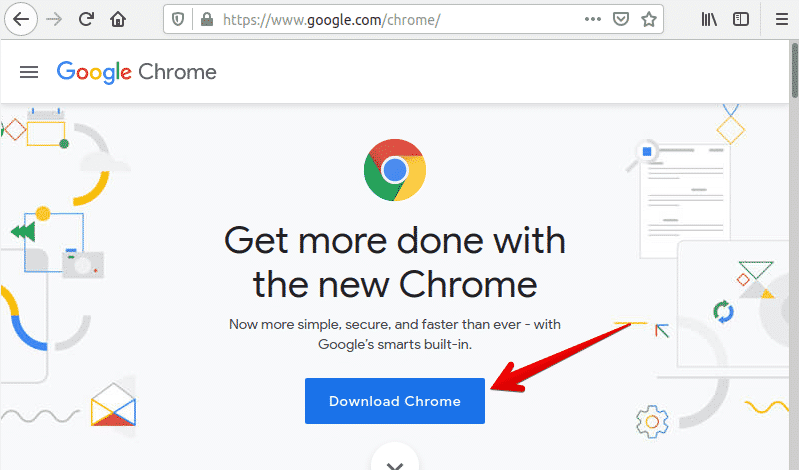
You can download the .deb package for Google Chrome onto your system by using the following URL: https://www.google.com/chrome/. Open this URL in your Mozilla Firefox browser, and then click the ‘Download Chrome’ button.
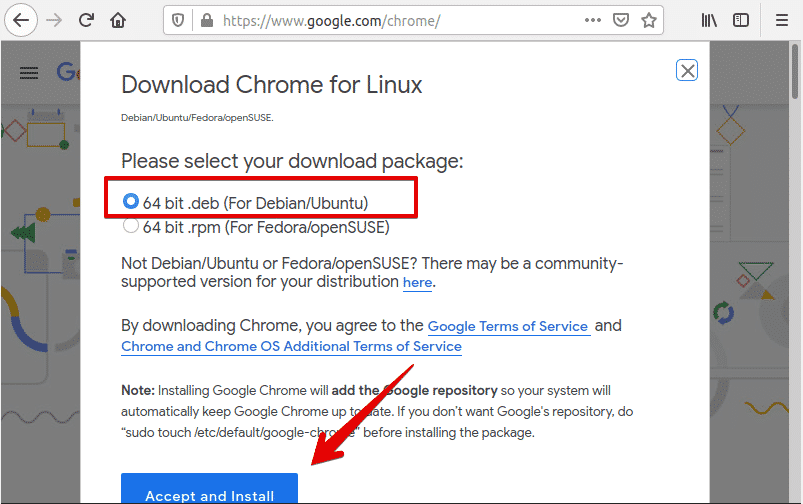
The following dialog will display in the window. Choose the 64-bit .deb package (for Debian/Ubuntu), and then click the ‘Accept and Install’ option.
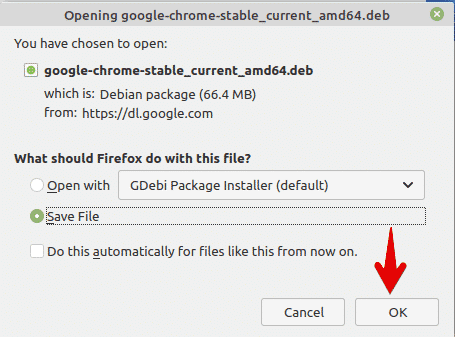
Again, a dialog box will appear on the desktop. Select the ‘Save File’ option and specify the path where you want to save the downloaded .deb package, then click ‘OK.’ In a moment, Chrome will start to download onto your Linux Mint 20 system.
Once the download is complete, open the terminal and navigate to the system downloads using the cd command and list files, as follows:

Here, you will type the following command to install the .deb package on your system:
Enter the sudo user password. After that, Chrome will begin to install onto your system.

After completing the installation of Google Chrome, using the same methods mentioned in the section above, you can launch Google Chrome on your system.
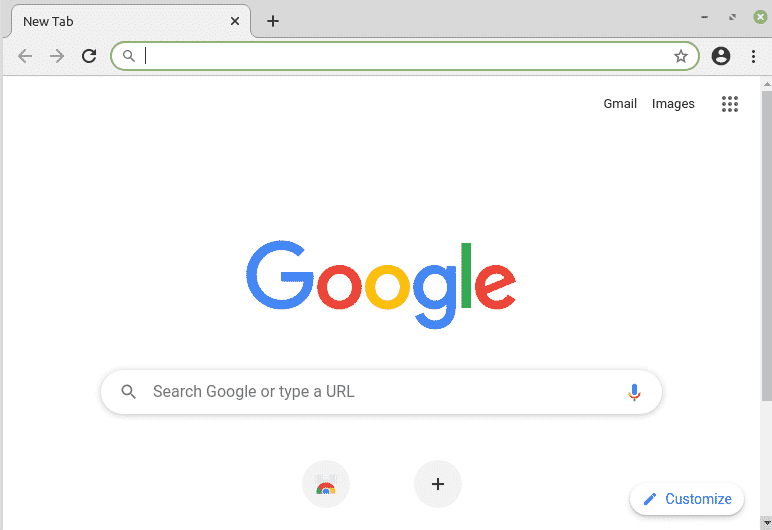
Congratulations! Google Chrome has been installed on your system.
Conclusion
This article showed you two different methods for installing Google Chrome onto your Linux Mint 20 system using the terminal commands. Once the installation of Chrome is complete, feel free to add Chrome extensions and your favorite themes from the Google Chrome web store.
from Linux Hint https://ift.tt/3br32b1


0 Comments