It is used by app developers all over the world, including major tech firms. It was also used to create some of the most famous websites on the web. The most notable websites constructed on Django are Instagram, Disqus, Pinterest, Knight Foundation, and The Washington Post.
This is a walkthrough that’ll take a look at two different ways to install Django on an Ubuntu 20.04 system using an account with sudo privileges. These three methods are:
- Installing Django from Ubuntu repositories
- Obtaining Django from GIT and installing Django with pip
We will discuss the perks each installation method has in this article in appropriate sections. Let’s discuss the installation method involving Ubuntu repositories.
Method 1: Install from Ubuntu official repositories
The simplest and easiest method to install Django on an Ubuntu server is to just use Ubuntu’s official repositories with the apt package manager. Although the method is straightforward, you might miss out on some customizability options that other methods have to offer.
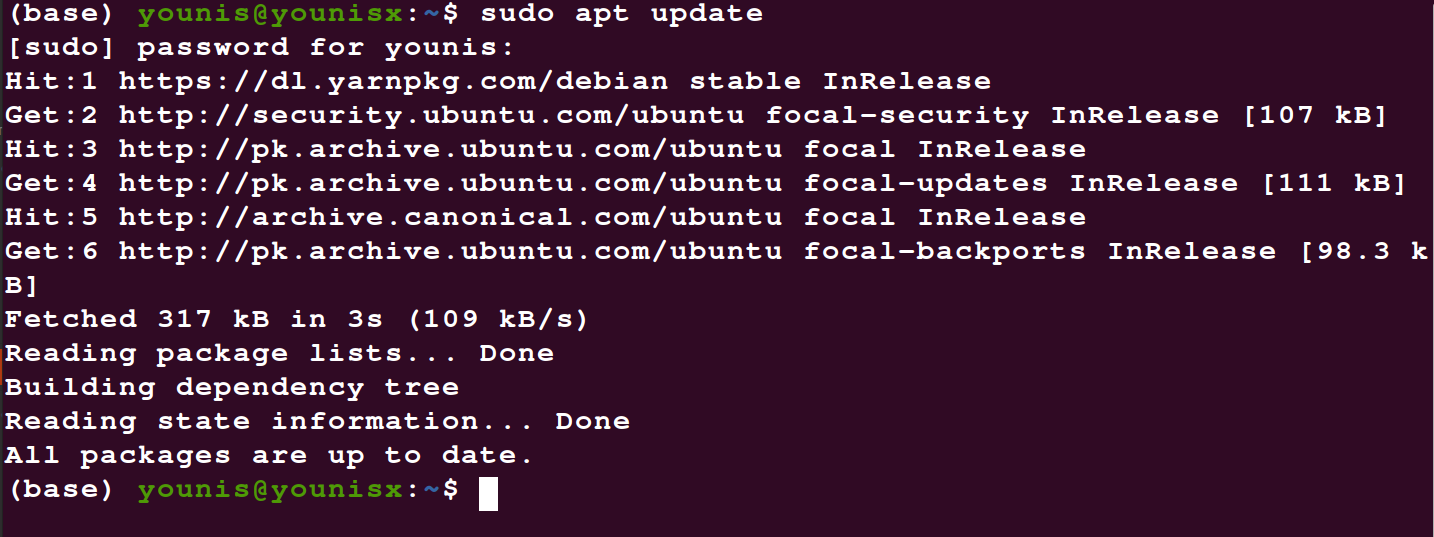
Step 1: Update the package list
First, update the package index for your server with the following command:

Step 2: Update the python version
See what version of Python is installed on your system with the following command:

That should print the current version of Python on your system.
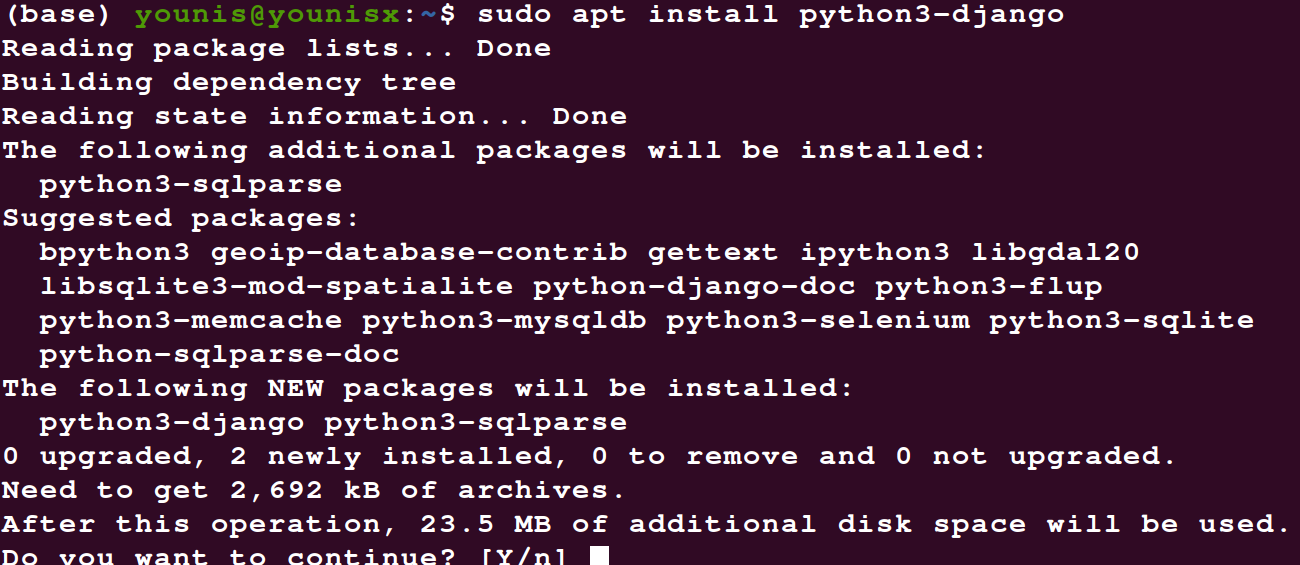
Step 3: Install Django:
Now it’s time to install Django. Use the following command:

Django should be installed on your system. Now you’re just short of verifying the install.
Step 4: Verify the install
Enter the following command:
It could be that the version that you just installed isn’t the latest one. This is a drawback of downloading from the standard repositories: they don’t always have the latest version available. But that’s quite rare, and you can always update the thing so not a major issue.
Method 2: Installing from Git repositories
Whereas the Ubuntu repositories have the latest stable version available, Git Repos lets you download the development version, which, while more volatile, boasts the latest features.
For this demonstration, Django will be downloaded from GIT by creating a virtual environment with venv.
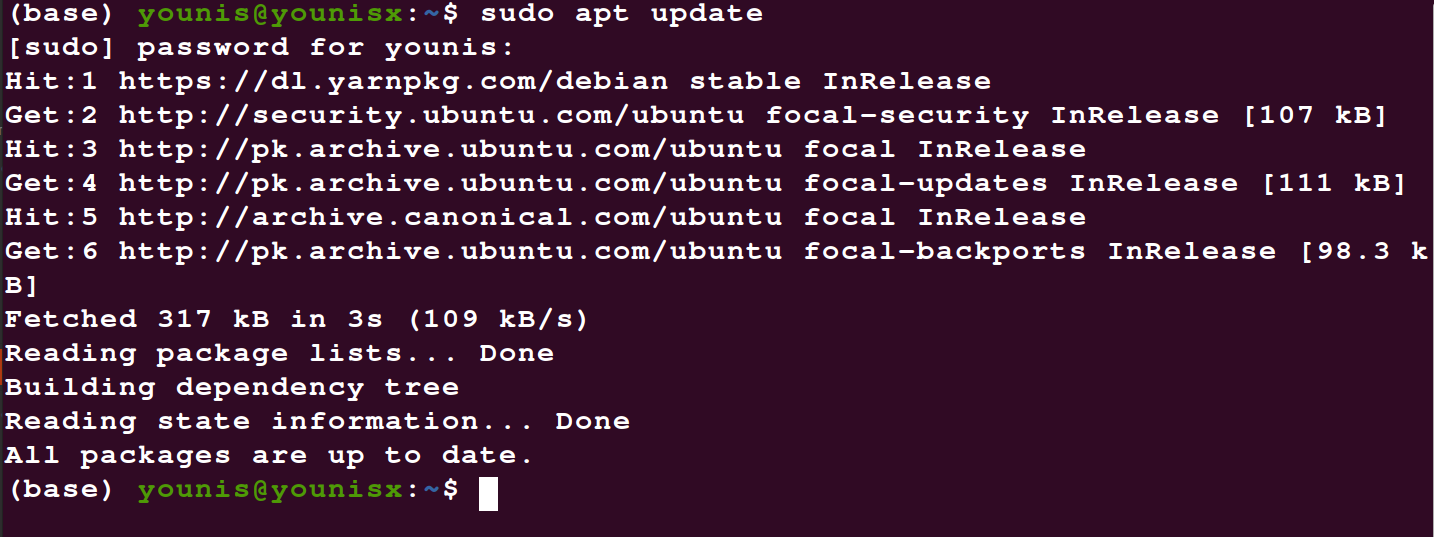
Step 1: Refresh the package index
See the versions available for download with the following code:

Step 2: Check the python version installed on your system
See what version of Python is installed on your system with the following command:

That should print the current version of Python on your system.
Step 3: download python packages
You need to install pip, a package management system for python.
Also, if you don’t already have venv installed, you’re going to need that as well.
To download both of these, enter the following command:

Next, clone the repository to the ~/django-dev directory with your home directory. Type in the following commands:


Step 4: Create a virtual environment with venv
Next, create a virtual environment to install Django on with the venv module. Type in the following command:
![]()
![]()
A virtual environment has been activated on your system.
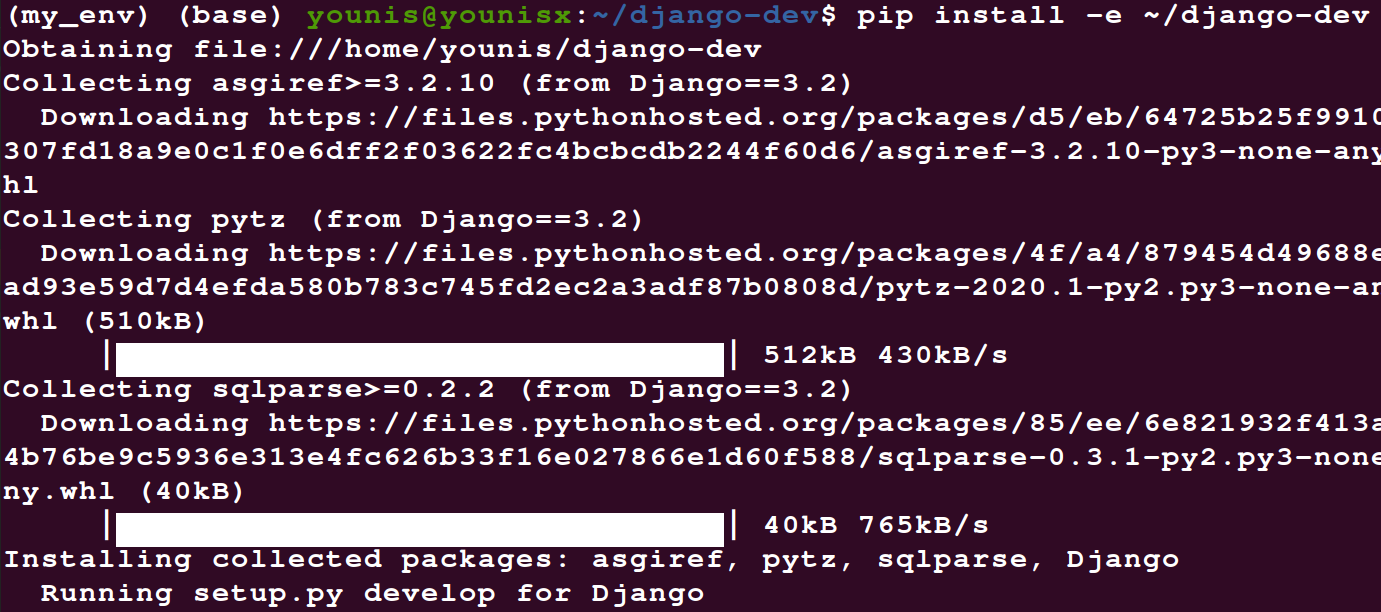
Step 5: Install Django
Next, you can install the repository using pip. Type in the following command:

You can verify that the installation was successful by typing:

That’s it. Django has been installed with the latest version on your system.
In summary
In this brief tutorial, we discussed two different methods to get Django up and running on your system. The first method was the most straightforward; you just directly install it from the standard Ubuntu repositories. The second method used the Git repositories to install the development version instead of the latest stable version and then installed using pip and venv modules to install Django. This method is arguably the best as it gives you the most control over the specifications of the install.
I hope you’ve found this article useful. Check out the official page for Django to learn more.
from Linux Hint https://ift.tt/2RKfxFr


0 Comments