Included in this evaluation of Synology’s new DS920+ NAS are some of the Active Backups tools in Diskstation Manager (DSM), Synology’s operating system, that can be accessed from a web server.
Windows VM Backups
As a daily Linux user for many years, over time, my Windows virtual machine (VM) has evolved to become my main interface with the Windows operating system for the times I require it. I use my VM, which runs on VMWare Workstation Player, for evaluating Windows software, for using tools that do not run well on Linux, and to see what’s new with Windows.
Virtual machine files contain all the virtualized storage a virtual machine runs off, and are therefore quite heavy. These files can, of course, be included in full system backups — which I described previously — but unless you are running disk cloning jobs with Clonezilla, it sometimes makes more sense to separate VM backup from backups taken to protect the host systems they run on.
There are several options to achieve this. For one, you can simply use Windows’ native backup and restore functionality. Alternatively, you can open up a file browser, navigate to the folder containing the VM, and copy the images it contains onto your backup target. As an additional approach, you can use Synology Active Backup to pipe the image onto an NAS.
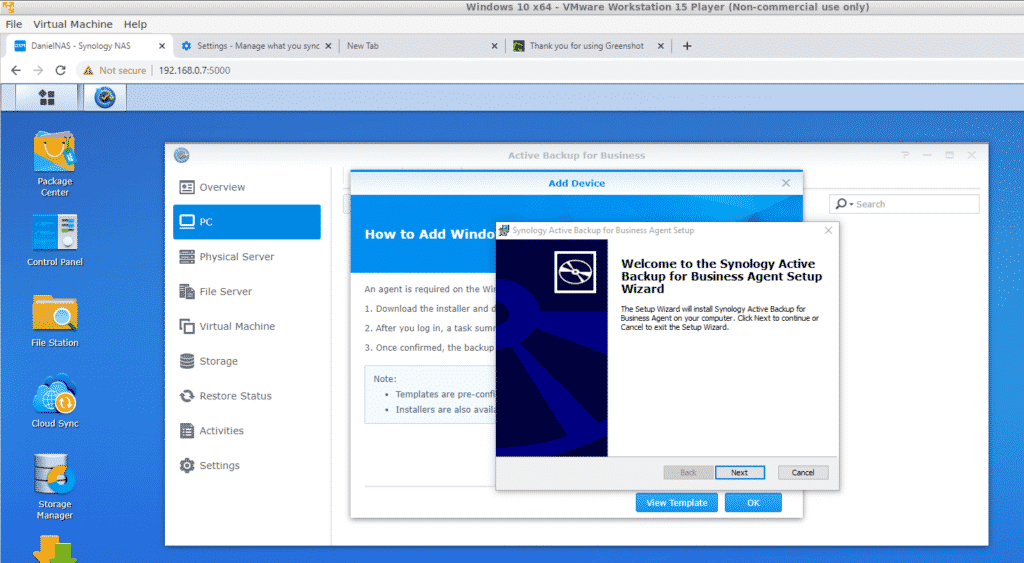
In contrast to Linux backup jobs, getting the last option up and running is plain sailing. Opening up DSM on the Windows VM, I simply downloaded and installed the backup agent for a 64-bit architecture machine.
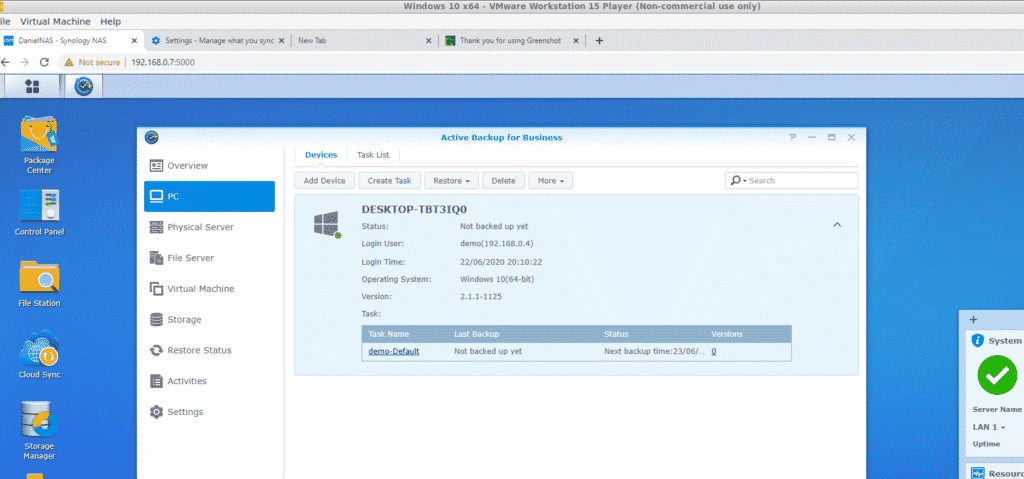
I then told the program where to find the NAS on my LAN:
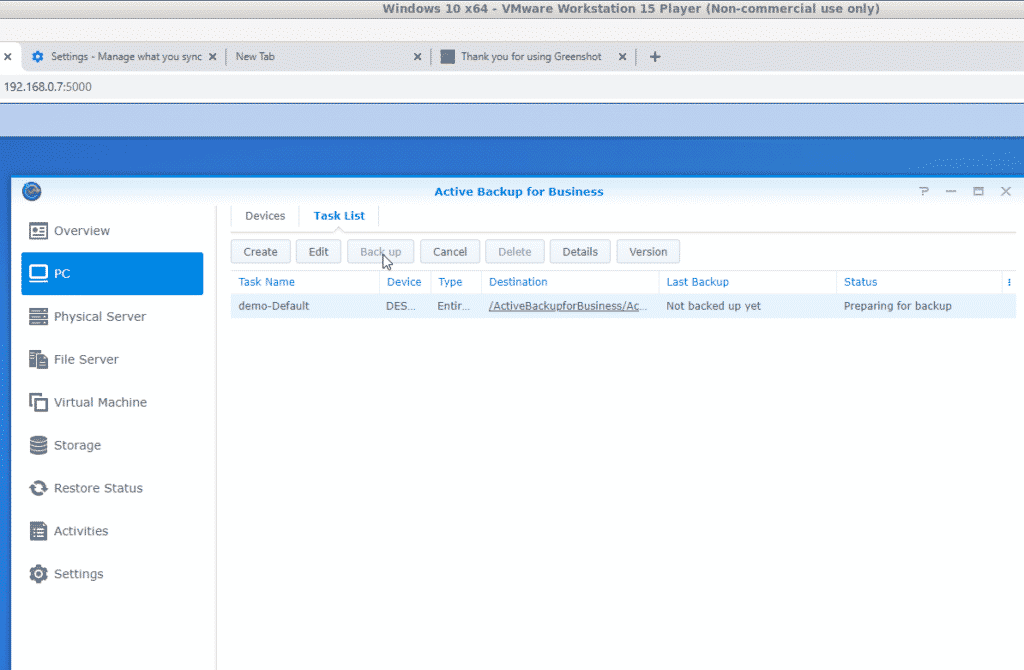
I hit “Backup,” and the process essentially ran itself. About fifteen minutes later, I had a nice backup image visible in the Active Backup folder on the NAS.
G Suite
The second feature I wanted to try out in Active Backup was backing up my G Suite account. Synology offers a separate Active Backup product, Active Backup for G Suite, for this purpose.
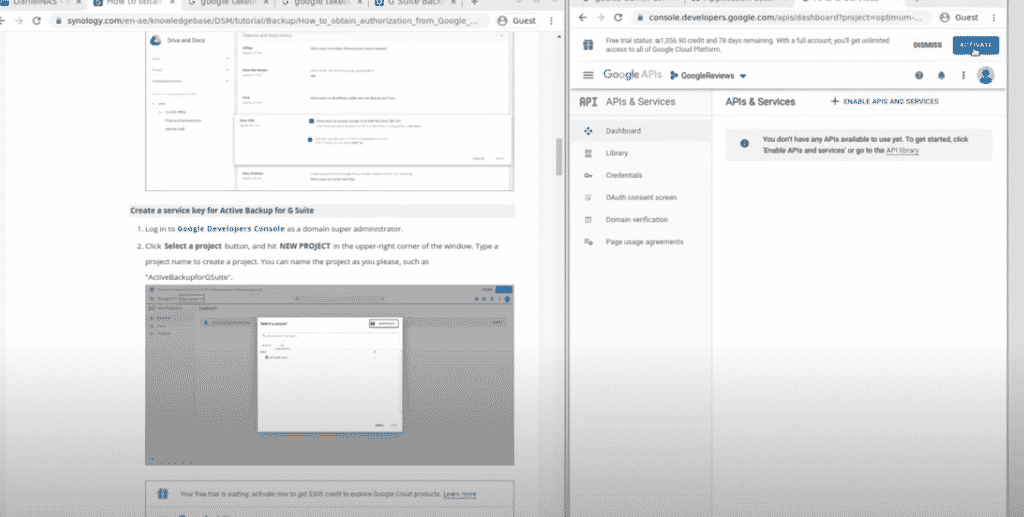
Getting the G Suite Active Backup tool set up took some legwork. Synology’s documentation lists 15 different steps for this process. I spent some time in the Google Developer Console to make sure that the user from which NAS would run its job had the required permissions.
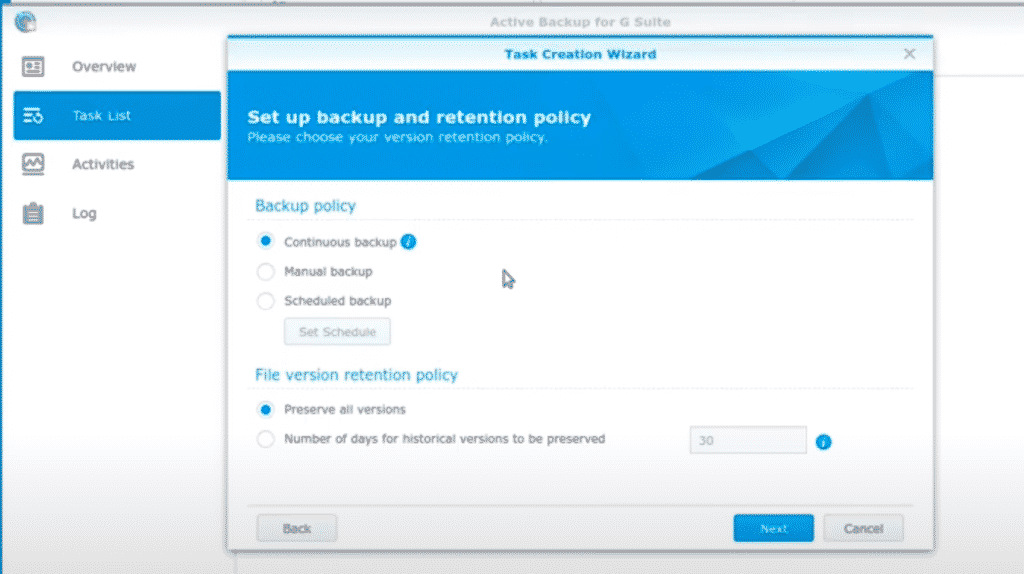
After completing the setup process, I had a direct backup from my G Suite onto my NAS. I could choose to configure the backup to run manually, to pull down my data continuously, or to do so on a set schedule.
The scheduling options were somewhat illogical, in my view. For instance, I was not able to choose to run the backup every X days, or even twice a month. The options were essentially the same as those of the cron job configuration tool, which contains the same limitations.
In terms of what is backed up, the API configuration process gives you a very good idea. The tool captures users’ Google Drive, contacts, and calendar data, among other data — but it stops short of the total user data extraction that I prefer to use by accessing the service through Google Takeout.
Despite a couple of limitations, the Synology program is a very affordable, onsite means of taking exactly the same backup that many G Suite cloud-to-cloud providers charge big licensing bucks to perform. Adding multiple user accounts to the backup tools is simple (simply recreate the process). Using Synology’s Cloud Backup tool, it is easy to replicate the G Suite backups onto another cloud, if required — taking an offsite backup to fulfill the 3-2-1 requirement that is the foundation of well-thought-out backup approaches.
Overall, with some reservations about what is not included in the G Suite tool, this is a backup tool that I definitely plan on using and would recommend.
Synology DS920+ can be purchased from Benda, KSP, or Amazon. Contact Synology for more information.
from Linux Hint https://ift.tt/2ZwIWGN





0 Comments