


This article will show you how to install the XFCE desktop environment in Debian version 10, or Debian 10.
Installing XFCE Using apt Package Manager in Debian 10
This section of the article explains the installation procedure of the XFCE desktop environment on Debian 10 Buster. You can also use this to display information about your system, such as the version your system is currently running. Use the following command to do this:

It is best practice to update the apt-cache before installing any new software on the system. So, refresh the apt-cache using the following command:
Next, install the XFCE desktop environment on your Debian system. If you install the task-xfce-desktop meta-package using the apt package manager, it will automatically install the all necessary packages of the XFCE 4 desktop environment in Debian 10 Buster. Therefore, would be good to install the above meta-package using the following command:
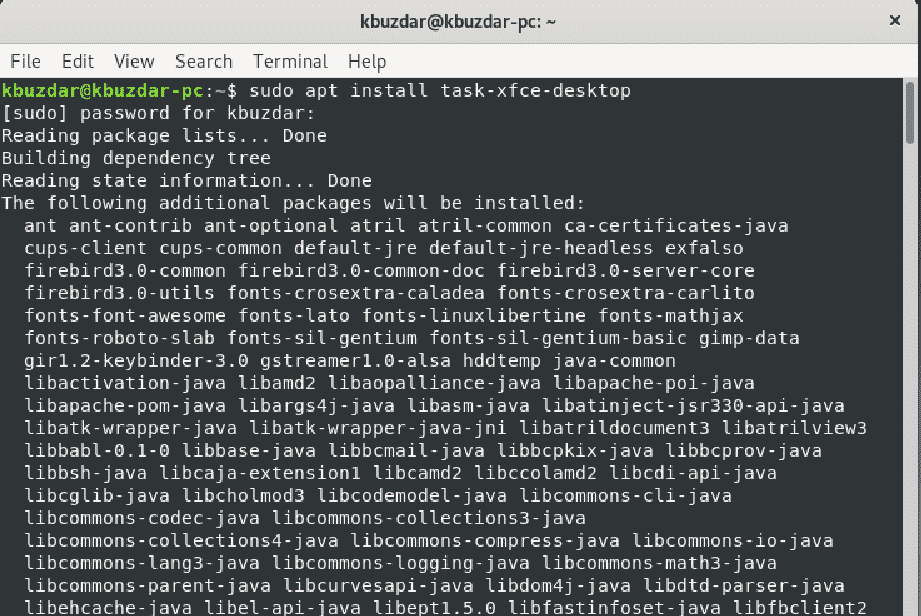
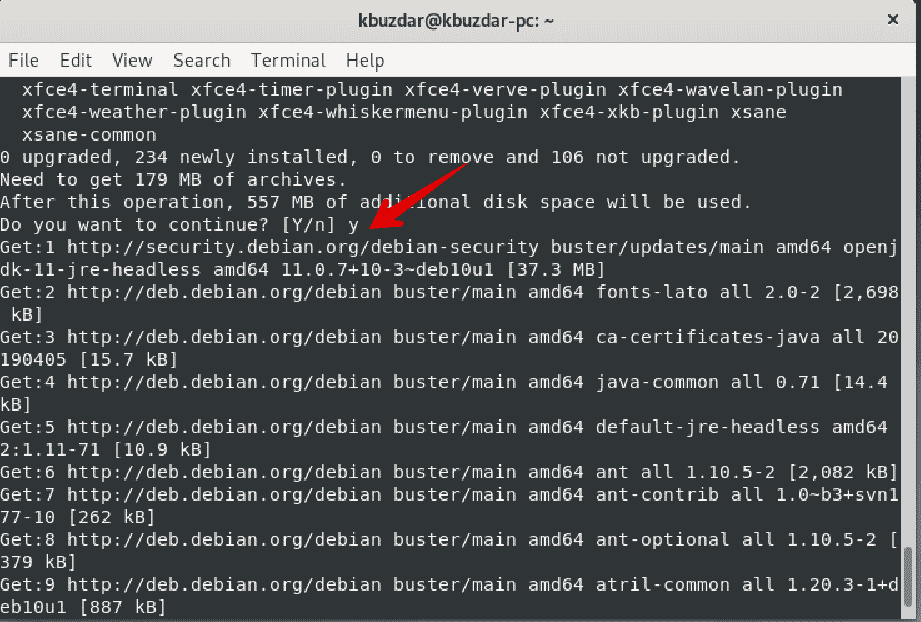
When you execute the above command, the user prompt y/n will interrupt the installation. Press ‘y’ and hit Enter to continue the installing. It will take a while to install all the necessary packages on your system. Wait for the installation to complete before moving on to the next step.
Once the installation is complete, use the following command to set the default target to graphical.

In the following output, you can see that a symlink has been created, in which the default target has been set to graphical.
Next, reboot or restart your system, as follows:

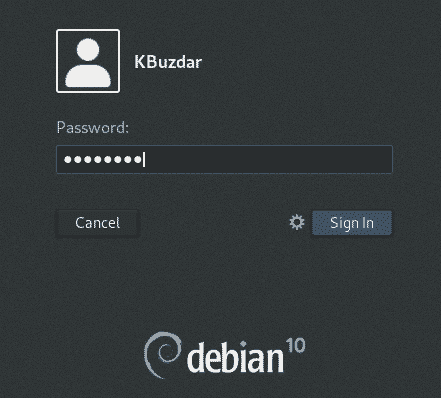
Once your system is restarted, you will see the login window on the screen. You will need to enter the username and password in the following window, then click on the Login button.
As soon as you log in to the Debian 10 system with your credentials, you will be able to see the XFCE desktop on your system, as shown in the following image:

Conclusion
By following the method described in this article, you can easily install the XFCE desktop in your Debian 10 system. While following this procedure, you might have to be a little patient, because the installation takes some time to complete, depending on your Internet speed.
from Linux Hint https://ift.tt/3hADycV


0 Comments