Vim is a CLI text editor. Most of the time, it’s the basic black and white window. How about spicing your Vim experience? Let’s check out the best ways to add color to Vim.
Vim color scheme
Color schemes are one of the simplest ways to make a text editing experience dramatically better, especially if you’re working with codes. It improves visual clarity, allowing you to focus on the important part. For some, the appropriate color scheme can reduce eye strain. It also provides good aesthetics to the editor.
That’s why almost all the text editors support some form of theme. In the case of Vim, there are tons of color schemes out there. It comes with a number of color schemes by default. If you’re not satisfied, you can add more through the Vim plugin system.
Vim color schemes
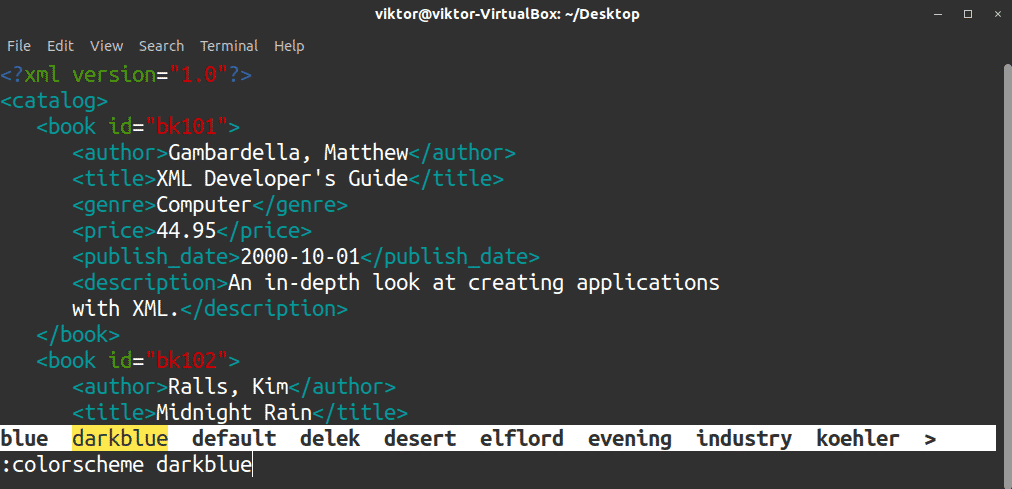
Vim comes with a handful of awesome themes by default. To change the color scheme, use the following command. For example, I’ll be using the XML code found here.
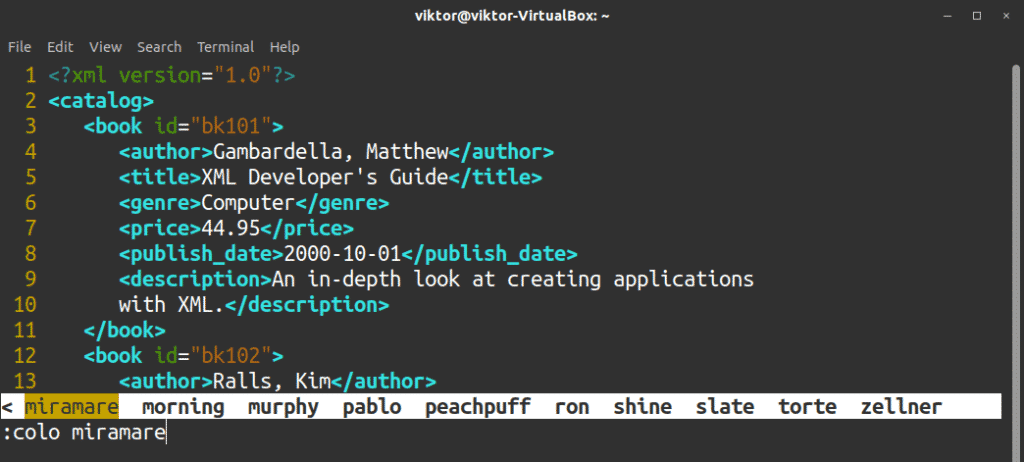
If you don’t know the exact name of the color scheme, pressing Tab will reveal all the available ones.
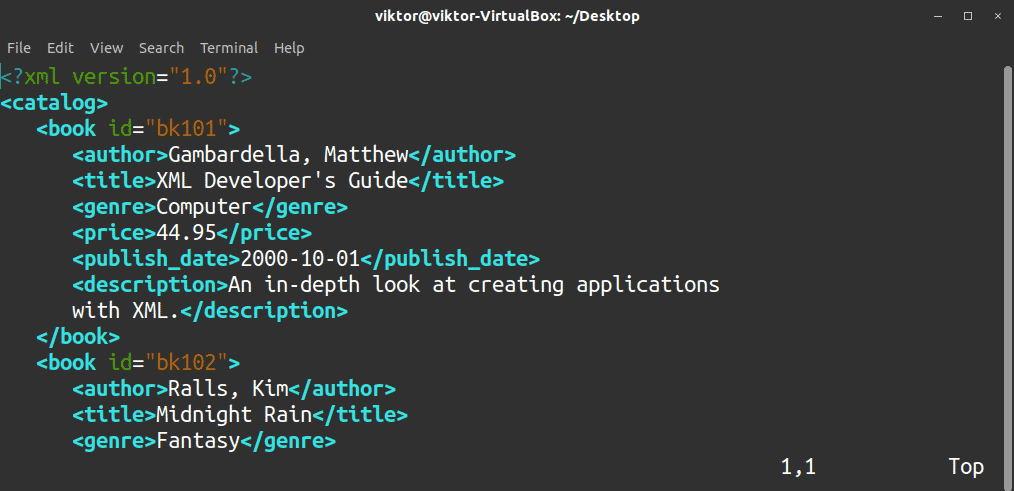
Let’s try out the “desert” color scheme.
To check what color scheme Vim is currently using, run this command.
Like many other Vim commands, the color command also has an acronym.
Now, this change won’t be permanent. Once you exit Vim, it’ll revert back to the default color scheme. You can define the default color scheme at the vimrc file. It’s the Vim configuration file that Vim loads every time it starts.
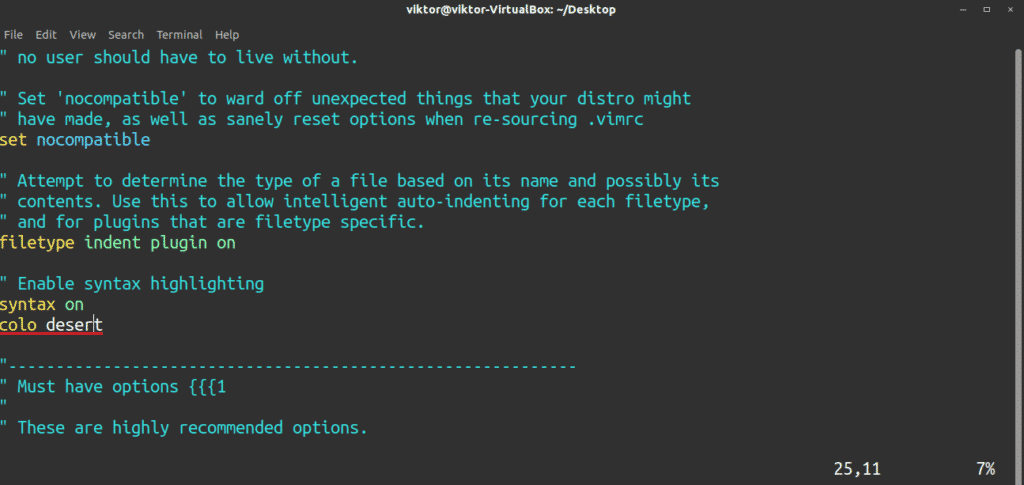
Open up the vimrc file. If you don’t have one, the following command will create one by default. My vimrc is a sample one from Vim fandom.
At the end of the file, add the following line.
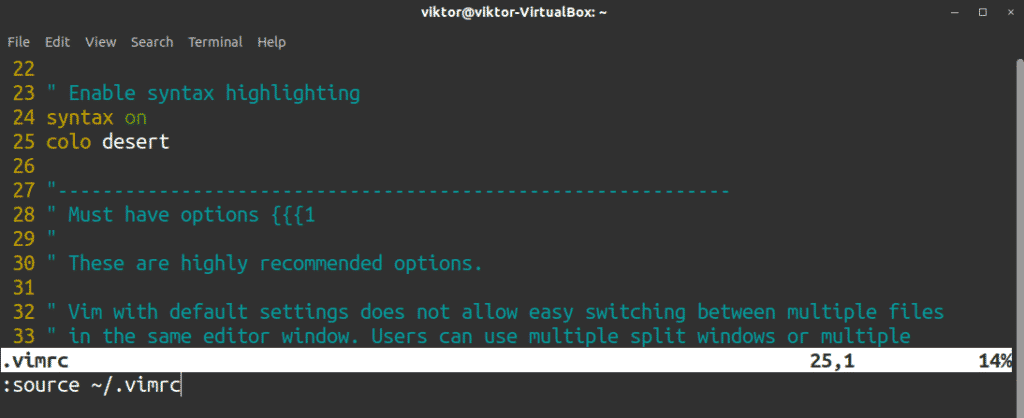
To take the change into effect, restart Vim. If that’s not an option, then reload the vimrc file.
Vim additional color schemes
Vim comes with a handful of color schemes by default. There are tons of color schemes out there to be explored. In this section, let’s check out how you can add your favourite color scheme to the editor.
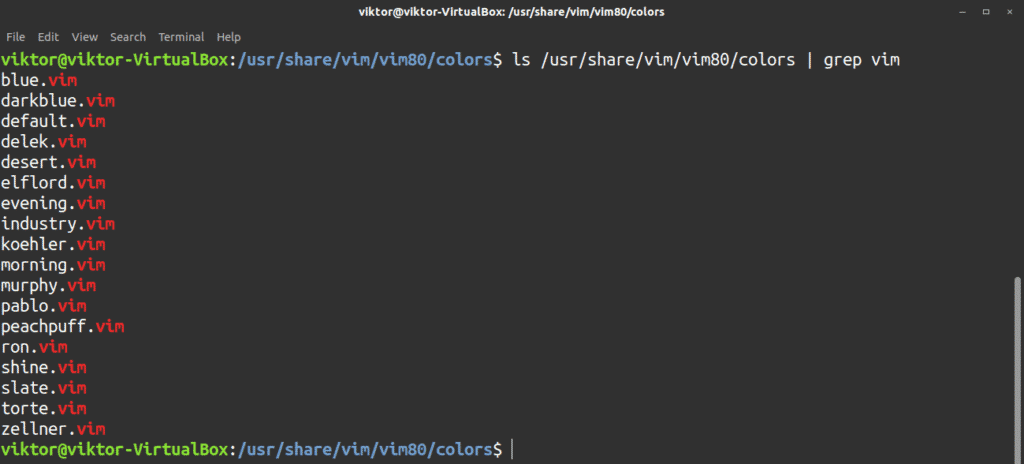
All the Vim color schemes (and plugins) come in the form of a .vim (vimscript) file. The same goes for Vim color schemes. The default Vim color schemes are located at the following directory.
As for the Vim themes we’re going to add, they’ll be located under the ~/.vim directory. It’s user-specific; one user can’t use other users’ Vim color schemes. Whenever Vim starts, it looks for the directory and its content. If it doesn’t exist, nothing is performed. If it exists and there’s file according to the structure, then Vim will follow those directives.
Generally, this directory doesn’t exist. Run the command to create the directory.
To store the color schemes, we’ll be needing the colors sub-directory.
It’s time to grab your favourite Vim color scheme. There’s a dedicated website that hosts a ton of Vim color schemes with preview. Check out Vim Colors.
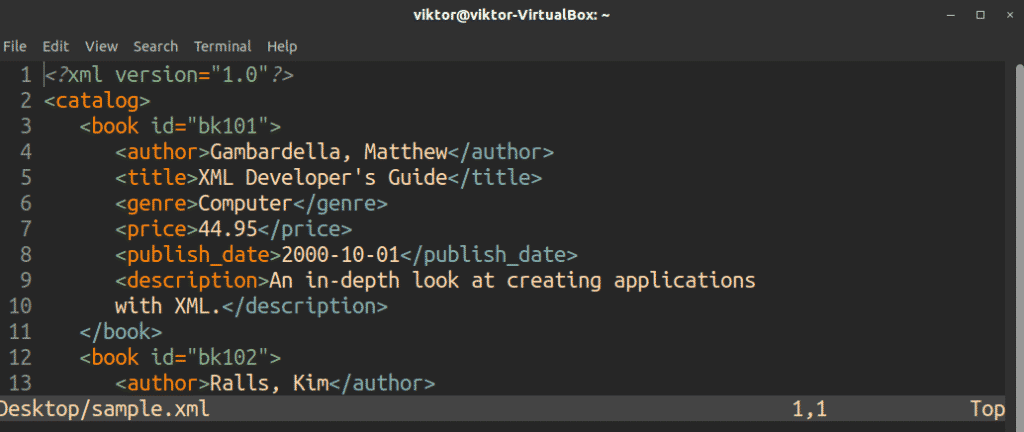
In this example, let’s install the miramare dark theme. Download the color scheme from GitHub.
Now, move the miramare.vim file to the “~/.vim/colors” directory.
/colors/miramare.vim ~/.vim/colors
Voila! The color scheme is ready to use! It should now appear on the list of available color schemes.
To make the newly-added color scheme the default, modify the vimrc file accordingly.
Final thoughts
This is just the manual way of adding Vim color schemes. It’s also possible to use a Vim plugin manager to add the Vim color scheme for you. It’s a far better approach as it’ll also keep the color scheme (and other plugins) updated. Check out how to enjoy Vim plugins. Vim macro is also a great way to improvise your editing experience. Check out Vim macro tutorial.
Enjoy!
from Linux Hint https://ift.tt/3hzWb0y








0 Comments