


This article covers some basic Linux commands that all system admin should know. If you are already a system admin, chances are, you will know these commands. If you are interested in the field of system administration, then learning these commands will improve your background knowledge in this area.
Linux Commands for System Admins
1. Uptime
Linux comes with the uptime tool, which allows you to check how long the system has been running and to see how many users are logged in at a given time. The tool also displays the average load on the system in 1-, 5-, and 15-minute intervals.

The output can be modified by using flags. The following command will show the output in a better-organized format.

The uptime tool can also show the system uptime starting from a specific time. To use this feature, the time should be formatted in yyyy-mm-dd HH:MM.
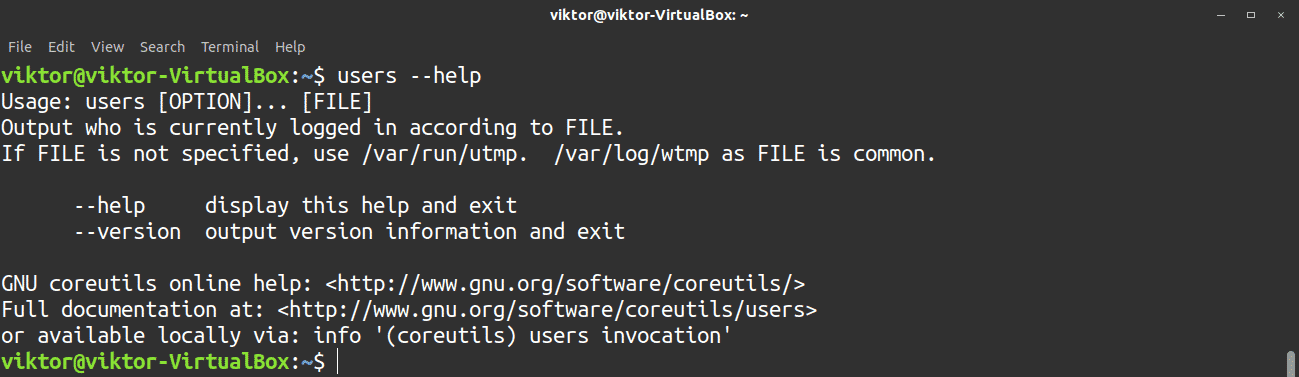
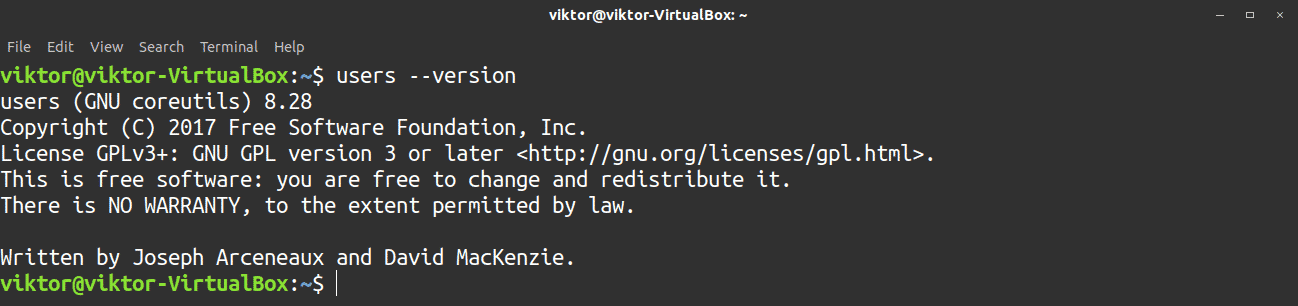
2. Users
The users command will list all users currently logged in.

This command does not contain many options. The only options available are the help and version features.
3. w
The w command is a tool defined by just a single character. This tool is used for checking the system condition. The w command will display the current users logged in, as well as the processes and load averages for each user. This command also reports login name, login time, tty name, JCPU, PCPU, and commands.

The w command comes with a handful of options. The -h option will display the output without any header entries.

The -s flag will exclude JCPU and PCPU from the output.

The -f flag will remove the “FROM” field from the output.

Use the -V flag to check the tool version.

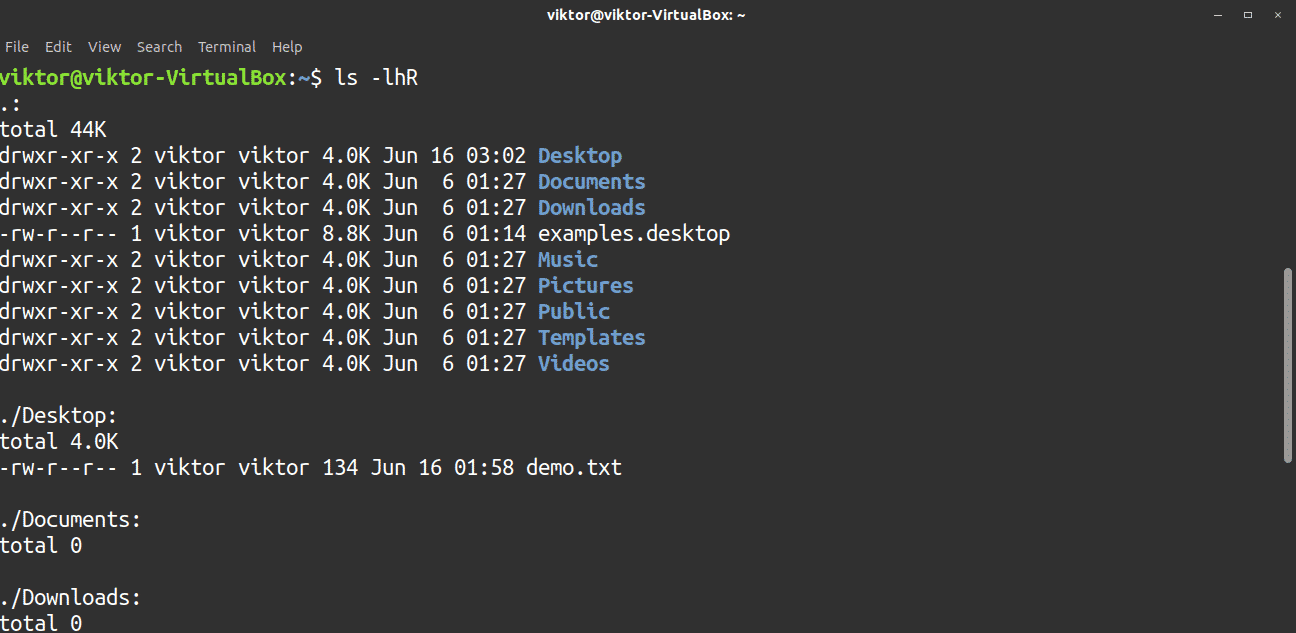
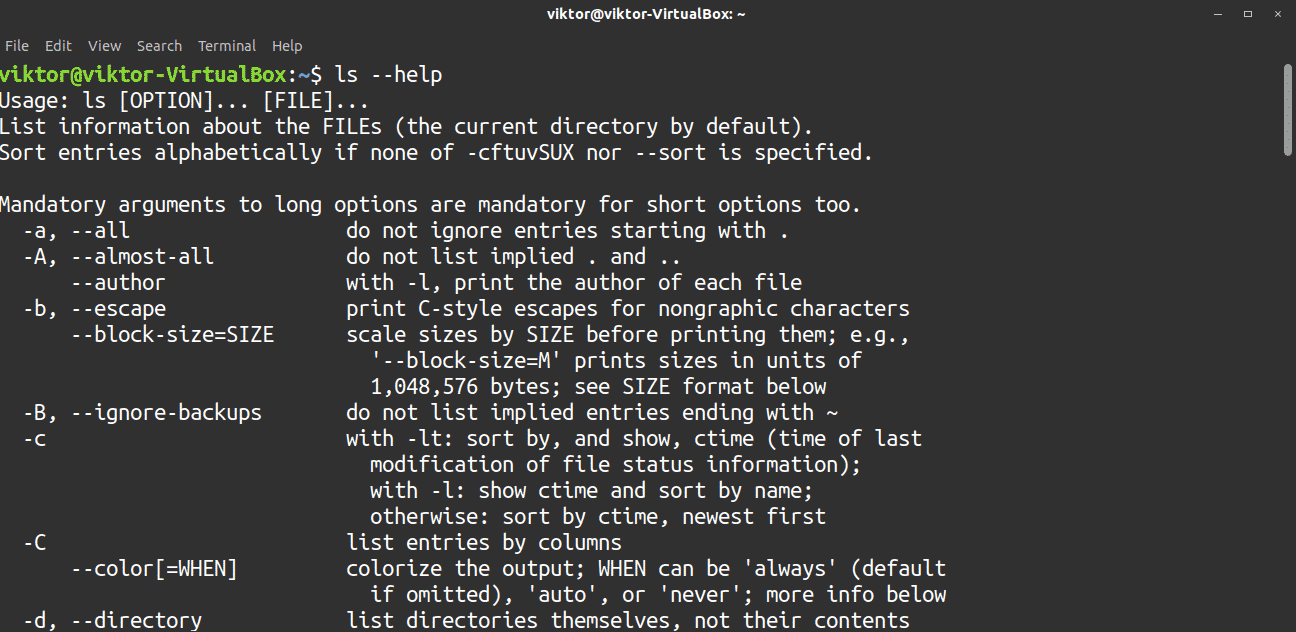
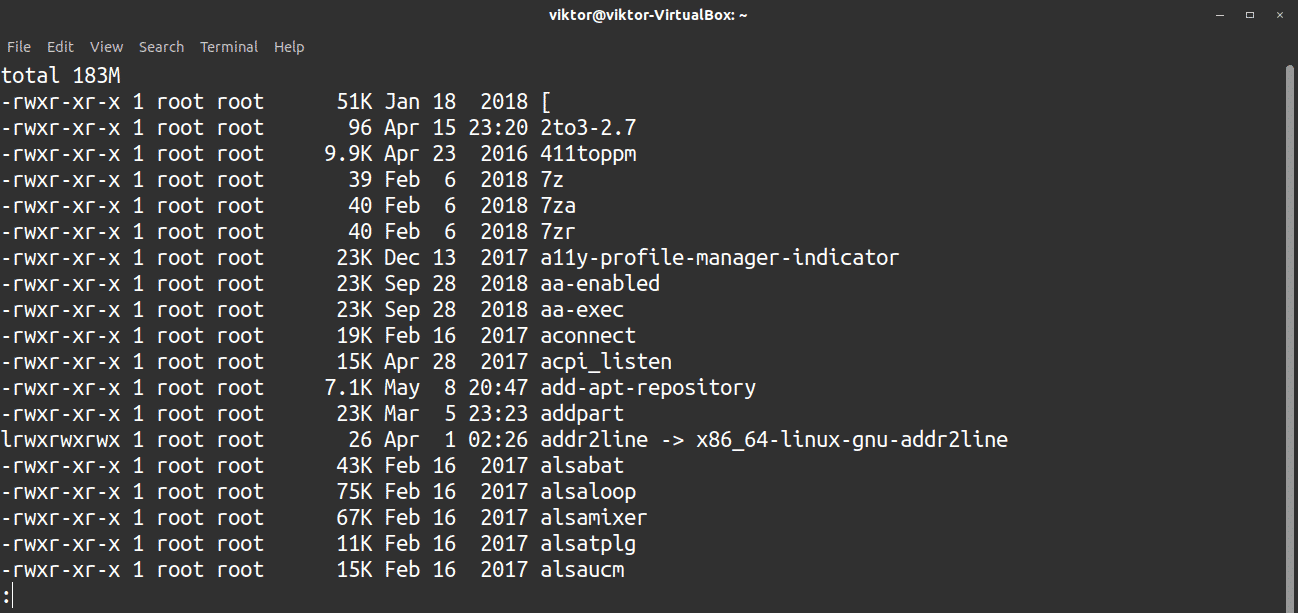
4. ls
The ls command is used to check the contents of a directory, along with other important information. The basic usage of the ls command looks is as follows. If no target directory is specified, ls will use the current directory.


To order an output in list format, use the -l flag.

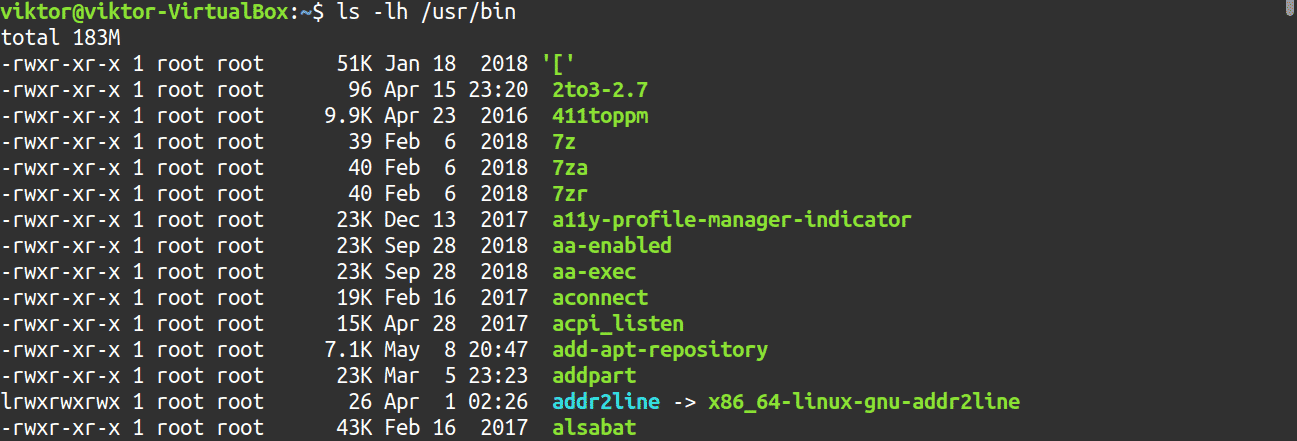
If you would like a more polished output, then use the -h flag. This stands for human-readable format.

If you need to check out all the directories, along with their sub-directories, then you must use the recursive flag, -R. However, depending on the directory, the output can be very long.
If you would like to sort the output, the -lS flag will sort the output by size.

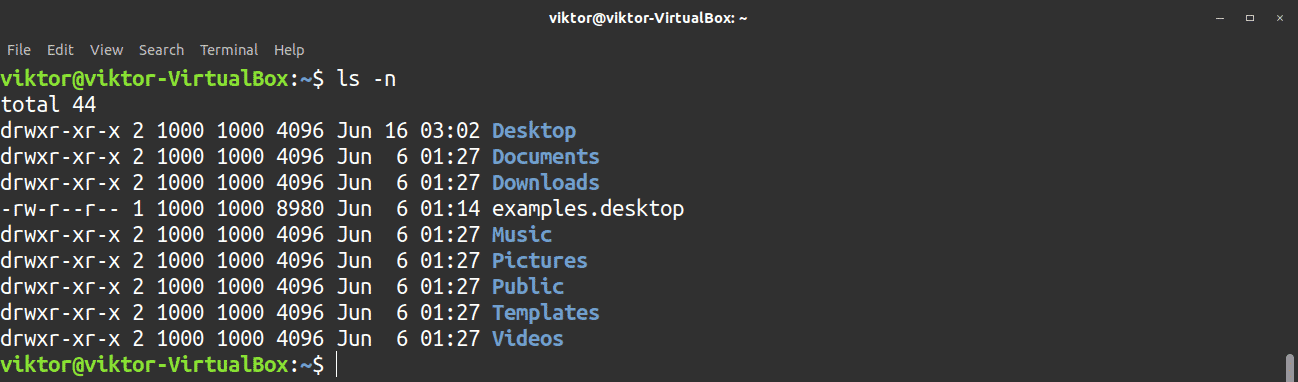
The ls command can also show the UID and GID of files and directories. Use the -n flag to perform this task.
There are various options that you can use with the ls command. For a quick list of the available options, check out the ls help page.
5. who
The who command will return the current user’s name, date, time, and host information. However, unlike the w command, this command will not print what the user is doing.

For a comprehensive output, use the -a flag.

For all the options, use the following command.

6. more
When working with something that generates a big output, the more tool can come in handy. This tool allows you to browse easily through the entire output without getting lost scrolling.
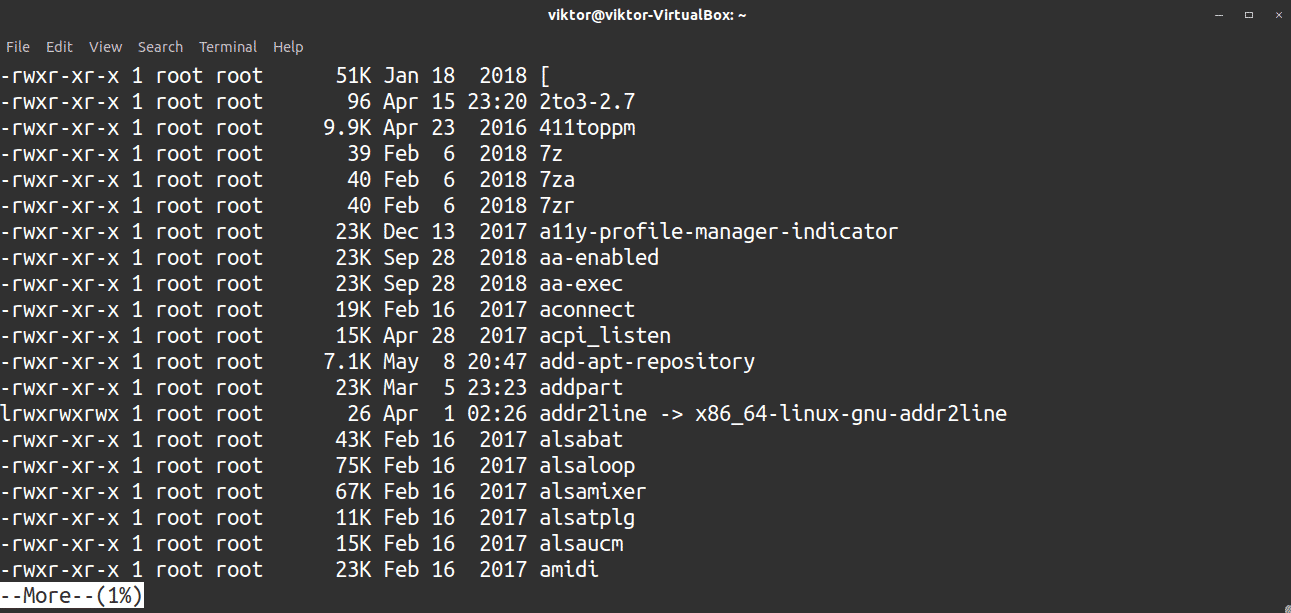
For example, the following command using the ls tool will likely produce a large output:
You can make better use of the more tool by piping the output.

When working with a big text file, you can also use the more tool for easier navigation.
If you want to scroll down, press Enter. If you want to scroll up, press B (uppercase). To exit, press Q. Note that upward scrolling will not work on contents that are piped to more.
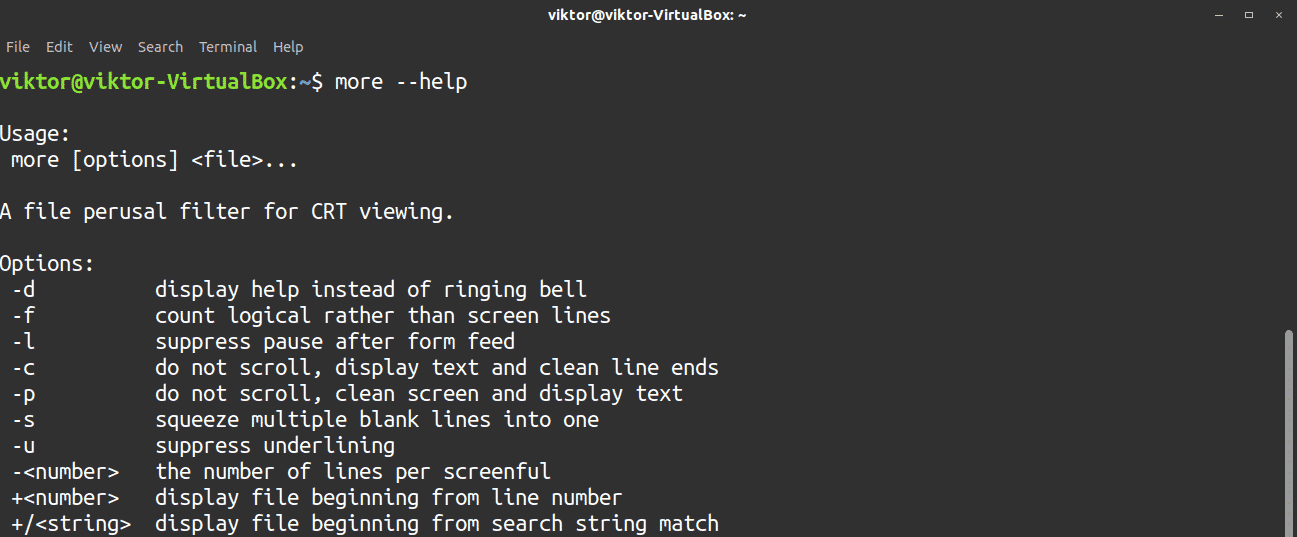
The more tool has a handful of options available. You can check these options out at the more help page.
7. less
Like more, less is a powerful tool for easier navigation of a large output. Same as before, a large output will be piped to less.
The less tool is also useful in navigating a big text file.
As for the navigation, the hotkeys are still the same. To scroll up, press B. To scroll down, press Enter or spacebar. Unlike more, less allows scrolling up and down, even when the contents are piped.
For more options, check out the less help page.

8. cp
The cp tool is the quintessential tool for copying files and directories. Note that the source can be multiple files or directories.
In this example, a file will be copied into a target directory. The -v flag stands for verbose mode.

In the case of conflicts, cp generally overwrites the file. To ensure that you are not overwriting by accident, use the -i flag, which stands for interactive mode.

If you wish to copy a directory along with all its content, use the -R flag, which stands for recursive copying.

The cp tool contains plenty of options. Check out a quick list of available options using the help command.

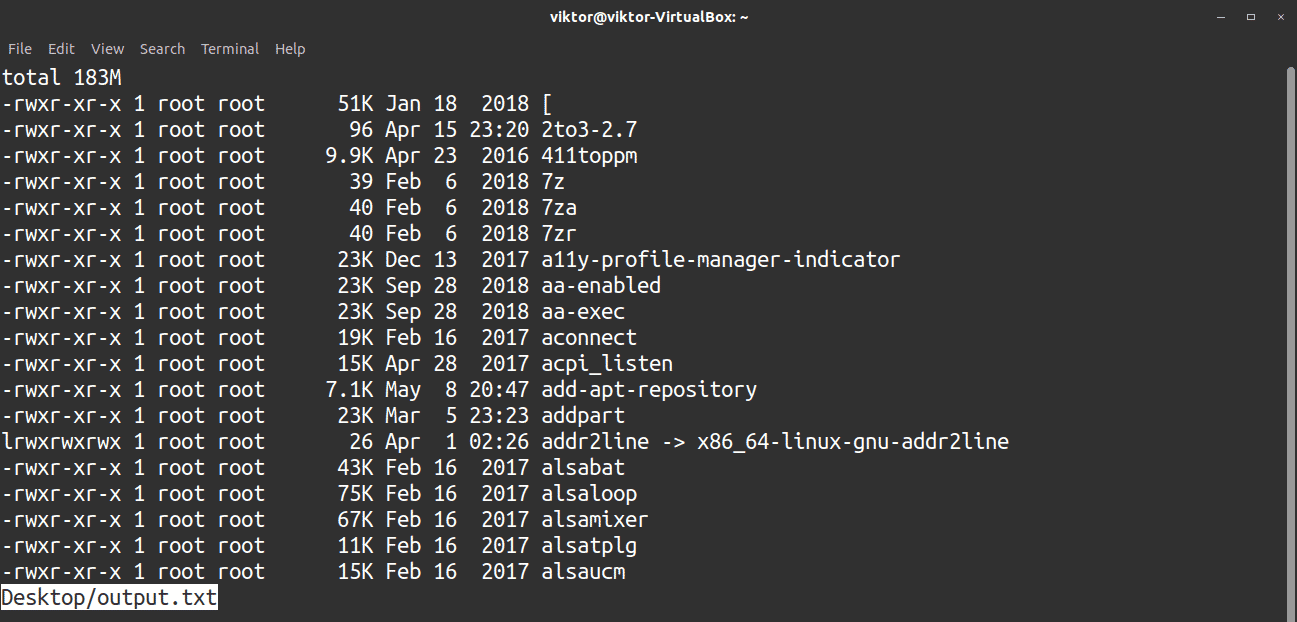
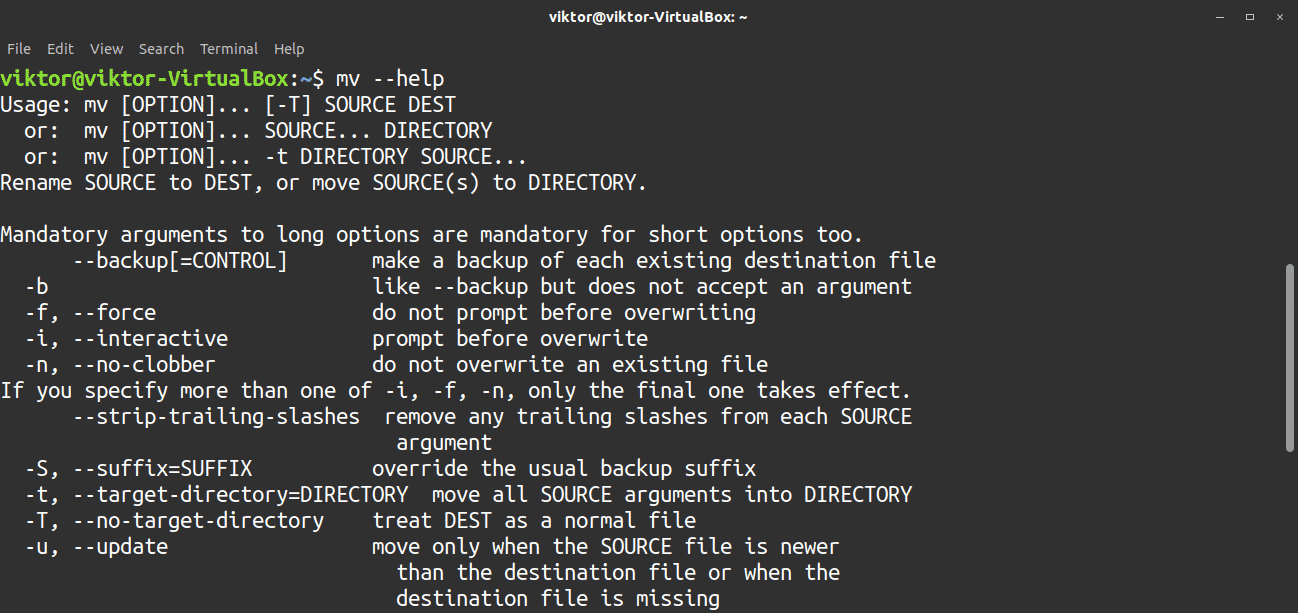
9. mv
Like cp, mv is a quintessential tool for moving files and directories. The mv tool also be used for renaming files and directories. As with cp, the source can be multiple files or directories.
The basic structure of the mv command is as follows:
To move the output.txt file to the test directory, the -v flag is used, which stands for verbose mode.

To rename a file, instead of specifying a different directory, replace the destination with the new name.

To move a directory, use the directory paths.

When moving a file, the destination may already contain a file with the same name, causing a conflict. By default, mv will overwrite the existing file. If you do not want mv to overwrite any files, then you can use the -n flag.

In certain situations, you may want to manually select the files to replace. In this case, use the -i flag, which stands for interactive mode.

There are numerous options you can use with the mv tool. To have a quick look at all the available options, run the help command.
10. cat
The cat tool, which stands for concatenate, is one of the most commonly used tools by administrators. This tool is used to inspect the contents of a file without making any changes to the file. The basic usage of this command is to check the content of a file, mostly text files.
This command is as follows:

The tool can also count the lines for you. To enable line numbering, use the -n flag.

To check out multiple files at once, use the cat tool.
The cat command can do wonders when accompanied by other commands. For example, you can easily incorporate more or fewer tools for easier navigation. I recommend using the less tool over the more tool whenever possible.

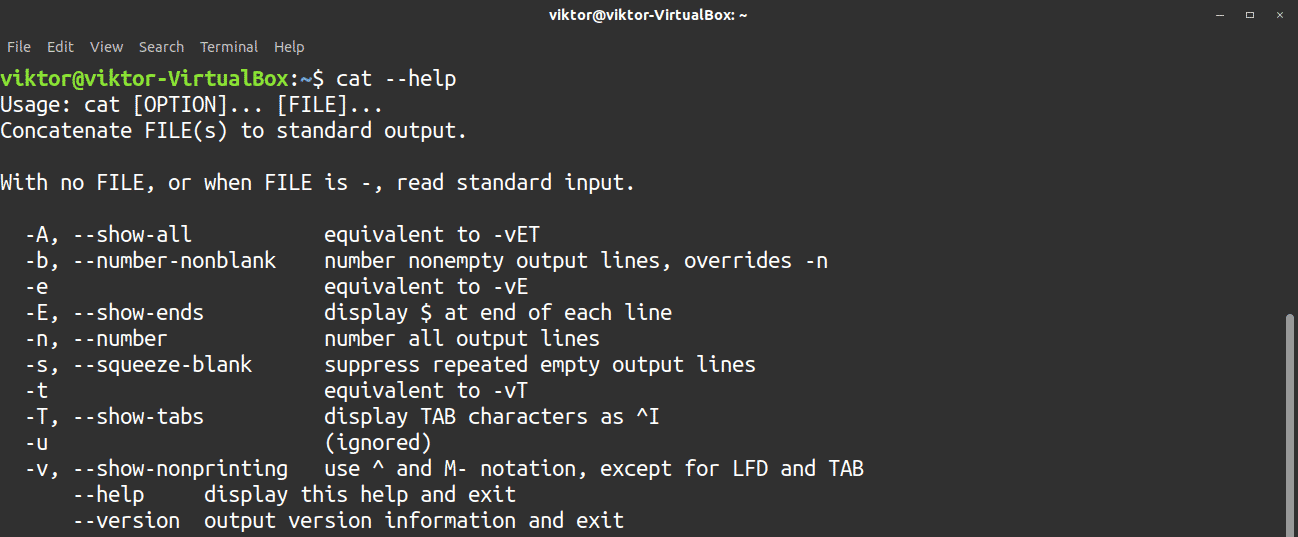
For a quick list of the available options, run the following command.
11. grep
The grep tool is another powerful and popular command. This tool allows you to perform a quick search in a given file for lines containing a match with a given word or string. The grep tool can perform a search on both files and piped contents.
Below is how to use grep with text files.

For a case-insensitive search, use the -i flag.

Using grep, you can also perform a search on the files of an entire directory. If there are multiple sub-directories, then grep can also perform a recursive search on the directories. To perform a recursive search, use the -r or -R flag.

When you search for a term, grep will match any line that contains the searched term. For example, when searching for the text “alsa,” grep will match terms such as “alsabat,” “alsaucm,” etc. To search for the whole word match only, use the -w flag.

The grep tool can also count the number of times the searched content has been matched. To see the number of matches retrieved, use the -c flag.

It is also possible to perform an invert match. In this case, the grep tool will report all lines that do not contain the search term. To use the invert match search, use the -v flag.

The grep tool also works on redirected content. In the following example, the grep tool will be used to read a text file using cat. The output will be redirected to grep to perform a search.

There are plenty of features available with grep. To have a quick look at these features, check out the grep help page.

12. cd
The cd, or change directory, command is used for changing the current directory to a different one. This is a very simple yet important tool. To change the current directory, use the following structure.

If you just want to go to the parent directory of the current one, then use .. as the target.

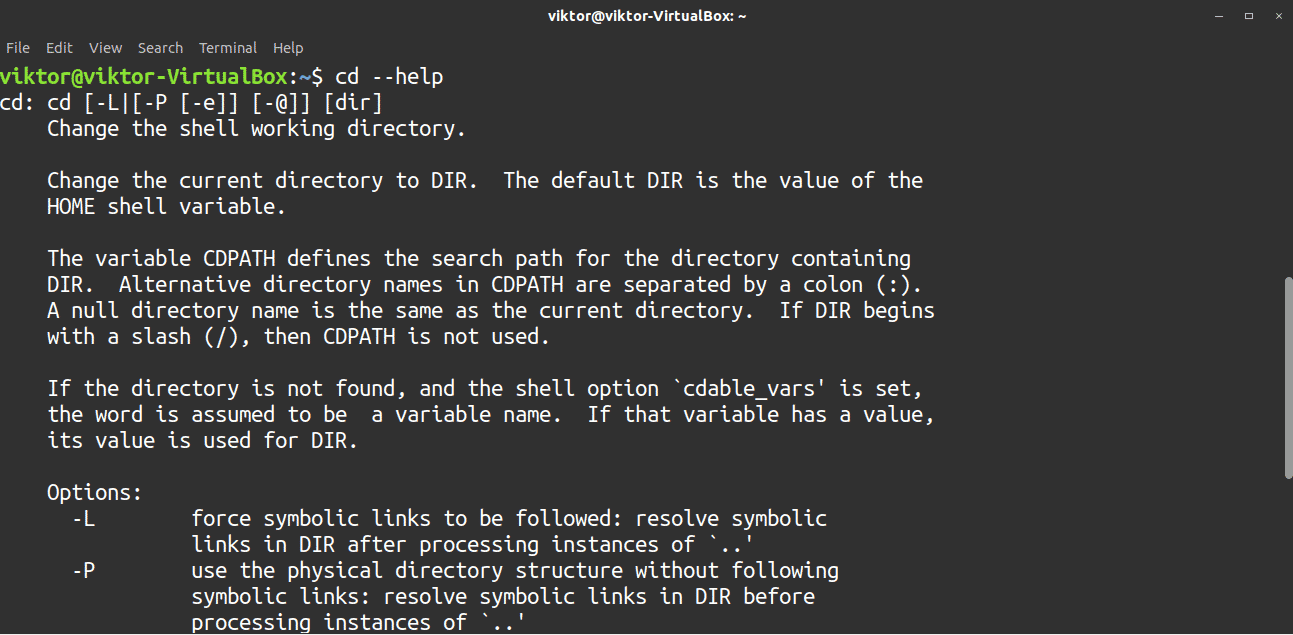
There are not a lot of options available for the cd command. It is a very straightforward command. However, there are a couple of options that may come in handy when using this tool. Check the cd help page to learn more.
13. pwd
The pwd, or print current directory, command will output the absolute path of the current directory. For example, the directory “~/” is a shortcut for “/home/<username>.”

Check out the pwd help page for its supported options.

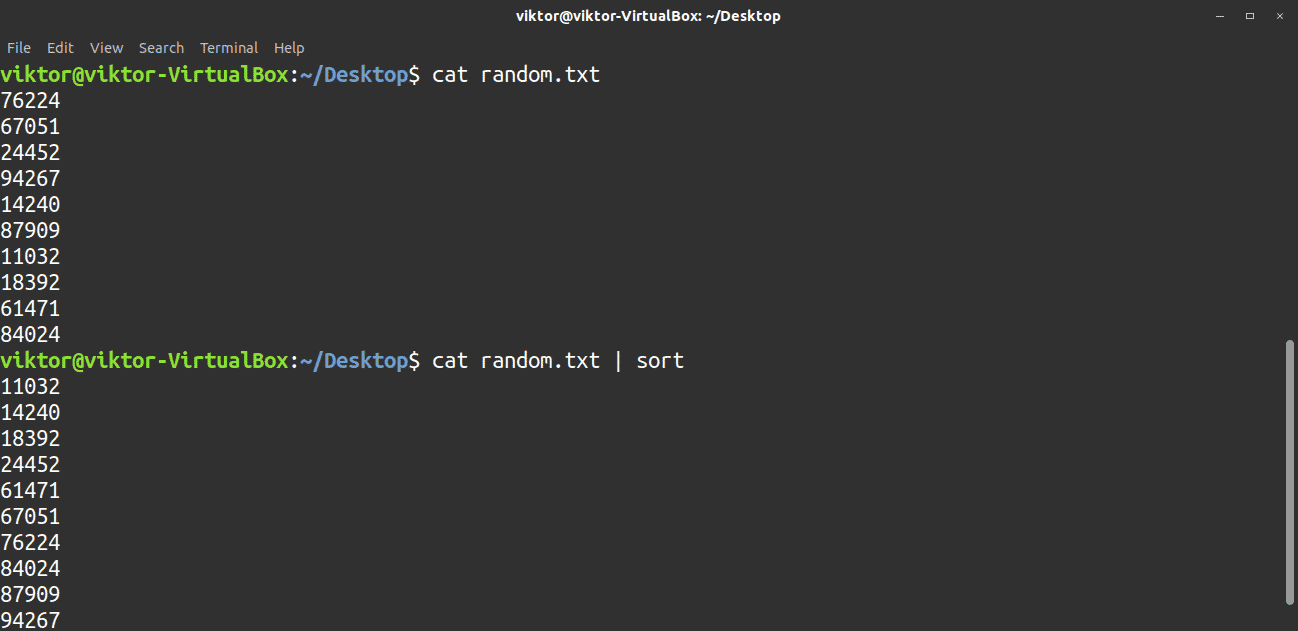
14. sort
The sort command is a tool used to sort the content passed to it either in ascending or descending order. Probably the best way to use this tool is to pipe the contents into it. By default, the sort command will sort the contents in ascending order.
To sort in descending order, use the -r flag.

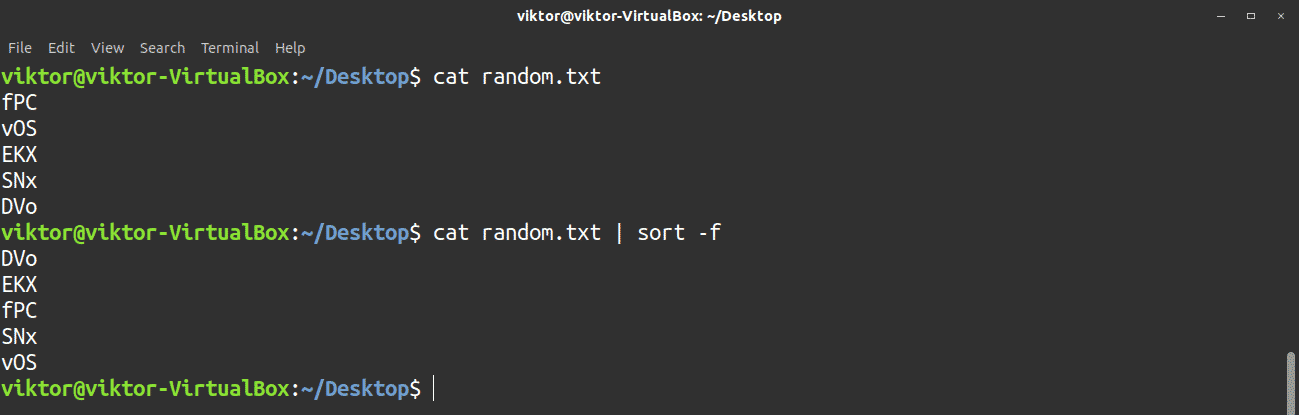
If you would like the sort to ignore cases, then use the -f flag.
The sort tool can also act directly on text files.

While the above list includes only the basic features of the sort tool, there are plenty of other options available with this tool. Check these options out at the sort help page.

15. find
The find command is a handy tool for performing a quick search under a target directory. However, unlike grep, find will search according to the file name.
For example, the following command will search for the file(s) with the name viktor (current user name) under the home directory.

As you can see, in some situations, find may not have the read permission to a certain directory. In this case, ensure that the current user has the read permission needed to view those locations. It is also possible to perform the search with sudo privilege, but that is not recommended (unless needed).
If you wish to perform a case-insensitive search, use the -iname flag instead of the -name flag.

There are several ways to fine-tune your search. For example, you can search for files that are owned by a certain user.

Similarly, it is also possible to search for files owned by a user group.
You can further refine your search by searching for a specific file or directory using the -type flag. As for the value, f stands for file and d stands for directory.

The find tool comes in handy in many situations and supports plenty of options to achieve your desired result.

16. tar
The tar command is one of the most common tools in Linux used for archiving, compressing, and decompressing. There are three compression algorithms you can incorporate into this tool: gz, bz2, and xz. These options will dictate the file extension of the compressed archive; for example, tar.gz, tar.bz2, and tar.xz.
To create an archive, the command structure will appear as follows. The below command will create a gzip-compressed tar archive.
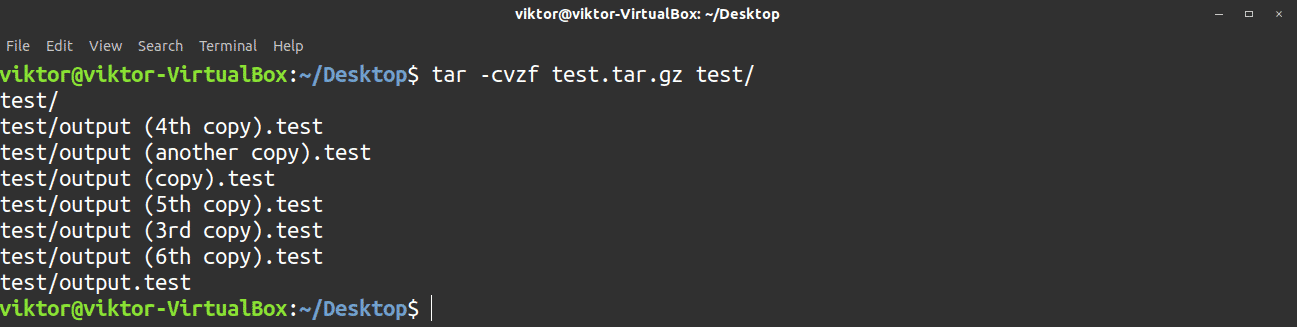
There are a total of four different flags used with the tar command:
- -c: Tells tar to create an archive
- -v: Tells tar to operate in verbose mode
- -z: Tells tar to use the gz compression
- -f: Tells tar the target filename
To create a bz2 compressed archive, use the following command. Here, the -j flag is for the bz2 compression.

To create an xz compressed archive, use the following command. Here, the -J flag is for the xz compression.

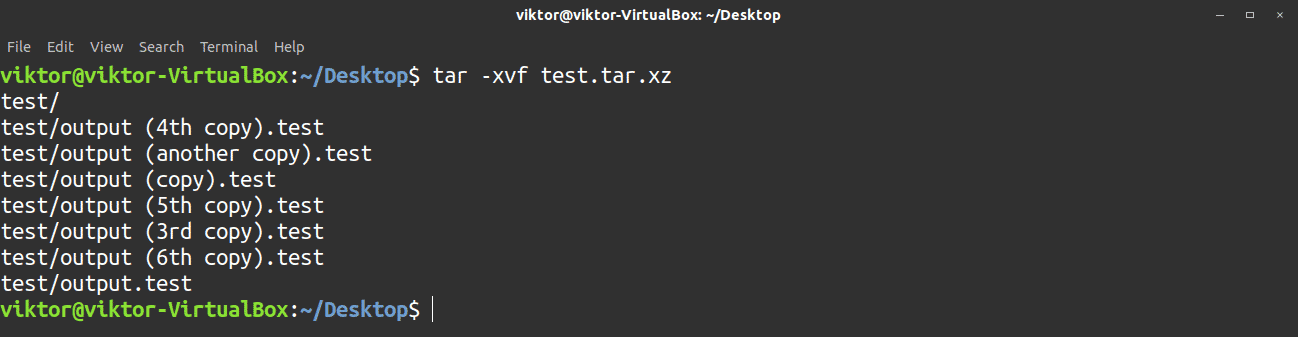
Use the following command to extract a tar archive. The -x flag tells tar to extract the archive.
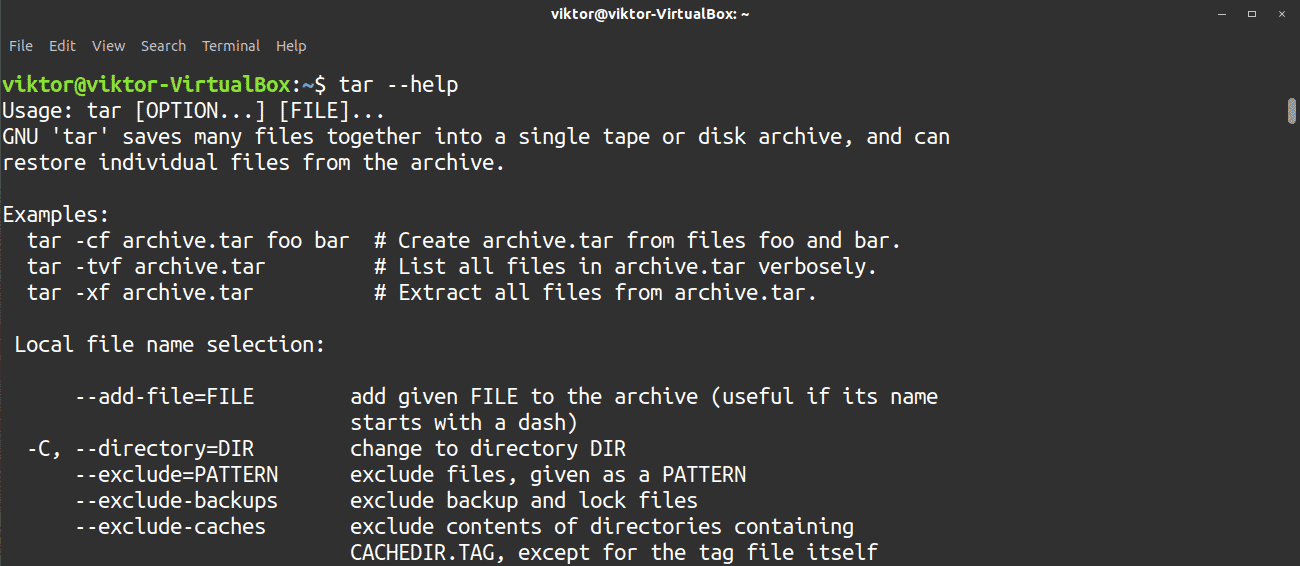
There are tons of options available to fine-tune the tar archive/compress/decompress process. Check these options out at the tar help page.
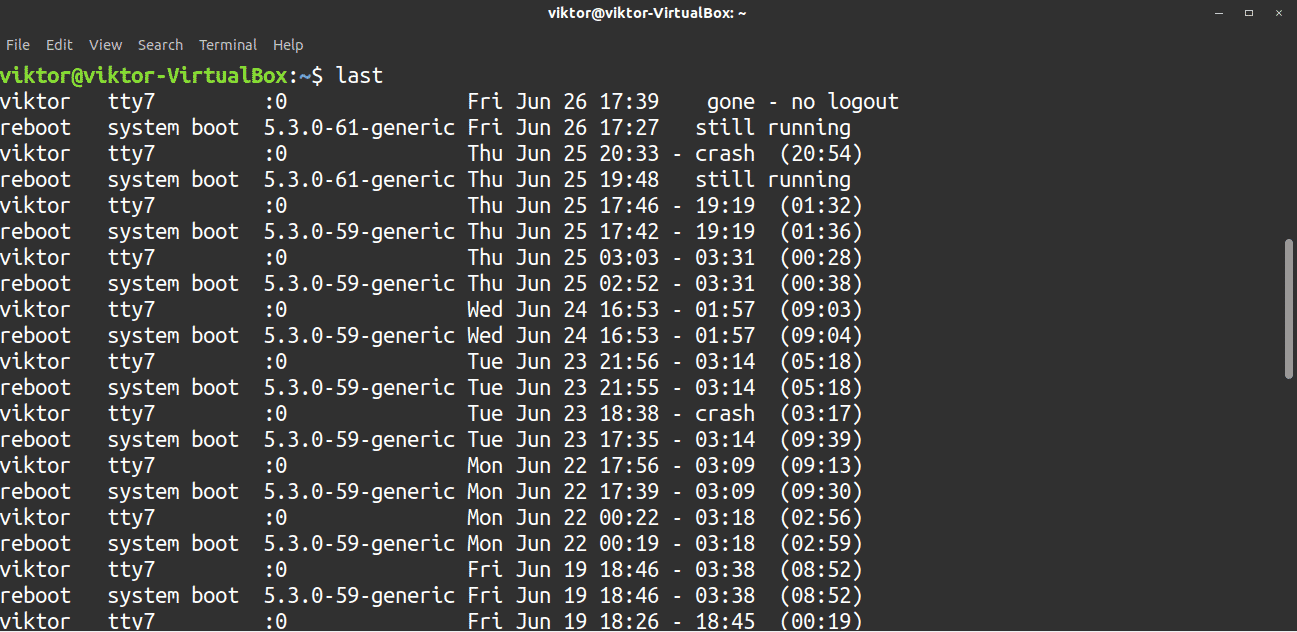
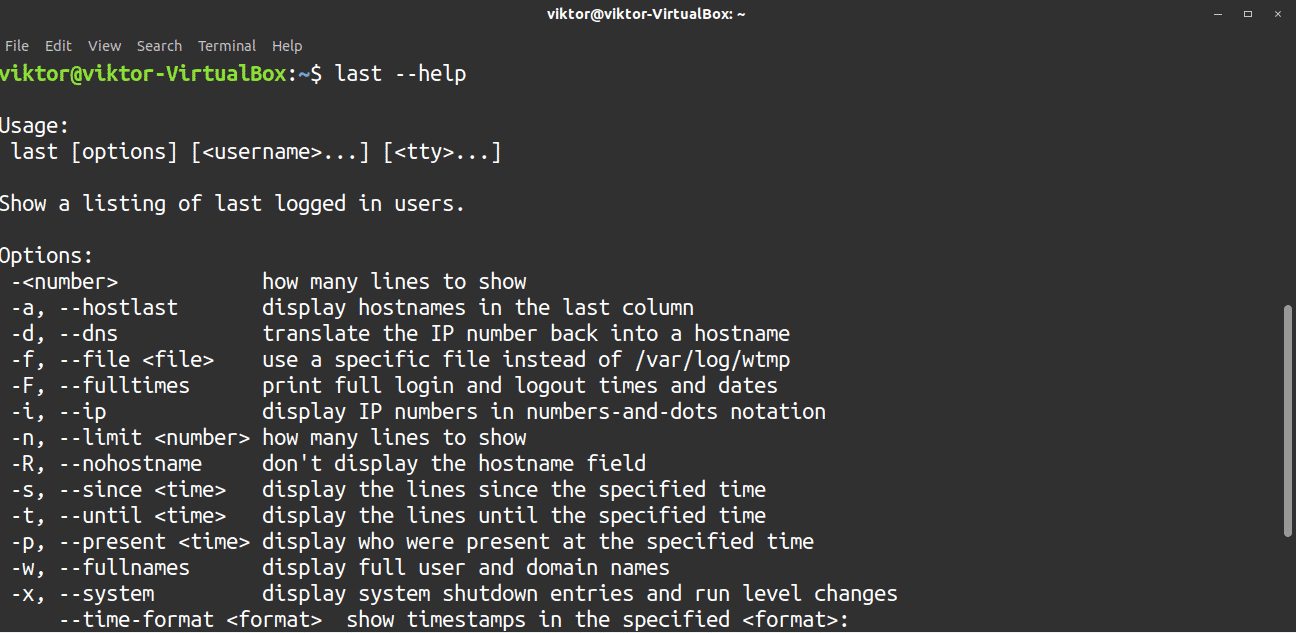
17. last
The last command returns valuable information about user activity in the system. Normal users are able to execute this command. The last command reports information such as time, date, kernel version, system boot/reboot, etc. This information can be especially useful for troubleshooting.
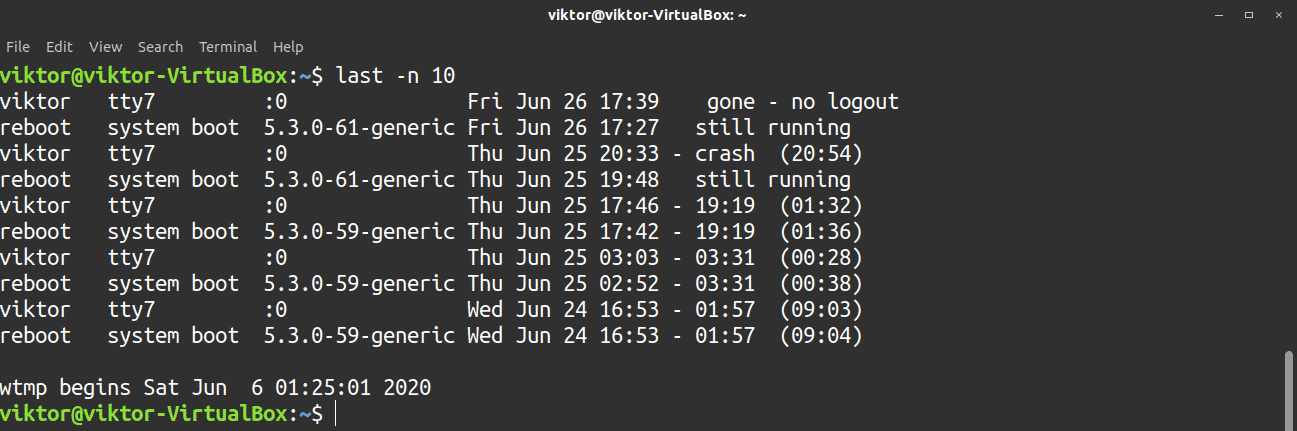
The output of the last command can be long. It is possible to limit the number of lines that last will report. To do so, use the flag -n, followed by the number of lines to which you would like to limit the search.
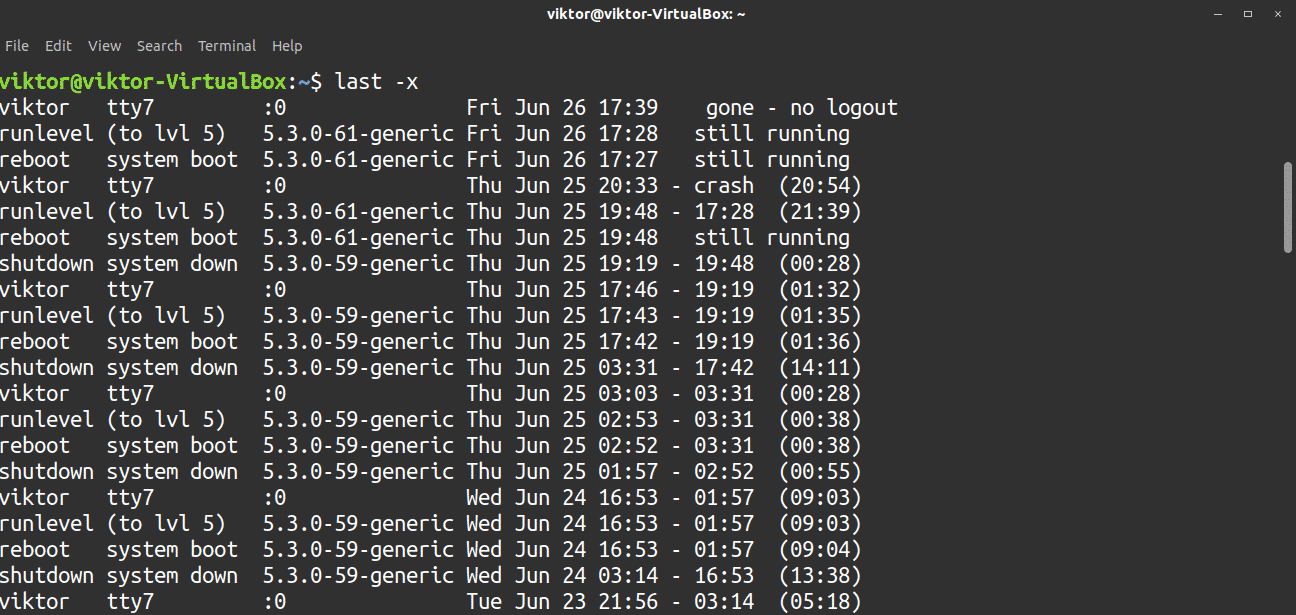
To see the system shutdown and run level changes, use the -x flag.
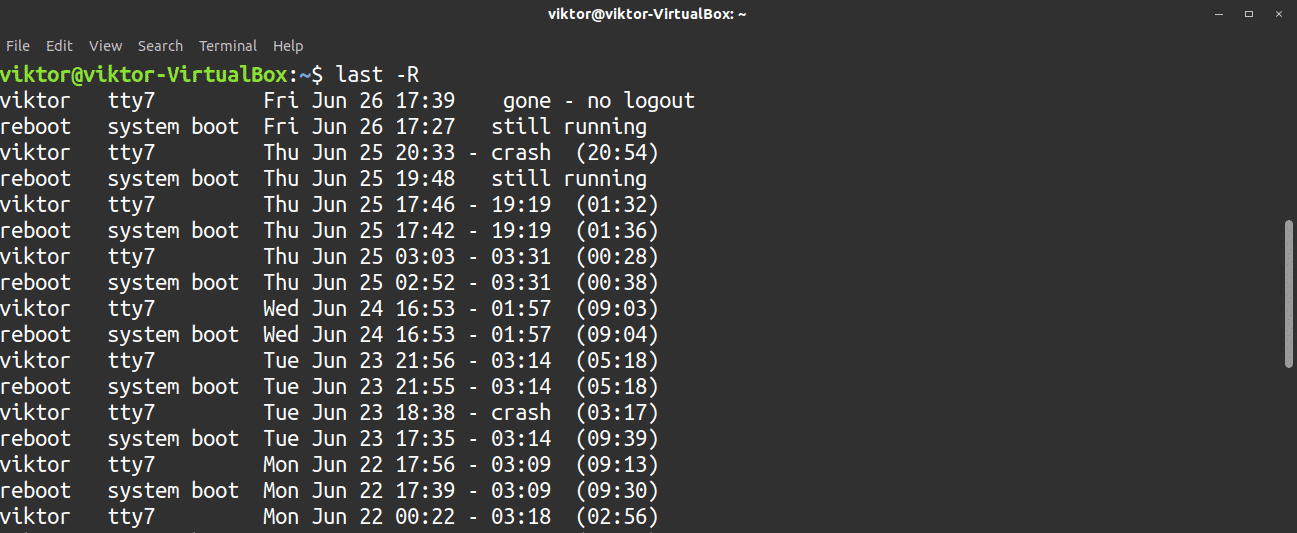
To omit the hostname field, use the -R flag, which helps to simplify the output.
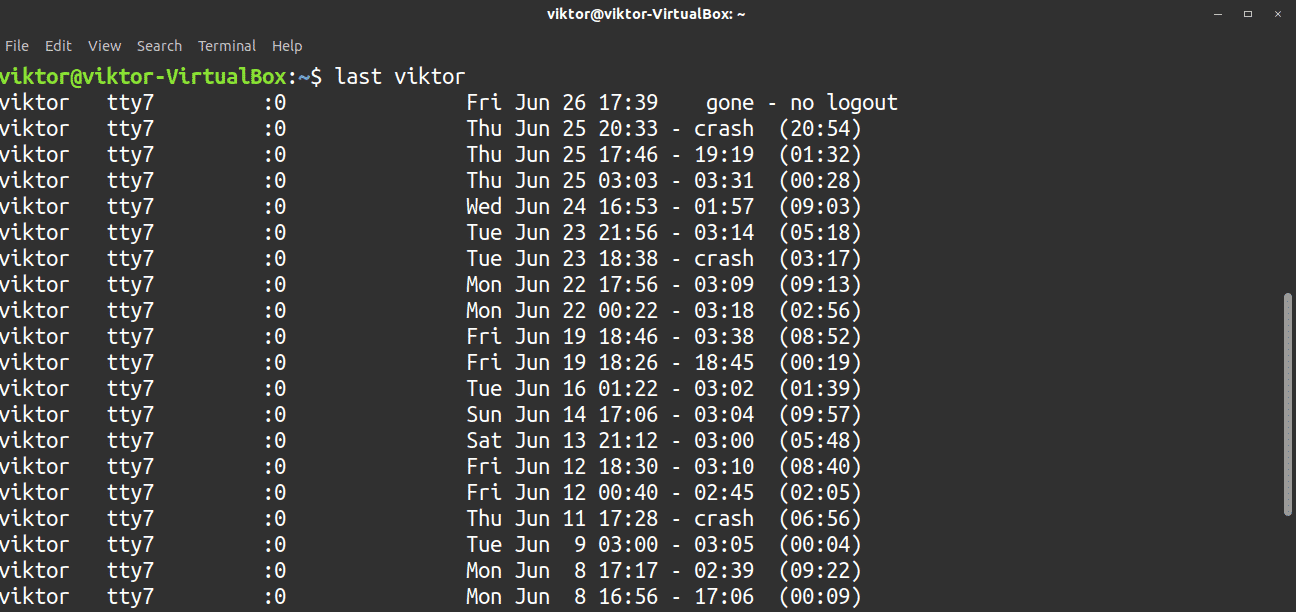
To report specifics about a user, use the following command.
There are a lot more options available for the last tool. Check these out at the last help page.
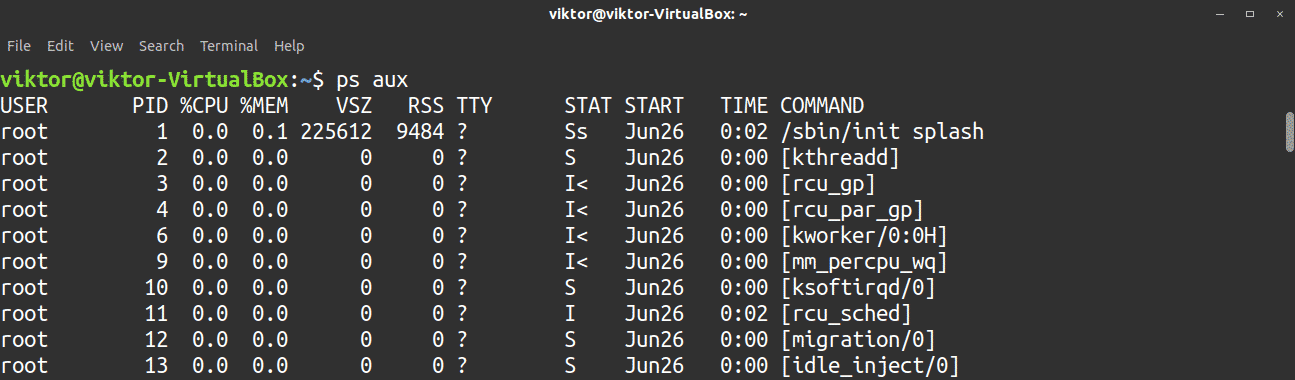
18. ps
The ps tool is one of the most basic commands for viewing the currently running processes on a system. This command offers a snapshot of the moment the command was run in real-time. The ps tool also provides other information, such as user ID, CPU usage, memory consumption, running commands, etc.
The following is the simplest way of using the ps tool.

However, the basic run will not report all the running processes. To obtain a full report, use the following command. The output will be very long, and you can use more or less for easier navigation through the result.

If you would like further, more in-depth information about the processes, use the -u or -f flag.

To check processes running under a certain user, use the -u flag, followed by the username.

To search processes by their name, use the -C flag, followed by the search term.

To search processes by the PID, use the -p flag, followed by the PIDs.

To see the processes in tree format, use the –forest flag.

These are just the basics of the ps tool, which comes with plenty of other options. Check these options out at the ps help page.

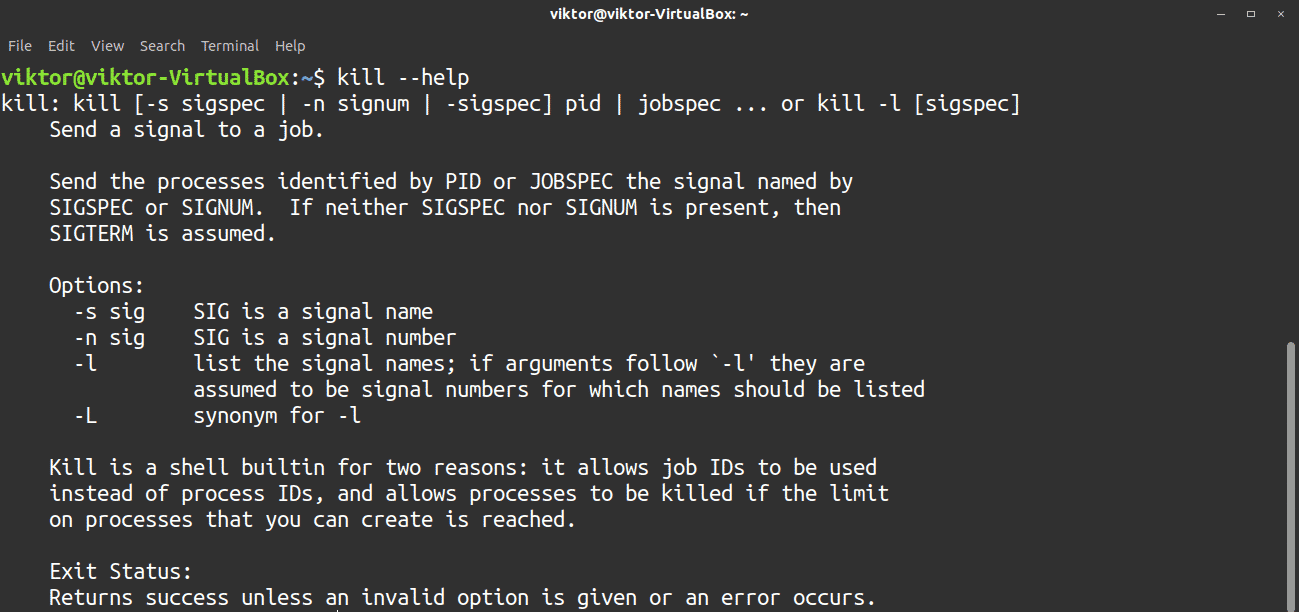
19. kill
The kill command is commonly used for terminating processes. Internally, this command sends specific signals to a process that determines the behavior of the process. The default behavior of the kill command is to terminate a process by sending the TERM signal. To kill a process, you will need its PID, which can be obtained using the ps command.

To send a custom signal to the target process, use the flag -s, followed by the signal.

The next logical question is, what signals can you send? To find out, check the list of available signals. Note that “KILL” and “SIGKILL” both are the same signal, but with different labels.

Kill is a fairly simple command with straightforward usage. However, if you still feel confused, feel free to check out the kill help page.
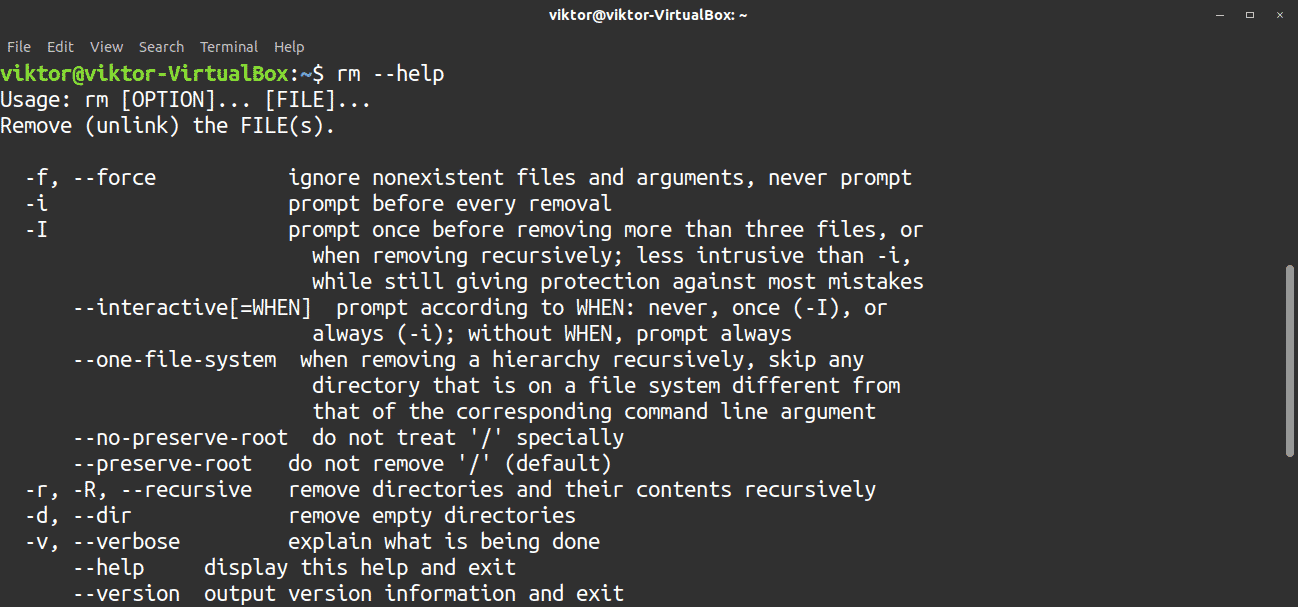
20. rm
The rm tool is used for deleting files and directories. This tool is one of the most basic commands for day-to-day use.
The following shows how to delete a file with rm.

To delete a directory, add the -r flag, which stands for recursive removal of directories and their contents. It is also common to pair this flag with the -f flag, which stands for forced removal.

When performing a deletion, I recommend using the -v flag for verbose mode.

To see all the available options, check the rm help page.
21. mkdir
The mkdir command is used to create a directory under a filesystem. This command is a simple and straightforward tool.
To create a directory at the desired location, run the following command. The -v flag stands for verbose mode.

Check out other available options at the mkdir help page.

22. top
The top command is a powerful tool for real-time monitoring of system resources and running processes.
Launch the tool using the following command.
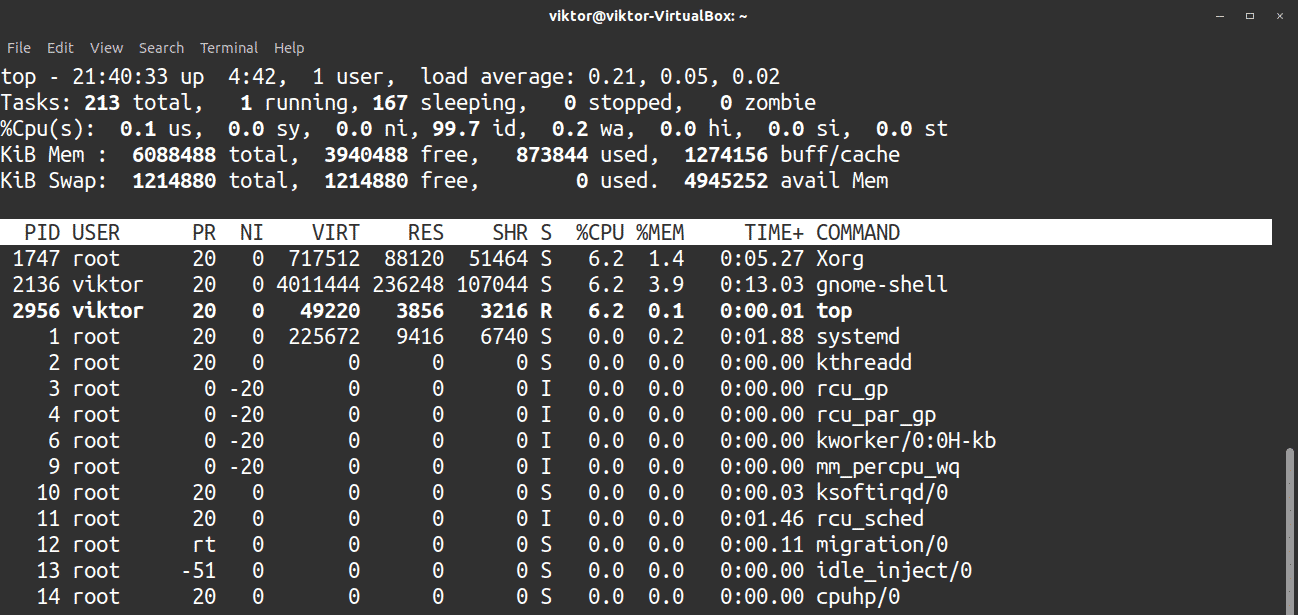
To exit the tool, press q.
You can filter the processes by owner. To do so, use the -u flag followed by the username.

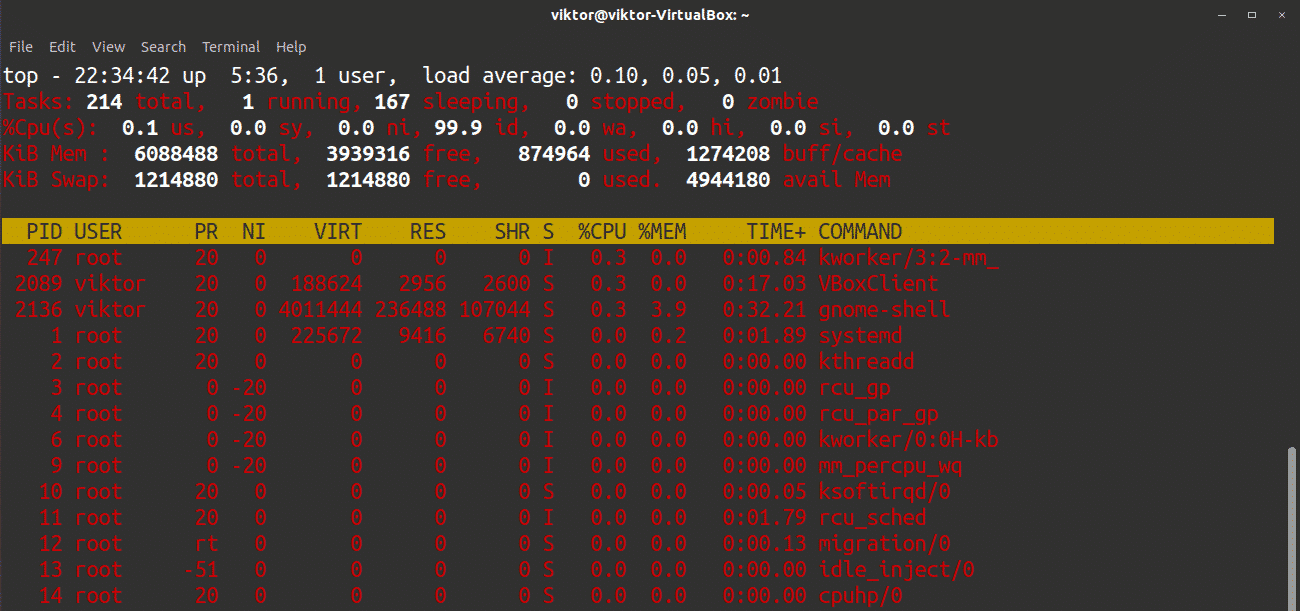
The default window may appear dull and boring. If you find this window dull, you can spice it up by pressing z. This action will apply a simplistic coloring to the output, making it easier to work with.
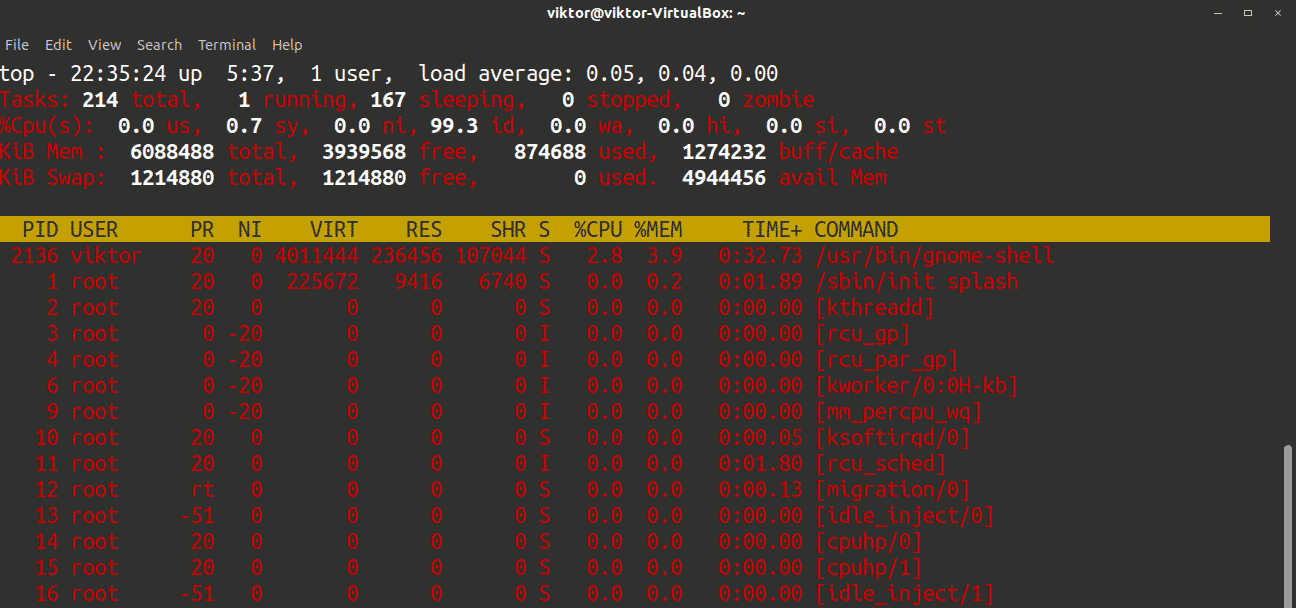
Press c to see the absolute path of the running processes.
The tool reports the information in real-time. The feed is updated only at certain time intervals. By default, the interval value is 3 seconds. To change the default interval, press d and change the value to your desired value.

To kill a target process, press k.
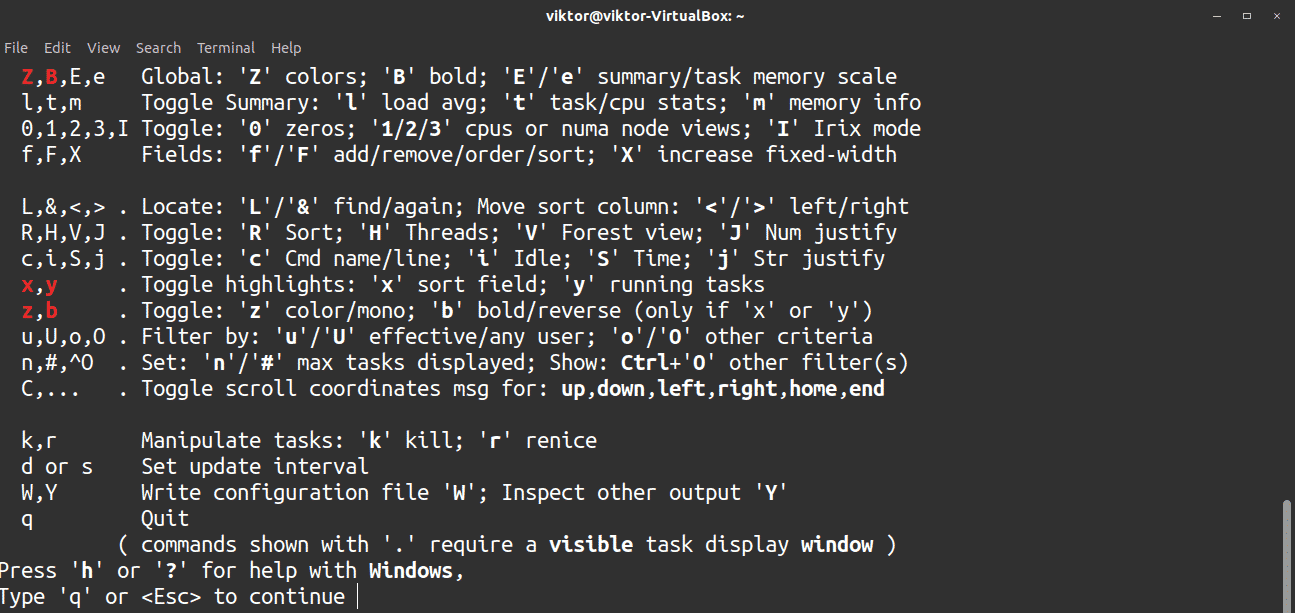
To receive quick help, press h.
23. free
The free command is useful for checking system resources, such as physical and swap memory. This tool also reports buffers used by the kernel.
Launch the tool using the following command.

The output values will be in kilobytes (1 kb = 1024 bytes). If you want the output to be in megabyte format, use the -m flag.

To obtain an output in gigabyte format, use the -g flag.

For a more human-readable format, use the -h flag.

Using the –total flag will show a total column combining all the values.

The report of the free command is for the instance that it ran. To obtain consecutive results, use the -s flag, followed by the refresh interval (in seconds). Note that you must manually kill the command by pressing Ctrl + C.

For all the available options, check out the free help page.

24. service
The service tool is a simpler version of the systemctl tool. With the service tool, you can start, stop, and restart the desired service. The service tool can also report the status of a service.
To start a service, use the following command. Note that the tool must be run with root privileges to accomplish this action.
To restart a service, use the following command.
Use the following command to stop a running service.
Finally, to check the status of a service, use the following command.
25. shutdown
The shutdown command performs a shutdown or reboot of the entire system. To perform a basic shutdown, run the following command. The system will shut down one minute after the command is run.

To shut down the system the instant the command is run, use the following command.
To perform a shutdown after a certain time period, use the following structure. The time must be in minutes or in hh:mm format. To shut the system down after 5 minutes, the following command will be entered:
In the following case, the system will shut down at 6 PM.
To restart the system, use the -r flag.
The restart command can also be combined with the time format to schedule a system restart.
$ shutdown -r 18:00
When the system is about to shut down, it is possible to broadcast a message to all users currently logged in to the system.

To cancel the shutdown command, use the -c flag.
Final Thoughts
The list above includes some of the basic Linux commands that any Linux user should know. If you are a system admin or would like to become one someday, then mastering these commands would be a good place to jumpstart your training. Note that almost all the commands listed above contain more features than described in this article.
Enjoy!
from Linux Hint https://ift.tt/39lbQOy


0 Comments