This article will show you how to install OBS on your Ubuntu system.
OBS on Ubuntu
OBS offers all the features you need for streaming. This software supports real-time source/device capture, recording, encoding, and live broadcasting. OBS also supports audio manipulation through virtual faders. OBS directly supports all the popular streaming platforms, including Twitch, Facebook, YouTube, and Mixer.
There are multiple ways you can get OBS for Ubuntu. The simplest way is to grab the program directly from the Ubuntu package server. Thanks to its sheer popularity, OBS Studio is also available as a universal Linux package, just like flatpak and snap.
Ready? Let’s get right into it!
Installing OBS on Ubuntu
Install OBS from Ubuntu Package Server
OBS is quite a popular software. Because of its popularity, OBS is now directly available from the Ubuntu package server. To get this program from the package server, all you need is to tell APT to install the obs-studio package, and APT will handle the rest.
Fire up a terminal. First, refresh the APT repository cache.
Now, install OBS Studio.
Install OBS snap
Whenever installing an app, I prefer using universal Linux packages, such as snap. This allows the same package management feature across all Linux distros, offering a reliable and consistent experience. In the case of OBS Studio, I also strongly recommend using snap or flatpack, if possible.
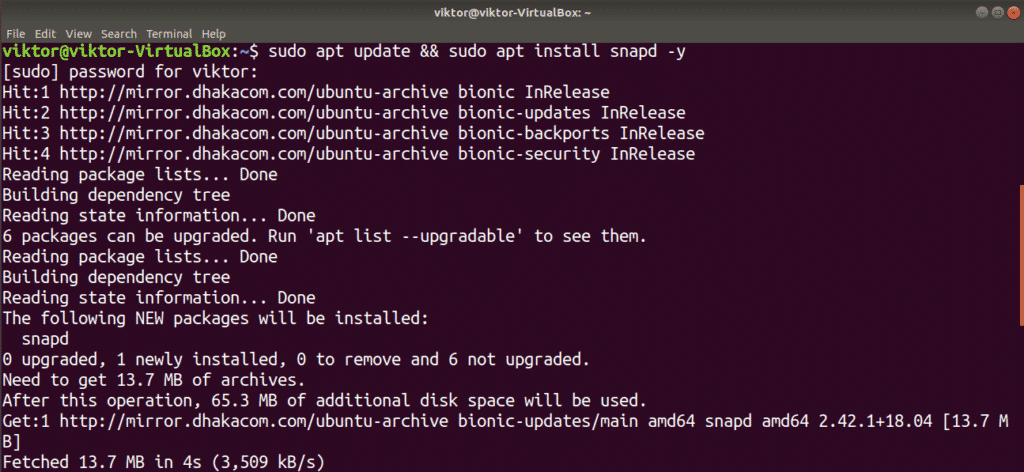
To install any snap package, the system must have snappy installed. Snappy is the snap package manager for Linux. In Ubuntu, snappy comes pre-installed. If you do not already have snappy installed, then do not worry. Installing snappy is quite simple. To install snappy, fire up the terminal and run the following commands.
First, install snappy from the Ubuntu package server via the following command.
Snap needs the snap core to be fully functional. As of now, snap is just a thin client with basic snap functionalities. Install the snap core using the following command.
To put these changes into effect, the snap service has to be restarted. Restart snap using the following command.
Snappy is now ready to install snap packages from the Snapcraft store. Check out OBS Studio on Snapcraft.
Install OBS flatpak
Flatpak is another type of universal Linux package. In practice, snap and flatpak are somewhat different; but in principle, both behave in the same way. All you need for flatpack is the support of the flatpak package manager, and you can get started using flatpak on any Linux distro.
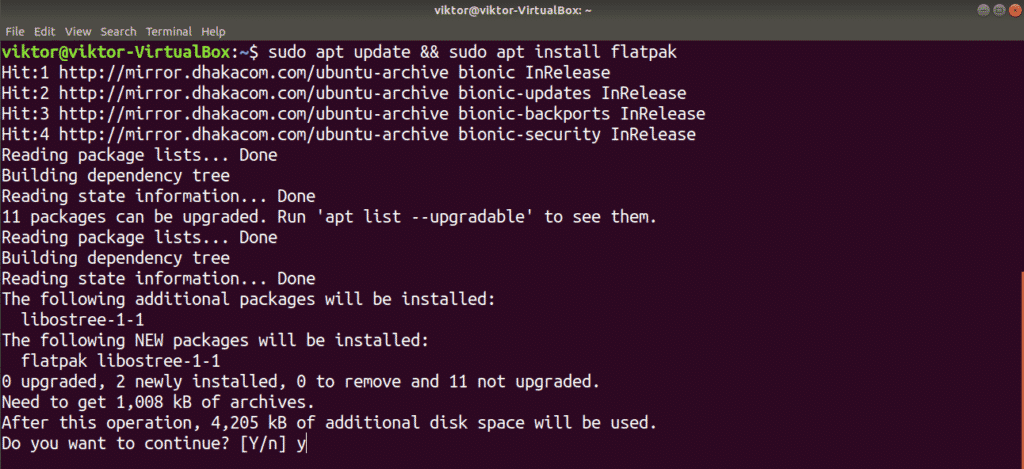
Ubuntu does not come with the flatpak package manager pre-installed by default. Installing the flatpak package manager is as simple as running a few commands.
First, grab flatpak from Ubuntu package server via the following command.
Ubuntu uses the GNOME desktop environment. The following command will allow GNOME Software to directly install flatpak without using the command line. This step is optional but recommended.
Add the Flathub repo using the following command. Flathub is the official flatpak store. Flatpak may require root privilege to perform this action.
https://flathub.org/repo/flathub.flatpakrepo
Now, flatpak is ready to grab flatpak apps directly from Flathub. Check out OBS Studio on Flathub.
Using OBS Studio
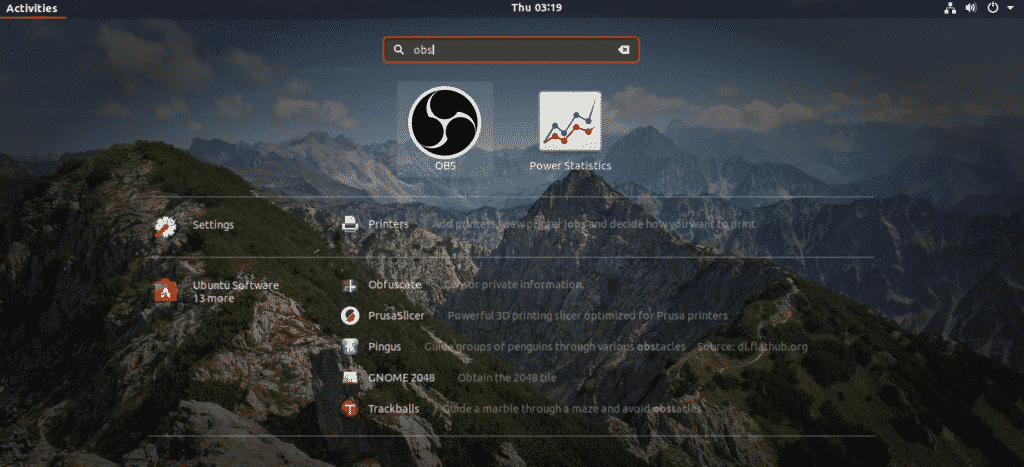
After installing, OBS Studio is now ready to do its job. Launch OBS Studio from “Activities.”
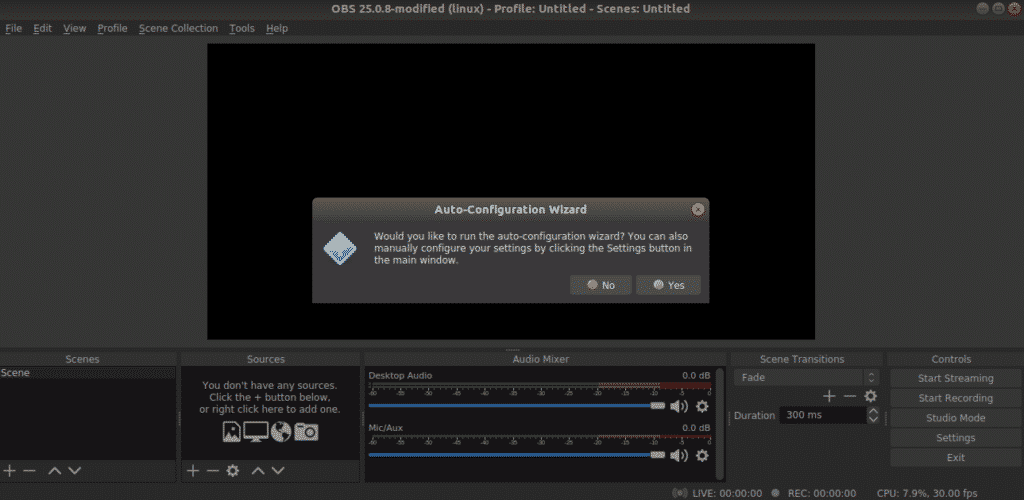
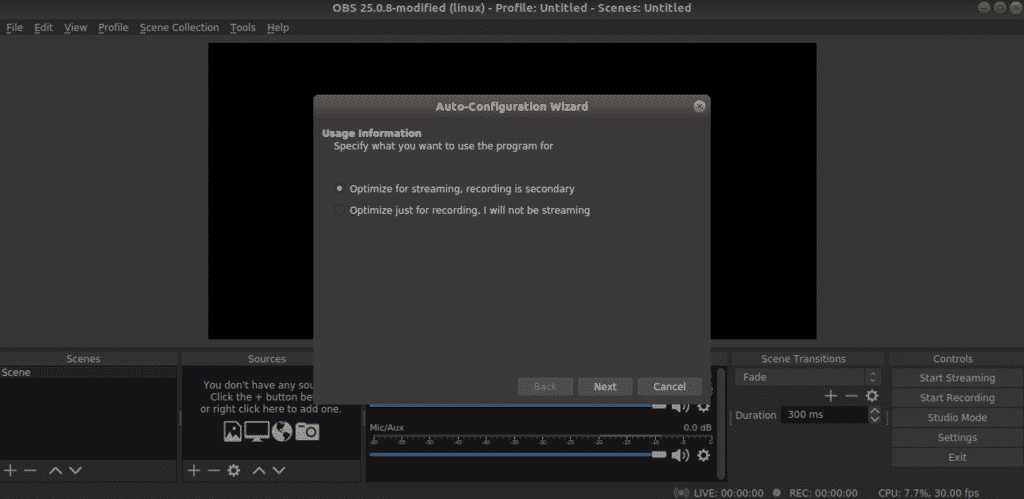
When OBS launches for the first time, you will be prompted to run the auto-configuration wizard. If you are an expert at using this program, you probably do not need to use this wizard. In this tutorial, we will use the wizard for our example.
The first step of the wizard is the optimization goal. Depending on whether you want to stream or record, select the appropriate option.
Choose the resolution and frame rate. The selections for this feature depend on multiple variables, like your hardware, internet connection, etc.
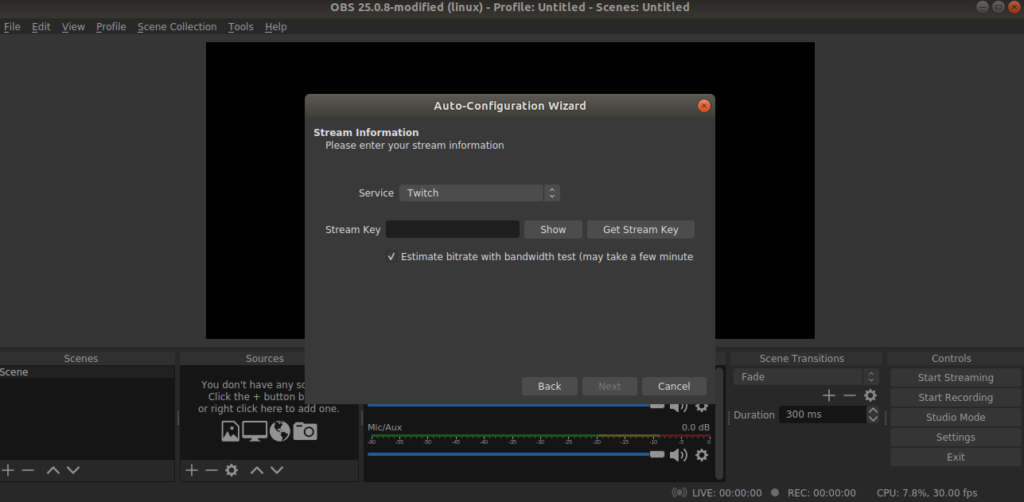
Enter your stream key. There are multiple platforms that OBS supports, including Twitch, YouTube, Facebook, and Mixer.
In this example, I will go with Twitch. After entering the key, OBS will perform a bandwidth test to decide the appropriate bitrate for streaming. This can take a while.
OBS will suggest the recommended settings. Click “Apply Settings.”
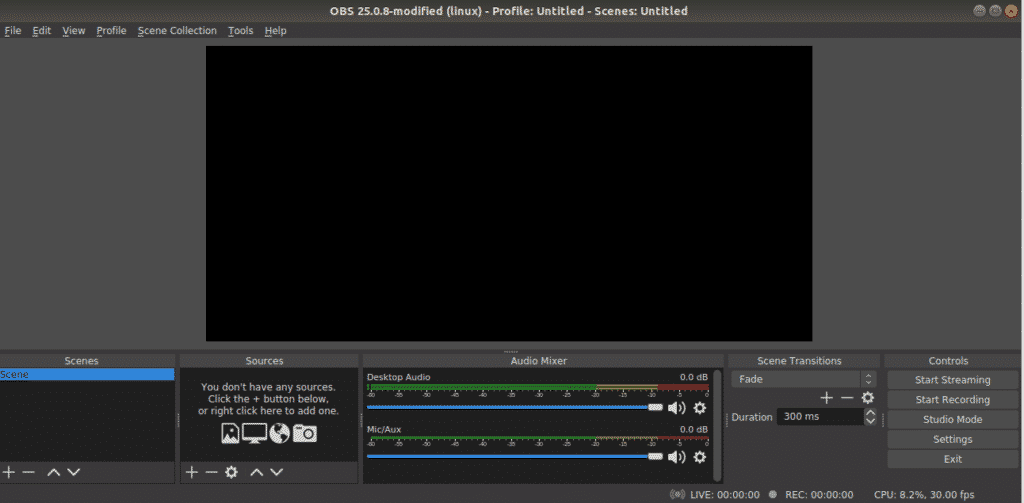
And voilà! OBS is ready to stream!
Final Thoughts
The primary goal of this guide was to help you get started with OBS Studio. This program is a powerful tool that can help you do so much more with your streaming. There are numerous guides all over the internet on how to take the maximum advantage of OBS Studio. I recommend that you do your own research after going through this tutorial.
Enjoy and happy streaming!
from Linux Hint https://ift.tt/3hlAK42









0 Comments