This article will show you how to install MongoDB on Ubuntu 20.04 using the command line from the official repository. All commands discussed in this article related to installation of MongoDB will be executed on Ubuntu 20.04.
Install MongoDB on Ubuntu 20.04
Perform the following steps to install MongoDB on your Ubuntu 20.04 system:
First, open the terminal window with the shortcut Ctrl + Alt + t. Log in as a root user on your system.
Add MongoDB Repository
To install the latest MongoDB version on your system, you must first add its repository to Ubuntu 20.04. To add the official MongoDB package repository key using wget, run the following command on the terminal:
Next, add the MongoDB repository to Ubuntu 20.04, as follows:
bionic/mongodb-org/4.2 multiverse" | sudo tee /etc/apt/sources.list.d/
mongodb-org-4.2.list
Install MongoDB on Ubuntu 20.04
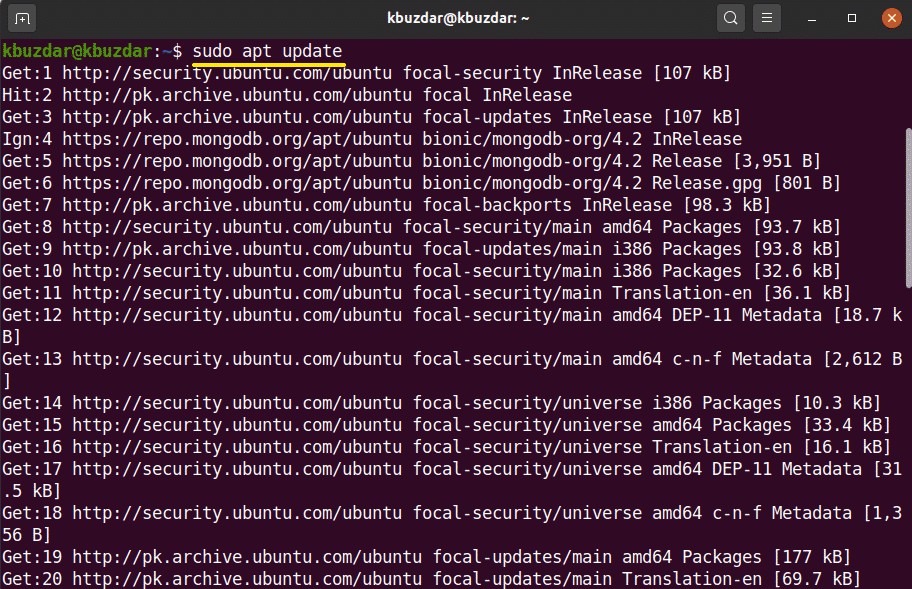
In the previous step, the MongoDB official repository and key have been included in your system. In this step, you will install MongoDB on your Ubuntu 20.04 system. It is recommended that you first update your system, before installing any software packages. To update your system, run the following command:
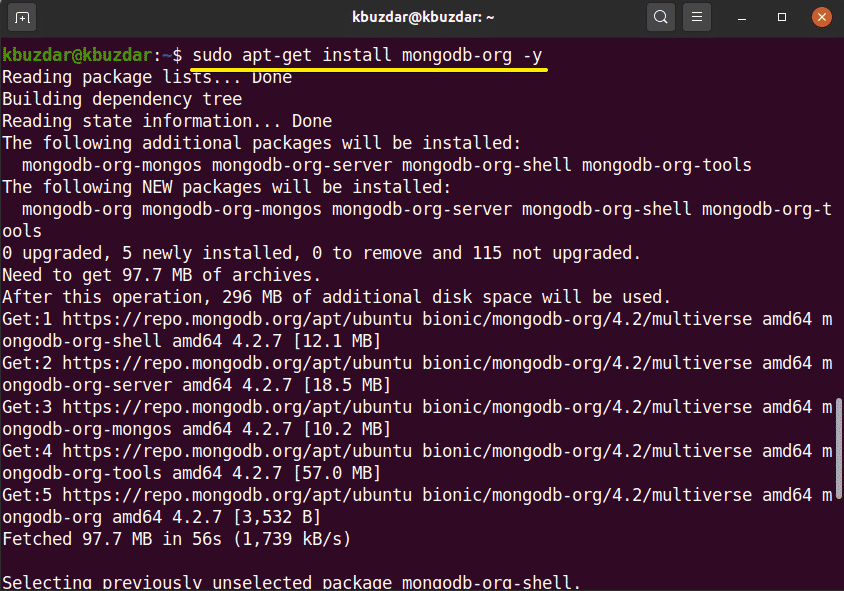
Next, you will install MongoDB on your system. To install MongoDB, use the following command:
Manage Services of MongoDB
Once you have finished installing MongoDB, using the following commands, you can start, stop, and enable the MongoDB services automatically when your system boots up.
$ sudo systemctl start mongod.service
$ sudo systemctl enable mongod.service
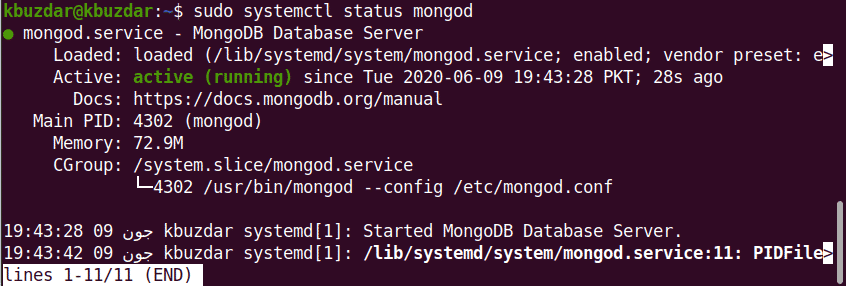
Verify the status of MongoDB services (it will either be running, or not) with the following command:
Launch MongoDB Shell
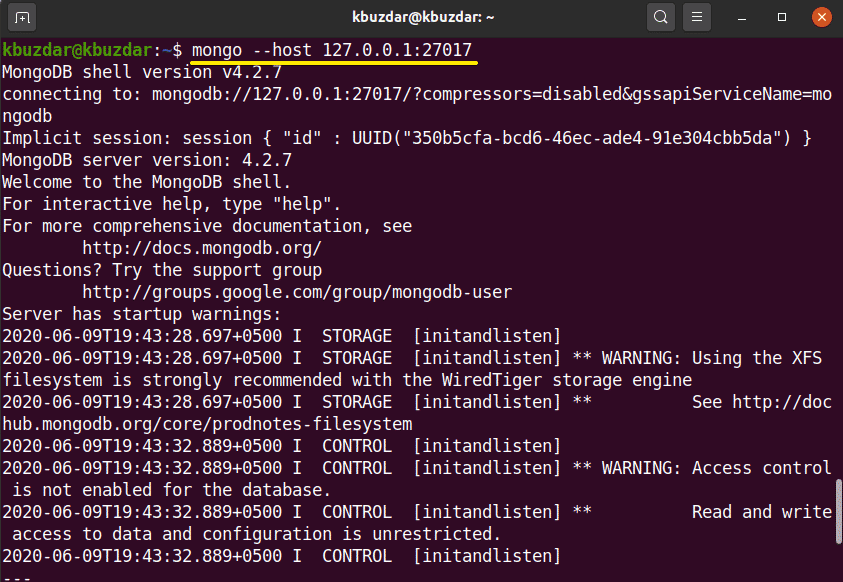
MongoDB direct listens at port 27017. Connect the MongoDB shell via the following command:
Use the following command to open the MongoDB console:
Add Admin User
To create and add an admin user, use the following command on the MongoDB shell:
You have now been logged in as an admin user on the MongoDB server. Create a new admin user with the following command:
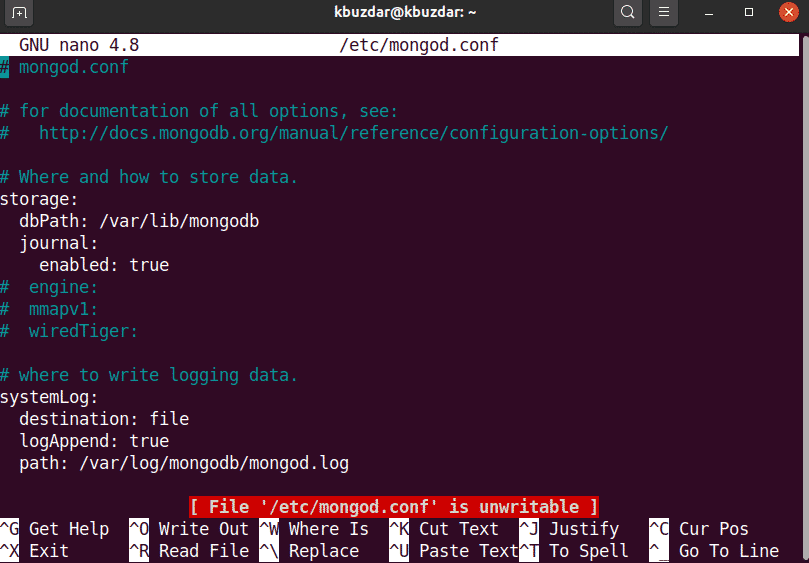
In the next step, to secure your database, you must enable login authentication. Open the configuration file of MongoDB using the following command:
The following output screen will display on the terminal:
Edit the authentication with the following text:
authorization: enabled
Edit and save the file to keep these changes. Run the following command to restart MangoDB services:
Now, only authenticated users have access to the MongoDB database, as follows:
After executing the above command, you will be asked to enter the password. Enter the password, and the MongoDB console will display on the terminal.
To exit the MongoDB shell, use the following command:
Conclusion
In this article, you learned how to install and configure MongoDB with Ubuntu 20.04. You can explore more MongoDB shell commands using the command line in Ubuntu 20.04.
from Linux Hint https://ift.tt/3fUycIH





0 Comments